
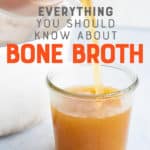
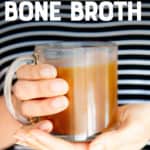
Homemade Bone Broth


If you've ever assumed homemade bone broth was complicated or hard to make, I'm here to change your mind. It's simple to make, incredibly forgiving, and a cozy, nutrient-rich base you can sip or use in everyday cooking.
🔍 Recipe At-A-Glance: Homemade Bone Broth
- ⏰ Prep Time: 5 minutes
- 🕰️ Cook Time: 24 to 48 hours
- 🍲 Flavor Profile: Perfectly savory and rich
- 💪 What Makes It Healthy: 27g protein per cup, packed with nourishing collagen and micronutrients
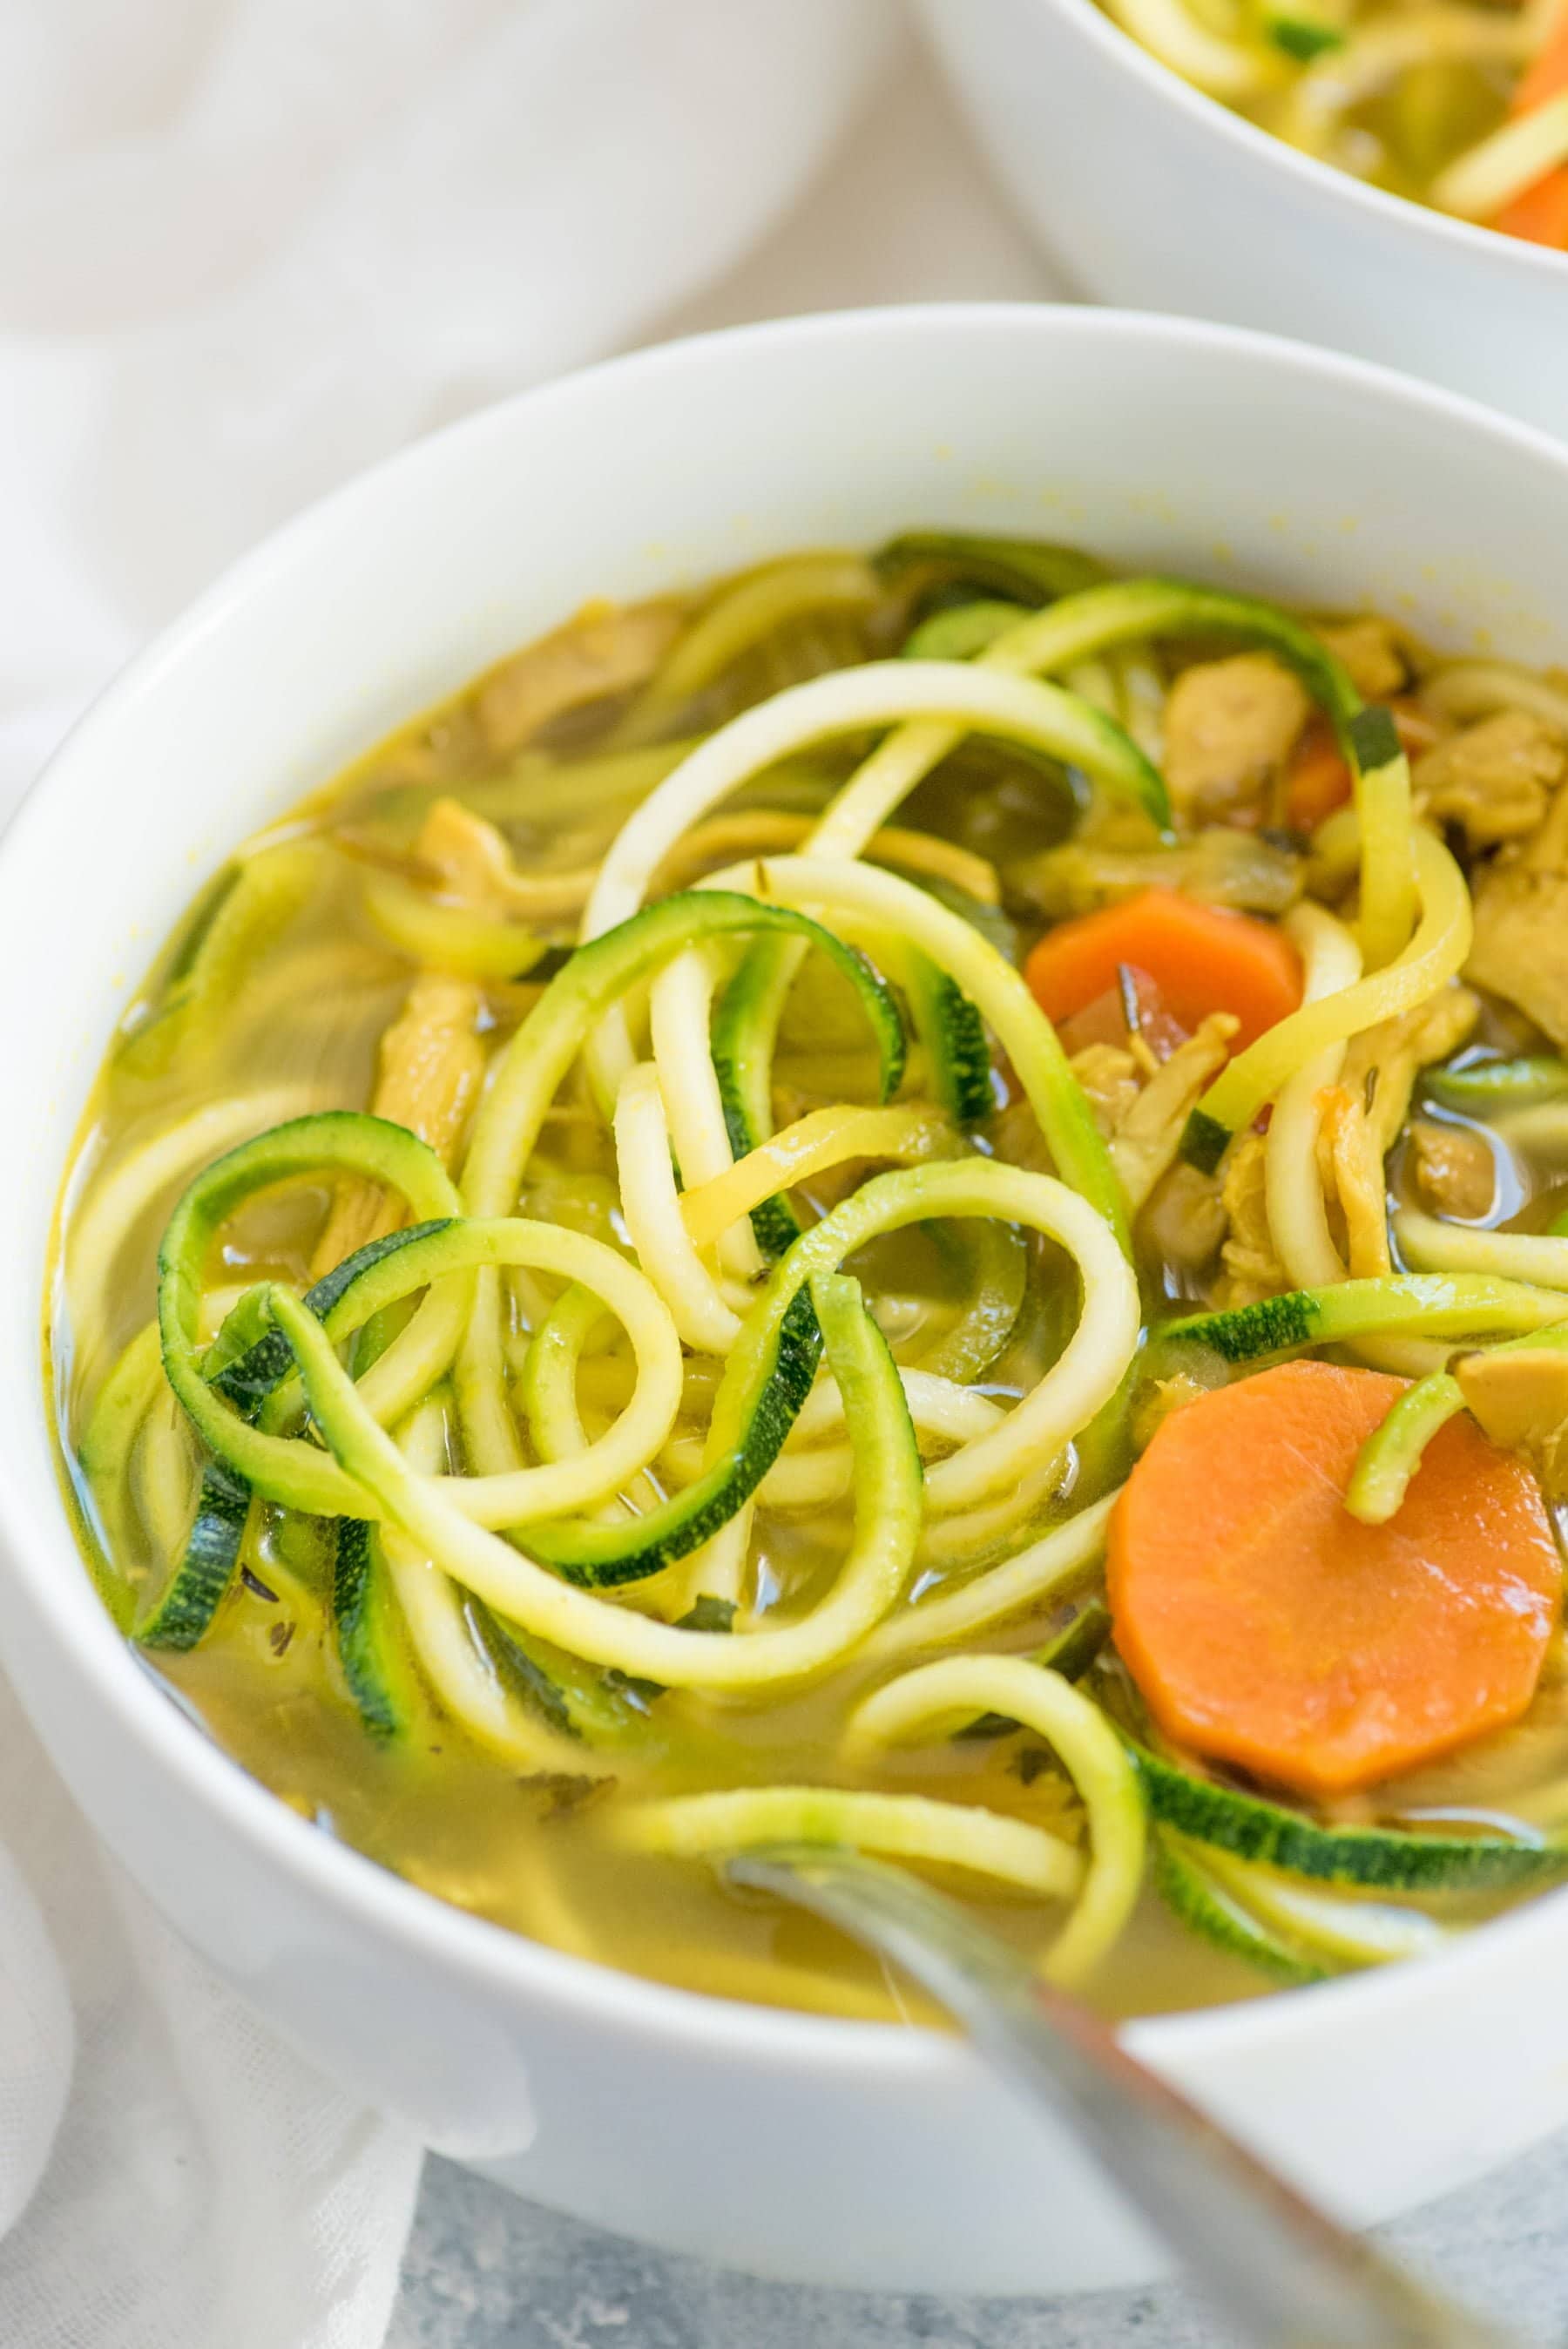
- 🥄 Good For: Sipping, making chicken zoodle soup (or any soup!), any cooking purpose
- ↪️ Make Ahead: Make up a huge batch and keep your freezer stocked
- 🧡 Difficulty: If you can boil a pot of water, you can make bone broth!
Jump To
- 🔍 Recipe At-A-Glance: Homemade Bone Broth
- 🧡 Why You'll Love This Recipe
- 🍜 The Benefits of Bone Broth
- 🐓 The Ingredients You Need
- 🔁 Variations & Substitutions
- 🥘 How to Make Homemade Bone Broth
- 🤨 Troubleshooting Homemade Bone Broth
- 🙋🏻♀️ Homemade Bone Broth FAQs
- 👩🏻🍳 My Expert Tips & Tricks
- 🍲 Ways to Use Your Homemade Bone Broth
- 📖 Recipe
- 💬 Reviews
🧡 Why You'll Love This Recipe
Hey friend. Along with medication, nutrition therapy is a huge part of my treatment plan for autoimmune illness. I was turned on to homemade bone broth years back by a doctor, and I was amazed by how much better a simple, easy-to-make broth could make me feel. Long-simmered healing broths are commonplace in many ancestral traditions, and for good reason! I still sip on bone broth daily (and cook with it nearly as much), and I'm convinced it makes a huge difference in my health.
Here's why you'll love this recipe:
- Affordable to make: storebought bone broth is expensive because of the time required to make it, but you can make it at home for pennies on the dollar
- Almost entirely hands-off: just dump stuff in a pot and that's basically it
- Soooo good for you: packed with protein, collagen, and micronutrients, bone broth is a nutritional powerhouse
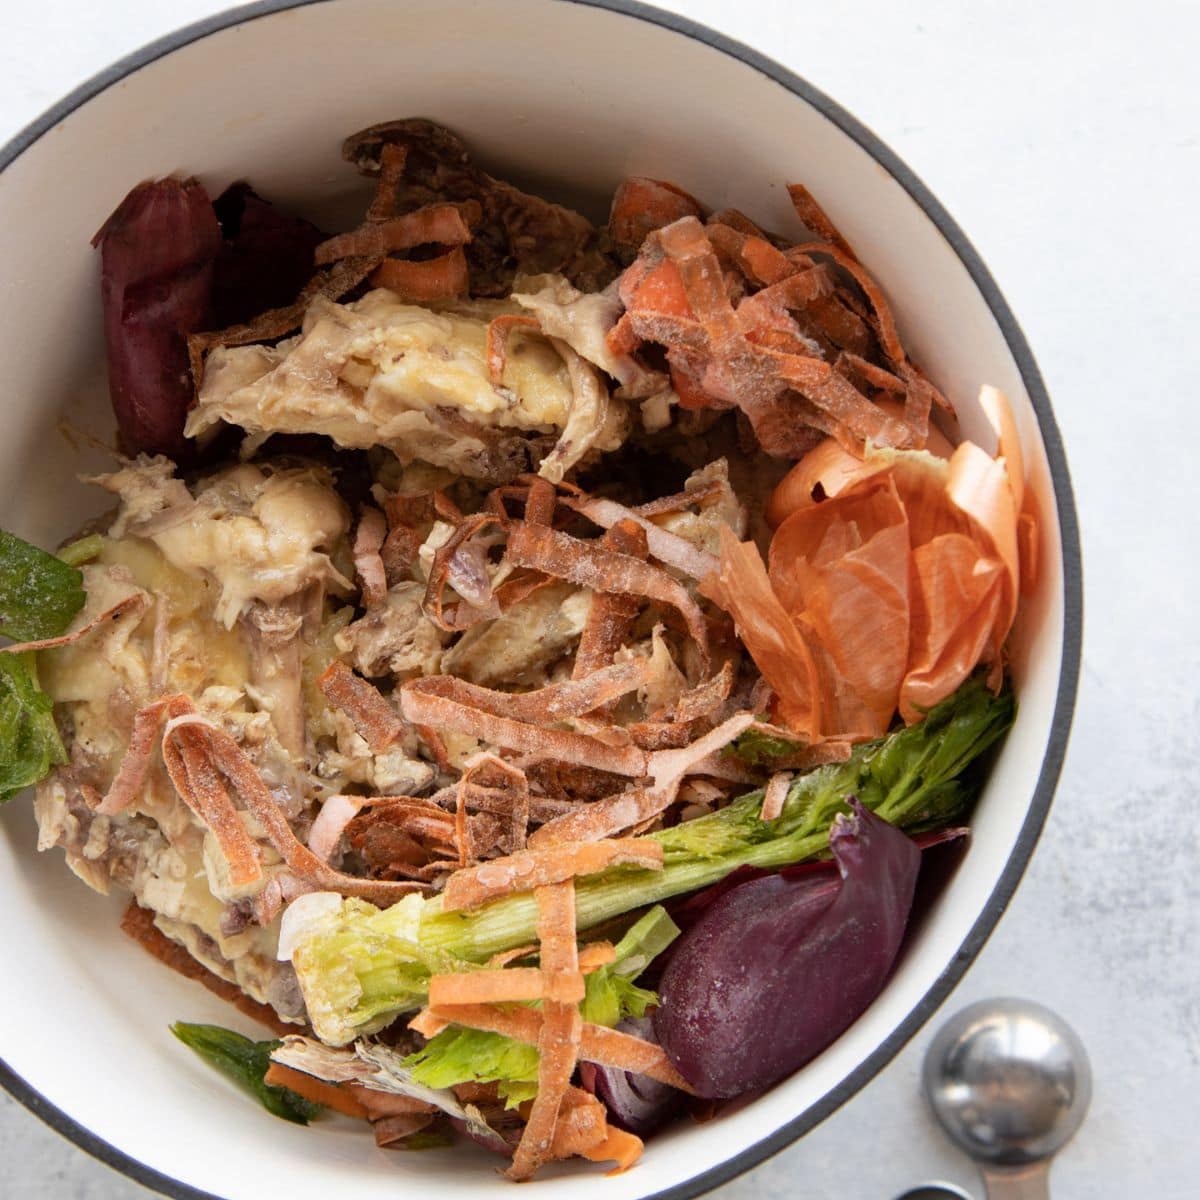
- Great way to use scraps: get every ounce of goodness out of your food by using scraps to make this broth
- Easy to freeze: freeze it in jars or souper cubes for easy use
- Super tasty: packed with slow-simmered flavor, homemade bone broth adds so much flavor to soups, stews, and other savory recipes
🍜 The Benefits of Bone Broth
- Naturally rich in collagen: Long-simmered bones release collagen, which gives bone broth its signature body and silky texture. Collagen is a structural protein that helps support connective tissues throughout the body, including skin, joints, and tendons.
- Easy to digest: Bone broth is simple, gentle, and soothing, which makes it a great option when you want something nourishing, but easy to digest. It's a staple for me during autoimmune flares just like my coconut porridge and coconut yogurt recipe.
- Contains micronutrients and minerals: Slow simmering helps draw out small amounts of minerals like calcium, magnesium, and potassium, along with other naturally occurring micronutrients.
- A slow food classic: Bone broth is the definition of slow food. It rewards patience, uses time as an ingredient, and connects you to traditional kitchen wisdom.
- Versatile and practical: Sip it on its own or use it as a flavorful base for soups (like my chicken noodle soup from scratch), grains (like my baked quinoa), sauces (yes, even in homemade turkey gravy), and everyday cooking.
- Reduces kitchen waste: Bone broth makes good use of bones and scraps that might otherwise be thrown away, turning leftovers into something valuable.
- Comforting and grounding: There's something deeply cozy about a pot of broth simmering on the stove (especially in the winter!). It feeds more than just hunger.
🐓 The Ingredients You Need
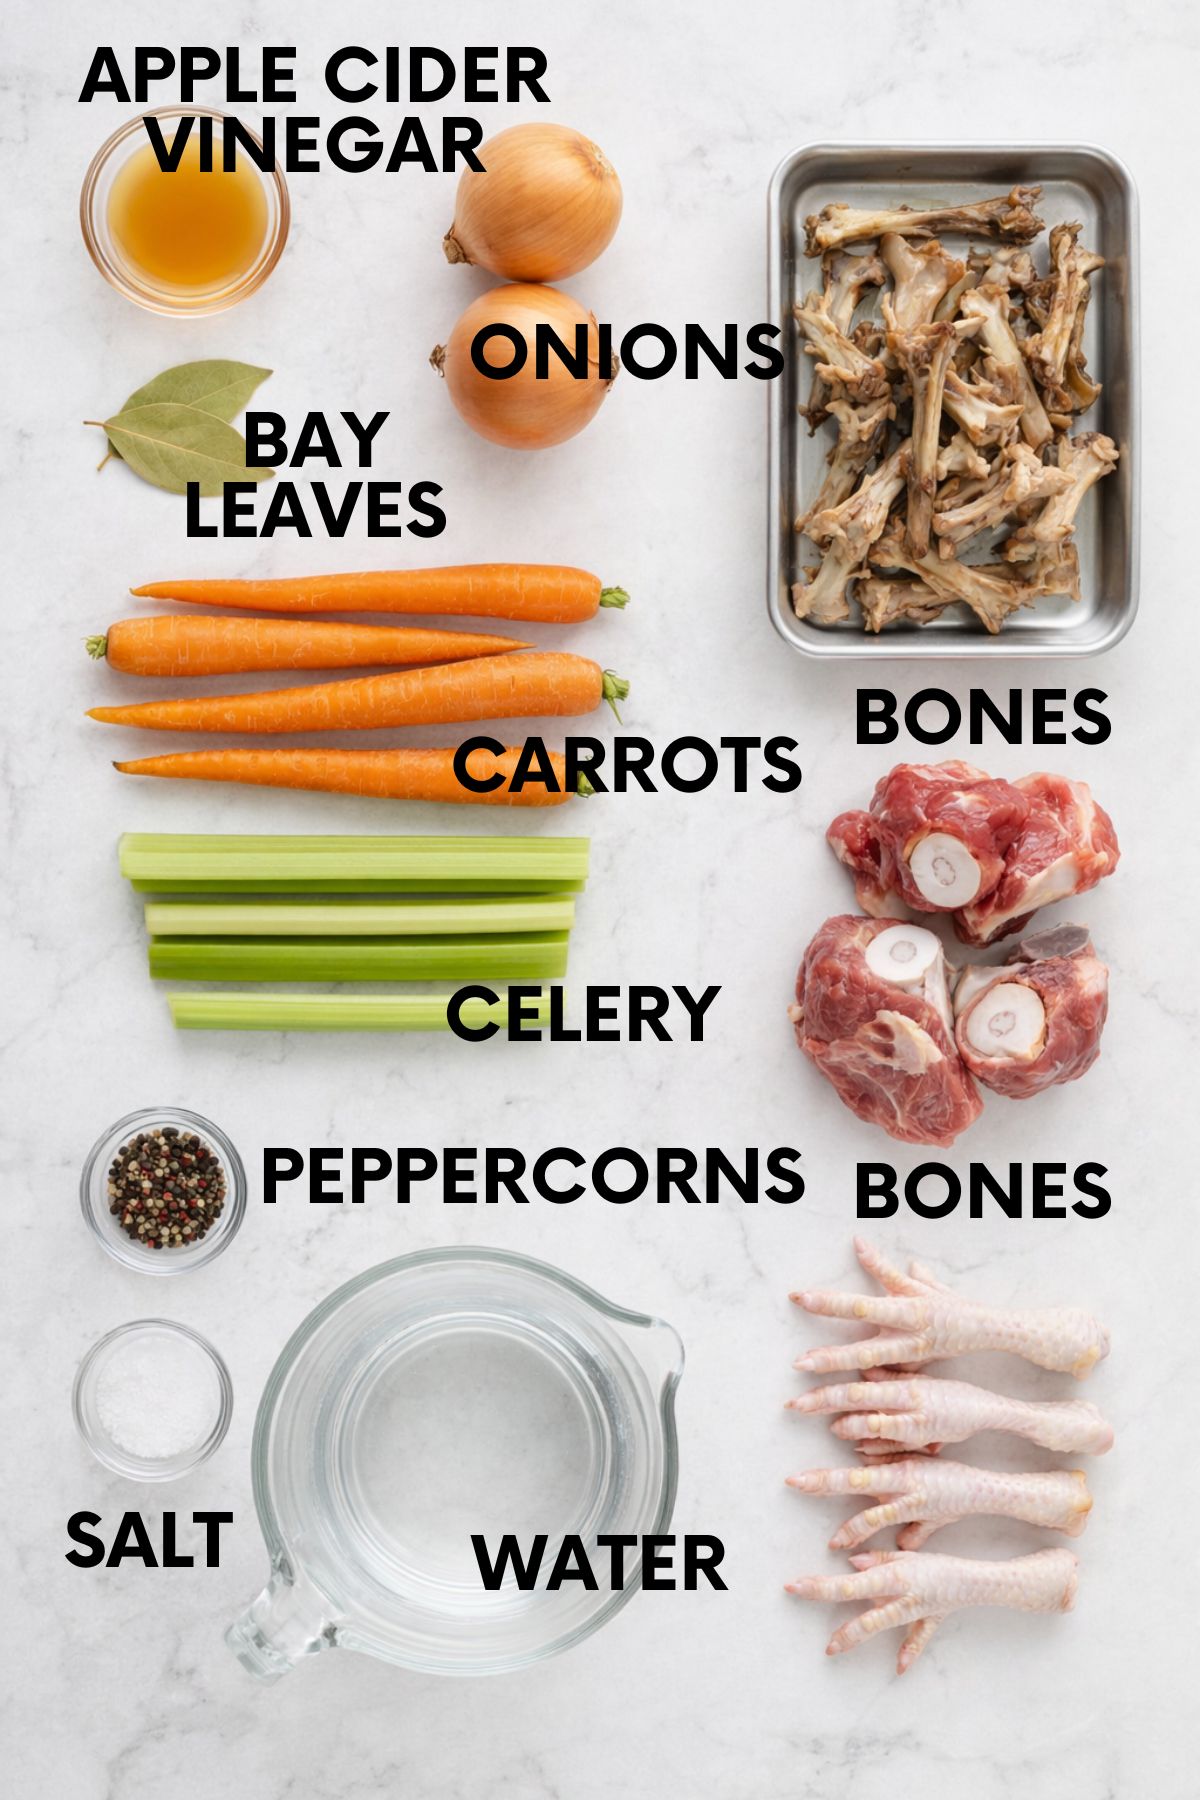
- Meat bones (chicken, turkey, pork, beef): I believe the best bones for bone broth are the ones you have! I always make bone broth after making crockpot whole chicken or my simple roasted chicken recipe-because those are the bones I have on hand. Bones that are full of connective tissue (necks, feet, backs, joints) will release the most collagen. You can get those from butchers or local farmers.
- Apple cider vinegar: Traditional wisdom says making the water slightly acidic helps release the collagen from the bones. I've not seen any science proving this one way or the other, but I figure adding a few tablespoons of ACV doesn't hurt.
- Aromatic veggies: I like using carrots, celery, and onion to add savory flavor.
Make sure to check the recipe card below for the full ingredients list, along with quantities and my expert tips and tricks.
🔁 Variations & Substitutions
- Make it low sodium: Just leave out the salt when cooking
- Make it super collagen packed: I keep a bag of chicken paws in my freezer and toss 2-3 into each batch of bone broth to add more collagen. I get these from a local farmer. They also make great dog treats!
🥘 How to Make Homemade Bone Broth
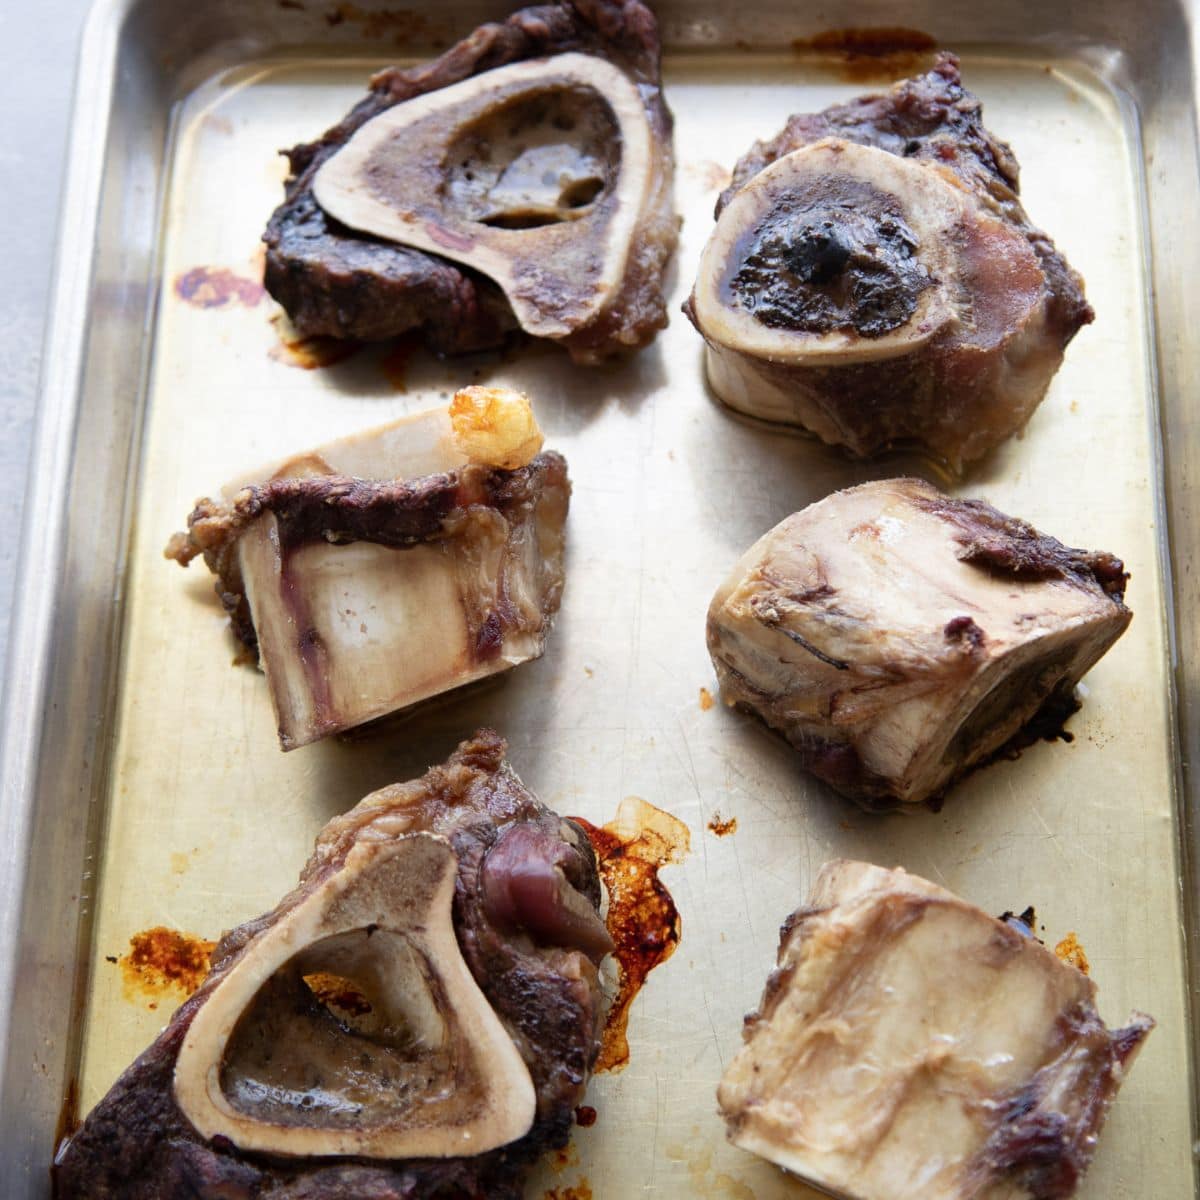
Step 1: For the best flavor, raw bones should be cooked before simmering. You can blanch them first by boiling for 10-15 minutes to remove impurities, then roast, or skip blanching and go straight to roasting. I find blanching makes little difference for chicken but noticeably improves beef broth, especially with lower-quality bones. Either way, roast raw or blanched bones at 425°F for 25-30 minutes, until deeply browned. It's hard to overdo it.
Step 2: Add the roasted bones to your pot with aromatics, apple cider vinegar, and water. I usually use vegetable scraps I've saved in my freezer. The vinegar helps the bones break down, and the seasonings are flexible-feel free to experiment and find the combination you like best.
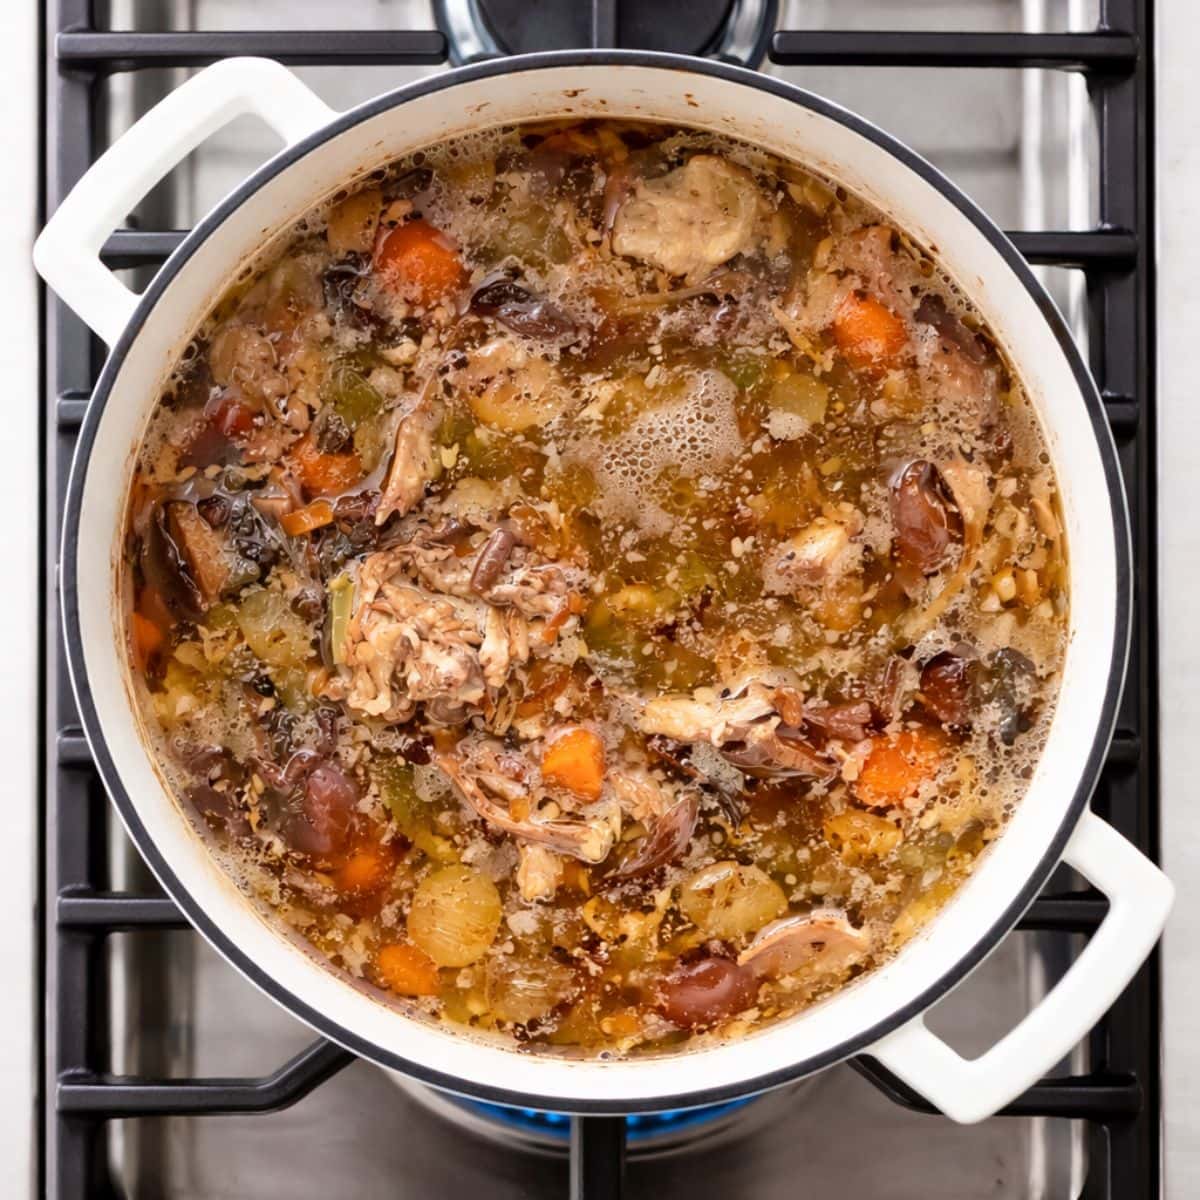
Step 3: Bring to a very low simmer on the stove or in a slow cooker. Depending on the type of bones used, it's ready after about 24-48 hours, kept at a very low simmer rather than a boil. If leaving it overnight makes you nervous, you can refrigerate the broth and restart the simmer the next day. You can also make bone broth in an electric pressure cooker (like an Instant Pot or Ninja Foodi) on high pressure for 2-3 hours. Full instructions for all methods are in the recipe card below.
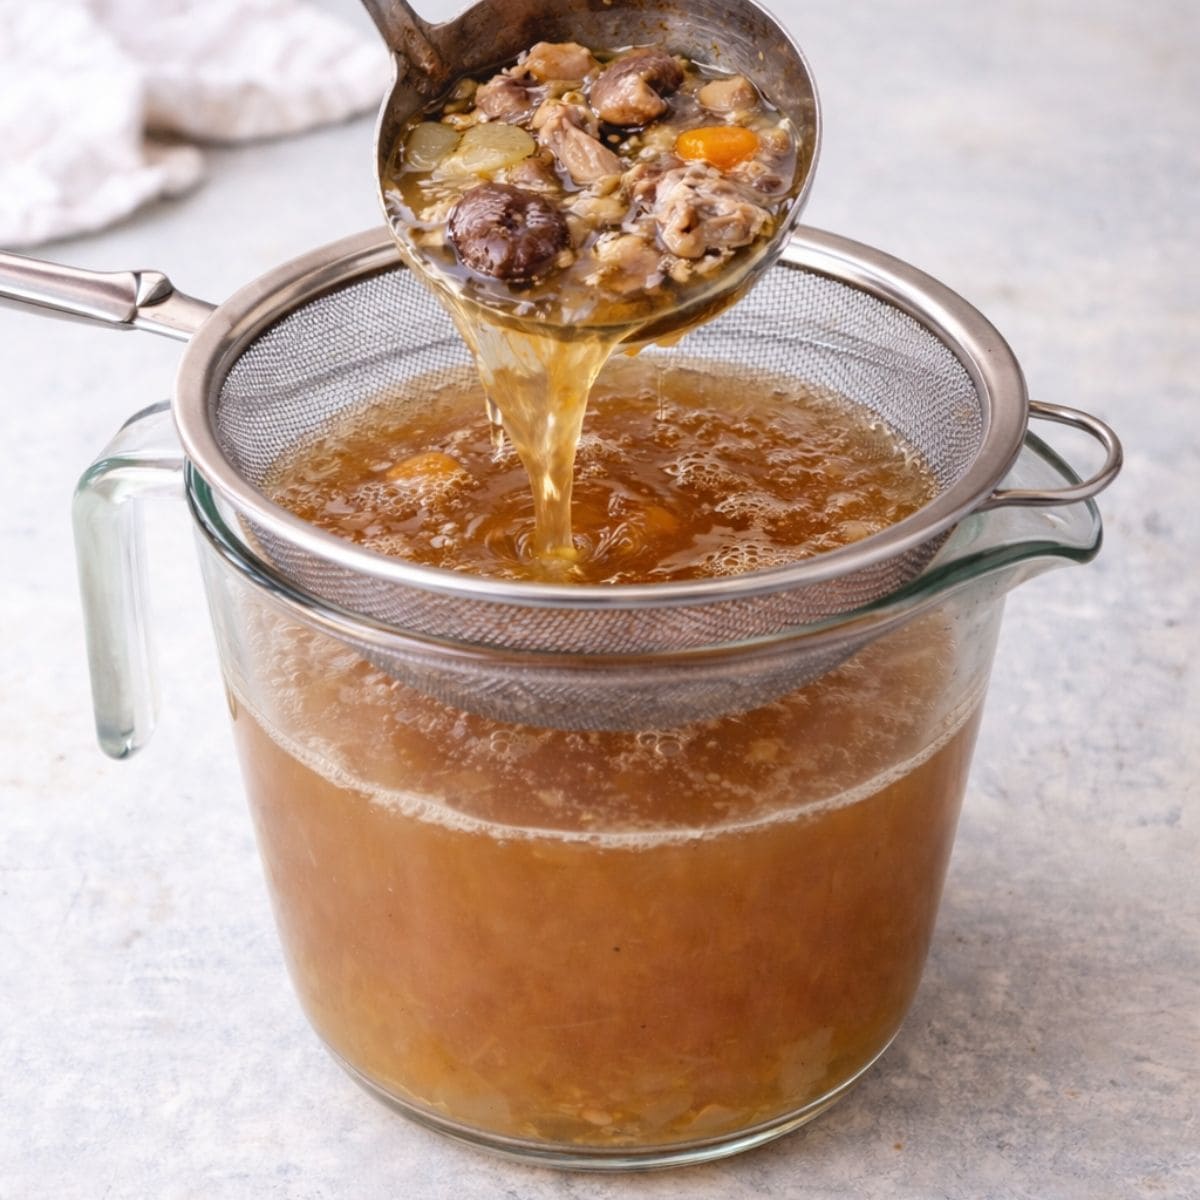
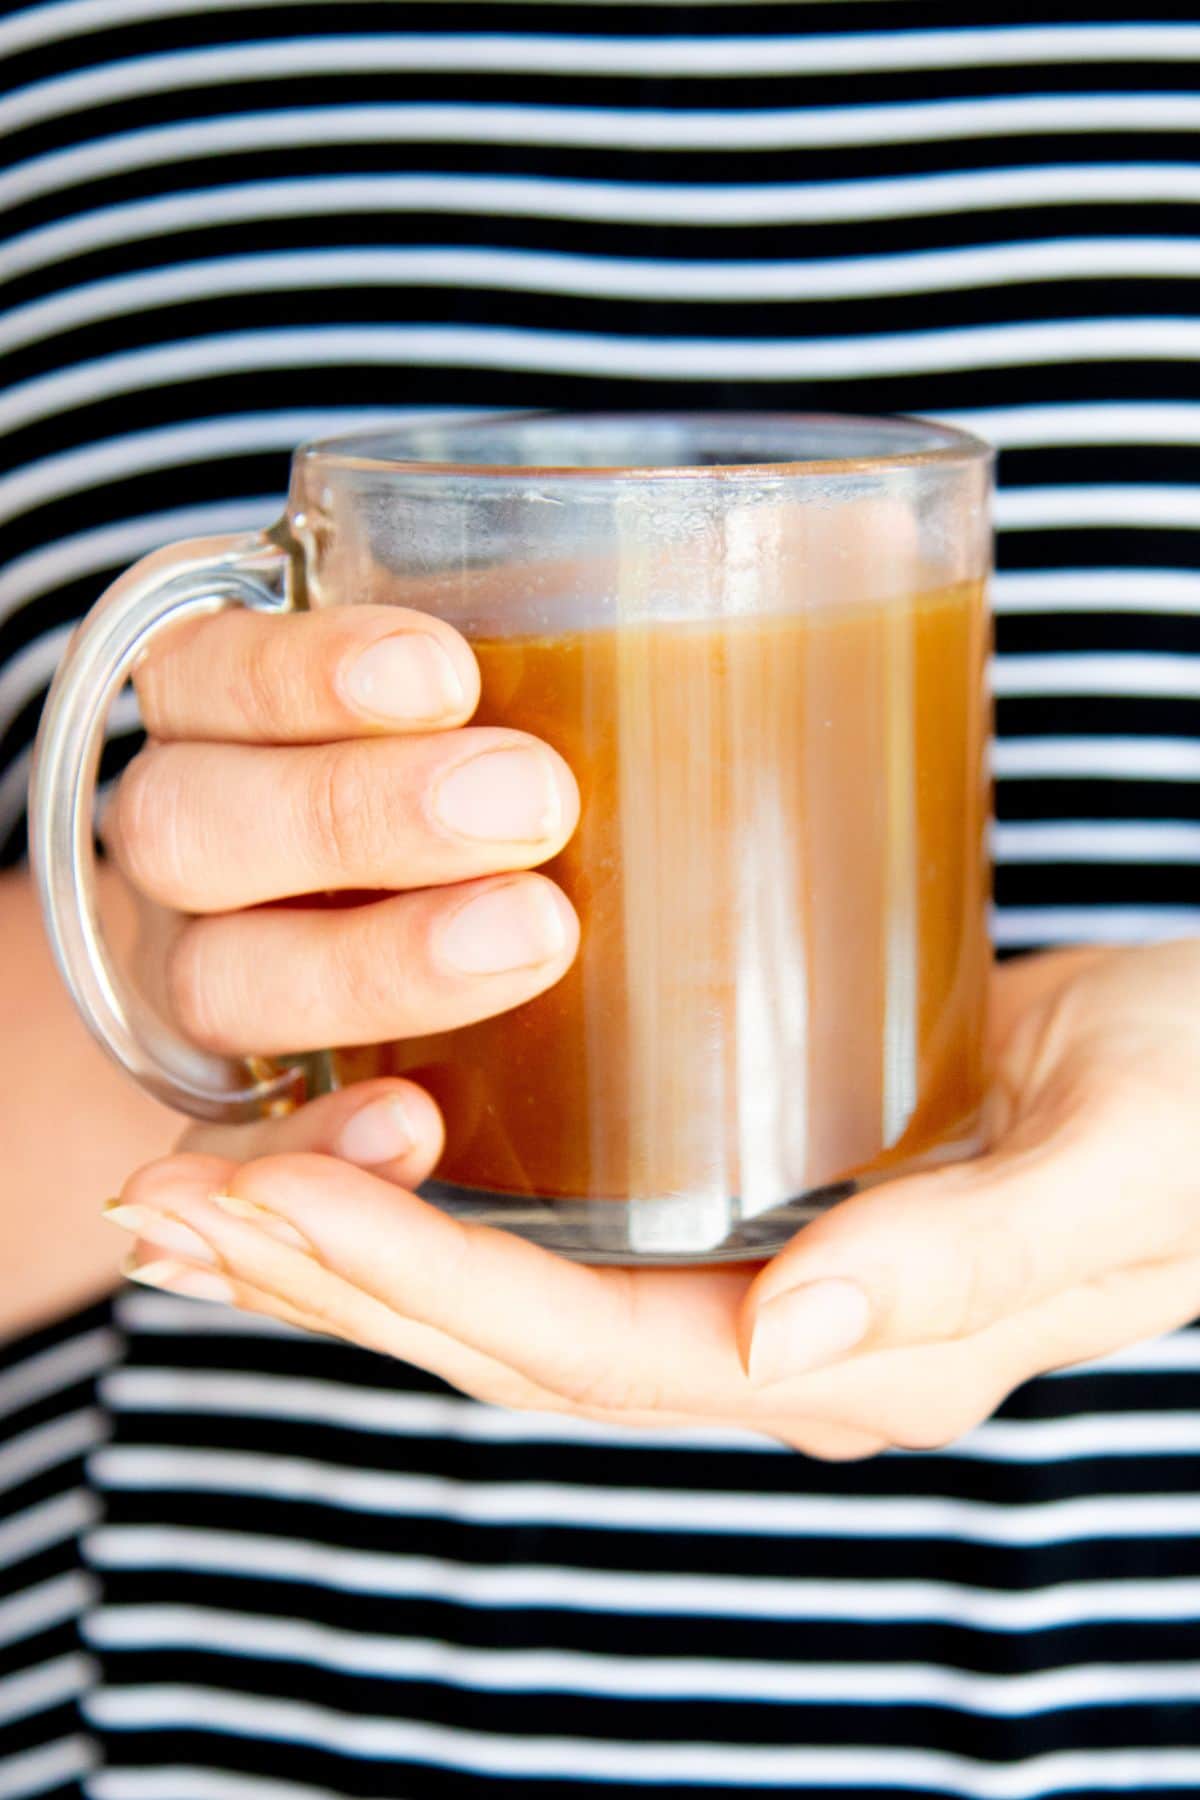
Step 4: Strain the bone broth using a fine-mesh strainer and then pour the liquid into jars for freezing. A layer of fat will solidify at the top of the broth after chilling-you can scoop that off and use it like any other cooking oil. I like to use it to sauté onions! You can also mix it back into the broth.
🤨 Troubleshooting Homemade Bone Broth

- My bone broth looks all cloudy/milky! When bone broth is boiled at too high of a temperature for too long, it can get a milky/cloudy appearance to it. There is nothing wrong with the broth-it's fine to use-it just doesn't look great. Next time, just lower the temperature a little bit.
- My broth is cooking and there is a lot of foam coming up! What do I do? Foam on the top of cooking broth is just impurities in the bones coming out. Just take a slotted spoon and skim it off the top.
- My broth tastes....kinda funky. Did you remember to roast, cook, or blanch your bones before adding it to the broth pot? That tends to be the number one reason why broth gets a funky flavor-using raw bones.
- My bone broth didn't gel! First of all, remember bone broth only gels when cooled. Hot broth will be liquid. Either way, don't worry, the broth is still packed with all kinds of nutrition. To make sure your bone broth gels every time, make sure to include bones that have connective tissues. Feet, knuckles, necks, backs, joints, etc. You'll be amazed at how affordably you can buy these usually unwanted bones from your local butcher or farm. Also: make sure to cook your bone broth for a good long time!
- There is a thick layer of fat on top! That's okay. Meat bones will release some fat! You can either skim it off and discard it, mix it into your broth for a silky texture, or use it as a cooking fat.
🙋🏻♀️ Homemade Bone Broth FAQs
Bones heavy in connective tissue like necks, feet, joints, and knuckles will release the most collagen into the bone broth.
Common bone broth mistakes include boiling instead of simmering, not using bones rich in connective tissue, adding too many aromatics that overpower the flavor, not simmering long enough, and not roasting the bones before making broth.
👩🏻🍳 My Expert Tips & Tricks
- Skip the garlic: You might be tempted to add garlic, but I've found the long simmer makes the garlic very overpowering in the final broth.
- Boost the collagen: I keep a bag of chicken paws in my freezer and toss 2-3 into each batch of bone broth to add more collagen. I get these from a local farmer. They also make great dog treats!
- Freeze for later: I freeze large amounts in use wide mouth pint-and-a-half Mason glass jars and I use souper cubes or plain ice cube trays for smaller amounts.
- Beef flavor: When making beef broth, I like to add in 2 tablespoons of soy sauce or coconut aminos, 1 cup roughly chopped mushrooms, and about 2 tablespoons of tomato paste-this helps create a richer flavor.
- Skip the roasting: if you are using bones leftover from cooking a whole chicken or making a roast, you can skip this step, since the bones were already "roasted" during your initial cooking process
- Keep a bag in the freezer for scraps: toss carrot peels, onion ends, and celery leaves into the bag. When it's full, use it to make homemade bone broth instead of using fresh veggies
- More time is never a problem with bone broth: don't stress about if you go an extra hour (or 3) because you got busy! Bone broth of all kinds loves a good, long simmer.
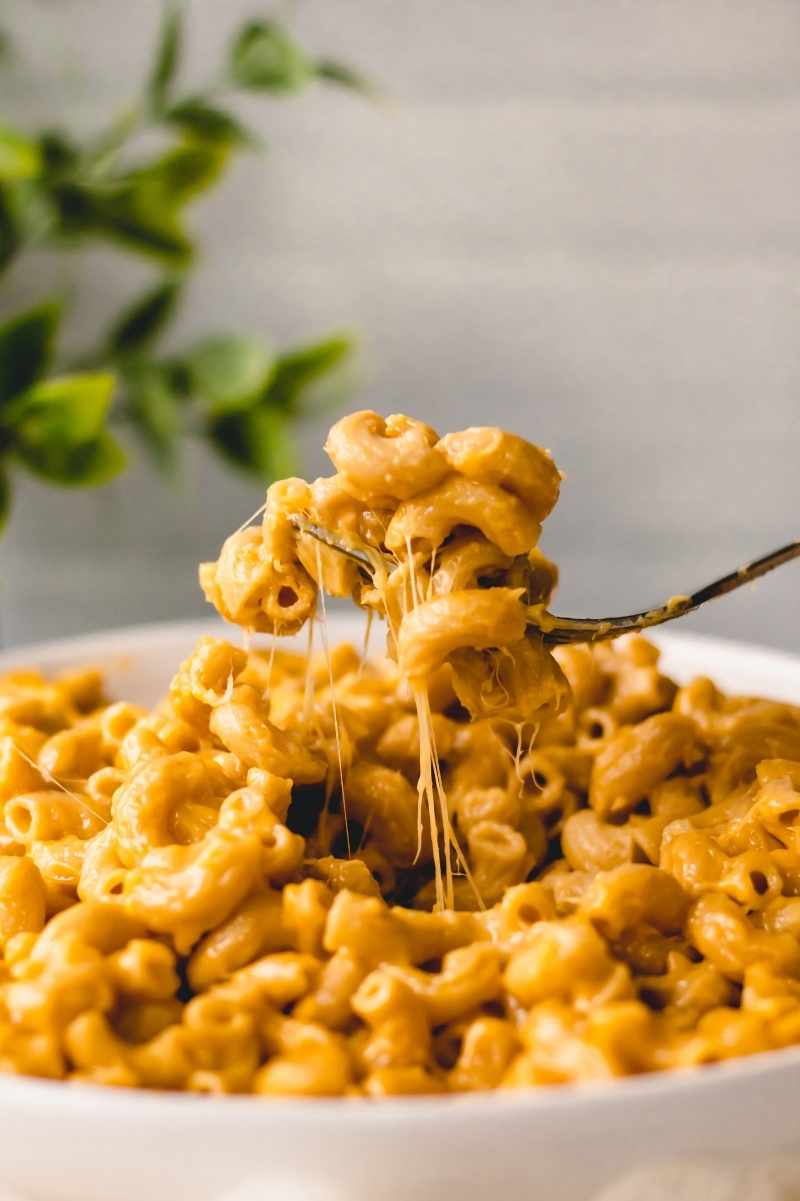
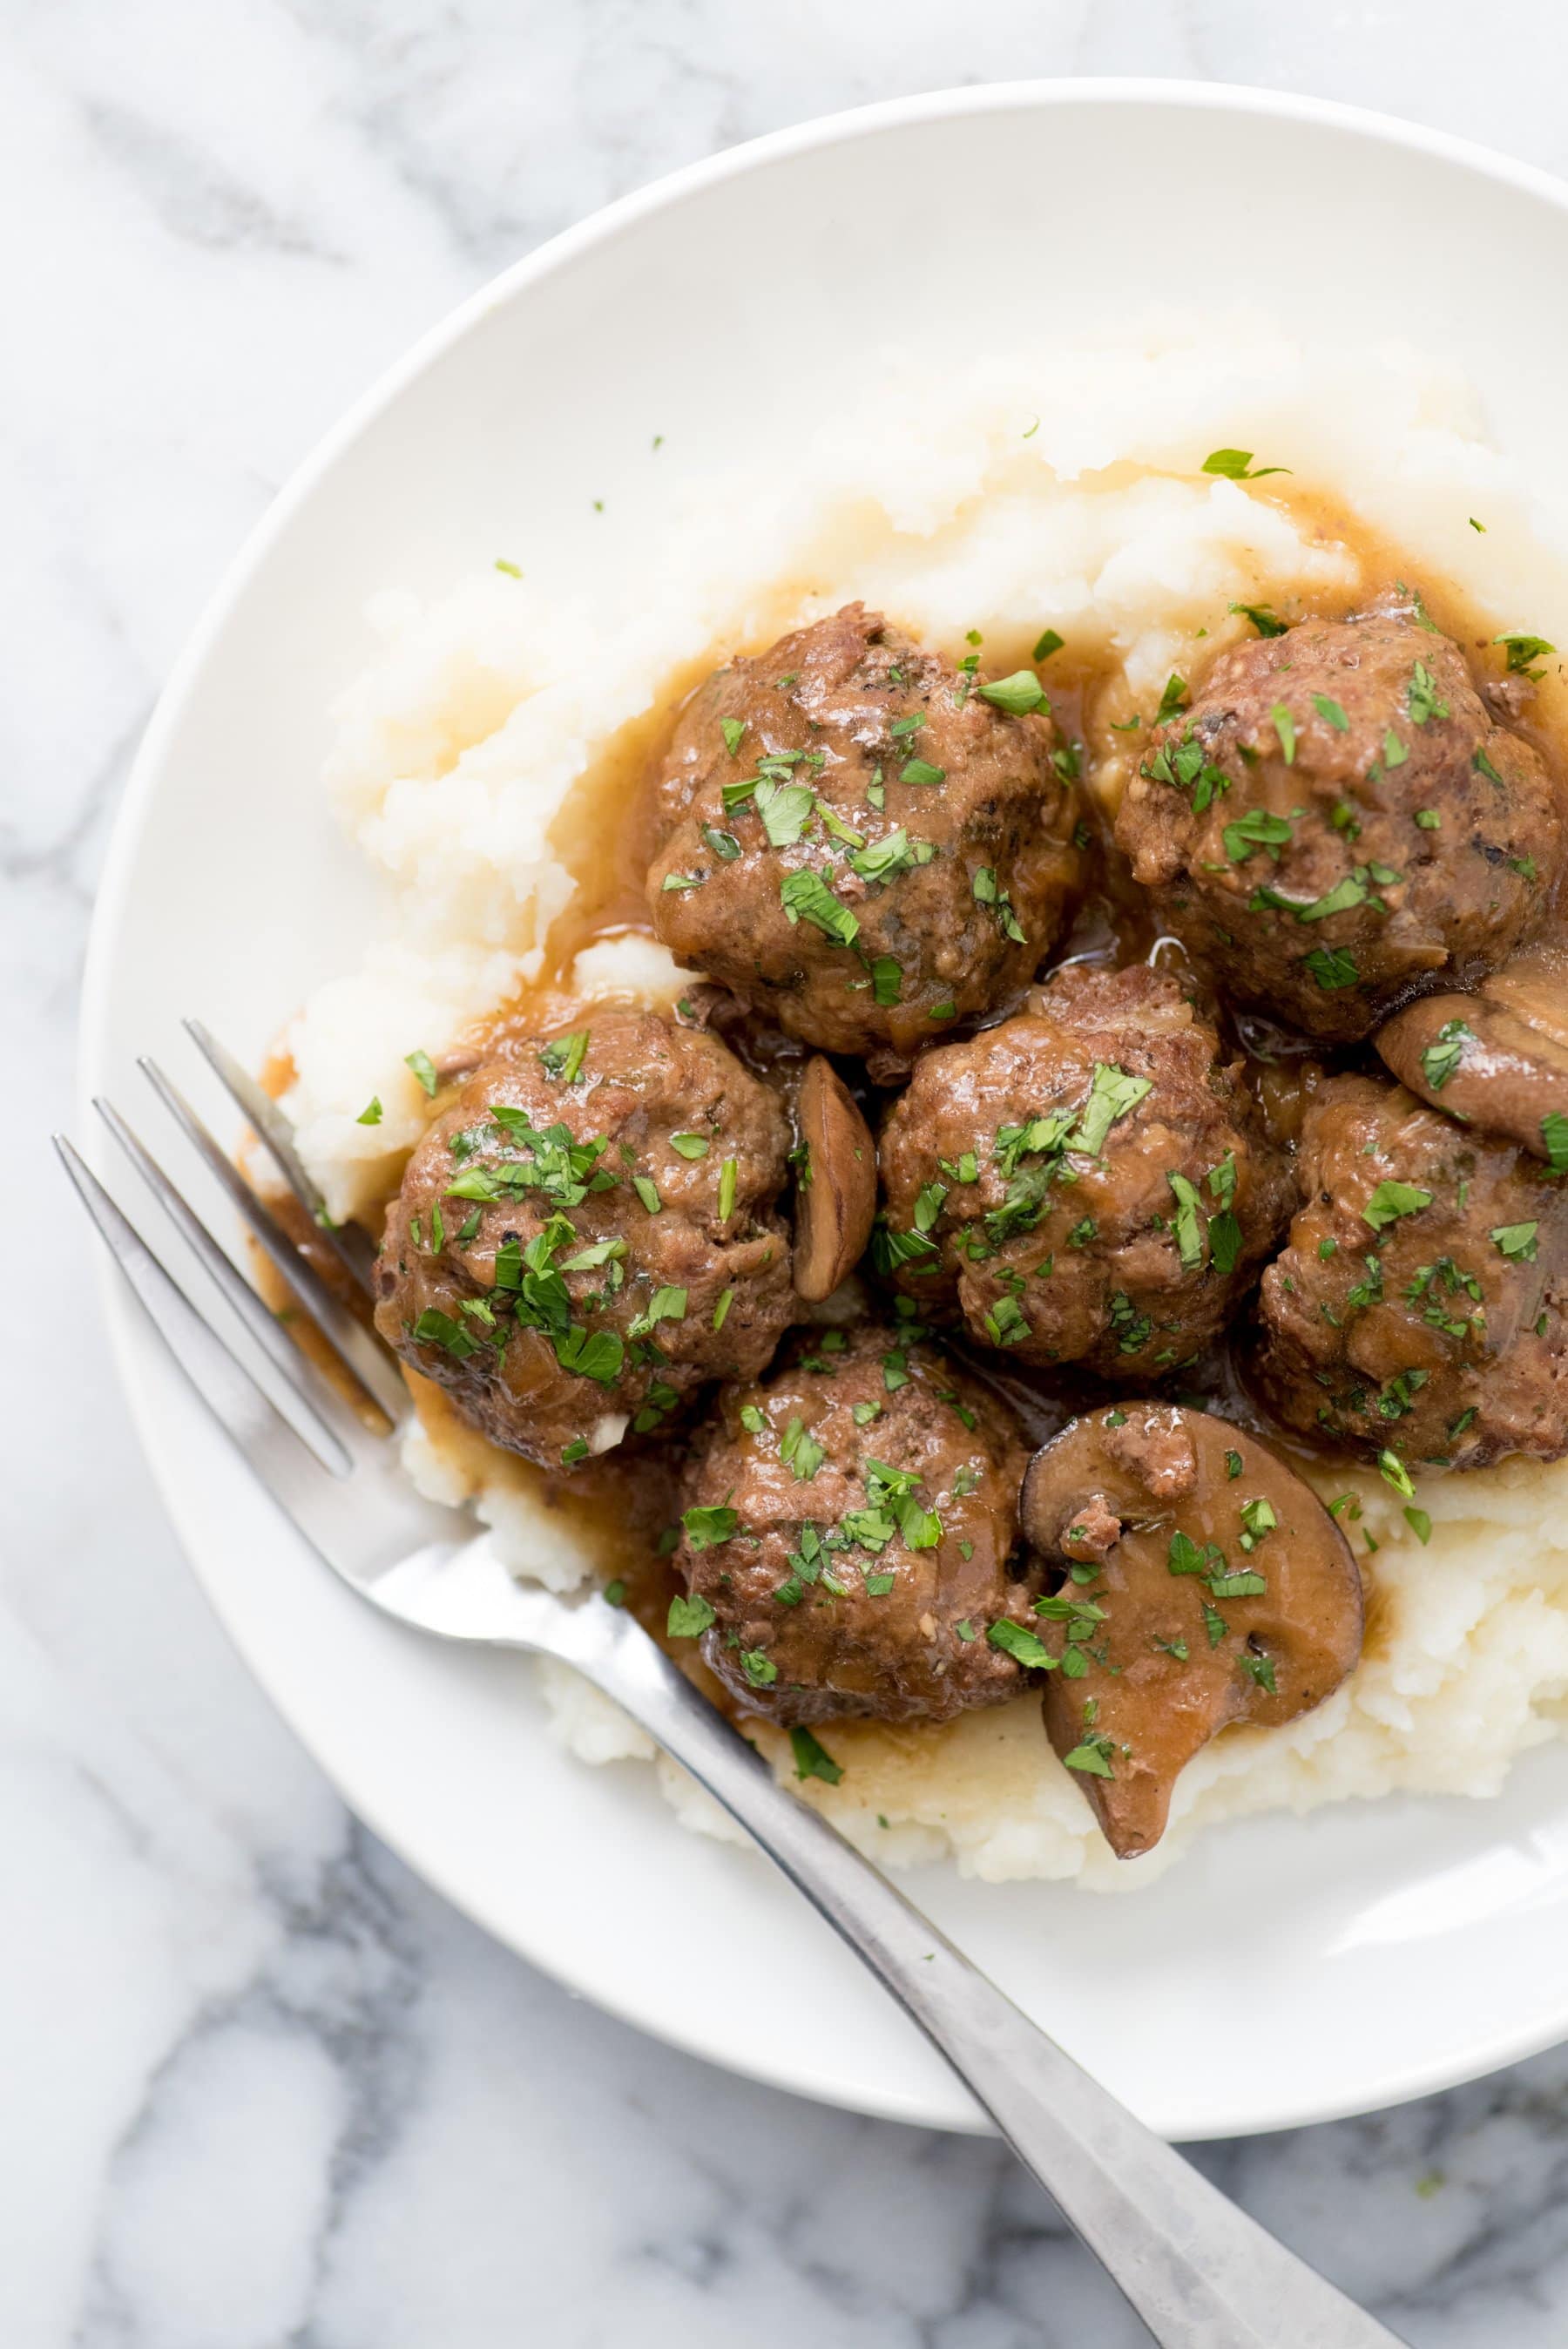
🍲 Ways to Use Your Homemade Bone Broth

If you tried this Homemade Bone Broth or any other recipe on my blog, please leave a 🌟 star rating and let me know how it went in the comments!
📖 Recipe

Homemade Bone Broth Recipe (Instant Pot, Slow Cooker, & Stovetop Recipes)
Ingredients
- 2-3 pounds chicken turkey, pork, beef, lamb, or other bones (try to get bones that have lots of connective tissue-feet, knuckles, necks, backs, etc.)
- 1 tablespoon apple cider vinegar
- 4 cups roughly chopped carrots, onions, and celery (or scraps)
- 2 bay leaves
- ½ teaspoon peppercorns
- 1 teaspoon sea salt
- Filtered water
Instructions
- If using raw bones, preheat oven to 425°F. Layout bones in one layer on a large baking sheet or roasting pan. Bake in preheated oven for 25-30 minutes, or until golden brown.
Stovetop:
- In a large soup pan or Dutch oven, place the bones, apple cider vinegar, carrots, onions, celery, bay leaves, peppercorns, and salt.
- Fill pot with filtered water until it covers the bones by about an inch. Let mixture rest for 30 minutes.
- Bring to a simmer over medium-high heat, then reduce heat to as low as your stove will go. You want it to just be barely bubbling. Cover with the lid slightly ajar and cook for 24 hours for poultry bones and 48 hours for red meat bones. If cooking overnight on the stove makes you nervous, you can place the whole pot (covered) in the fridge overnight, and restart the cooking time in the morning.
- When cooking time is up, strain through a fine mesh sieve, and transfer to jars for storing in the fridge or freezer.
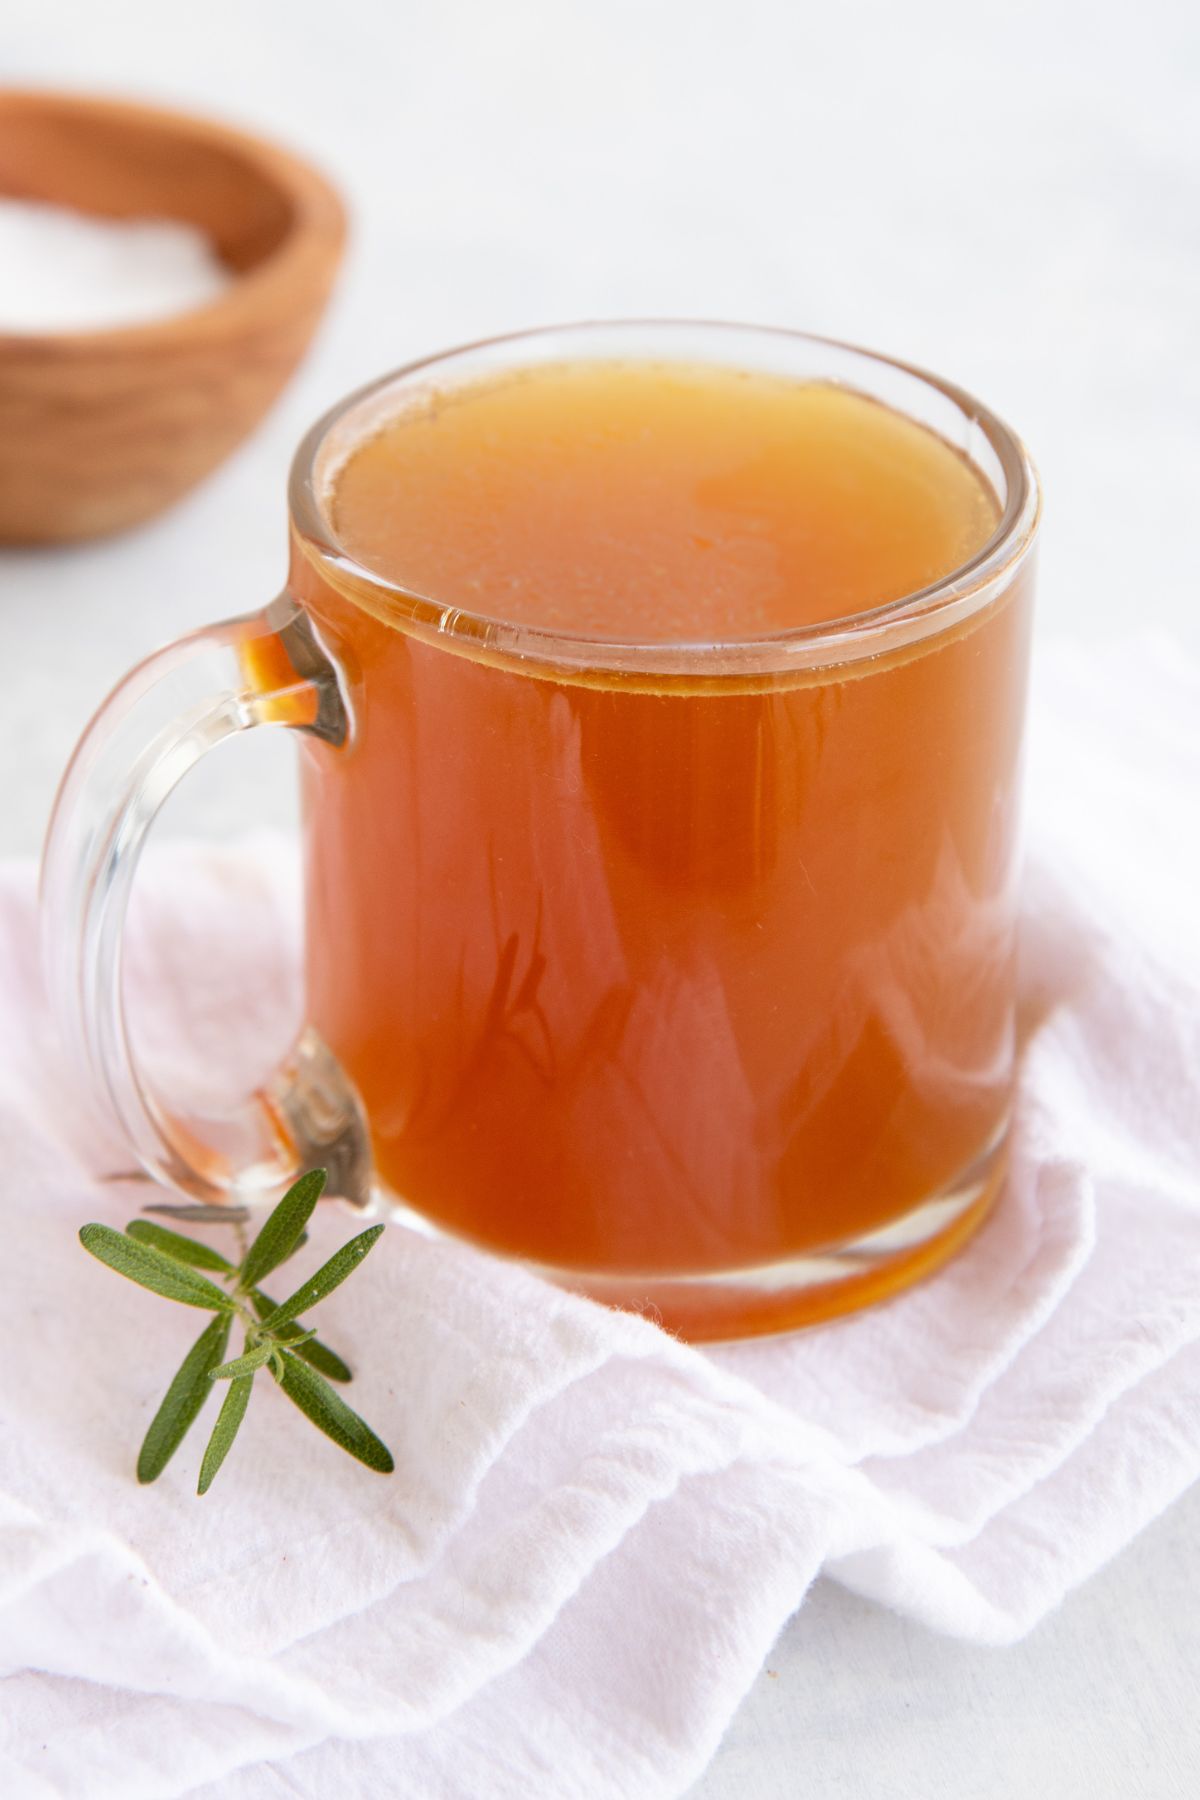
- Once chilled, the broth should be jiggly and have a layer of fat on top. Scrape off the fat and use it for other purposes, if desired.
Instant Pot:
- In the basin of an Instant Pot, place the bones, apple cider vinegar, carrots, onions, celery, bay leaves, peppercorns, and salt.
- Fill pot with filtered water until it covers the bones by about an inch (or to the max fill line on the Instant Pot-whichever comes first). Let mixture rest for 30 minutes.
- Close lid and turn knob to sealing, set to cook on low pressure for 3 hours for poultry bones or 4 hours for red meat bones. When time is up, let the pressure release naturally.
- Strain broth through a fine mesh sieve, and transfer to jars for storing in the fridge or freezer.
- Once chilled, the broth should be jiggly and have a layer of fat on top. Scrape off the fat and use it for other purposes, if desired.
Slow Cooker:
- In the basin of a slow cooker, place the bones, apple cider vinegar, carrots, onions, celery, bay leaves, peppercorns, and salt.
- Fill pot with filtered water until it covers the bones by about an inch. Let mixture rest for 30 minutes.
- Cover with the lid slightly ajar, and cook on low for 24 hours for poultry bones and 48 hours for red meat bones.
- Strain broth through a fine mesh sieve, and transfer to jars for storing in the fridge or freezer.
- Once chilled, the broth should be jiggly and have a layer of fat on top. Scrape off the fat and use it for other purposes, if desired.
Video

Notes
- You can optionally blanch your raw bones before roasting them by submerging them in boiling water for 10-15 minutes. This is to remove some of the impurities that can cause the flavor of the final broth to go off. I tend to do this when making beef broth but not with chicken broth-test out both ways and see what works best for you.
- When making beef broth, I like to add in 2 tablespoons of soy sauce or coconut aminos, 1 cup roughly chopped mushrooms, and about 2 tablespoons of tomato paste-this helps create a richer flavor.
- I tend to avoid putting garlic in my bone broth because it can be very overpowering when cooked for that long. If you do want to add garlic, add a single clove in the last hour or so of cooking.
- My slow cooker runs too hot on Low and too cold on Warm to make good bone broth-so make sure to keep an eye on yours.
- If you're short on time, I like to keep some of Kettle & Fire's Bone Broth on hand, but feel free to try other bone broth brands.
- For more flavor without spending extra money, save your veggie scraps-onion skins, carrot peels, celery leaves, herb stems-in a gallon bag in the freezer as they accumulate. These scraps make a great substitute for the veggies the recipe calls for!
Many links on this site are affiliate links. As an Amazon Associate, we earn from your qualifying purchases at no extra cost to you.