
Sprouting 101: How to Sprout Seeds at Home

Here's how to sprout seeds at home with almost no space, no equipment, and barely any effort. After 15+ years of sprouting in my own kitchen, here's everything I've learned to grow sprouts that are safe, nourishing, and taste amazing.
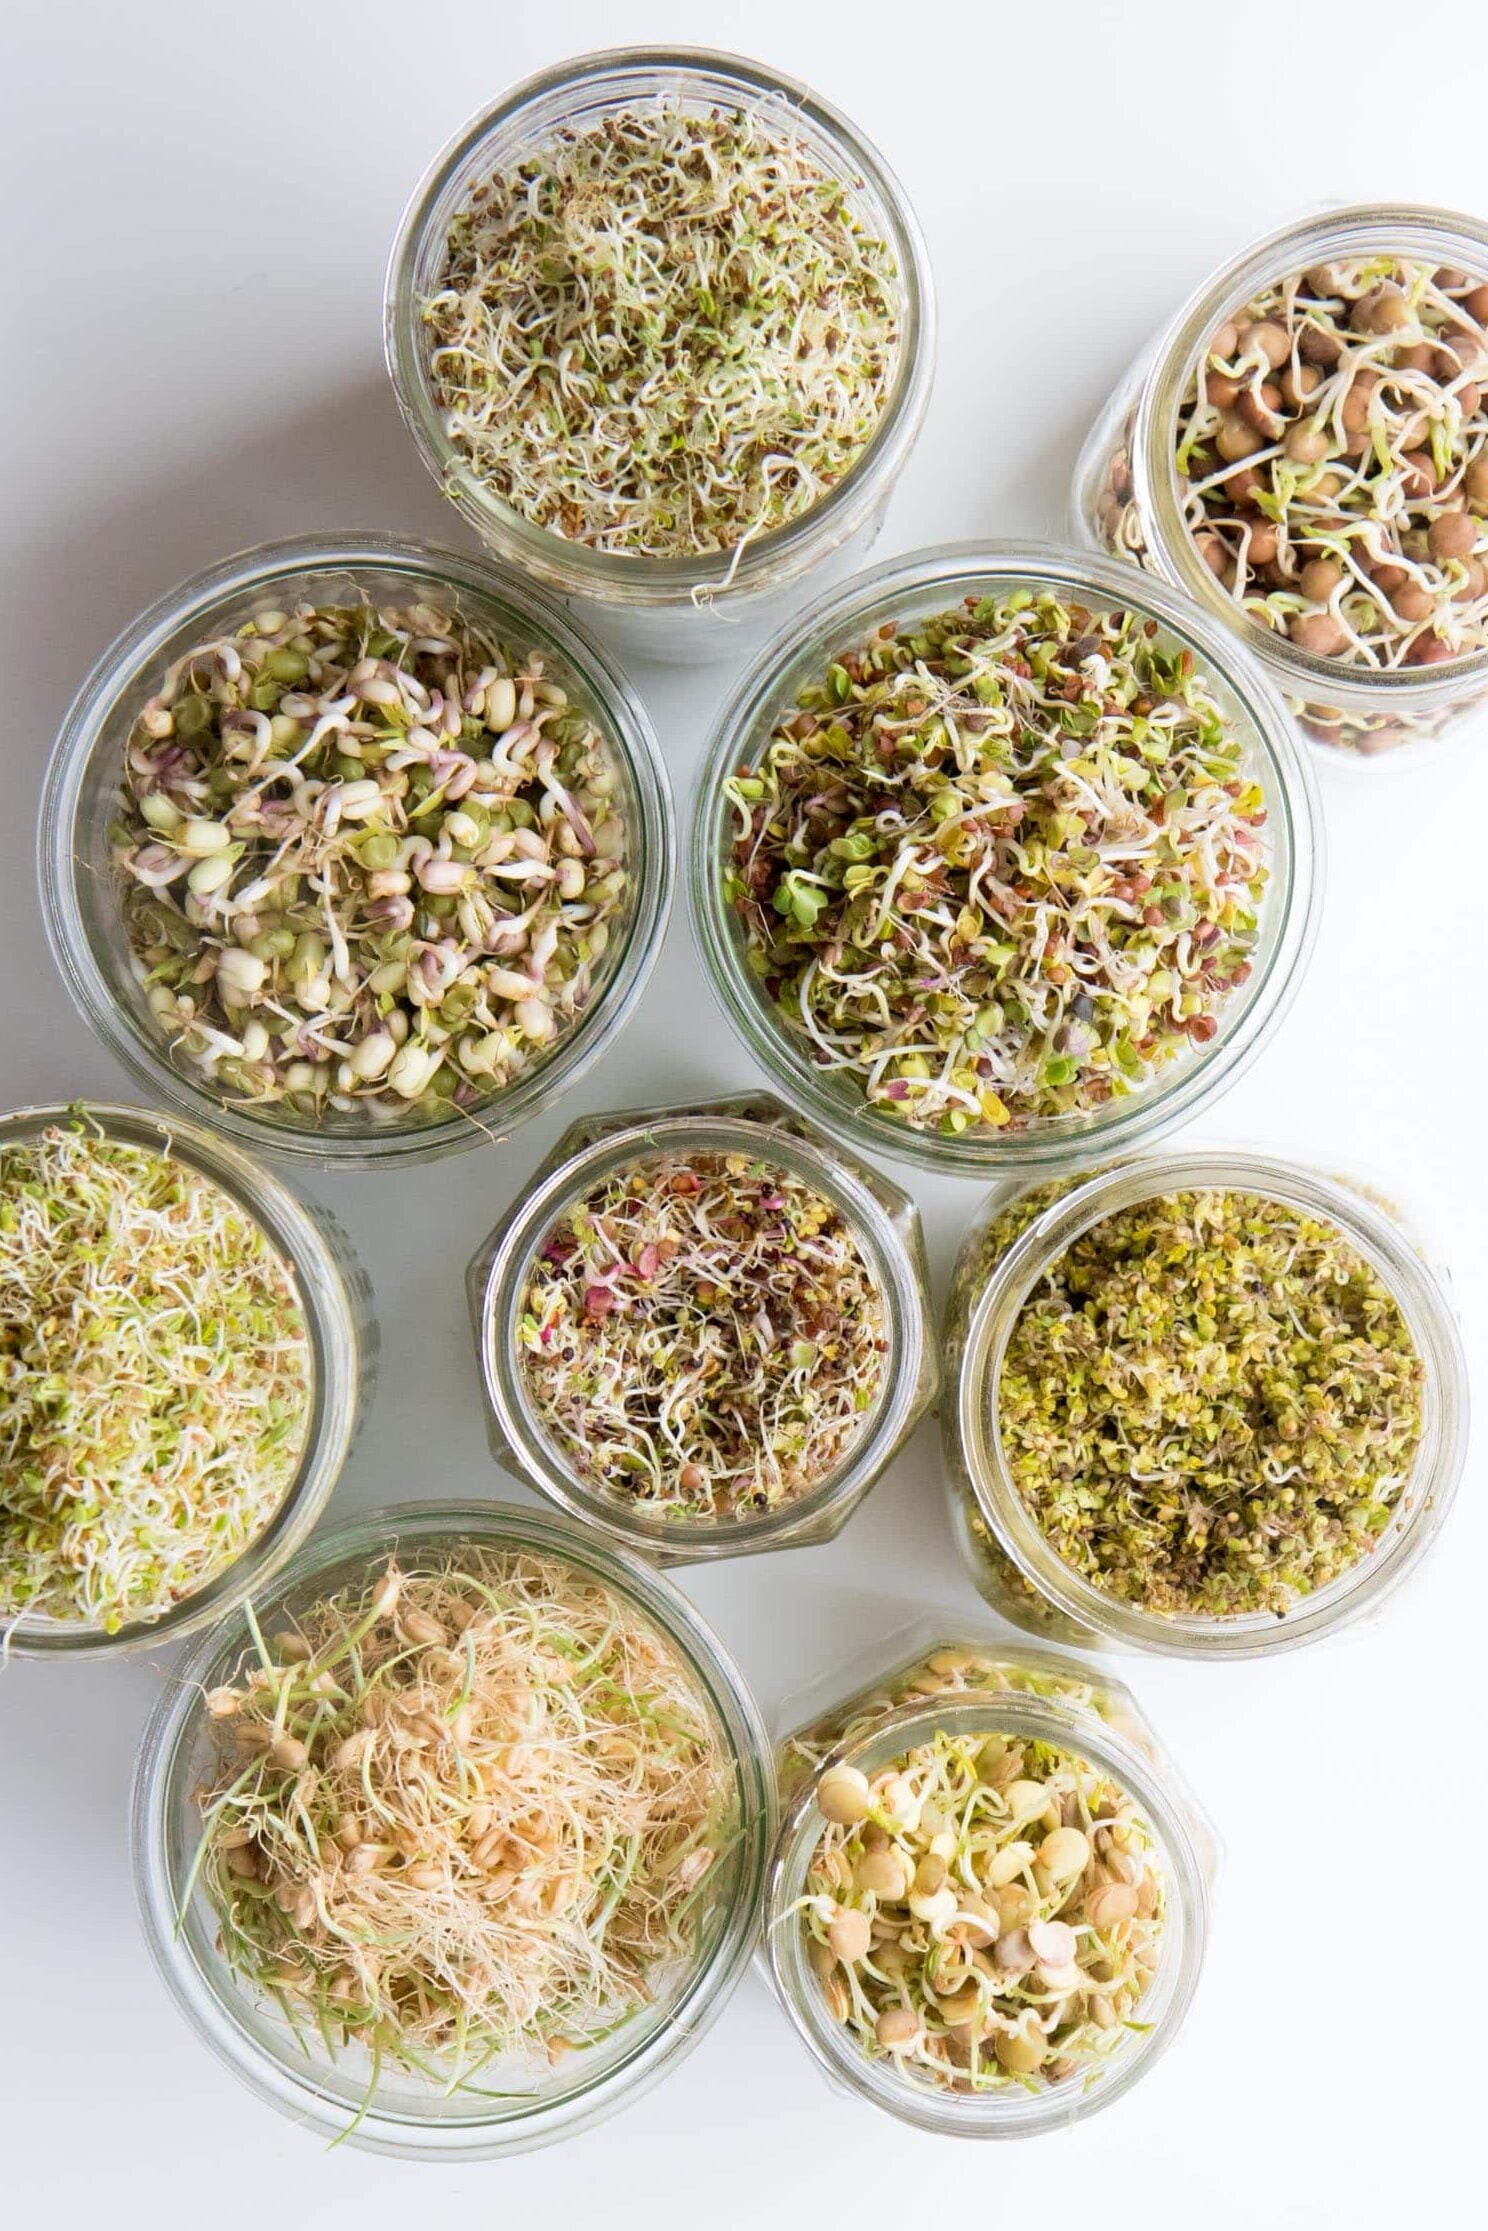
FEATURED COMMENT
"I've had this post pinned forever, and I finally sprouted some mung bean and broccoli seeds. I didn't have sprouter lids or cheesecloth, so I used my mesh produce bags to cover the mason jars. I sautéed the sprouts with other veggies from our garden, and they turned out really well. Thank you!"
- Amy
tutorial at a glance
If you walked into my kitchen at any given time over the last 15 years, you'd see a half gallon jar of sprouts propped upside down in a bowl on my counter.
I've sprouted at least one jar of something green-alfalfa, mung beans, broccoli, lentil, oh my!-every single week for over a decade. It's one of my favorite ways to grow my own food without needing a garden plot, special lights, or any sort of green thumb! Sprouts at home are tastier, way more affordable, and safer (more on that below) than store-bought versions. Plus they are so stinking easy! Let me show you how to start your own sprouting operation at home.
Reasons to Sprout at Home
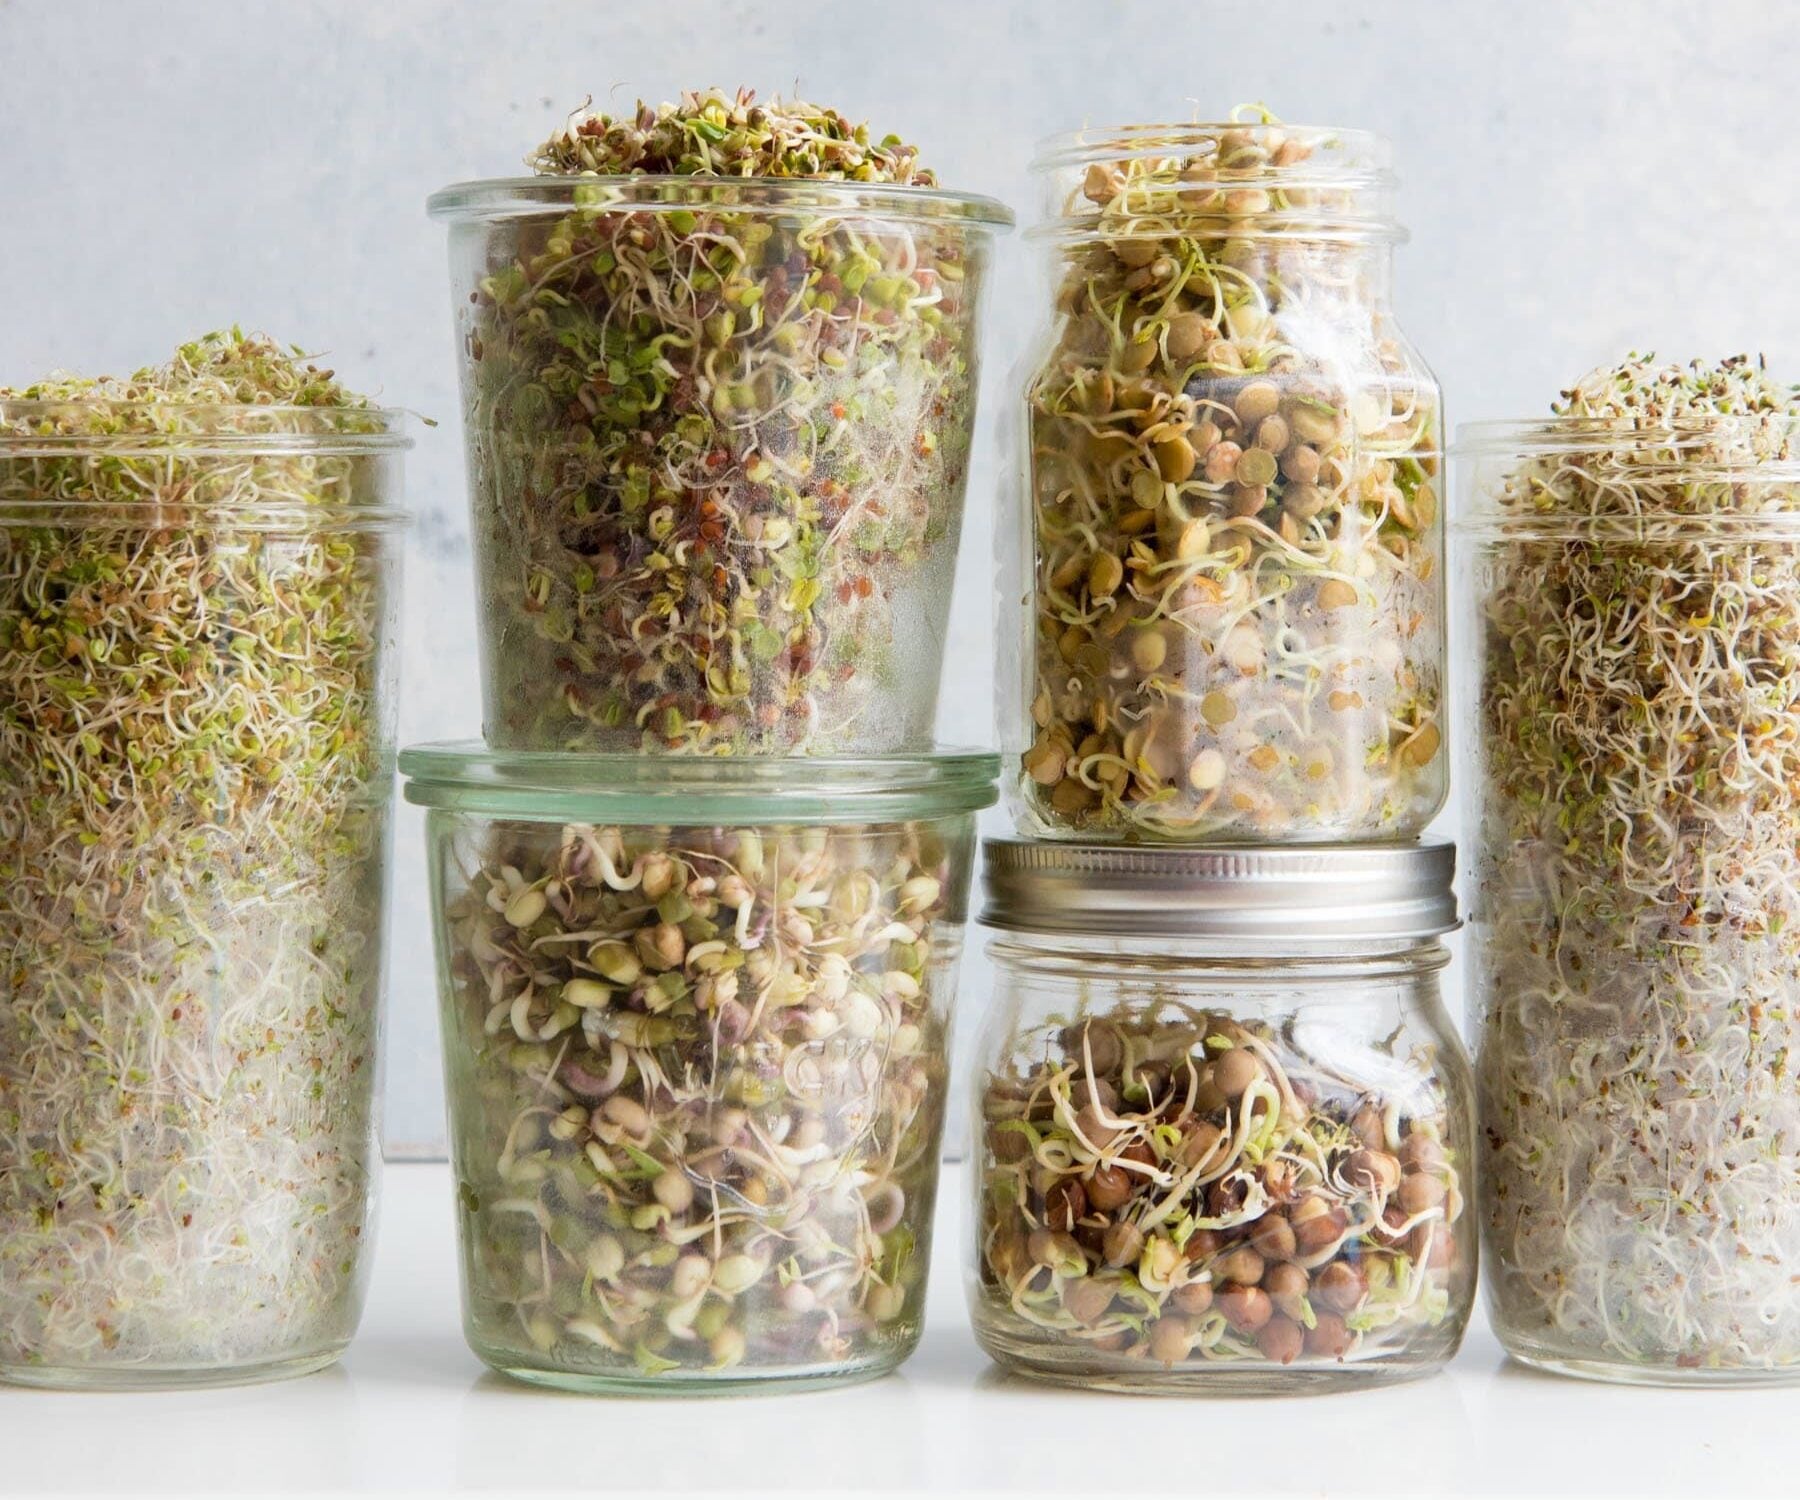
Sprouts are one of the easiest foods you can grow. Here's why I think every kitchen should have a sprouting jar going on their counter:
- It's genuinely easy. A 5 year old can do it. Literally. My kid has been growing her own sprouts since kindergarten.
- No land, garden, or even window needed. If you have room for a Mason jar on your counter, you have enough space to sprout. Sprouting is one of the only ways to grow your own food with zero outdoor space, no yard, no raised beds, no containers on a balcony, not even a sunny window is required.
- It's cheap. A bag of sprouting seeds costs a few dollars and makes way more sprouts than the same amount of cash gets you at the grocery store. And grocery store sprouts are pricey as all heck!
- It's safer. Homegrown sprouts carry a much lower risk of foodborne illness than store-bought ones, since you control the seeds, the cleanliness, and the conditions the whole way through. More on that in the safety section below.
- They taste amazing. Fresh sprouts have a crisp, slightly nutty, fresh bite that adds so much to salads, sandwiches, and stir-fries.
- So much more variety! Your grocery store might have a $8 clamshell of alfalfa sprouts (if you're lucky), but they'll never have mustard green sprouts, broccoli sprouts, or lentil sprouts. But you can sprout almost anything!
- They are nutritionally dense. More on that in a sec, but sprouts are nutritional powerhouses!
Nutritional Benefits of Sprouts
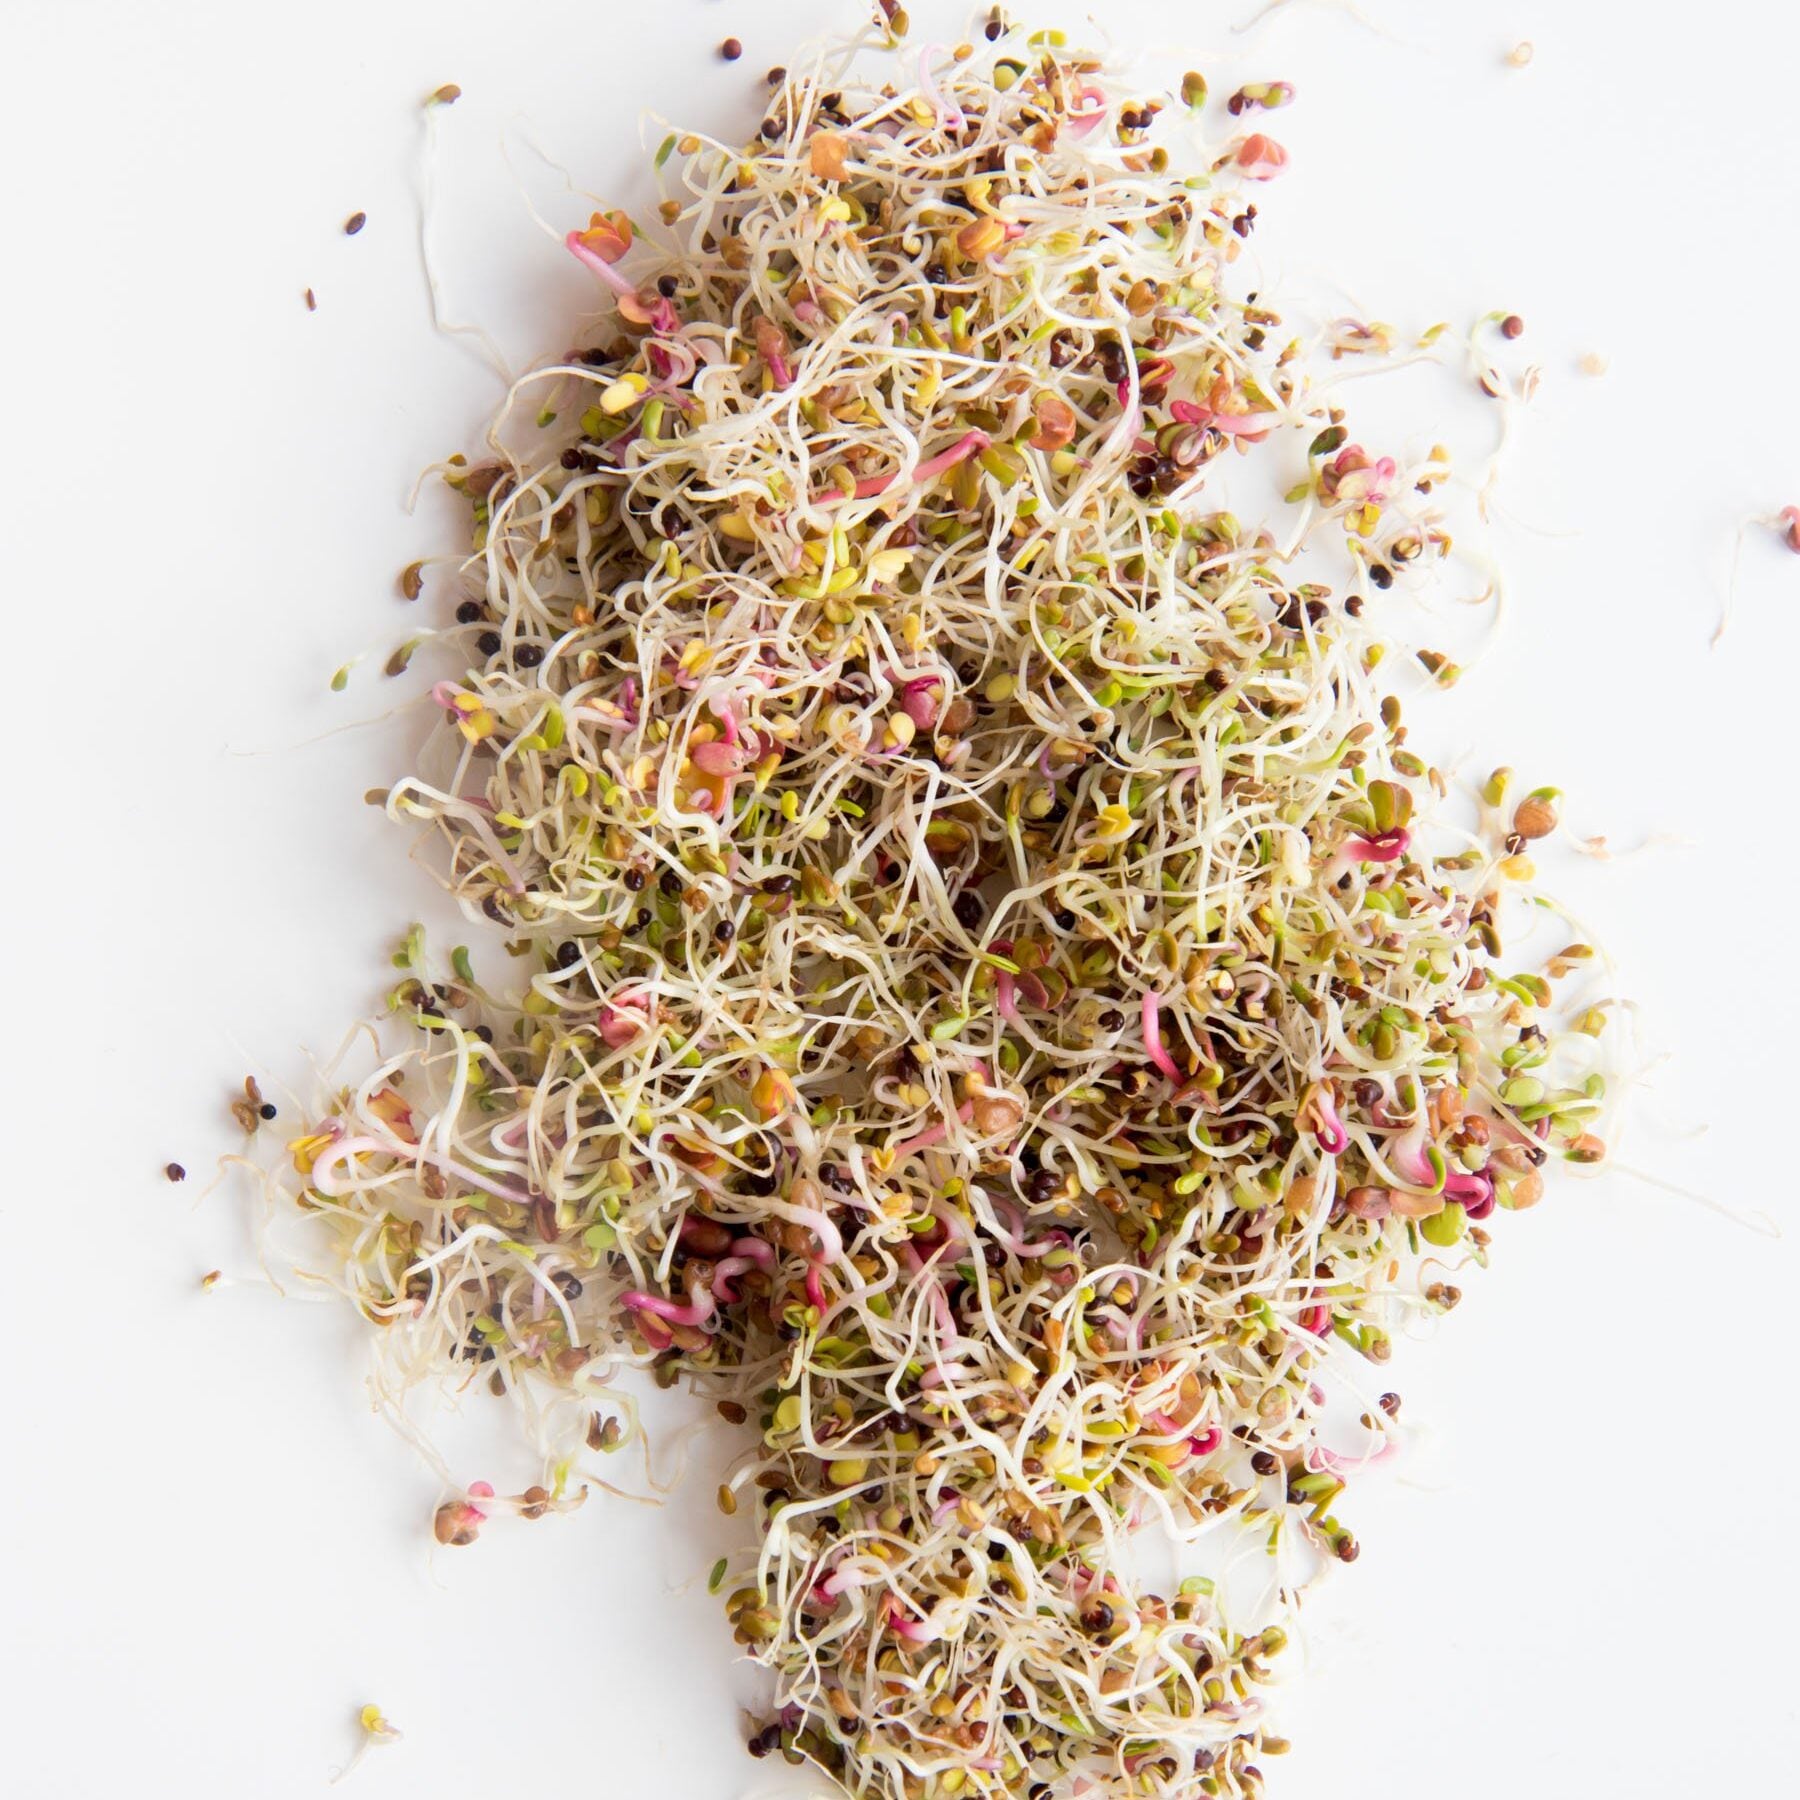
As a Certified Holistic Nutritionist, this is one of my favorite things to talk about: sprouting doesn't just make food easier to grow, it makes it better for your body too.
- Easier to digest. Sprouting breaks down anti-nutrients like phytic acid and enzyme inhibitors that can make raw legumes and grains harder on your gut. If a particular grain or legume has ever bothered you, try it sprouted before writing it off completely. (source)
- More vitamin C. Sprouting actually triggers new vitamin C synthesis inside the seed, so sprouts often have meaningfully more than the seed or grain they came from. (source)
- More folate. Sprouting reliably boosts folate content, one of the more well-documented nutritional perks of the process. (source)
- More fiber, especially the longer you sprout. Fiber content tends to climb the longer you let your seeds go, though it varies some by seed type. (source)
Is Sprouting Safe?

I know a lot of folks worry about sprouting safety because of the outbreaks of salmonella and e.coli tied to store-bought sprouts over the years.
Here's why that happens: the warm, humid environment sprouts grow in is also the perfect climate for bacteria to spread, and in large-scale commercial operations, it's nearly impossible to keep that environment fully clear of pathogens.
At home, that risk drops way down, because you're in control of every step:
- The seeds you use, and whether they've been tested for salmonella and e.coli
- Whether your sprouting jar is clean
- How much air circulation your sprouts get
- Who touches the seeds, and whether they wash their hands first
- How long the sprouts sit before being rinsed
I never buy sprouts from the store or a restaurant, but I've been happily eating home-grown sprouts for over a decade without a lick of trouble. And if you're still nervous, you can always cook your sprouts to put the final nail in the coffin of any leftover pathogens.
What You Can (and Can't) Sprout
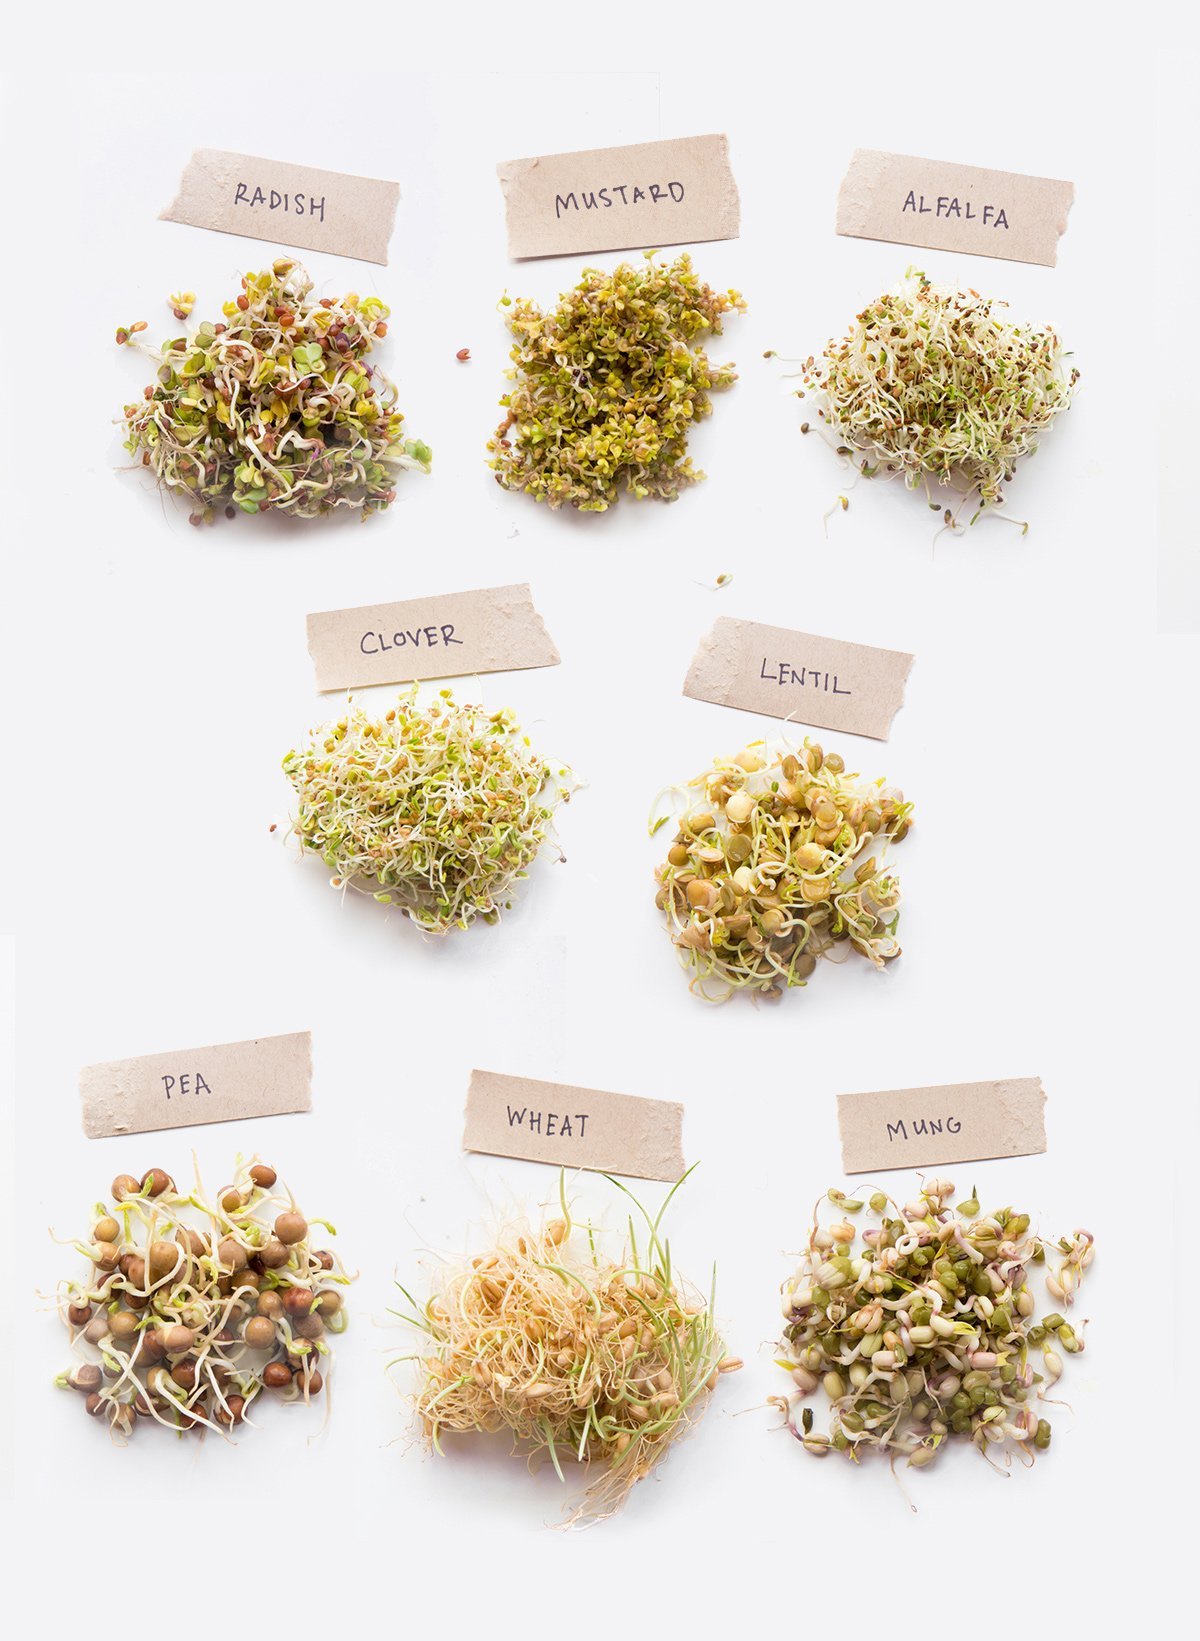
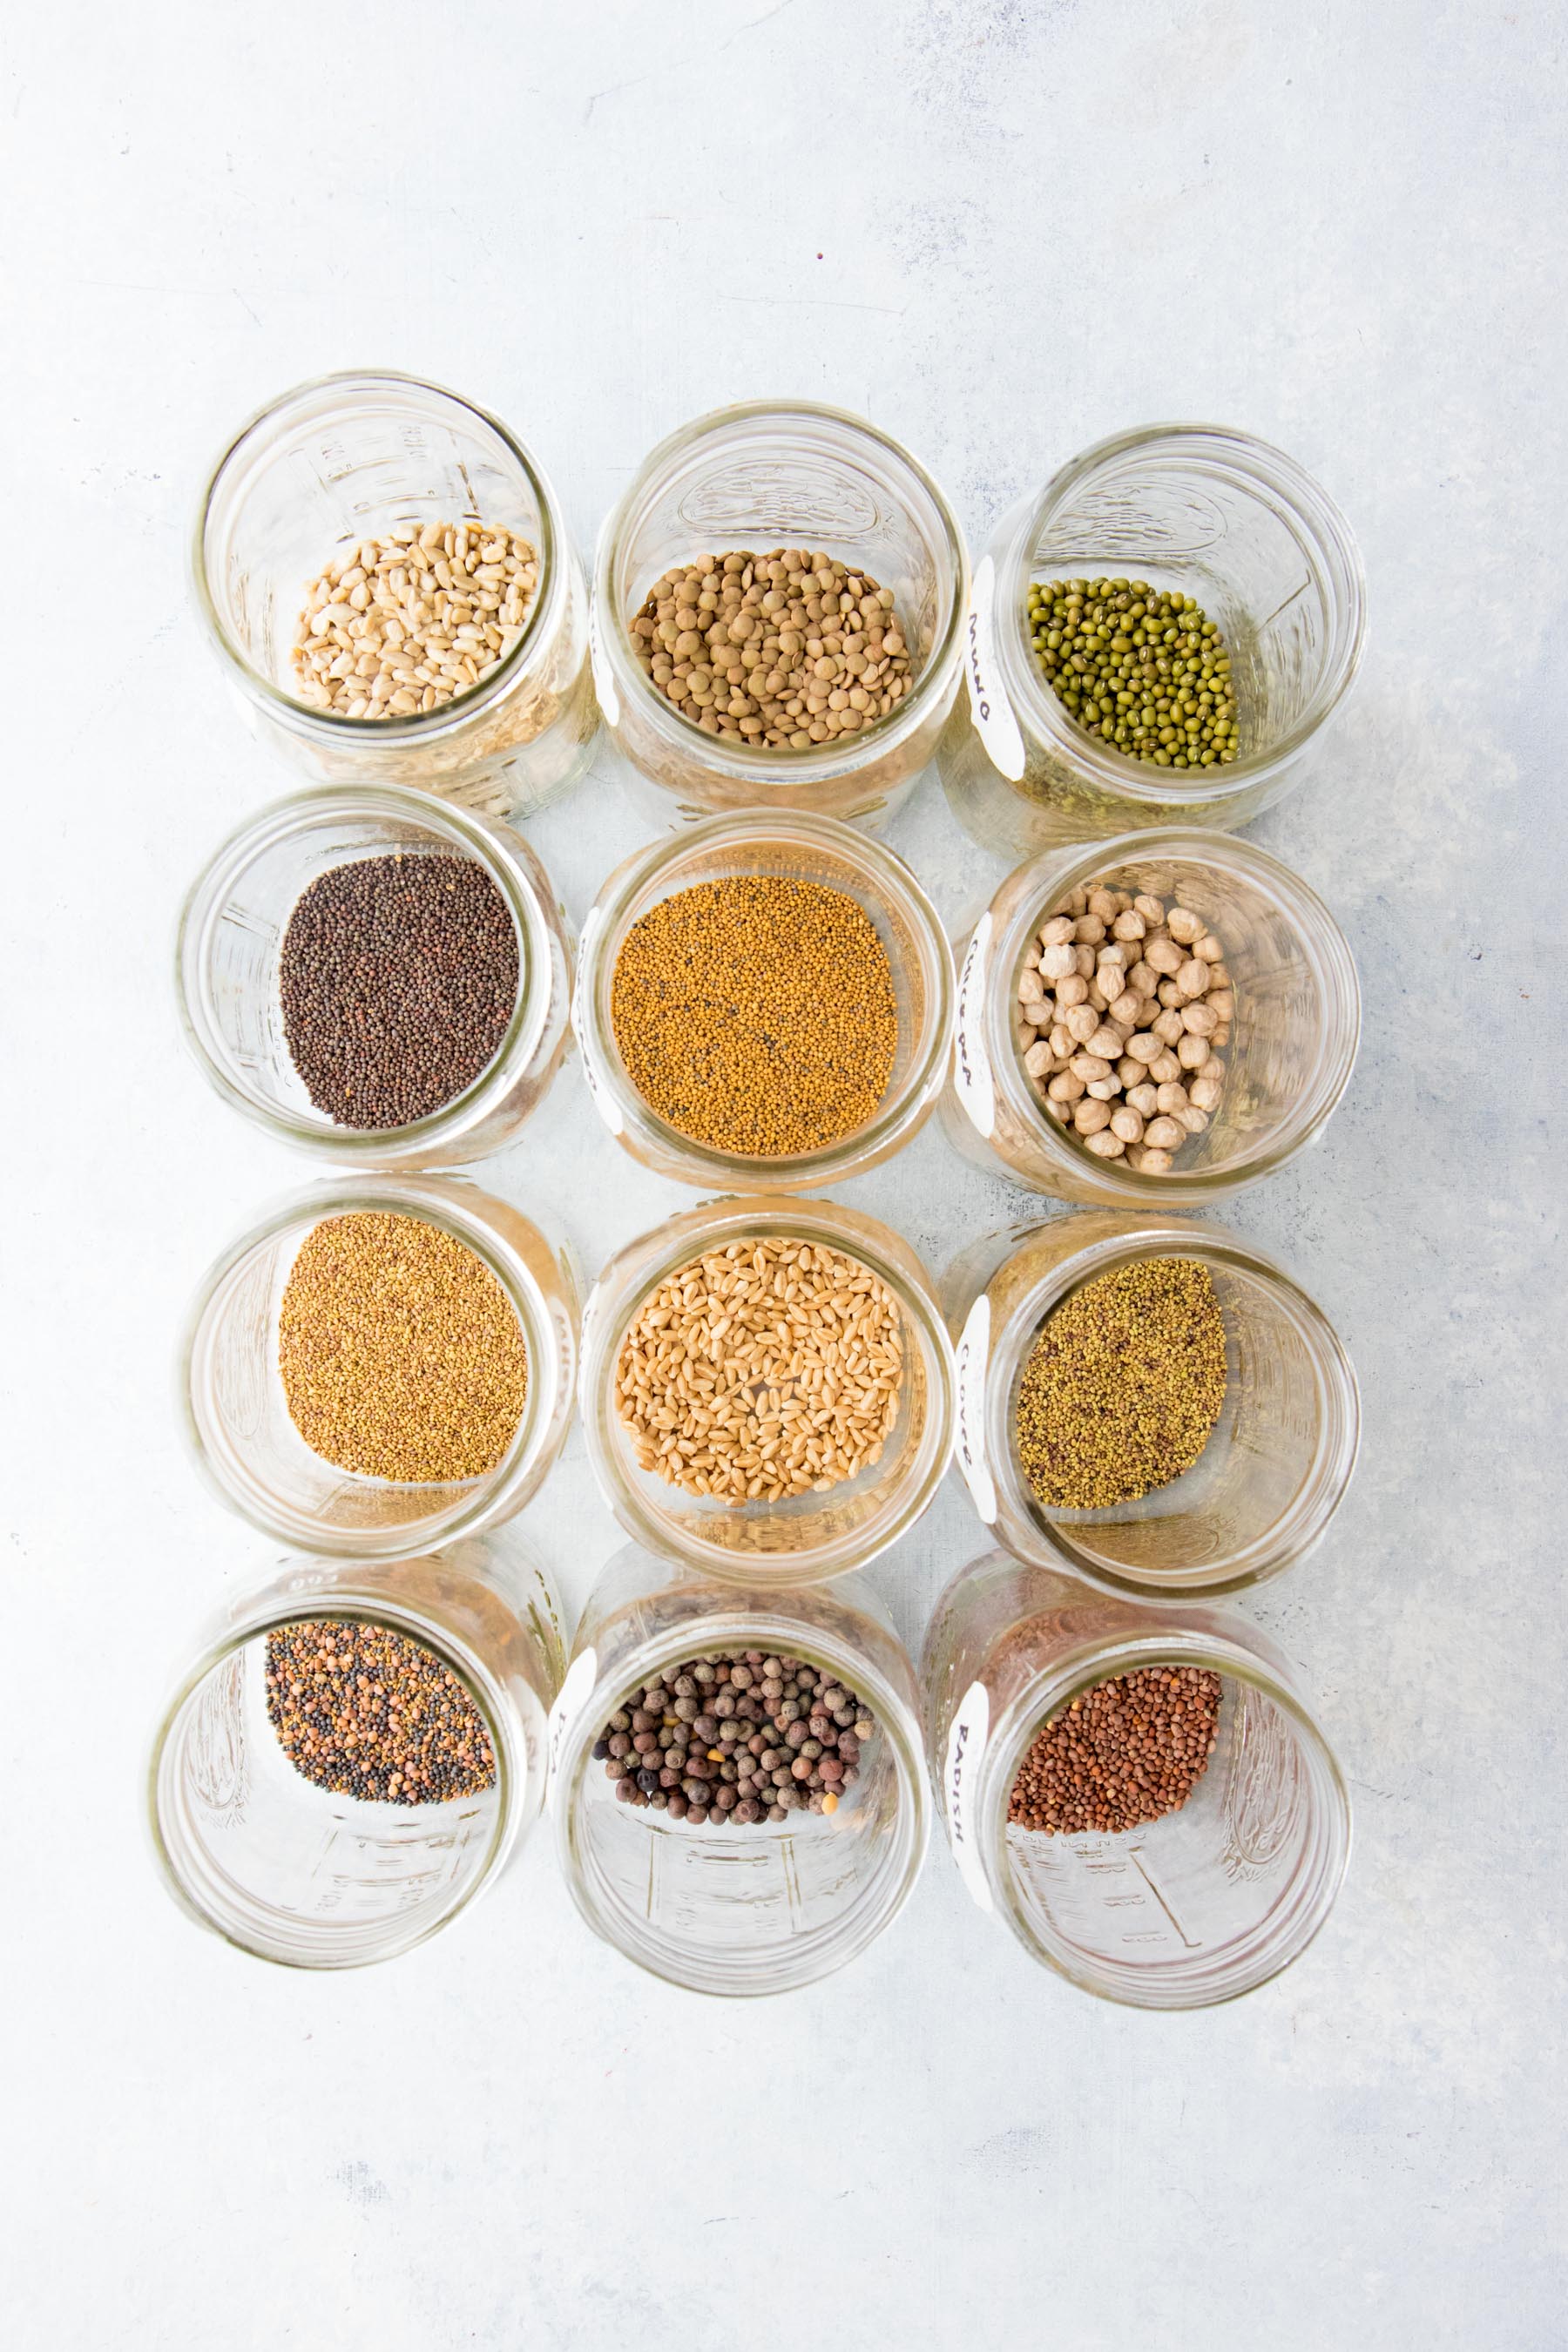
You can sprout almost any legume, seed, or nut, everything from chickpeas to broccoli to millet to radish to red clover to mung beans. Here is a (non-exhaustive) list of things I've sprouted in my own kitchen:
Legumes/beans:
- Mung beans
- Lentils (green, red, French, black)
- Chickpeas (garbanzo beans)
- Adzuki beans
- Green peas
- Black-eyed peas
Brassicas:
- Broccoli
- Radish (daikon or standard)
- Mustard
- Kale
Greens:
- Alfalfa
- Onions
Grains:
- Wheatberries
- Rye
- Barley
- Whole Oats
- Buckwheat
- Millet
Nuts and Seeds:
Nuts like almonds don't technically sprout, they "soak" instead, meaning they don't grow a root or stem. They're still delicious this way, and soaking helps break down anti-nutrients just like true sprouting does. Dehydrate them afterward if you want crunchy snacking nuts.
- Almonds
- Cashews
- Sunflower Seeds
- Pumpkin Seeds
So much can be sprouted! But there are a few things you want to skip on your sprouting journey:
- Chia, flax, and other mucilaginous seeds are tricky to sprout properly since they create a gel-like coating as they soak that tends to go moldy fast. You can do it, but with so many easier seeds available, I generally just skip these.
- Kidney beans shouldn't be eaten raw once sprouted. They contain a toxin that causes nausea, vomiting, and diarrhea in many people. If you do sprout them, boil the finished sprouts for at least 10 minutes before eating.
- Quinoa can be sprouted, but it contains a high concentration of saponins, which can trigger a strong allergic reaction in some people.
How Long Does It Take to Sprout Seeds
It depends on what you're growing, but most seeds are ready somewhere between 2 and 6 days. Fast movers like alfalfa can be done in a day or two, while something like onion sprouts can take up to two weeks. I put together a full breakdown by seed type below, along with how much seed to use and how much you'll end up with, so you can plan out exactly what you need before you start.
Seed Sprouting Time Chart
| Seeds | |||||
|---|---|---|---|---|---|
| SEED | SEED AMOUNT | YIELD | SOAK | RINSE | HARVEST |
| Alfalfa | 3 tbsp. | 4 cups | 8 hours | Twice a day | 5-6 days |
| Broccoli | 3 tbsp. | 3 cups | 8 hours | Twice a day | 3-6 days |
| Clover | 3 tbsp. | 4 cups | 8 hours | Twice a day | 5-6 days |
| Kale | 4 tbsp. | 4 cups | 6 hours | Twice a day | 3-6 days |
| Mustard | 3 tbsp. | 3 cups | 6 hours | Twice a day | 3-6 days |
| Onion | 2 tbsp. | 3 cups | 8 hours | Twice a day | 10-15 days |
| Radish | 3 tbsp. | 4 cups | 6 hours | Twice a day | 3-6 days |
| Sesame | 1 cup | 2 cups | 2 hours | Twice a day | 1-3 days |
| Legumes | |||||
| SEED | SEED AMOUNT | YIELD | SOAK | RINSE | HARVEST |
| Chickpeas | 1 cup | 4 cups | 8 hours | Twice a day | 2-4 days |
| Lentil | ¾ cup | 4 cups | 8 hours | Twice a day | 2-3 days |
| Mung Bean | ⅓ cup | 4 cups | 8 hours | Twice a day | 2-5 days |
| Peas | 1 cup | 3 cups | 8 hours | Twice a day | 2-3 days |
| Grains | |||||
| SEED | SEED AMOUNT | YIELD | SOAK | RINSE | HARVEST |
| Buckwheat | 1 cup | 2 cups | 30 minutes | Twice a day | 36-48 hours |
| Millet | 1 cup | 3 cups | 6 hours | Twice a day | 1-3 days |
| Quinoa* | 1 cup | 3 cups | 30 minutes | Twice a day | 36-48 hours |
| Wheat | 1 cup | 3 cups | 6 hours | Twice a day | 2-3 days |
| Wild Rice | 1 cup | 3 cups | 4 hours | Twice a day | 2-4 days |
| Soaks† | |||||
| SEED | SEED AMOUNT | YIELD | SOAK | RINSE | HARVEST |
| Almonds | 3 cups | 4 cups | 4 hours | Every 8 hrs. | 12-24 hours |
| Sunflower | 1 cup | 2 cups | 1 hour | Every 8 hrs. | 12-24 hours |
| Pumpkin (hulled) | 1 cup | 2 cups | 1 hour | Every 8 hrs. | 12-24 hours |
*Quinoa contains a high concentration of saponins, which in some folks causes a strong allergic reaction that makes them feel ill.
† "Soaks" do not grow a root or leaves, they will not germinate fully. They are ready to enjoy immediately after soaking, but may be left in the sprouter for an additional 12-24 hours (rinsing every 8 hours). Feel free to taste test your sprouts after every rinse (including the initial soaking) to find a flavor you like.
What You'll Need
Choosing and Sourcing Sprouting Seeds
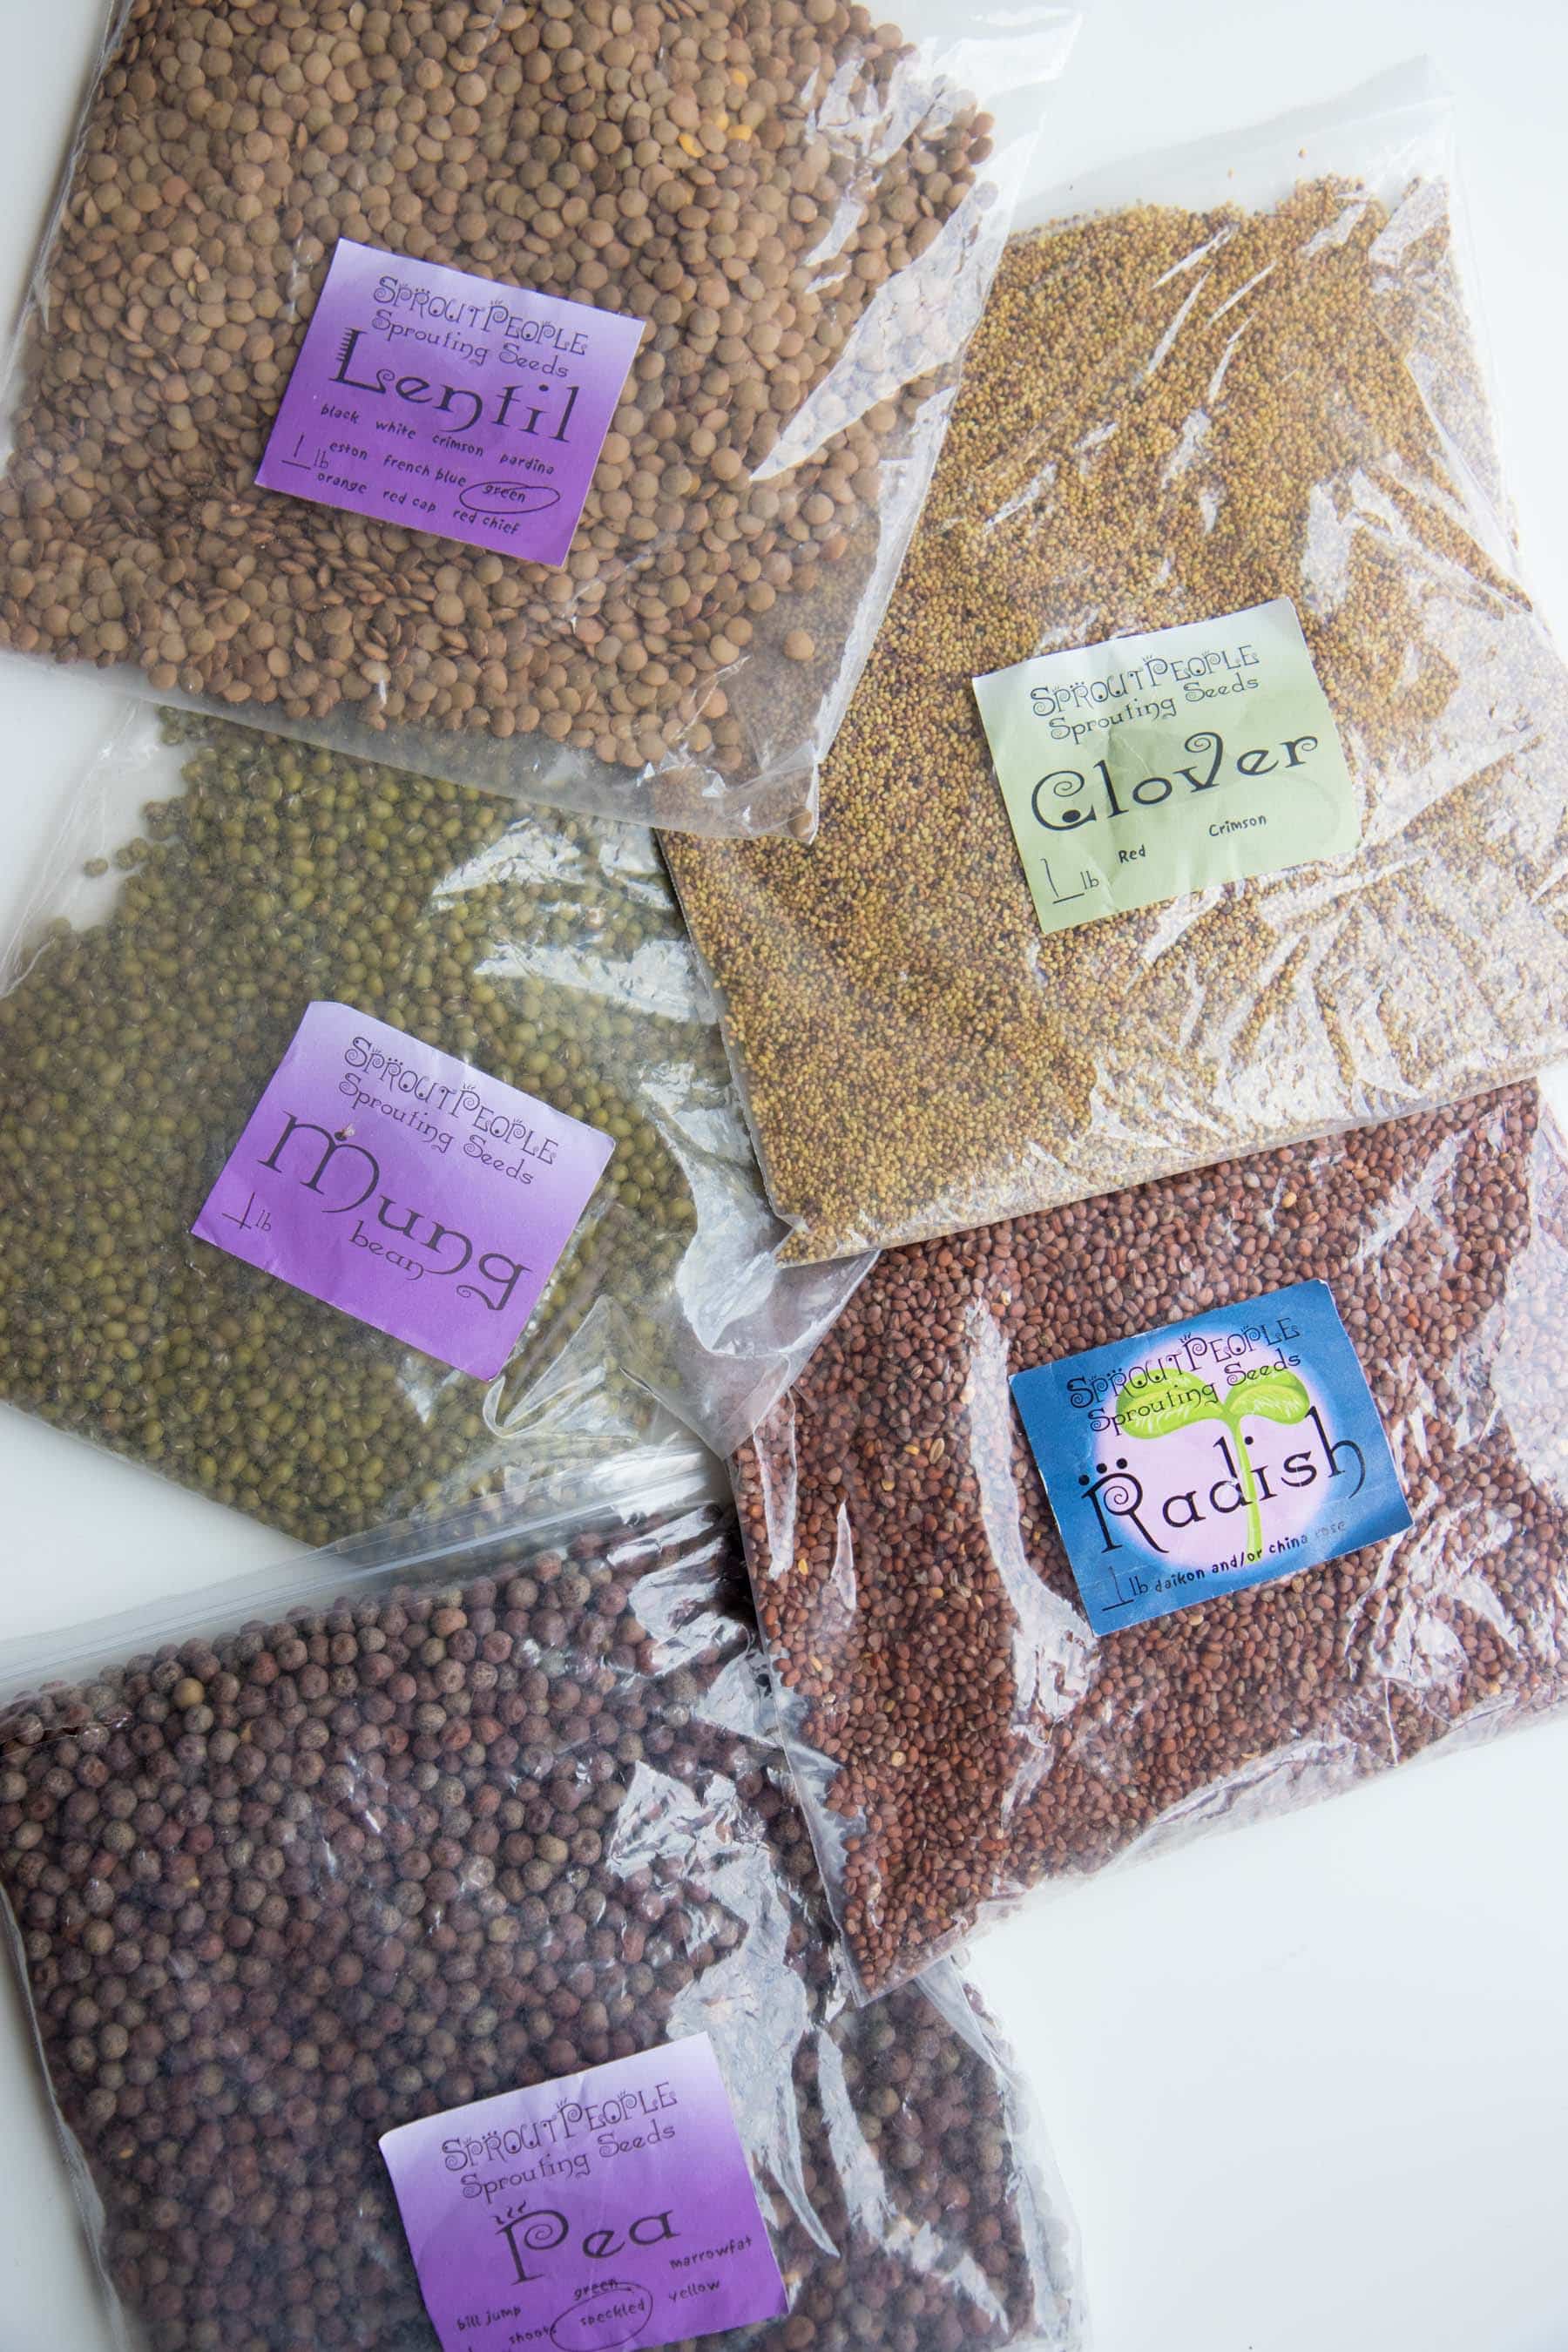
Technically, you can walk into the grocery store, grab a bag of lentils, and they'll probably sprout just fine. But I recommend buying sprouting-specific seeds instead, for two reasons.
First, many foods imported into the US are irradiated to control pests and extend shelf life, which can also prevent seeds from sprouting at all, no matter how well you treat them. (source)
Second, and most importantly, sprouting-specific seeds are tested and verified to be free of e.coli and salmonella. Growers of sprouting seeds take real care to keep them clean, since they know their seeds are meant to be eaten raw. That bag of grocery store lentils, on the other hand, was packaged assuming you'd boil them at high heat, which kills off any pathogens, so the growing and packaging process isn't held to the same standard.
My local health food store carries a few packets of sprouting seeds, but I buy most of mine online. I've ordered from Johnny's Seeds (their Organic Sprout Mix is a favorite), but my go-to is Sprout People. Their selection of varieties, mixes, and tools is excellent, and their germination rates hold up impressively well. I've got bags from them going on three years old that still sprout as well as the day I got them.
Equipment You Actually Need
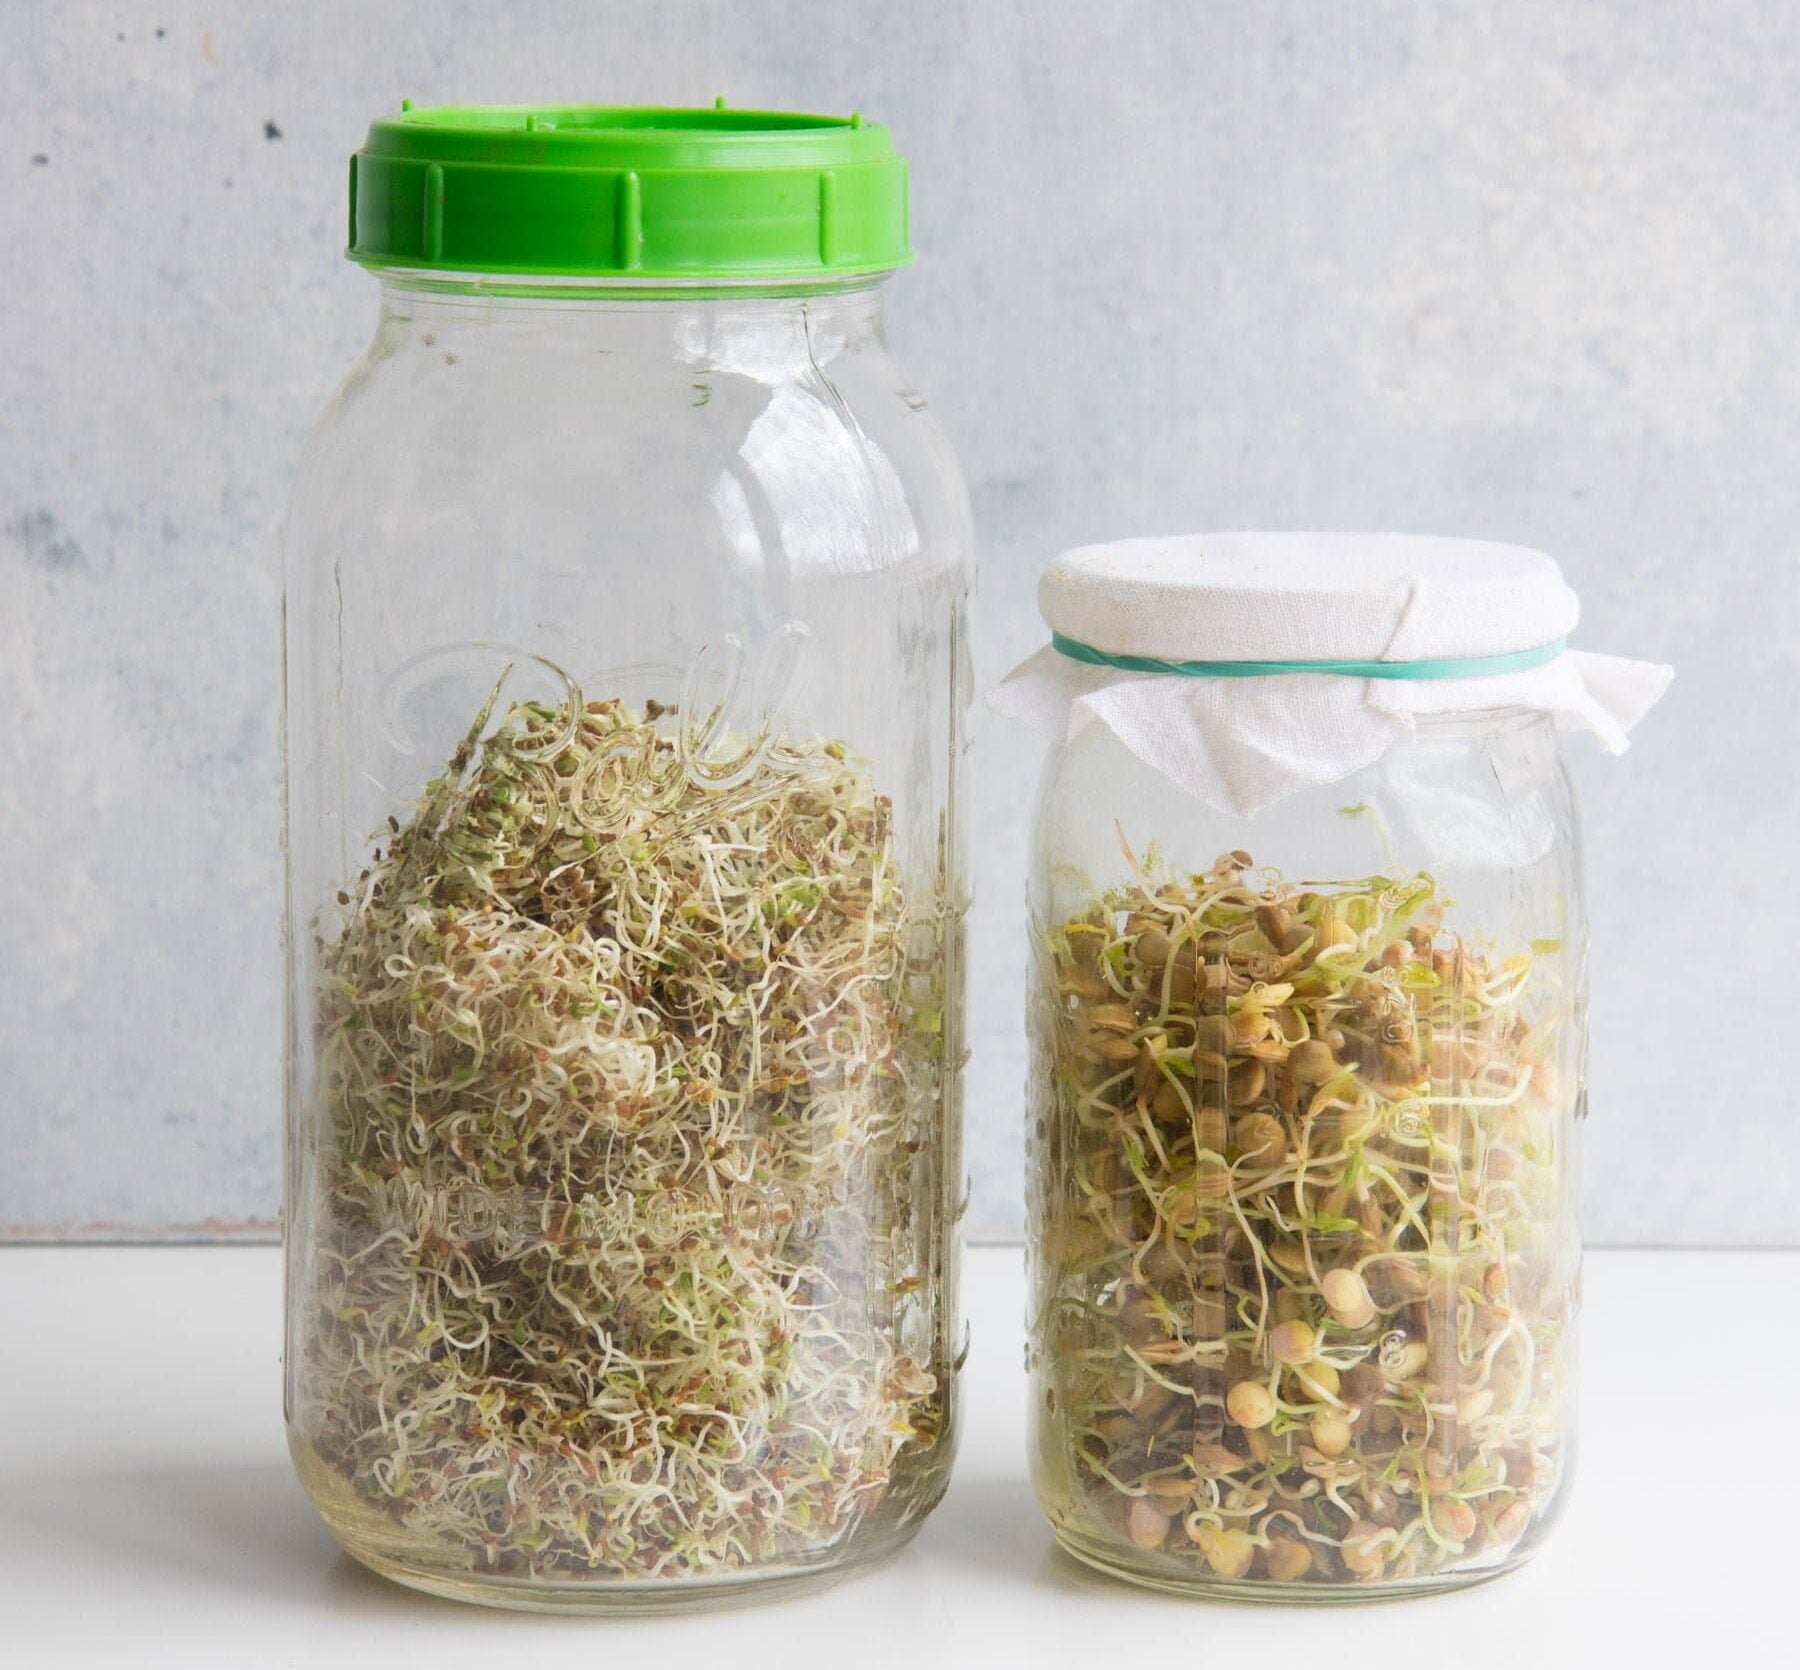
Like most things in the world today, the internet will tell you that you need a whole fancy sprouting systes to make good sprouts: special jars, stands, fancy lids, tiered tray sprouters.
I'm going to veto that. You don't need any of it. I've sprouted at least one jar a week for over a decade, and a jar, a rubber band, a scrap of cloth, and a bowl still gets the job done every single time. Save your money, kids. Use what you got.
To get started, all you actually need is:
- A large, clear jar. You don't even need a lid. We usually use wide-mouth quart Mason jars for most sprouts, or wide-mouth half-gallon jars when we want a bigger batch.
- A small piece of breathable, natural fabric. Cotton and cheesecloth both work fine. I've also used paper towels in a pinch.
- A rubber band, to secure the fabric over the jar opening. You can also use the ring from a canning jar lid.
If you find yourself really enjoying sprouting, a sprouter lid (a lid with built-in mesh for draining) is a nice, inexpensive upgrade. It makes rinsing and draining a little easier, but it's a convenience, not a requirement, and skipping it won't hurt your sprouts one bit. I like the ones that come in a set with different sizes of mesh for different sizes of seeds. I've had my Sproutease set for nearly 10 years, and they still work great.
How to Sprout Seeds: Step by Step
Step 1: Soak your seeds. Different seeds soak up different amounts of water, but a good general rule is three parts water to one part seed. How much seed you use depends on the seed itself, your container size, and how many sprouts you want in the end. Check the seed sprouting chart above for exact soak times and yields by seed type.
Place the seed in a clean Mason jar, cover with cool water, and stir to make sure all the seeds get wet. You can leave the jar open, or cover it with a sprouter lid or a piece of breathable natural fabric secured with a rubber band. Set it aside to soak. Don't stress about hitting an exact soak time, soaking ten hours instead of eight won't mess anything up.
Step 2: Drain and rinse. Once your soak time is up, drain the jar. If you're using a sprouter lid, just tip the jar over the sink and let the water rush out. If you used the cloth method, remove the rubber band and cloth, place a fine mesh sieve over the jar opening, and invert it over the sink to drain.
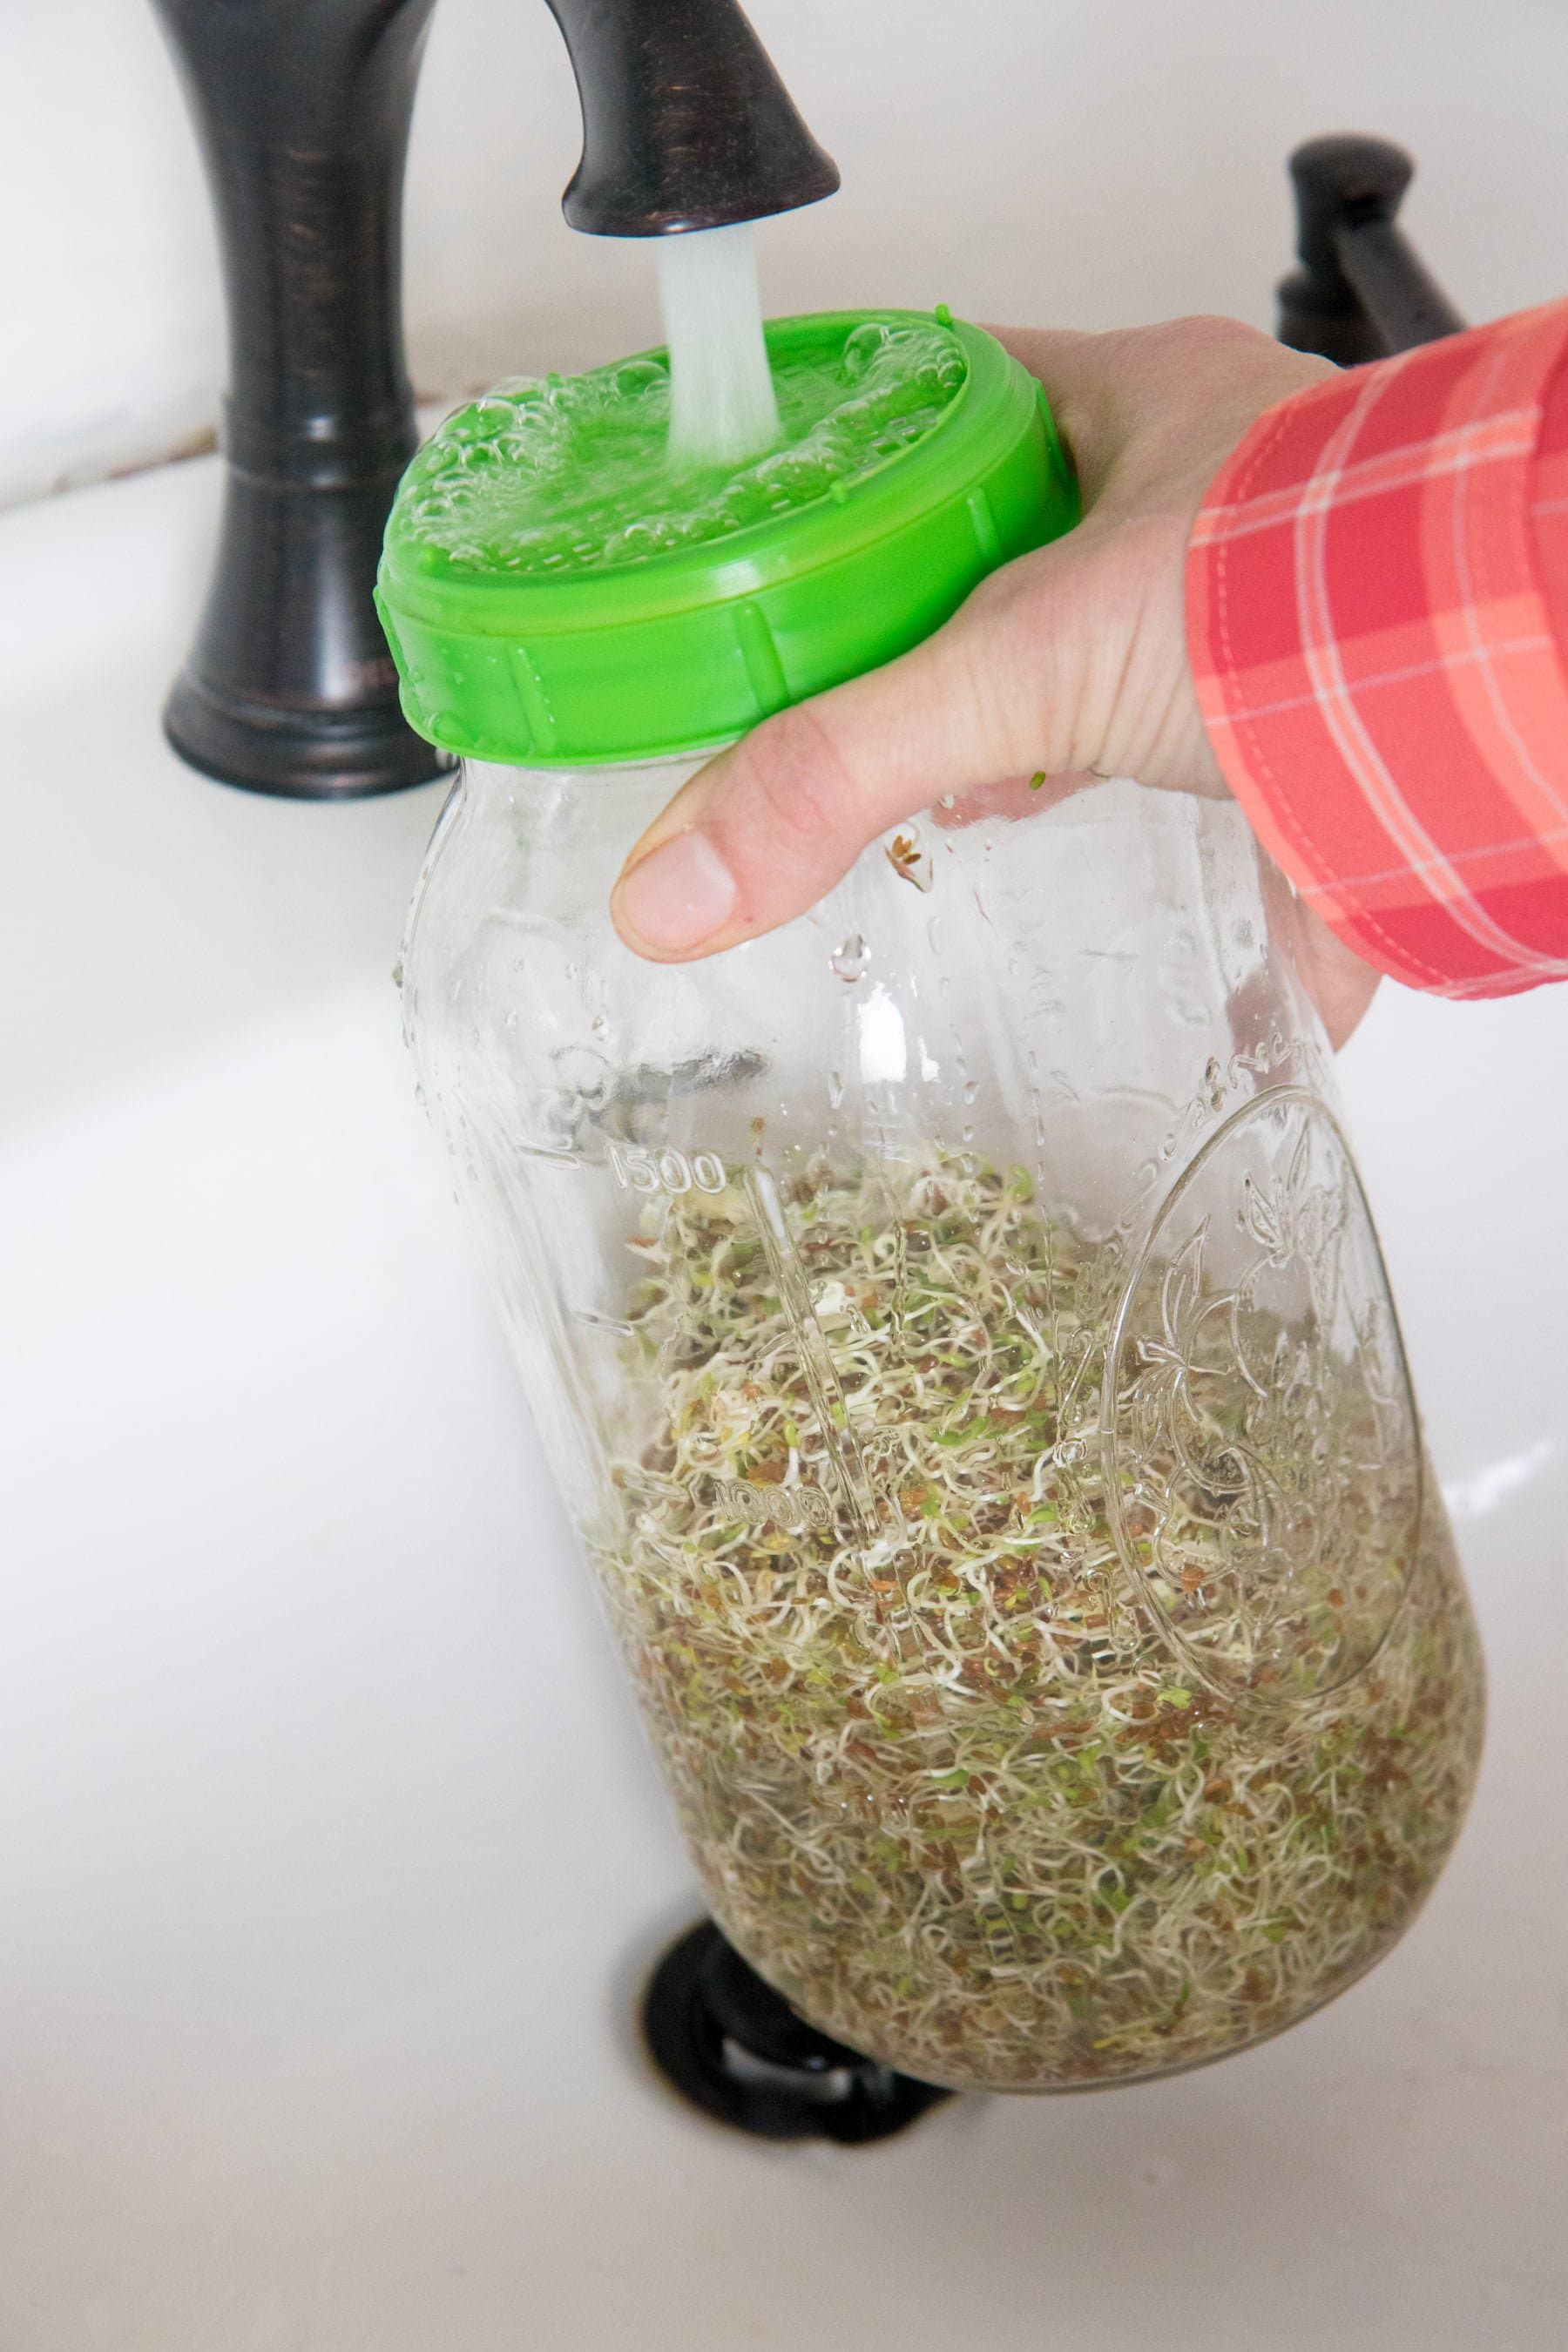

Add fresh, cool water, swirl it around, and rinse that out too, shaking out as much water as you can. Then turn the jar so seeds stick to the sides (this improves germination), and prop it upside down in a bowl. It doesn't need sunlight, but it does need to breathe, so skip storing it in a cabinet. I just leave mine on the kitchen counter.
Step 3: Rinse, drain, repeat. From here, your only job is to visit your sprouts twice a day (for most seeds), rinse with fresh cool water, drain, and prop the jar back in the bowl, emptying out any water that collected. You'll typically see baby sprouts within a day or so. You can eat sprouts at any stage, but most people prefer harvesting at ½-2 inches long. Keep rinsing and draining until you hit the length you want.
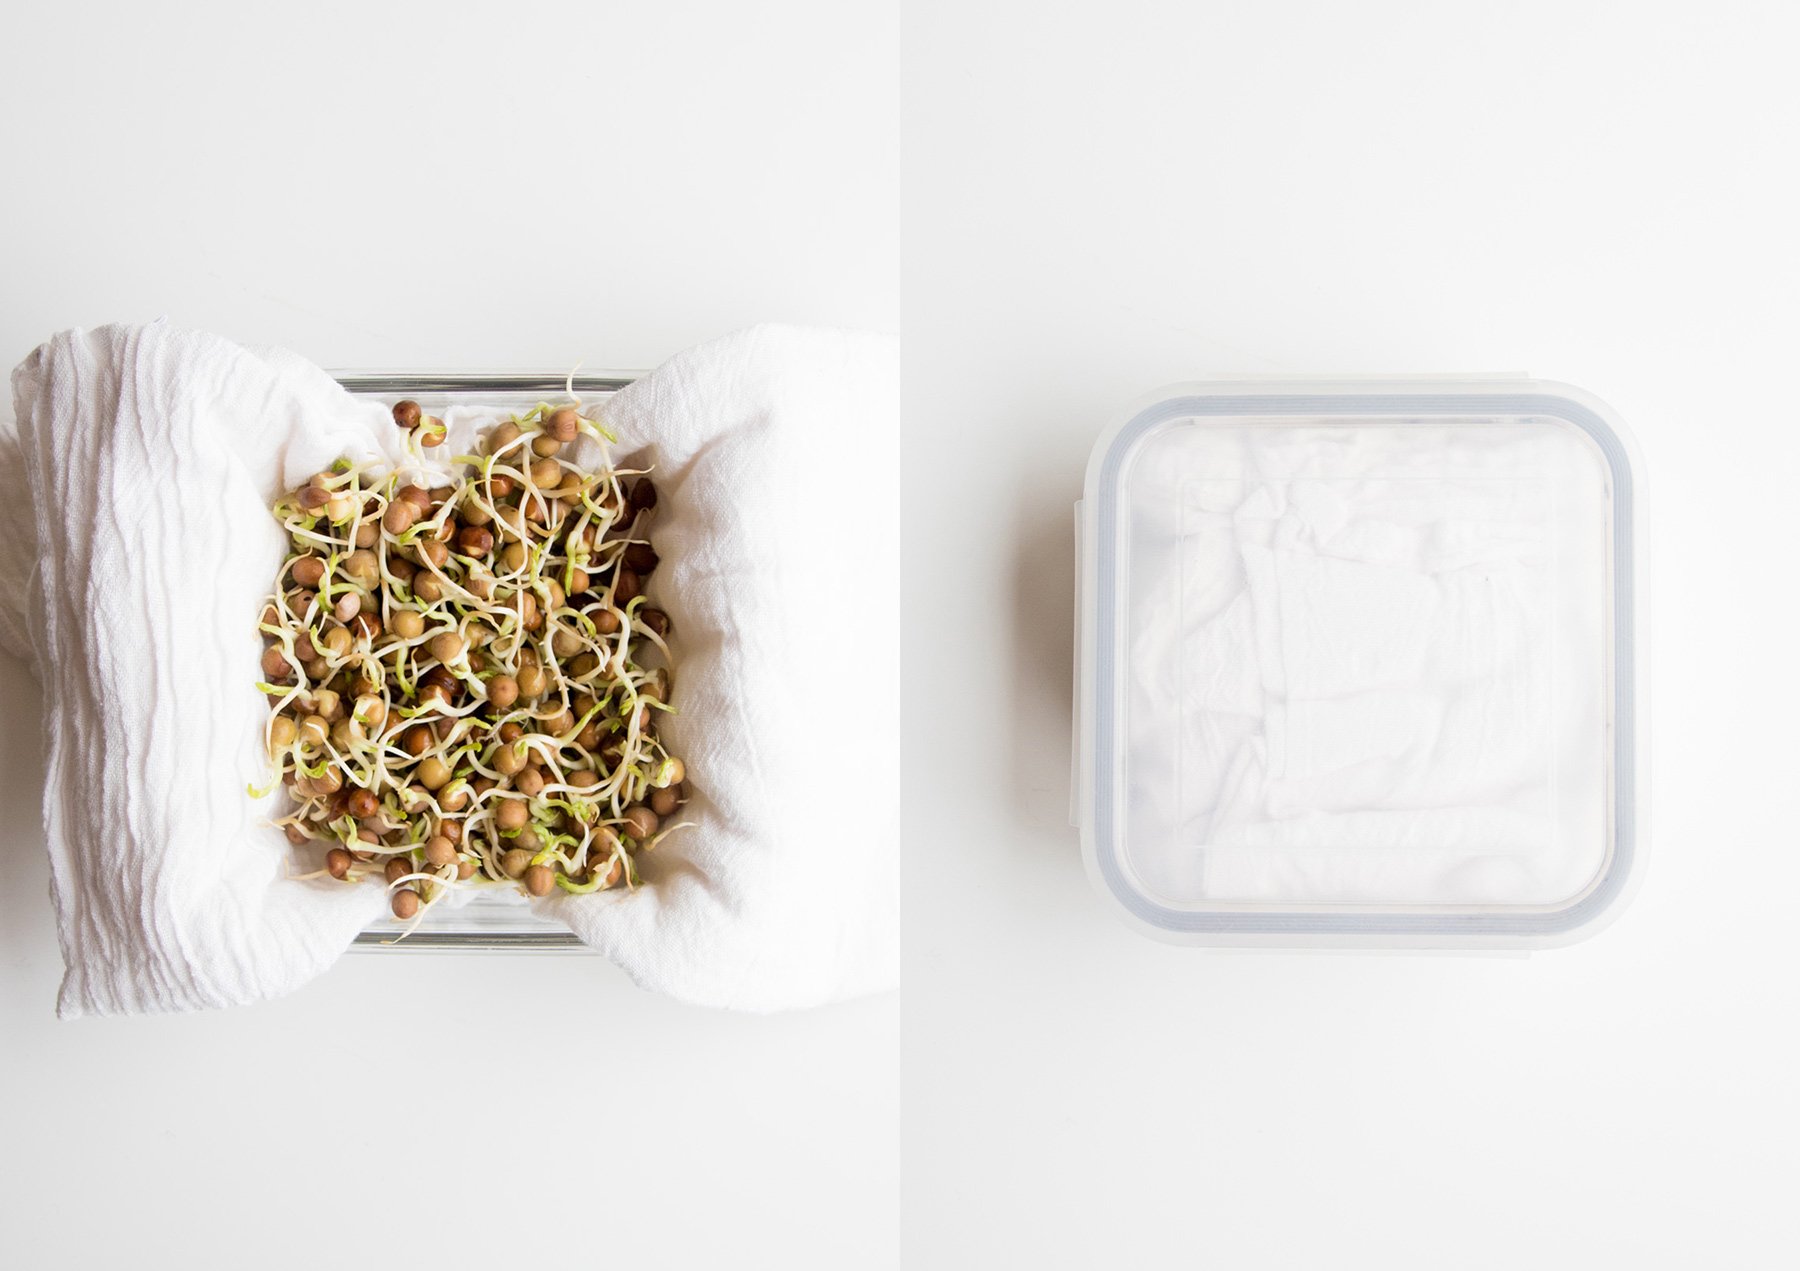
Step 4: Harvest, store, and use. Give your sprouts one final rinse and drain, then dump them onto a clean, absorbent kitchen towel in a single layer. Let them air dry for 30-60 minutes before storing. To store, line a glass container with a clean tea towel (paper towels work too), add the sprouts, and wrap them up. Extra moisture is the enemy here, so keep them dry. Stored properly, sprouts keep in the fridge for up to a week.
Optional Step 5: Rinse away the hulls. Some people like to rinse the outer seed coatings off their finished sprouts. I almost never bother, but if you want to try it, a salad spinner makes quick work of it.
How to Use Your Sprouts
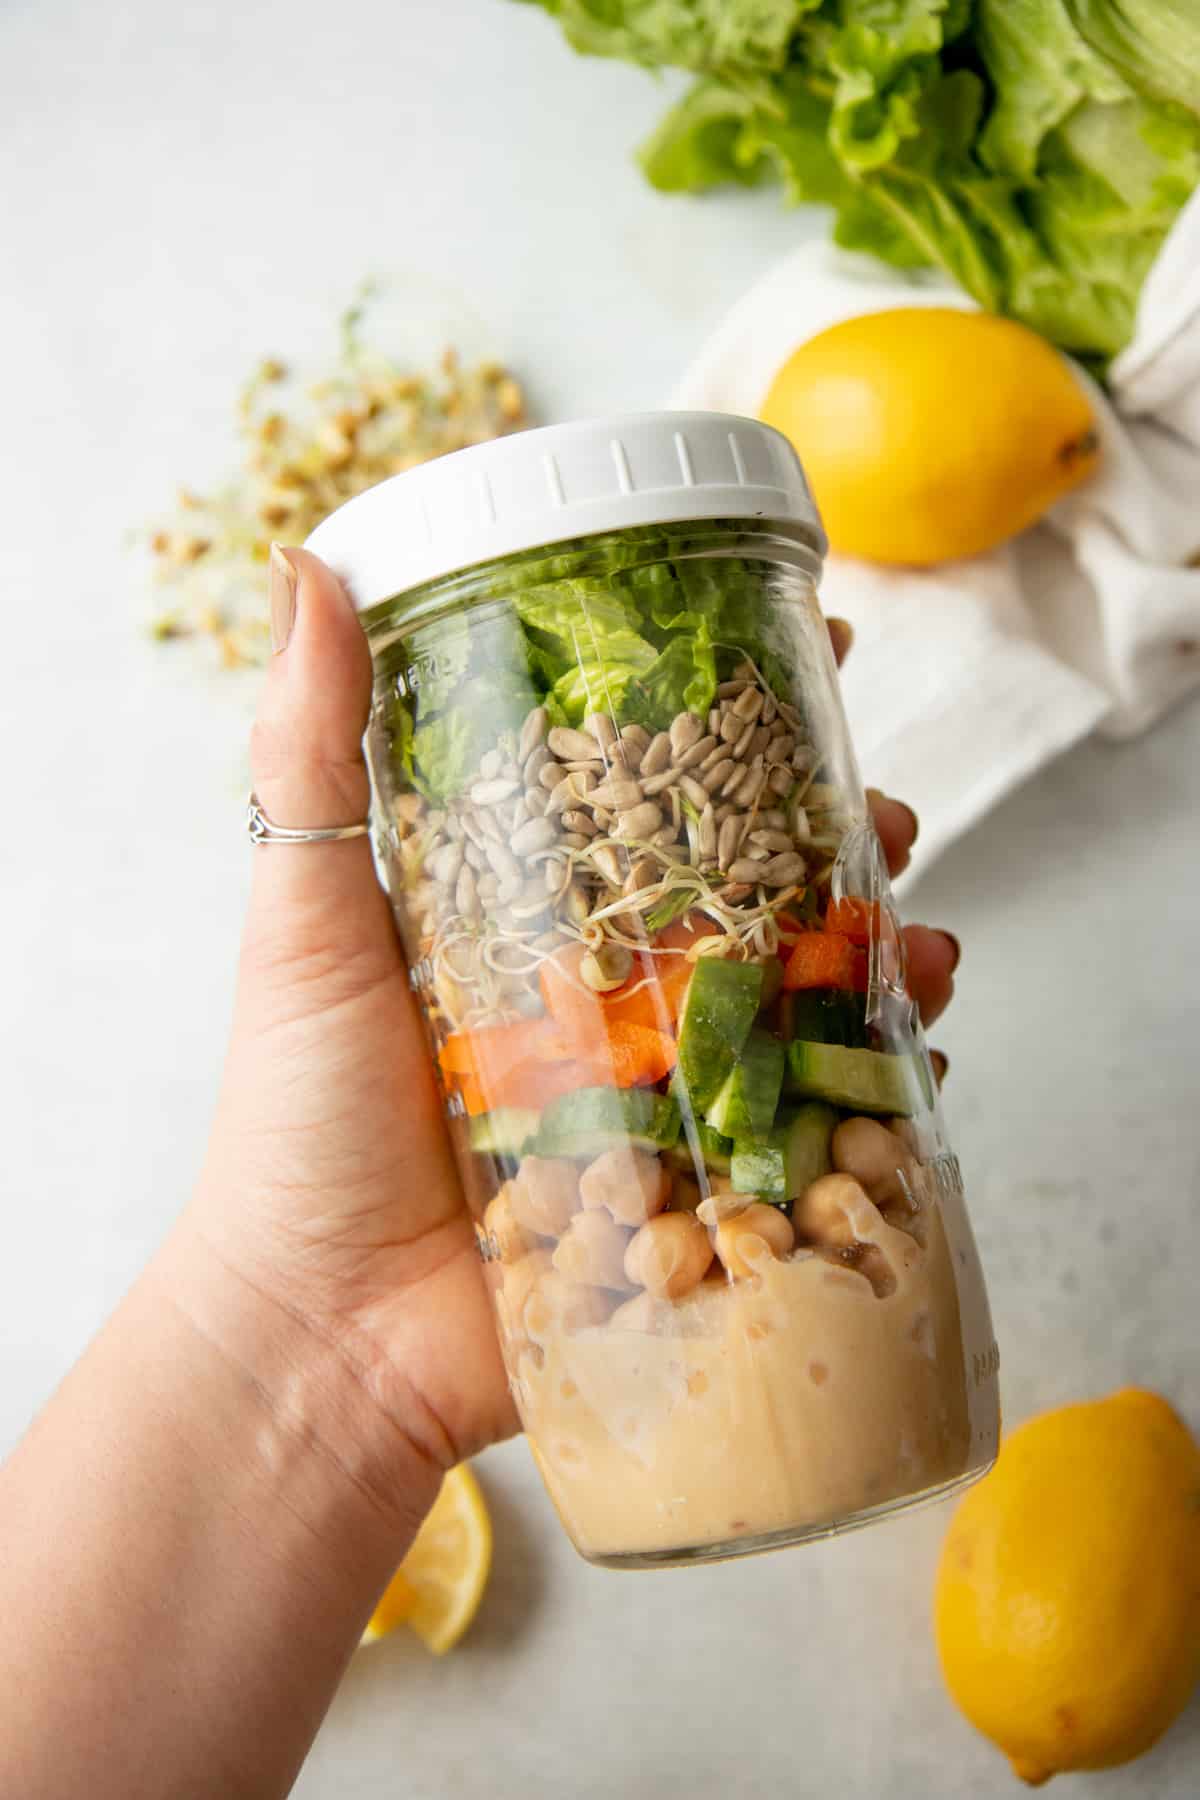
I've written two cookbooks and developed hundreds of recipes over the years, and sprouts have become one of my favorite ways to add a fresh, crunchy finish to simple dishes without any extra effort.
Once you've got a jar of fresh sprouts ready to go, use them anywhere that pleases you:
- Sandwiches and wraps. This is my most-used spot for sprouts, they add crunch and flavor that regular lettuce just doesn't. Try them in my Italian pinwheels, veggie pinwheels, or any sandwich made with my easy homemade sandwich bread.
- Salads. Toss a handful into any salad, or make them the star, like in my sesame chickpea mason jar salad.
- Stir-fries. Bean sprouts especially hold up well to quick heat, add them near the end of cooking so they keep their crunch. Try them in my healthy chicken stir fry or vegan stir fry.
- Frittatas, quiche, and scrambles. A handful of sprouts folded into eggs adds texture and a nutrition boost without any fuss. Try it in my mediterranean quiche.
Other Ways to Sprout
Making Sprouted Nuts
Nuts don't technically sprout the way seeds and legumes do. They are called "soaks" and they do not grow a root or leaves and will not germinate fully. I mostly do this with almonds, but the same method works for other nuts, too.
Soaking helps break down the anti-nutrients in raw nuts, making them easier to digest, just like sprouting does for seeds and legumes. They are ready to enjoy immediately after soaking, but may be left in the sprouter for an additional 12-24 hours (rinsing every 8 hours). Feel free to taste test your soaks after every rinse (including the initial soaking) to find a flavor you like.
If you want crunchy sprouted nuts, once they've soaked, spread them on a dehydrator tray and dry at 110°F until crisp, this usually takes several hours.
If you want to season them before dehydrating, check out my seasonings for pumpkin seeds post for ideas, the same flavor combinations work great here too. Just toss the sprouted, damp nuts in the seasoning before drying.
Making Sprouted Grain Flour
You can absolutely make your own sprouted grain flour at home. Follow the same process as regular sprouting for whatever grain you're using (wheat, rye, etc.), but only let the seeds just begin to sprout, you're looking for at most ¼ inch of growth. Then spread them on a food dehydrator tray on the lowest setting until completely dry, about 24 hours. Grind in a grain mill, and you've got homemade sprouted grain flour.
You'll probably want a bigger batch than usual to make enough for baking, a half-gallon jar works well for this.
Sprouting for Pets and Livestock
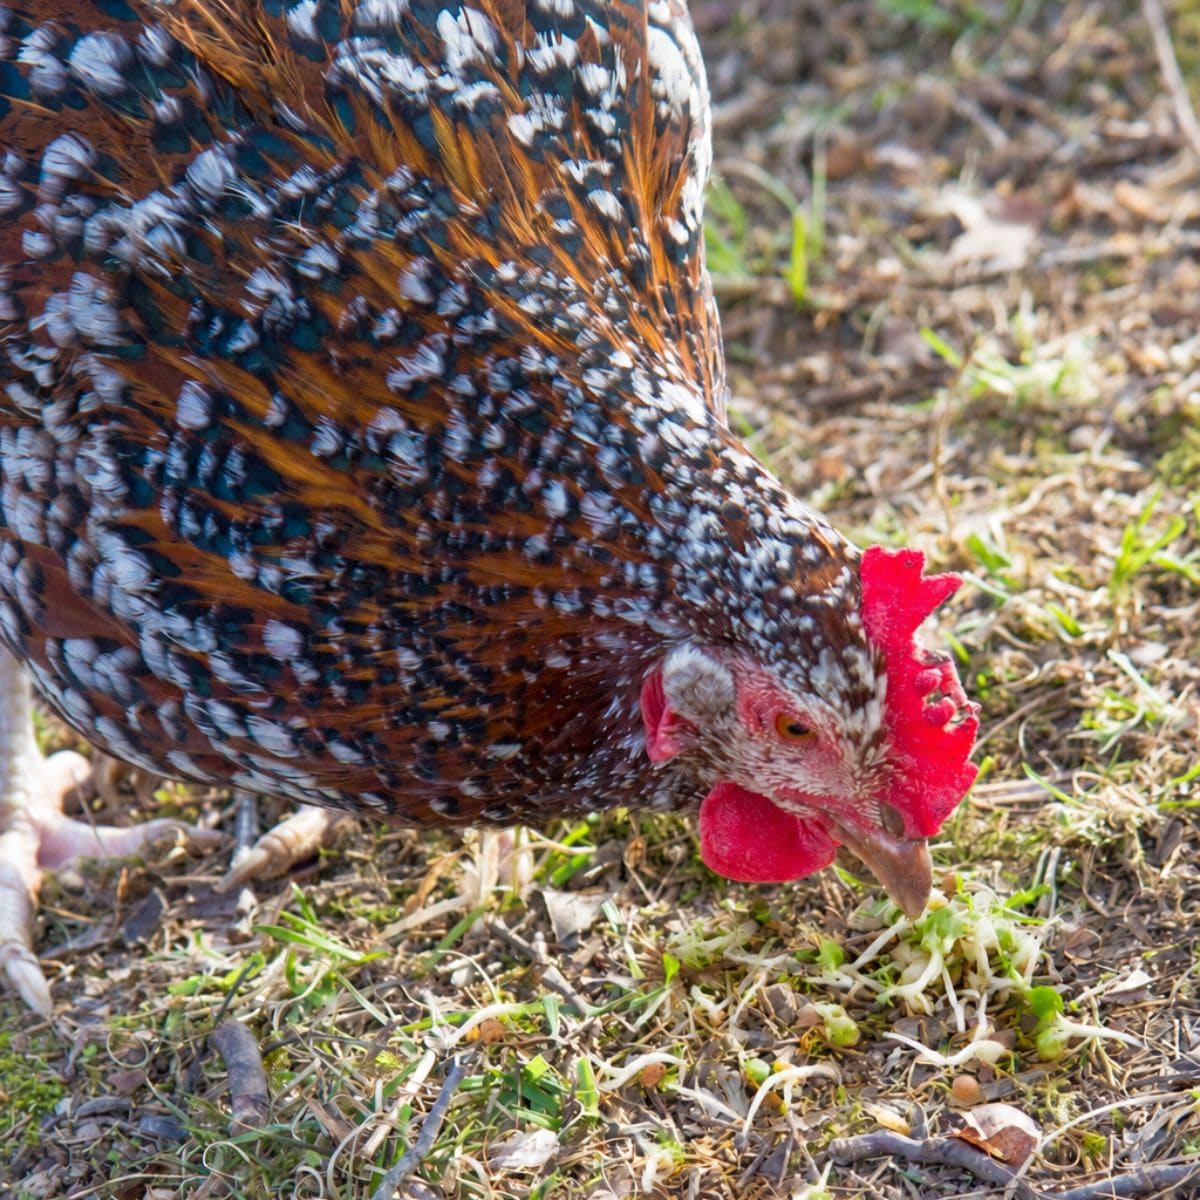
Yup, your pets can get in on the sprouting fun too!
Chickens, in particular, will devour sprouts like it's their job, which it kind of is, since it's turning into eggs for your breakfast! During the winter, I grow a few extra batches of sprouts each month just for the flock to give them some fresh food when there's nothing green growing outside. Bird-specific sprouting mixes work well for this, and a foraging mix is another good option if you want to plant some of it too, not just sprout it.
Dogs and cats aren't usually interested in eating seed sprouts themselves, but they do love wheat grass (AKA: cat grass), which just means letting your wheat sprouts grow a little longer than usual before harvesting.
Tips + Troubleshooting
Troubleshooting
Why do my sprouts always look moldy?
Good news: there's a strong chance your sprouts aren't moldy at all, you're just seeing fine root hairs that look a lot like mold. Root hairs show up when the sprout is at its driest, which is why you tend to notice them right before your next rinse.
Here's how to tell the difference: rinse your sprouts. If the "mold" disappears, it's root hairs, the water just presses the fuzz back against the root until it dries out again. Mold also smells, root hairs don't. Use your nose.
Fruit flies are all over my sprouts. What do I do?
Fruit flies are a natural, if annoying, part of having fresh produce around in the summer, sprouts included. Apple cider vinegar traps help keep the population down, but expect a few uninvited guests during warm months. To keep fruit flies out of your sprouts specifically, use the cloth method instead of a sprouter lid, the cloth blocks them, but they can fly right through the mesh of a sprouting lid. If you do notice fruit flies in your sprouts, compost that batch and start fresh.
Cassie's Tips
- When in doubt, rinse more. A huge number of sprouting problems, funky smells, slow growth, that "is this mold" panic, get solved just by rinsing more often. If something seems off, add an extra rinse before you assume the worst.
- Try a citric acid rinse. Some sprouters add a little citric acid powder to their rinse water to help keep things fresh and slow bacterial growth. It's optional, but worth experimenting with if you want extra peace of mind.
- Stick to a rough 3:1 water-to-seed ratio for soaking, and don't stress about hitting an exact soak time. Ten hours instead of eight won't ruin anything.
- Turn the jar so seeds stick to the sides after rinsing. It's a small move, but it noticeably improves germination rates.
- Prop the jar upside down in a bowl between rinses. This keeps your sprouts draining properly and out of standing water, which is one of the easiest ways to avoid rot or sliminess.
- Grow your sprouts as long as you like. There's no rule that says you have to harvest at ½-2 inches. If you want a greener sprout with more chlorophyll, move the jar to a sunny window or under a grow light for the last day or two. Totally optional, but a fun variation.
- Run two jars at once. I almost always keep a legume sprout (lentils, mung beans) going alongside something more delicate like alfalfa. Different seeds sprout at different rates, so staggering types keeps a steady, varied supply instead of a boom-and-bust cycle of just one kind.
- Skip the fancy gear. A jar, a rubber band, and a scrap of cloth will always get the job done, no stands, special lids, or tray sprouters required unless you just enjoy the gadgets.
FAQs
Yes, keep rinsing twice a day the whole way through, right up until they're the length you want. Once you're ready to harvest, give them one final rinse, spread them out to dry for 30-60 minutes, then store.
Use your nose, bad sprouts smell off and rancid. Many will also start to rust or brown right before they go bad, so if they don't smell bad but suddenly look rusty, use them up that day. Stored properly, fresh sprouts keep about a week in the fridge.
You can grow plants to maturity and save seeds for gardening, but I don't recommend it for sprouting specifically. It's nearly impossible to recreate the sterile conditions and testing a reputable seed company uses, and since sprouts are eaten raw, that extra layer of safety is worth the cost of buying fresh seeds each time.
Nope. I've never covered any of my jars, and sprouts generally don't need sunlight at all, though a little doesn't hurt either. I've never come across a seed that needed darkness to sprout successfully.
I do, and I'd recommend it. It's less about "organic" as a label and more about buying from a company that specifically tests its sprouting seeds for salmonella and e.coli, which most organic sprouting-seed sellers do as a matter of course.
Phew, if you made it through all of that, you're now completely well-versed in the world of sprouting. Grab a jar, order some seeds, and get going, you'll have your first batch ready before you know it. If you run into any questions along the way, leave a comment below, connect with me on social media, or shoot me an email. Happy sprouting!



Thankful for the wealth of information. Anxious to step up my nutrition.
Can you sprout cilantro?
Hi Lupe! If you head to the Spout People link in the post you can find cilantro seeds for sprouting micro greens. They also send you detailed instructions for how to sprout them when you buy the seeds!
This is great information! Thanks for sharing.
Thank you Cassie for a well written article and easy to follow. GOD BLESS
So glad it was helpful, Sheila!
I am sprouting millets...it has been 24 hours I don't see it sprouting and there is smell..it is strong I can't tell if it is bad smell.should I wait for another day or so ?
Make sure you are rinsing the sprouts at least twice a day! But when in doubt, throw it out—if it smells bad, we wouldn't risk it!
Thank you for the great explanation. About 16 years ago I use to sprout wheatgrass to juice for a diagnosis of epilepsy.
Since then, No symptoms.
I am feeling the need to sprout again. I live in a small No Calif town. The farmers market is abit over priced or when they have or even if i have time to pick up Sprouts. Are your seeds organic?
I would love to try this again with wheatgrass and other Seeds/Beans.
Hi Brenda! We use organic seeds from Johnny's Seeds and Sprout People. We talk a bit more about both in the post under the heading "Where do I get sprouting seeds?" Good luck with your sprouts!
Great article. And great comments everyone! Many thanks to all.
I absolutely loved your article! I’m a homeschool mom and my two sons and I are going through a botany unit so we started sprouting seeds today! My mom gave me her supplies because she’s already a professional sprouted, lol! I’d love to buy seeds from Sprout People at your recommendation as well. I just have one small word of advice… I noticed you use the phrase “rule of thumb.” It’s a common phrase, and I used to use it myself, but I found out where it comes from! It was the legal size of the biggest stick a man could beat his wife with and not get in trouble for beating his wife! I was completely shocked! I don’t use that phrase anymore… And I’m trying to spread the word! Otherwise, thank you for your wonderful article!
Hi Laura! Thanks so much for letting us know. We hadn't heard that, so we appreciate you taking the time to educate us! We've updated the post to remove that phrase. Enjoy your botany unit and happy sprouting!
Hi Cassie - great post. Thanks so much. A question I have is, which seeds need darkness (covered jar) to sprout and should they be covered throught the process.
Thanks much,
Evelyn
Hi Evelyn! I double-checked with Cassie on this to make extra sure, but she's never covered any of her jars to sprout! We've found that sprouts generally don't need sunlight to do their thing, but it doesn't usually hurt, either. We've never come across any that needed to be covered to sprout successfully!
Thank you!!
The instructions that came with my seeds didn’t say to drain and leave upside down. It just said to drain and keep adding water. Hope the first batch isn’t ruined. But, I’ve started a second with your method.
Thanks, again!
Do I have to buy new seeds every time?
Hi Maggie! You can grow the plants to maturity and save your own seeds—but we really don’t recommend this for sprouts (great for gardening, though!). It’s almost impossible to create the sterile environment and have the testing equipment needed to ensure your seeds are free from bacteria. That’s why we recommend ordering your seeds from a reputable company. We love the idea of being self-sustaining, but since sprouts are consumed raw, we would much rather have the peace of mind that they’re safe for us and our families!
Hi. Three days ago I started my first ever spouts. Broccoli. So far I have only rinsed once a day…because i forgot. They are right on the kitchen counter so I remember to rinse in the morning but that’s it. I am wondering if that will have any negative effects such as bacteria or something. I’m a little nervous about that. I’m sure I will get better at remembering as I adjust to this new thing in my life. But should I throw out the current batch and try again?
Hi Joyce! We recommend throwing out the batch and starting again. When in doubt, throw it out!
Thank you so much for this information. Quick question: Do I still rince them twice each day once they start sprouting?
Thanks again!
Hi Lisa! Yes—keep rinsing them twice a day until the sprouts are the length you want! When they're the length you want and you're ready to harvest, rinse them one more time then spread them on a clean kitchen towel to dry for 30-60 minutes. Then you can store them. You can find all of this info in the post under sections 9.3 (Step 3: Rinse, drain, repeat!) and 9.4 (Step 4: Harvest, store, and use your sprouts!).
When you're a seed, what type of seeds do you want to get -- hulled or unhulled? Does it matter? I'm confused by different people saying different things...
The most important thing to look for is that the seeds are specifically for sprouting! We have lots more info about why this is important in the post, but the short version is that sprouting seeds are tested and verified to be free of harmful bacteria like e.coli and salmonella. Plus, since they're specifically grown for sprouting, you know they're much more likely to actually sprout!
Thank you for a super-informative post! I have been absolutely craving sprouts and just paid $6 for two tiny little containers of alfalfa sprouts at the grocery store. I can home home and made the sandwich I was craving (avocado, broccoli and alfalfa sprouts on whole grain bread) and while eating my delicious sandwich I searched and found your post - THANK YOU! No more store-bought sprouts for me!
My mung beans had roots and leaves growing at day 5. Is it too late to eat them? Do i need to cut any of it off?
Hi Monica! We've never had that happen, but a quick search indicates that the leaves and roots of mung beans are edible. So it's up to you whether or not you want to cut them off!
Thank you so much for answering all of my questions and I will be keeping your information on my phone