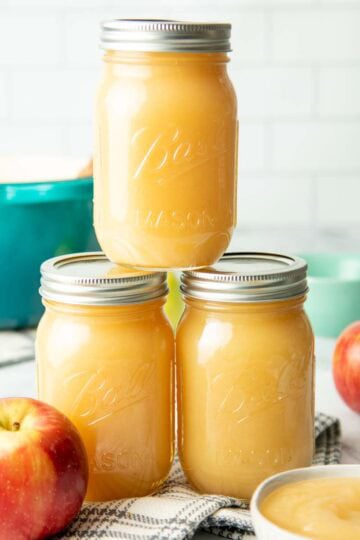
Canning Apple Pie Filling
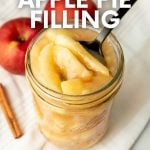

Canning apple pie filling is as easy as pie once you have a few tools and a little know-how. We'll show you all our tips and tricks to master this tested and safe home canning recipe!
🔍 Recipe At-A-Glance: Canning Apple Pie Filling
- 🕰️ Prep Time: 45 minutes
- ⏰ Cook Time: 30 minutes
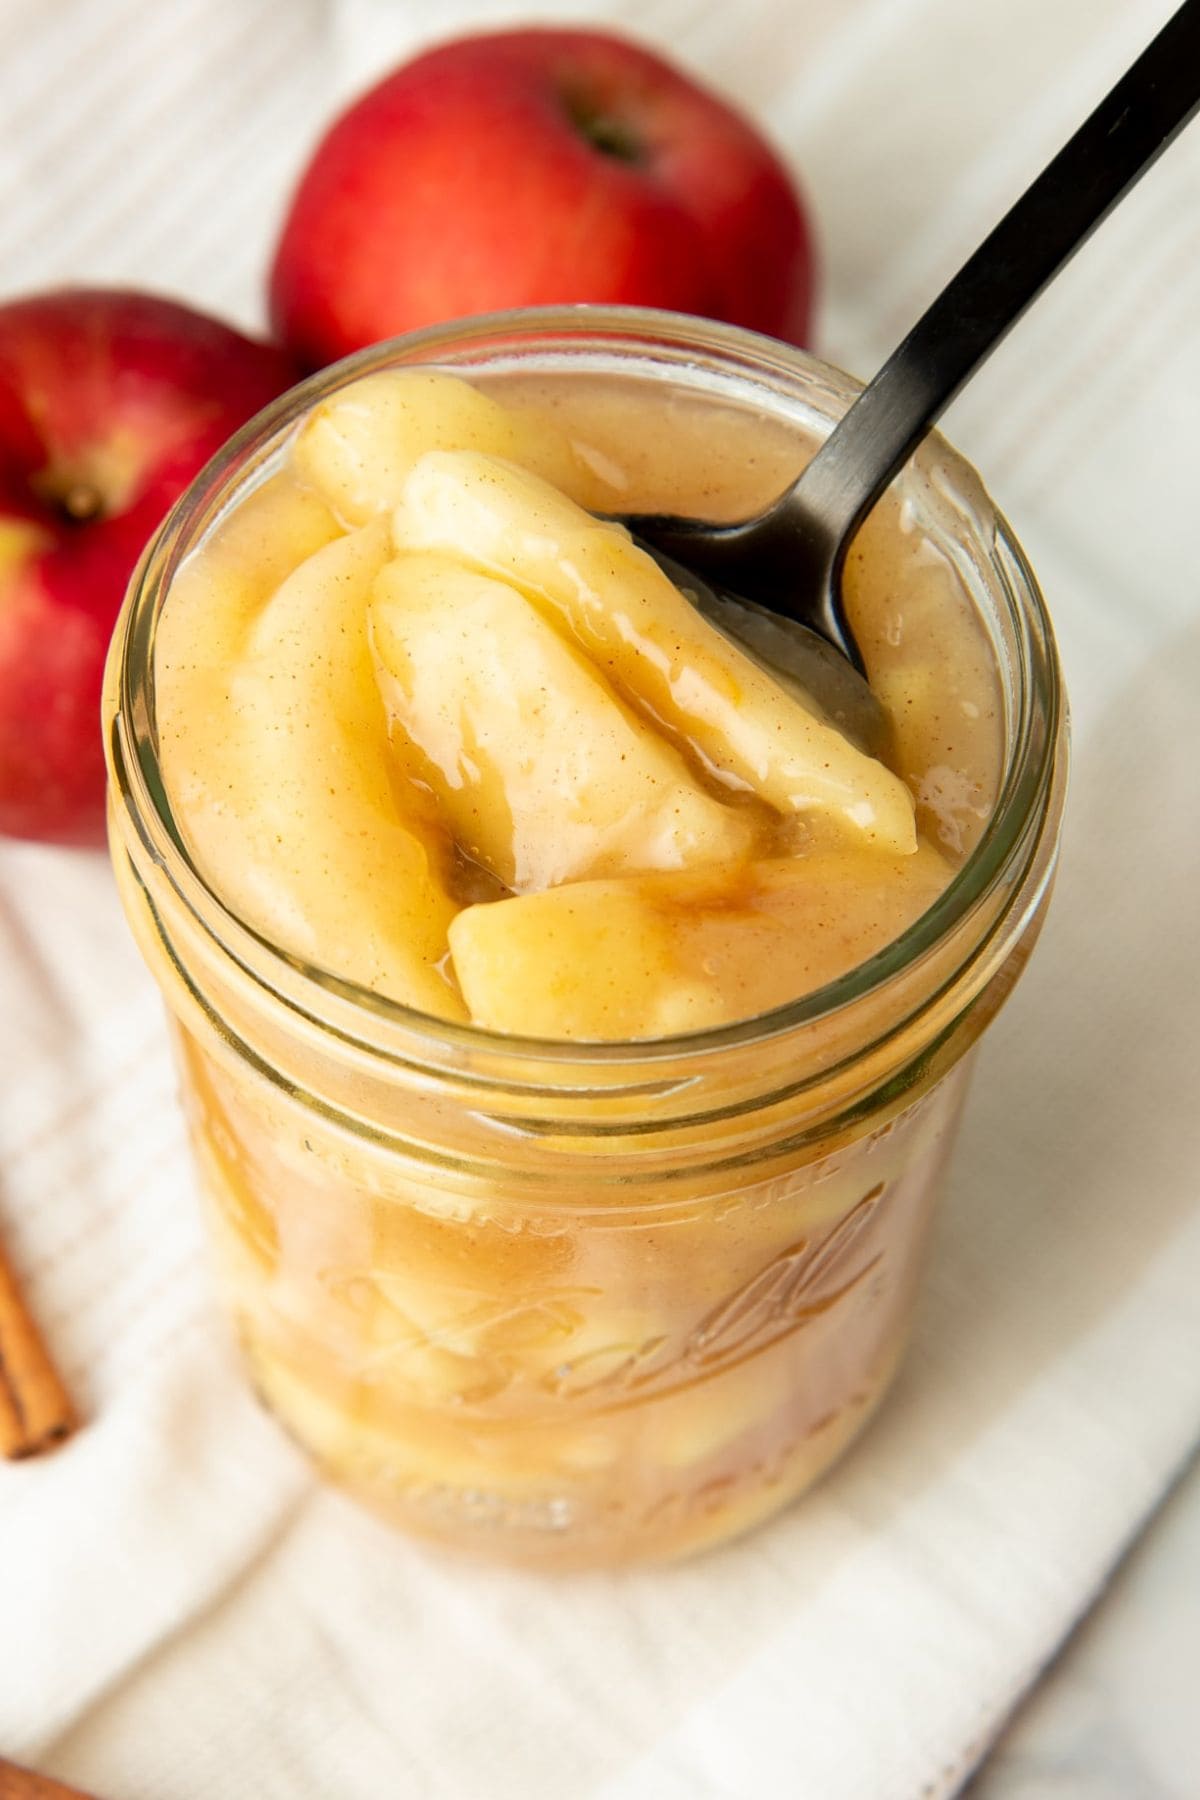
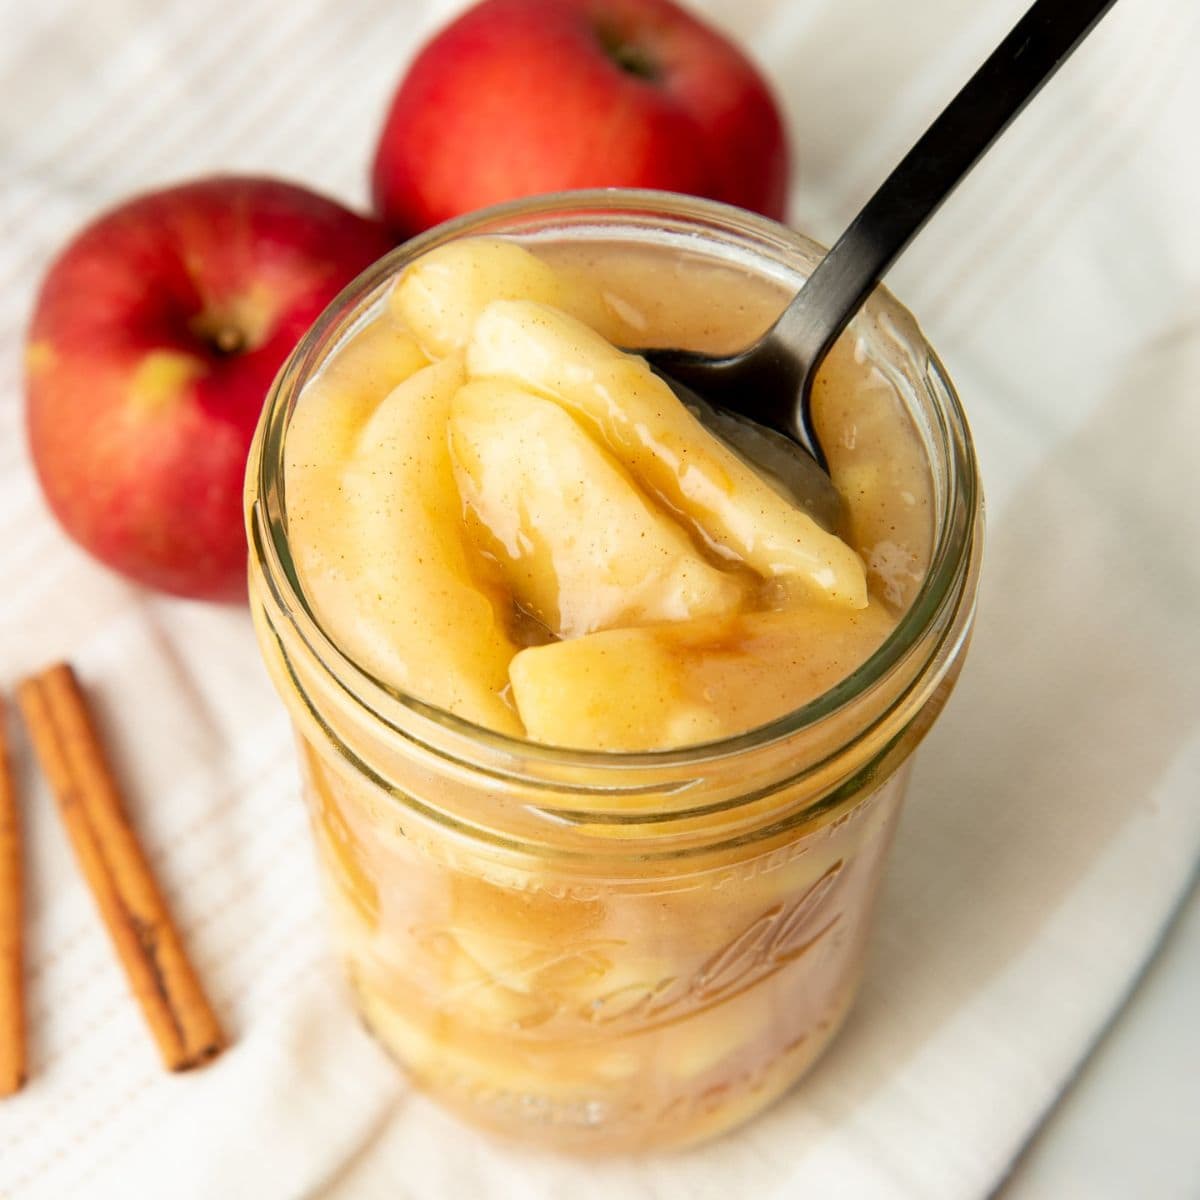
- 🍁 Flavor Profile: Apple pie without the crust. Sweet, fruity, and perfectly spiced.
- 🥄 Good For: Making the easiest apple pies and crisps, ice cream sundaes, topping almond pancakes or whole wheat pumpkin waffles, great homemade food gifts.
- 👩🏻🔬 Safety: Tested and approved safe canning recipe directly from the makers of Ball Mason Jars.
- 🧡 Difficulty: If you've canned before, this one will be a piece of cake (well, pie).

"Delicious! Turned out great. Simpler and quicker than I expected. The clear instructions helped a lot."
- TRACY -
Summarize and Save this Recipe Using:
Jump to:
- 🔍 Recipe At-A-Glance: Canning Apple Pie Filling
- 🧡 Why You'll Love This Recipe
- 🥧 The Ingredients You Need
- 🫙 The Equipment You Need
- 🔁 Variations & Substitutions
- 🥣 Canning Apple Pie Filling How-To
- 🙋🏻♀️ Canning Apple Pie Filling FAQs
- 👩🏻🍳 My Expert Tips & Tricks
- 🍏 Uses for Apple Pie Filling
- 🍎 More Easy Canning Recipes
- 📖 Recipe
- 💬 Reviews
🧡 Why You'll Love This Recipe
I'm going to let you in on a little secret: one of my very favorite items to can is apple pie filling! Pour them into an all-butter pie crust and make the fastest apple pie known to man (or add caramel from this caramel apple pie recipe!).
Here's why you'll love this recipe:
- More than just pie: These ready-to-use jars of deliciousness are so versatile that I find myself reaching for them all year long. Canned apple pie filling is amazing spooned on top of ice cream, slow cooker steel-cut oatmeal, homemade yogurt, Dutch-style pancakes, pannukakku, or whole wheat waffles. It's wonderful topped with a crisp topping and baked. It's great as a mix-in for muffins or quick breads. Oh, and it also is super delicious just eaten with a spoon-no one will judge you here!
- Great homemade gift: I've been giving homemade canned goods as gifts for decades now, and pie filling always gets rave reviews!
- Ready in just over an hour: Go from apples to seven jars of apple pie filling in an hour and 15 minutes. That's it!
🥧 The Ingredients You Need
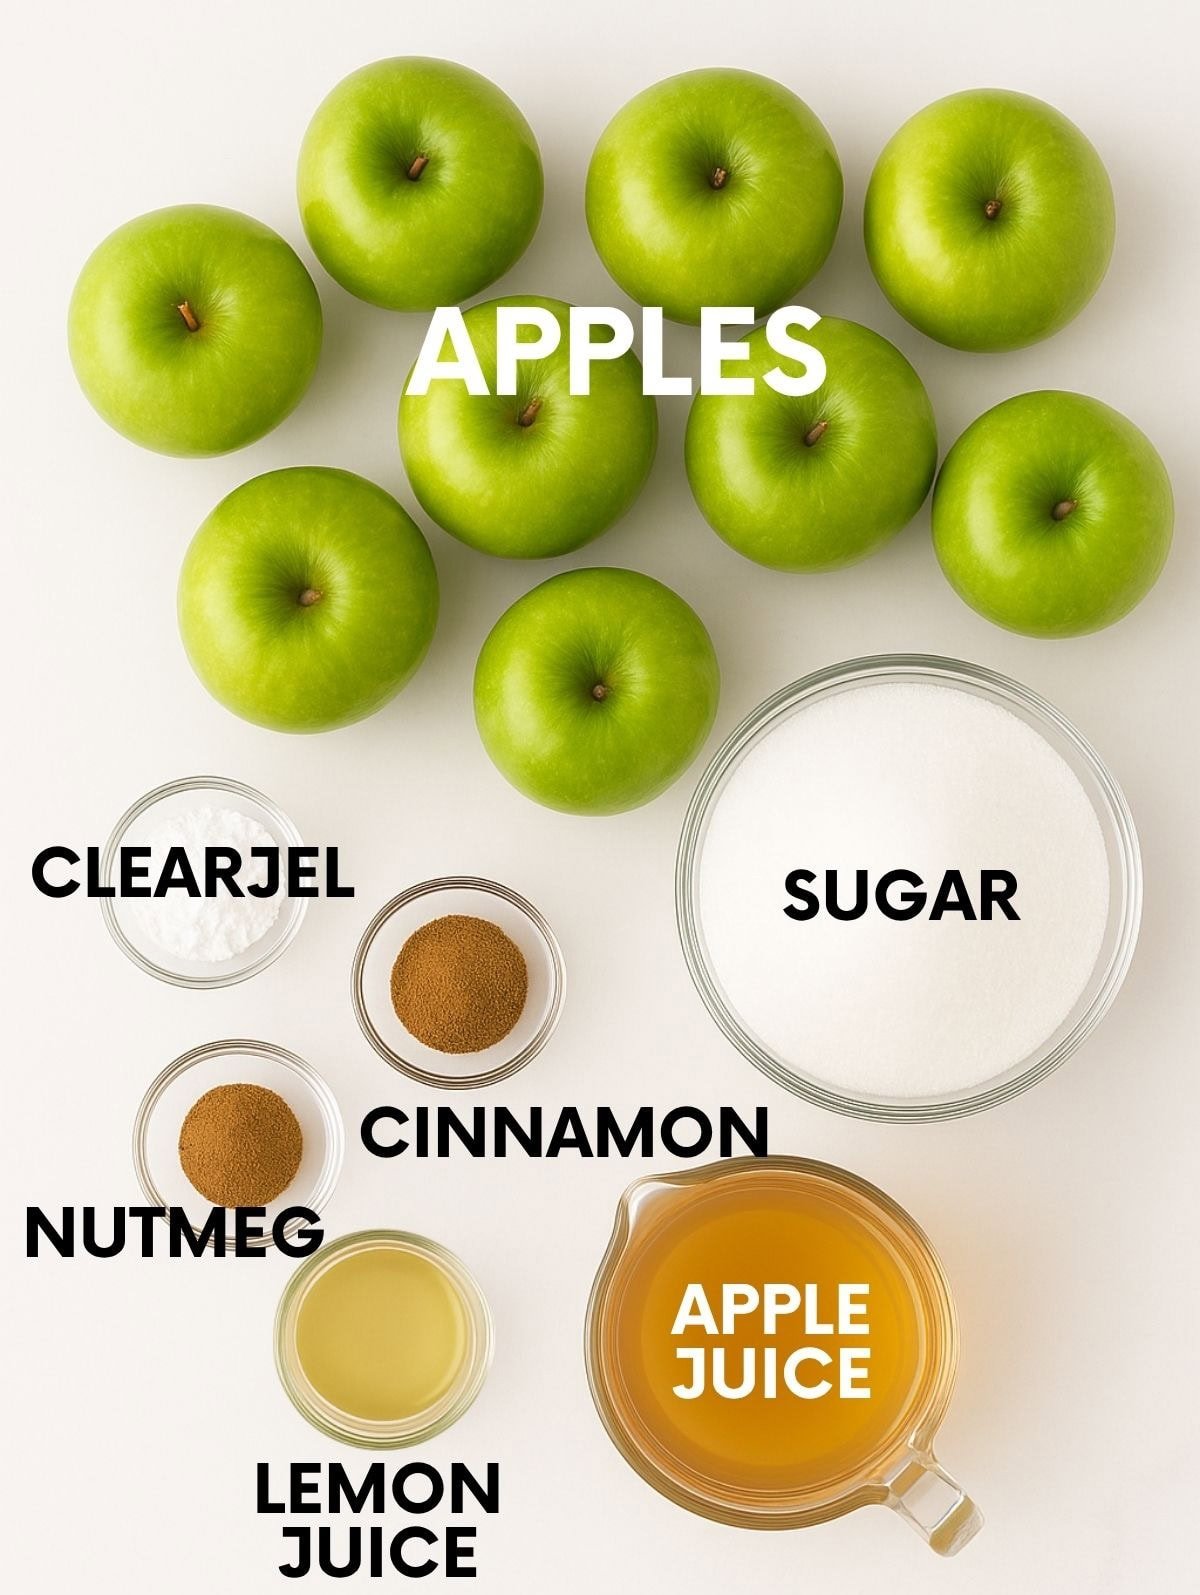
- Peeled apple slices: Any apple will work here, but best results come from firm, tart apples (like Granny Smith). If you grab a big bag of Granny Smiths, you can use them for this, my homemade caramel apples, and my apple cinnamon muffins recipe!
- Clear Jel cooking starch: Clear Jel is a modified corn starch that is preferred for canning because it doesn't lose its thickening abilities during the intense heat of the water bath canning process. Regular cornstarch, all-purpose flour, or arrowroot powder lose their thickening power during the canning process, leaving you with runny apple pie filling! Unfortunately, there are no substitutes for Clear Jel when it comes to canning fruit pie fillings. Make sure you grab "cook type" Clear Jel-that's what we're using here in this recipe.
- Unsweetened apple juice: To form the saucy part of the filling without watering down the flavor.
- Bottled lemon juice: To add a tart balance of flavor and make this recipe safe for processing in a water bath canner. Using bottled lemon juice is important here because the acidity of the bottled stuff is regulated-meaning we know exactly how much acid we're adding to the recipe to make it safe for water bath canning.
Make sure to check the recipe card below for the full ingredients list, along with quantities and my expert tips and tricks.
🫙 The Equipment You Need
Most of what you need for canning apple pie filling, you'll already have on hand. But waterbath canning does call for a few specialty items:
- Canner: A large pot to process (AKA: boil) your jars.
- Canning Rack or Trivet: Holds the jars in the pot so that water can circulate around the whole jar.
- Jar Lifter: Makes grabbing hot jars easy and safe.
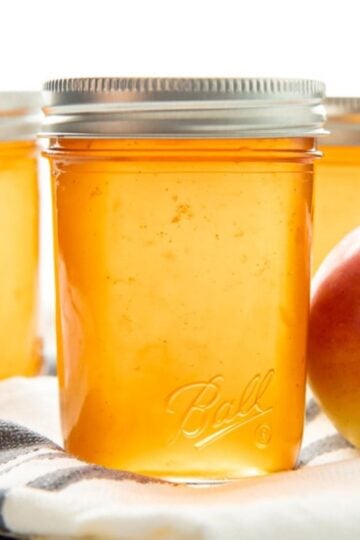
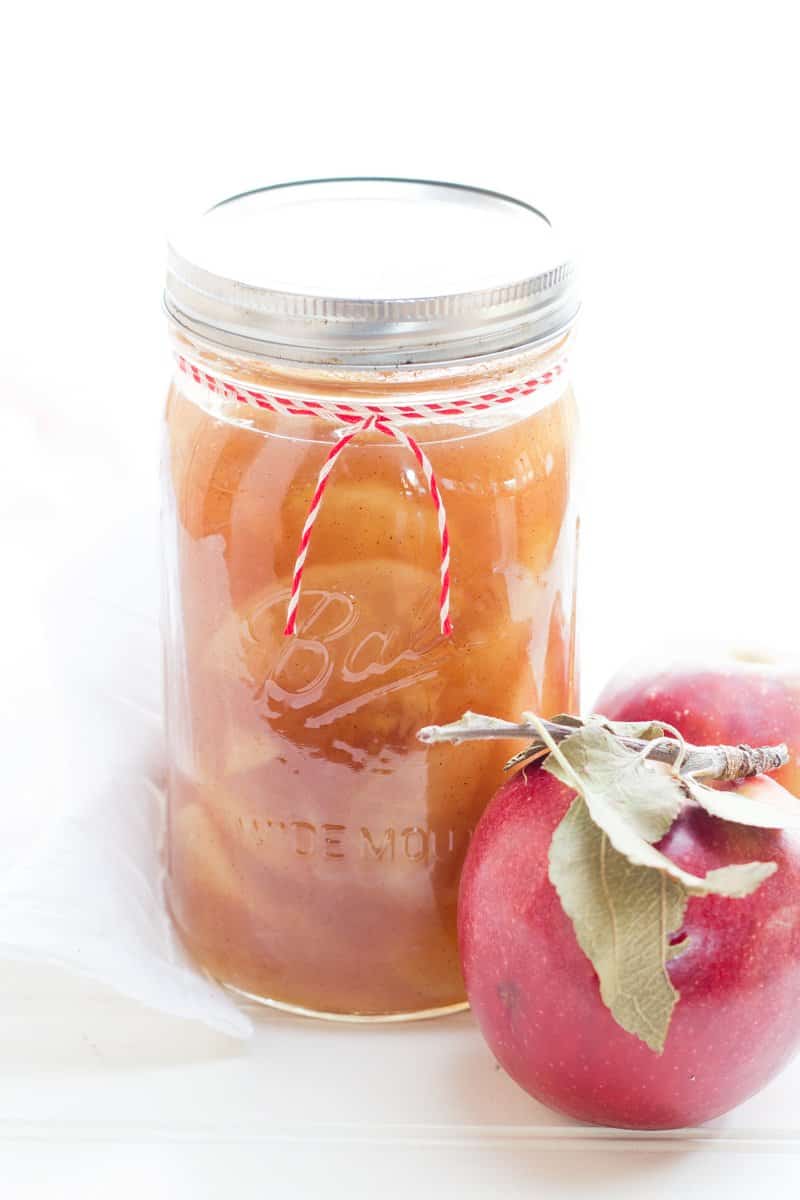
- Jars and Lids: I recommend canning apple pie filling in pint jars.
- Canning Funnel: A wide spout funnel made to fit in canning jars, which will save you a lot of mess.
- Headspace checker or clear plastic ruler: It is vital to have the right amount of space at the top of your jars, and this tool will help.
🔁 Variations & Substitutions
- Bourbon vanilla apple pie filling: If you want to get a little fancy with your pie filling, this bourbon apple pie filling has also been tested for safety!
- Crisp instead of pie: Don't pigeonhole this pie filling into just pies...it also makes a great apple crisp!
- Go gluten-free: This pie filling is already gluten-free, so pour it into my gluten-free pie crust recipe for an easy gluten-free pie!
Want to save this recipe?
🥣 Canning Apple Pie Filling How-To
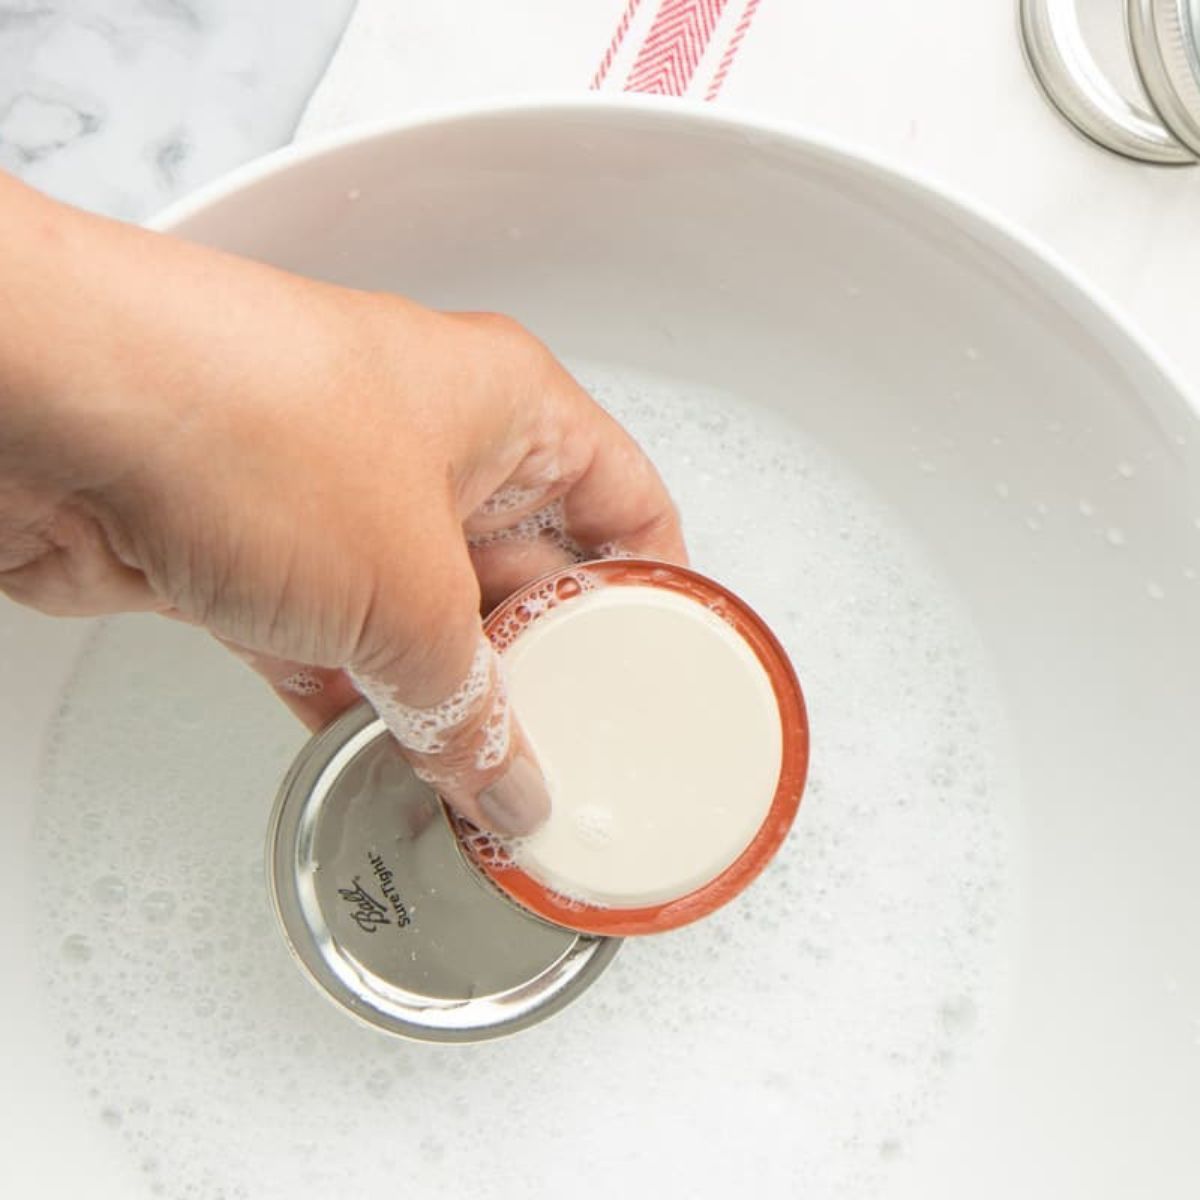
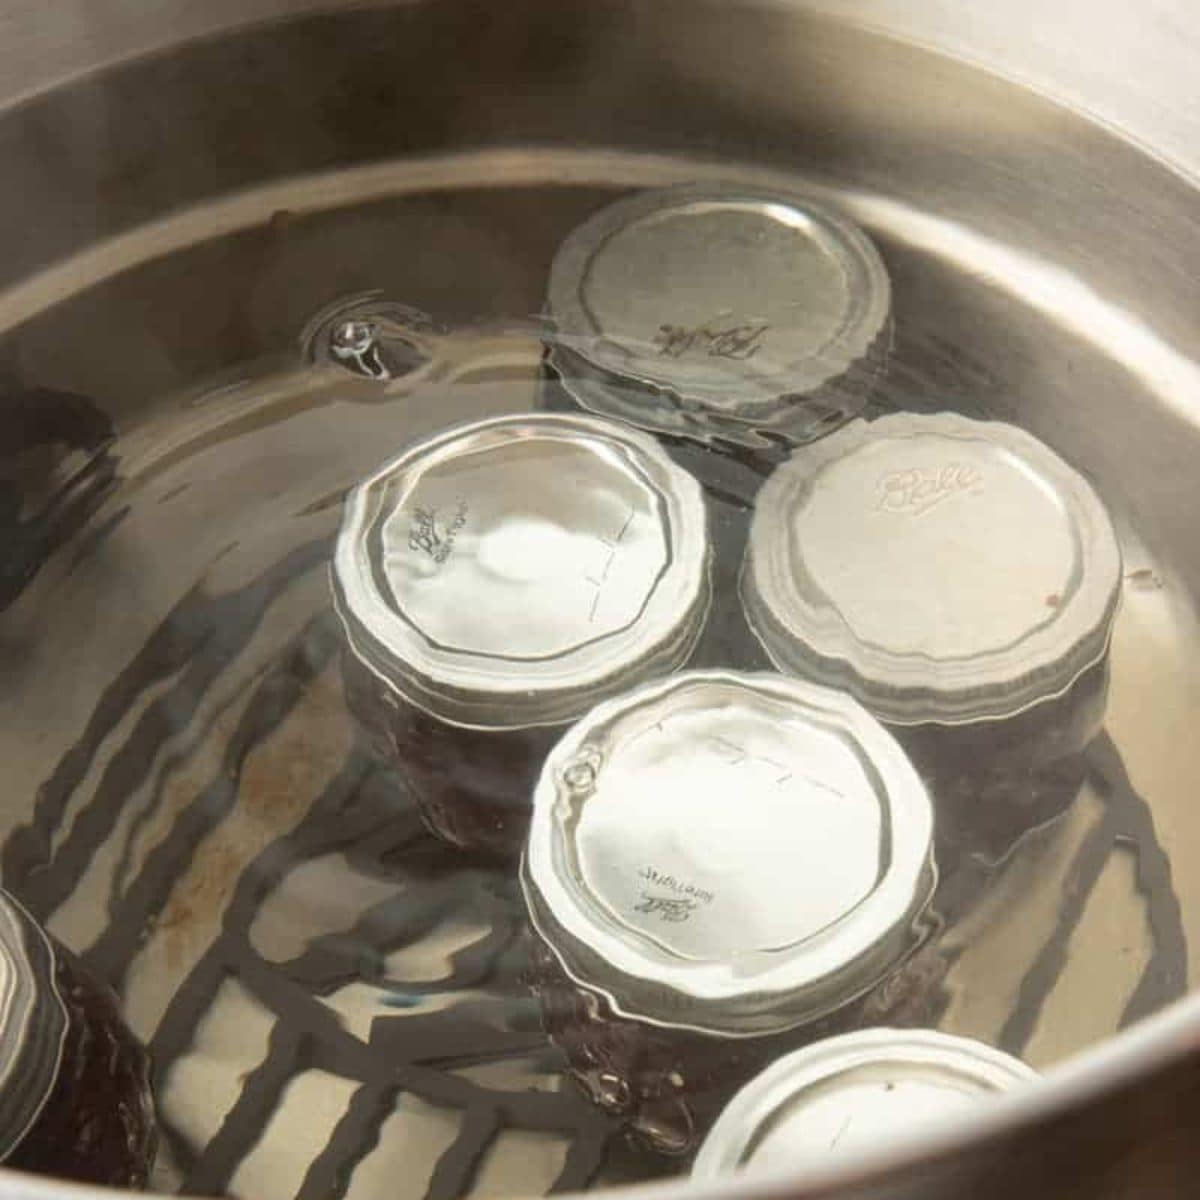
Step 1: Prep the jars by washing them and setting them on the trivet in your canning pot. Fill the canner so the jars are covered with water, and start heating it on the stove. Wash the lids and rings in warm, soapy water.
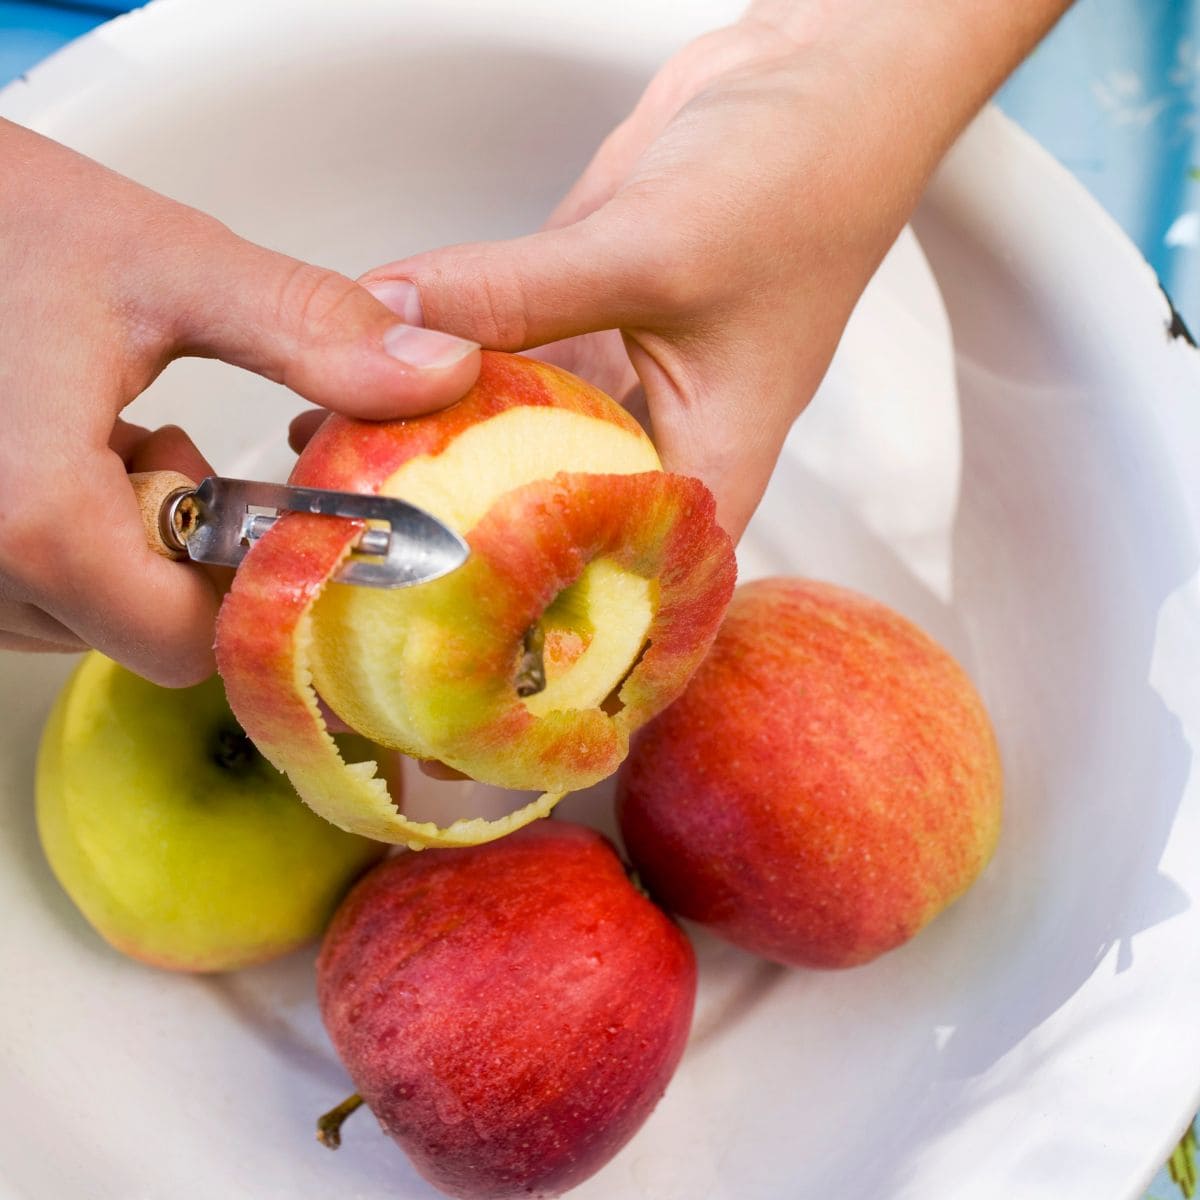
Step 2: Peel and core the apples and cut into slices. Treat for browning by submerging the cut slices in a mixture of ¼ cup lemon juice and 4 cups water.
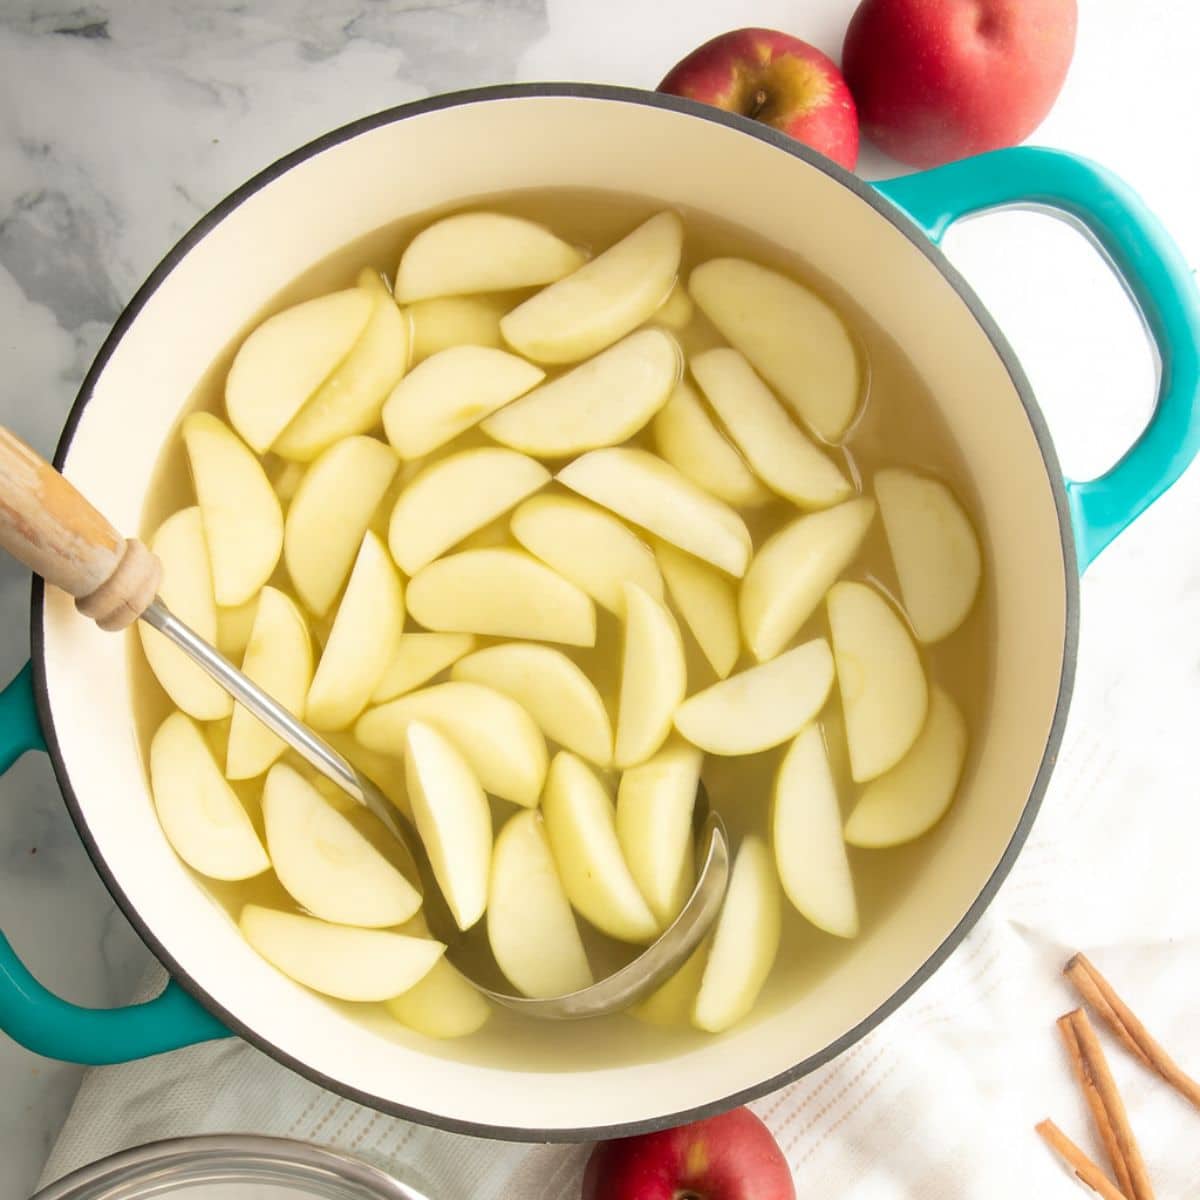
Step 3: Blanch the apples in boiling water for one minute. You'll need to do this in two batches so that the slices blanch evenly.

Step 4: Whisk the sugar, ClearJel, cinnamon, and nutmeg together in a large saucepan, then stir in apple juice and cold water. Bring to a boil, stirring constantly, until the liquid starts to bubble. Add lemon juice and stir for one minute.
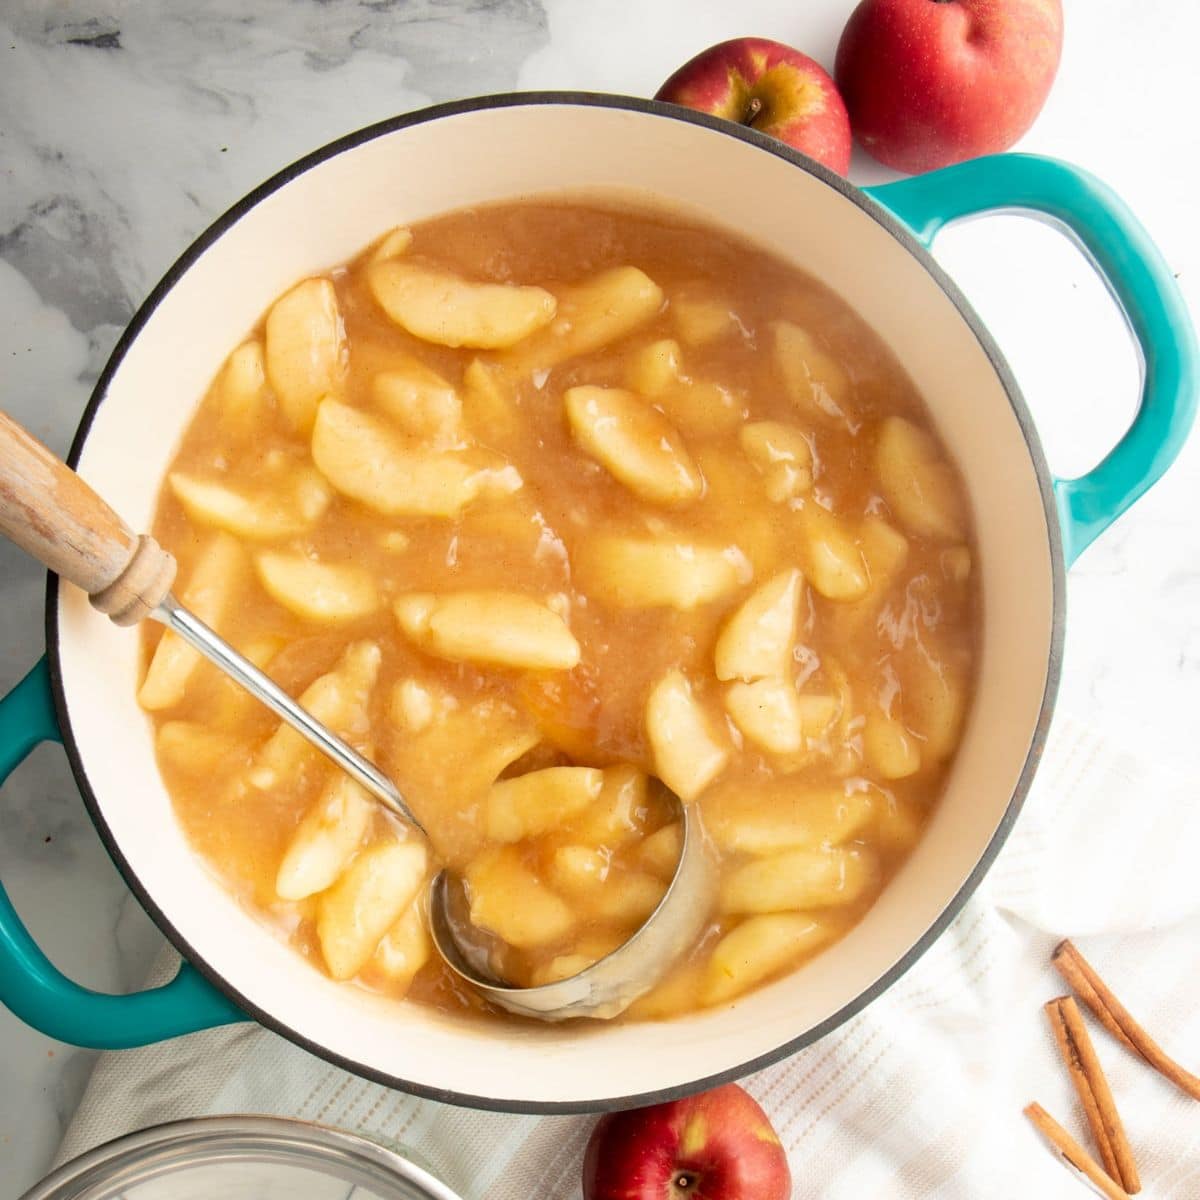
Step 5: Turn off the heat and stir in the blanched apple slices until the fruit is heated through.
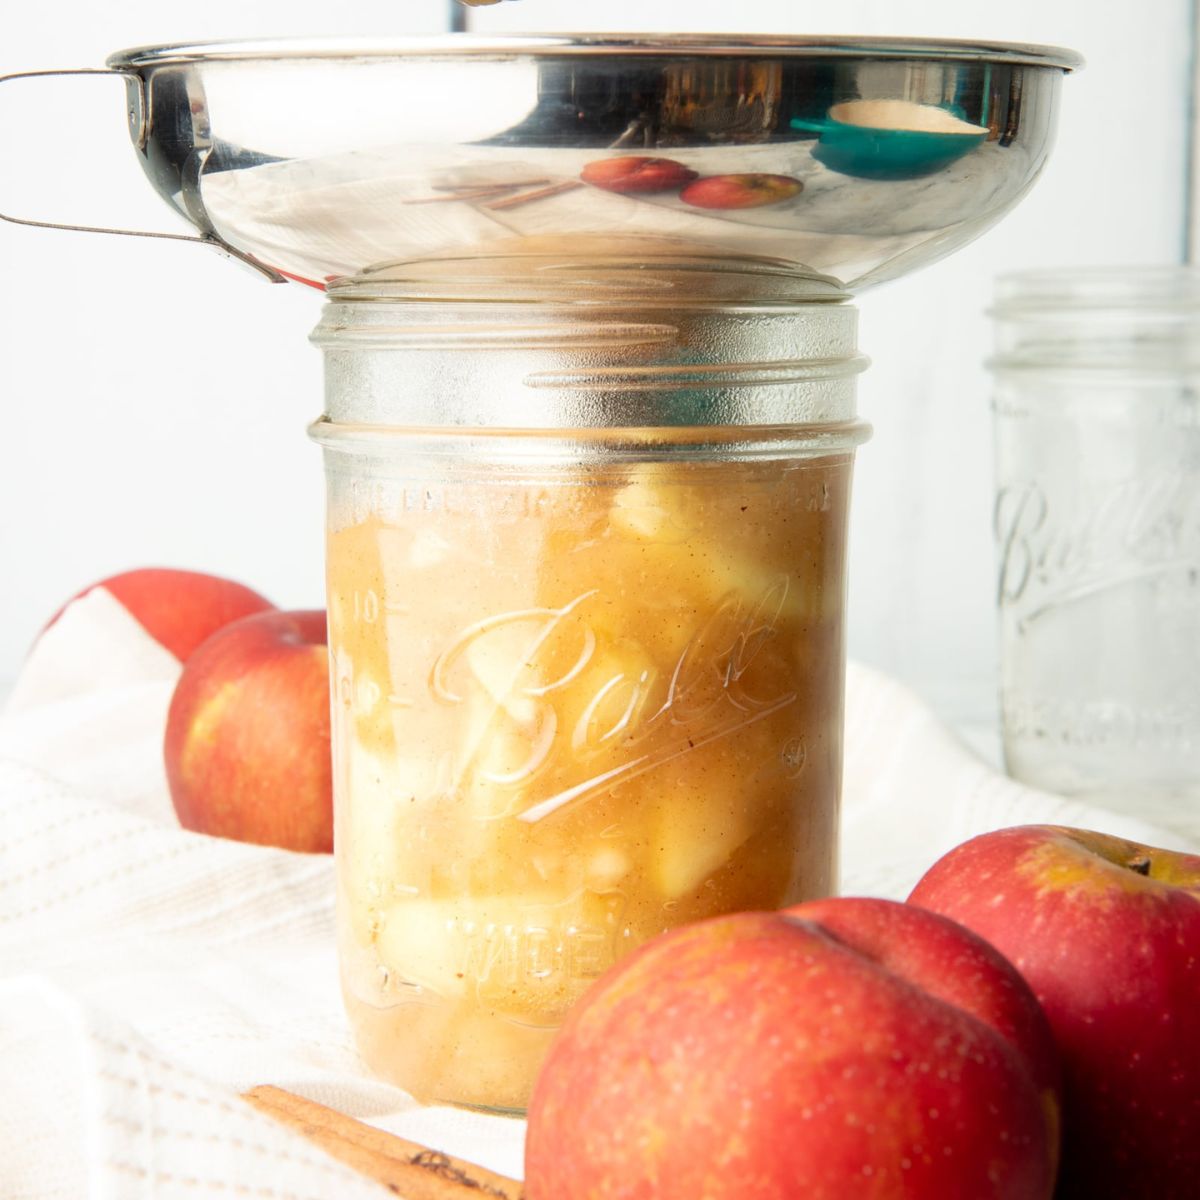
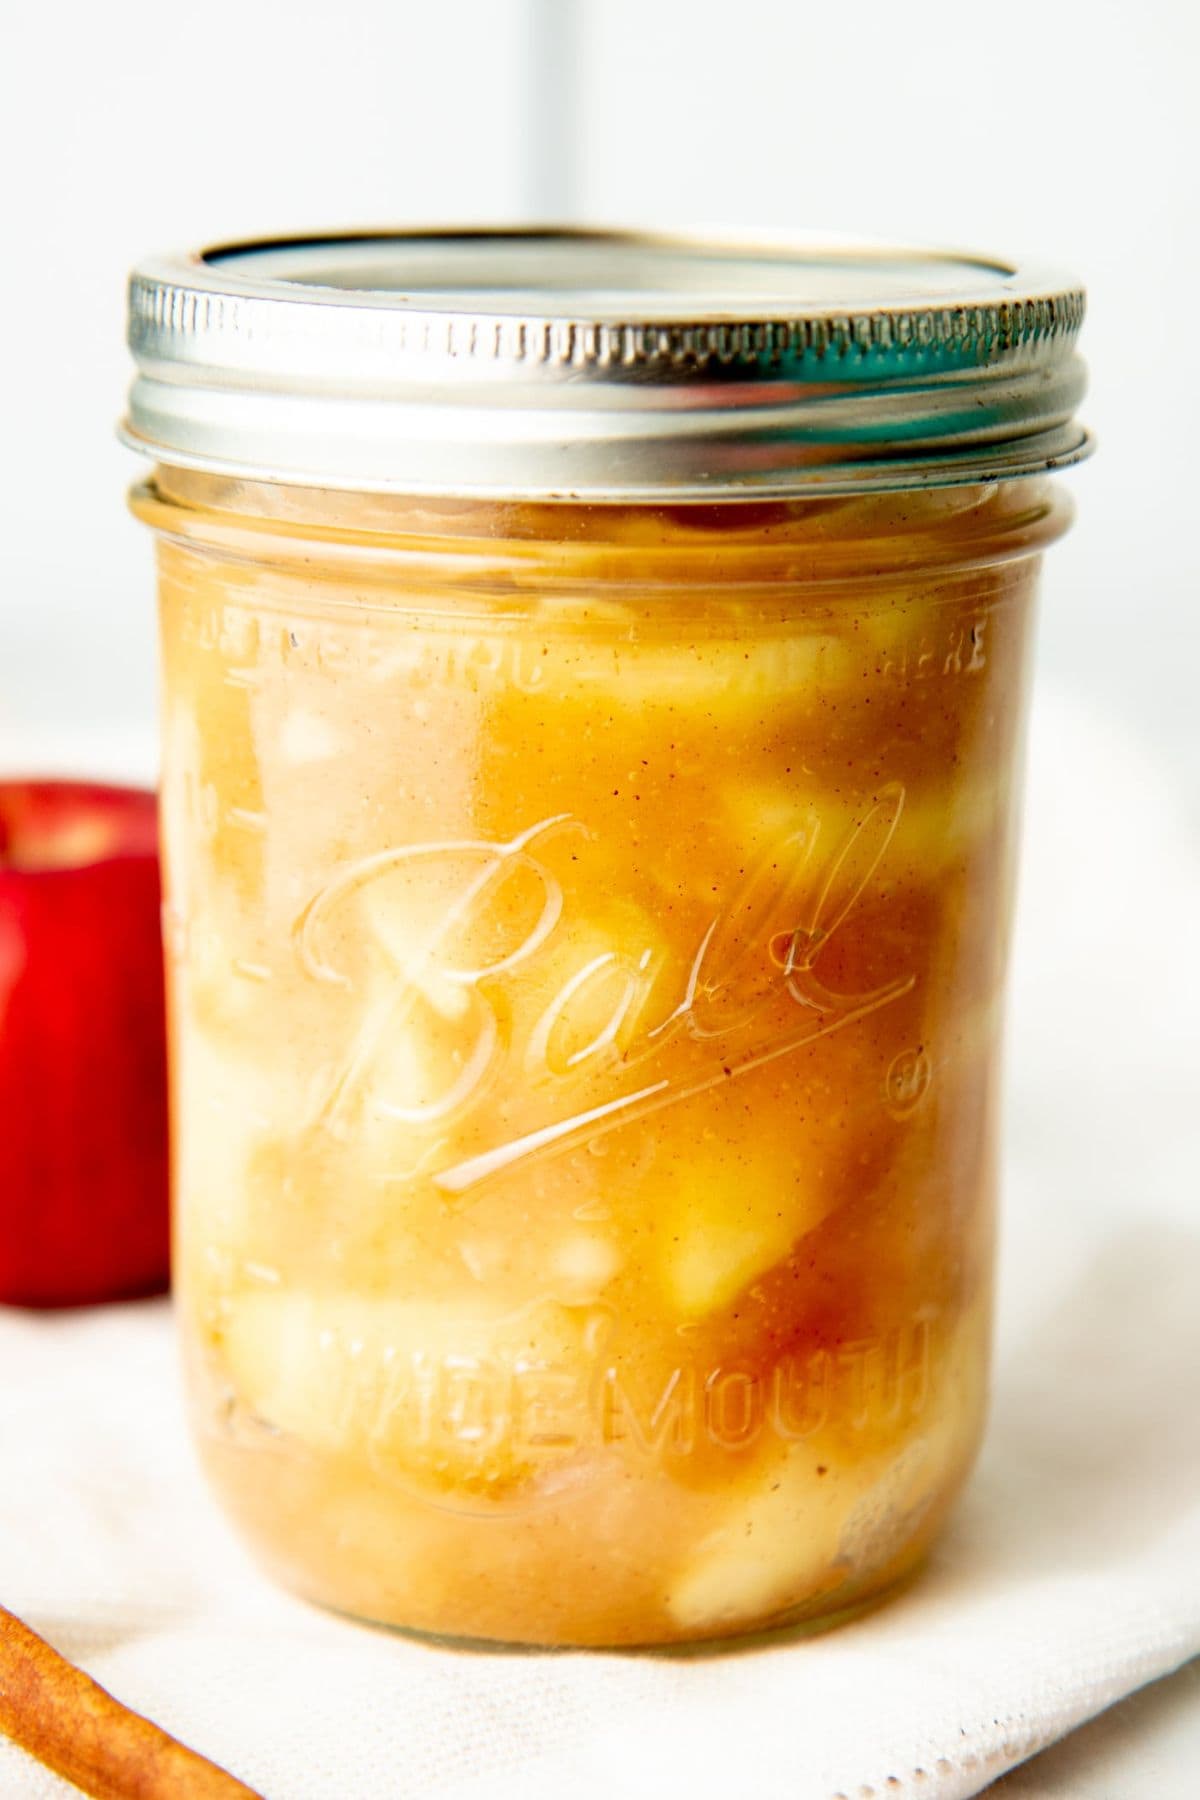
Step 6: Fill the jars, leaving one inch of headspace (empty space) at the top of each jar. Remove the air bubbles, and wipe the rim of the jar clean. Put the lid and band on the jar, tightening just until fingertip tight. Place in the canning pot, which should be boiling by now. Repeat with remaining filling and jars.
Step 7: Process the jars for 25 minutes (you may need to adjust for altitude). Turn off the heat and let the jars rest for 5 minutes before moving them to a dishtowel on the counter to cool. Check the lids for seal after 12-24 hours-you'll know it worked if the lid doesn't flex when you press on the center.
🙋🏻♀️ Canning Apple Pie Filling FAQs
While you can use cornstarch, flour, or other starches to thicken up pie filling typically, when it comes to canning, ClearJel is the only option. Everything else will break down too much during the canning process to be effective.
The beauty of canning your own pie filling is that it is ready to go, right out of the jar!
👩🏻🍳 My Expert Tips & Tricks
- Careful about changes: It's important to use a tested and approved recipe whenever you are canning to keep your family safe from foodborne illnesses. This recipe is directly from the makers of Ball® home canning products, and it has been tested and approved as safe for water bath canning. Any adjustments to the recipe could make it unsafe.
- Bottled lemon juice: You have to use bottled lemon juice here, not fresh lemon juice. It's the only way to know for sure that your pie filling is acidic enough for safe canning.
- Make a pie: Preheat the oven to 350°F and fit a pie crust to a 9-inch pie plate. Pour two pint jars of canned apple pie filling into the crust, and fit the pie with a top crust in your desired design (lattice, cut-outs, etc.), or use a streusel top for a Dutch apple pie. Place the pie plate on a baking sheet, and bake in a preheated oven for 30-40 minutes, or until the filling is bubbly and the crust is golden brown. Cool for 45 minutes before slicing.
🍏 Uses for Apple Pie Filling
The obvious answer here is to make a wonderful apple pie, but if you're looking for some different ways to use up that filling, here are some options:
- Spoon it on top of slow cooker steel-cut oatmeal.
- Use it on top of almond pancakes or whole wheat waffles.
- Mix it into some homemade yogurt (or Instant Pot coconut yogurt) for an awesome breakfast bowl.
- Warm it up and spoon it on top of vanilla mason jar ice cream.
- Pour it into a casserole dish, and then top with a crumb topping and bake for the easiest apple crisp ever!
- Mix ½ cup into your favorite muffin or quick bread recipe.
- Give it away as a homemade food gift! Everyone loves getting canned goods.
🍎 More Easy Canning Recipes
If you tried canning apple pie filling or any other recipe on my blog, please leave a 🌟 star rating and let me know how it went in the comments!
📖 Recipe
Canning Apple Pie Filling
Ingredients
- 12 cups sliced, peeled, and cored apples (see note)
- 2 ¾ cups sugar
- ¾ cup ClearJel® cooking starch
- ½ teaspoon ground cinnamon
- ½ teaspoon ground nutmeg
- 2 ½ cups unsweetened apple juice
- 1 ¼ cups cold water
- ½ cup lemon juice
Instructions
- Prepare boiling water canner. Heat jars in simmering water until ready for use. Do not boil. Wash lids in warm soapy water and set aside with bands.
- Blanch apple slices, working with 6 cups at a time, in a large pot of boiling water for 1 minute. Remove with a slotted spoon and keep warm in a covered bowl.
- Combine sugar, ClearJel®, cinnamon, and nutmeg in a large stainless steel saucepan. Stir in apple juice and cold water. Bring to a boil over medium-high heat, stirring constantly, and cook until mixture thickens and begins to bubble. Add lemon juice and boil for 1 minute, stirring constantly. Remove from heat. Drain apple slices and immediately fold into hot mixture; heat, stirring, until apples are heated through.
- Ladle hot apple pie filling into a hot jars, leaving 1 inch headspace. Remove air bubbles. Wipe rim and center lid on jar. Apply band until fit is fingertip tight. Place jar in boiling water canner. Repeat until all jars are filled.
- Process jars for 25 minutes, adjusting for altitude. Turn off heat, remove lid, and let jars stand 5 minutes. Remove jars and cool 12-24 hours. Check lids for seal-they should not flex when center is pressed.
Notes
- To treat apple slices to prevent browning, submerge cut apples in a mixture of ¼ cup lemon juice and 4 cups water.
- You must use bottled lemon juice, not fresh, for safety.
- Recipe courtesy of Ball® Home Canning Products.
-
Making an apple pie using canned apple pie filling couldn't be easier. Here's how:
- Preheat oven to 350°F.
- Fit an all butter pie crust in a 9-inch pie plate.
- Pour two pint jars of canned apple pie filling into the crust.
- Fit pie with a top crust in your desired design (lattice, cut-outs, etc.), or use a streusel top for a Dutch apple pie.
- Place the pie plate on a baking sheet, and bake in a preheated oven for 30-40 minutes, or until the filling is bubbly and the crust is golden brown.
- Let pie cool for at least 45 minutes before slicing.
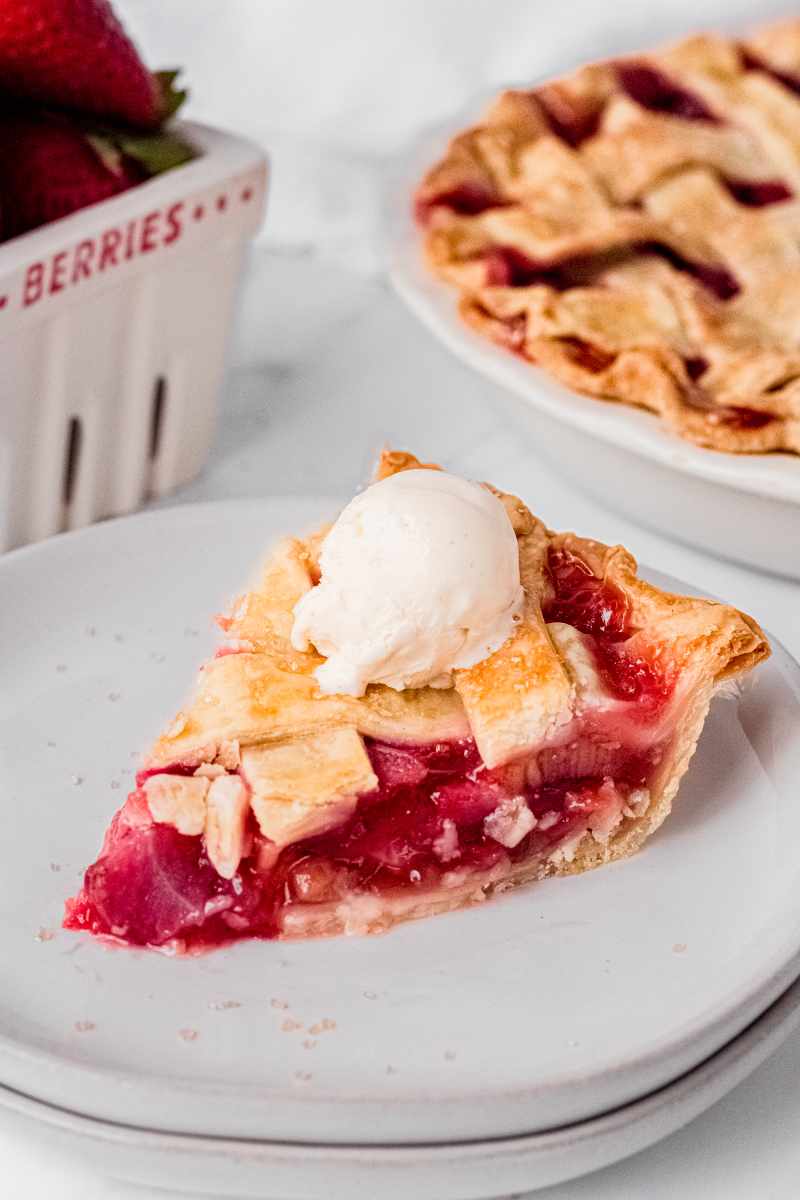

Making homemade apple pie doesn't get any easier than this! Canning apple pie filling makes pie duty at Thanksgiving a breeze!
In a canning recipe that calls for 1 cup corn starch would i sub same amount clear pectin
Hi Betty! If you'd like to use pectin, we recommend finding a recipe that specifically calls for that ingredient.
My recipe called for cornstarch to thicken the filling. Is it okay to can it?
Hi Donna! You always want to use a tested and approved recipe for canning and follow it closely. Any adjustments could make the recipe not work—or worse, unsafe. We do not recommend taking a standard pie filling recipe and attempting to can it. Please use a tested and approved recipe for the best results!
Also, here's a bit of info from the post specifically about why pie filling recipes for canning use Clear Jel:
"In a standard apple pie, you might use regular cornstarch, all-purpose flour, or arrowroot powder to thicken your pie filling while the pie bakes. But those thickeners would lose their thickening power during the canning process, leaving you with runny apple pie filling, so Clear Jel it is! Unfortunately, there are no substitutes for Clear Jel when it comes to canning fruit pie fillings."
I hope this helps! Happy canning! =)
Delicious! Turned out great. Simpler and quicker than I expected. The clear instructions helped a lot.
Thanks so much, Tracy! That's so great to hear. We're glad you found the instructions clear and that you're happy with the way everything turned out! We appreciate you taking the time to come back and tell us =)