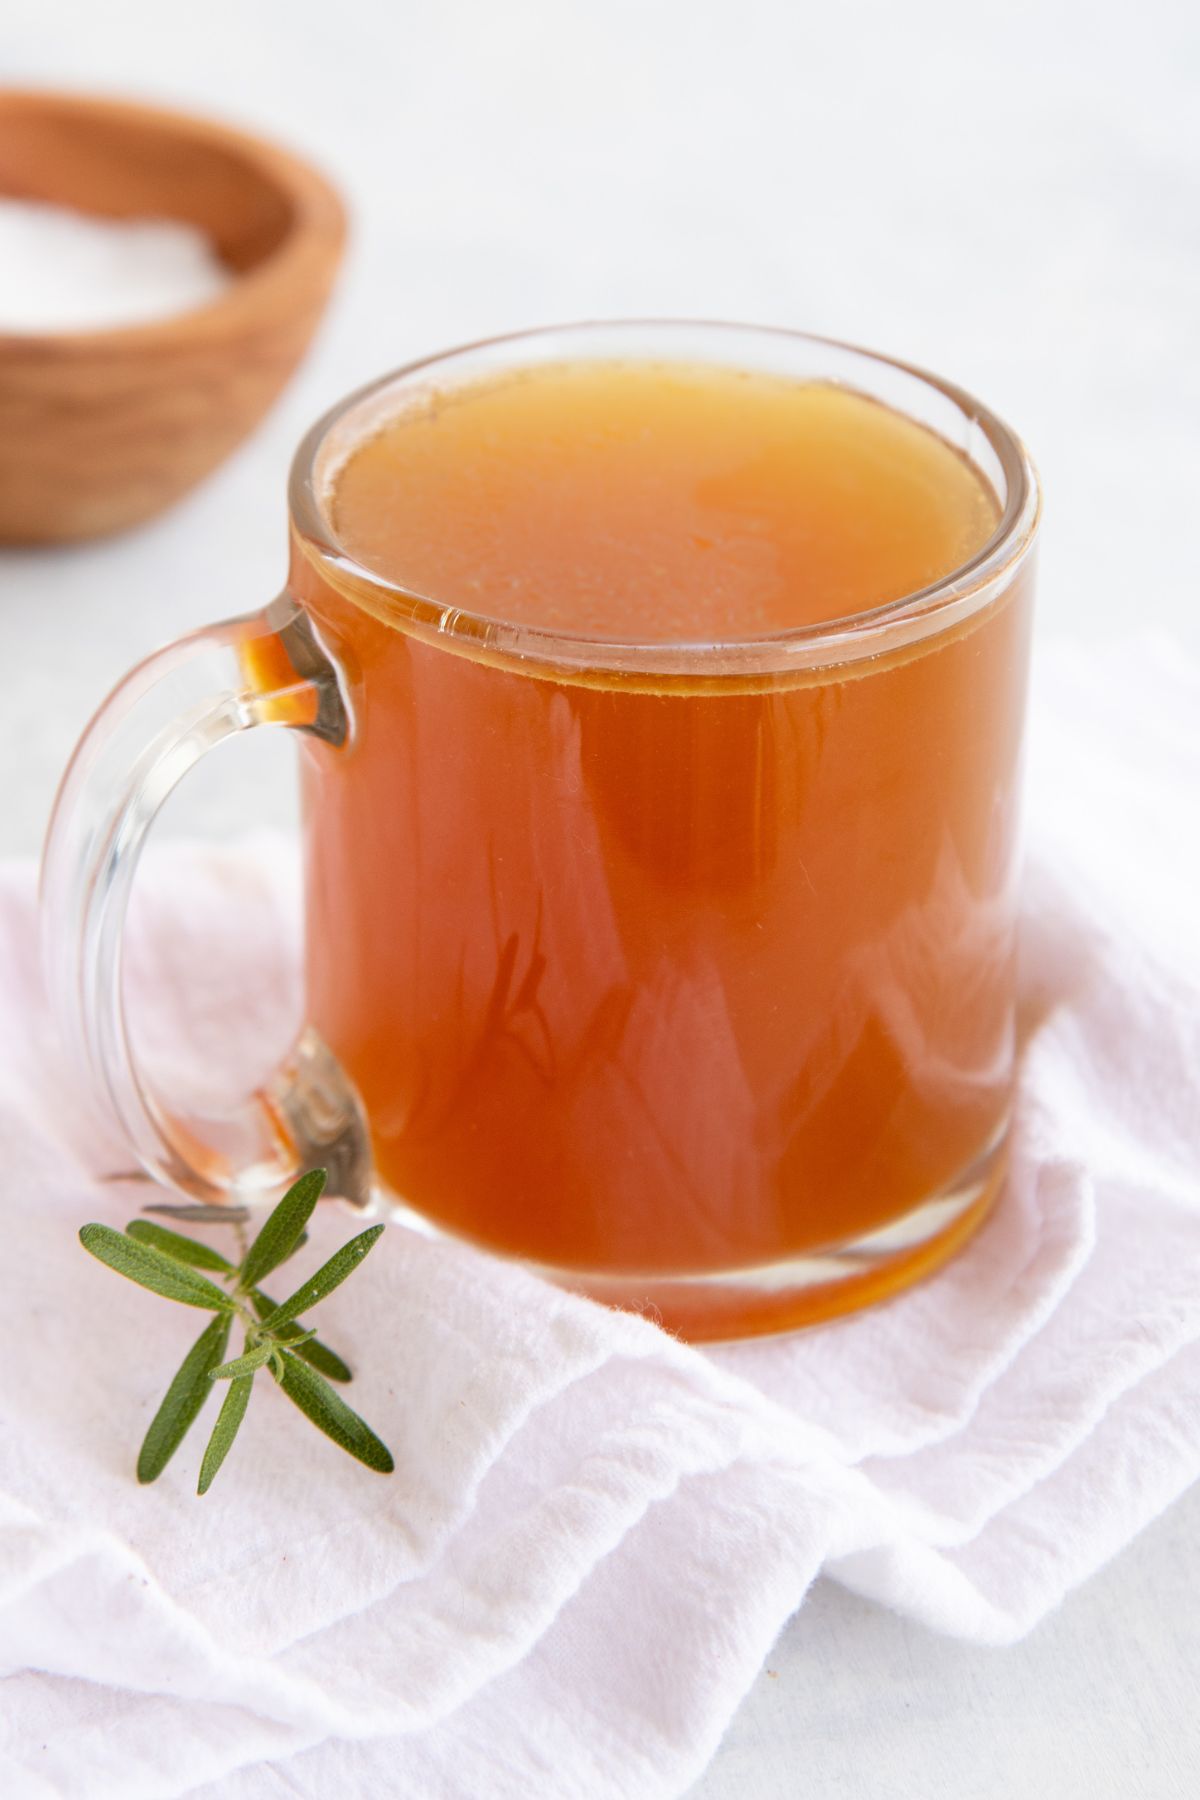
Homemade Bone Broth


If you've ever assumed homemade bone broth was complicated or hard to make, I'm here to change your mind. It's simple to make, incredibly forgiving, and a cozy, nutrient-rich base you can sip or use in everyday cooking.
🔍 Recipe At-A-Glance: Homemade Bone Broth
- ⏰ Prep Time: 5 minutes
- 🕰️ Cook Time: 24 to 48 hours
- 🍲 Flavor Profile: Perfectly savory and rich
- 💪 What Makes It Healthy: 27g protein per cup, packed with nourishing collagen and micronutrients
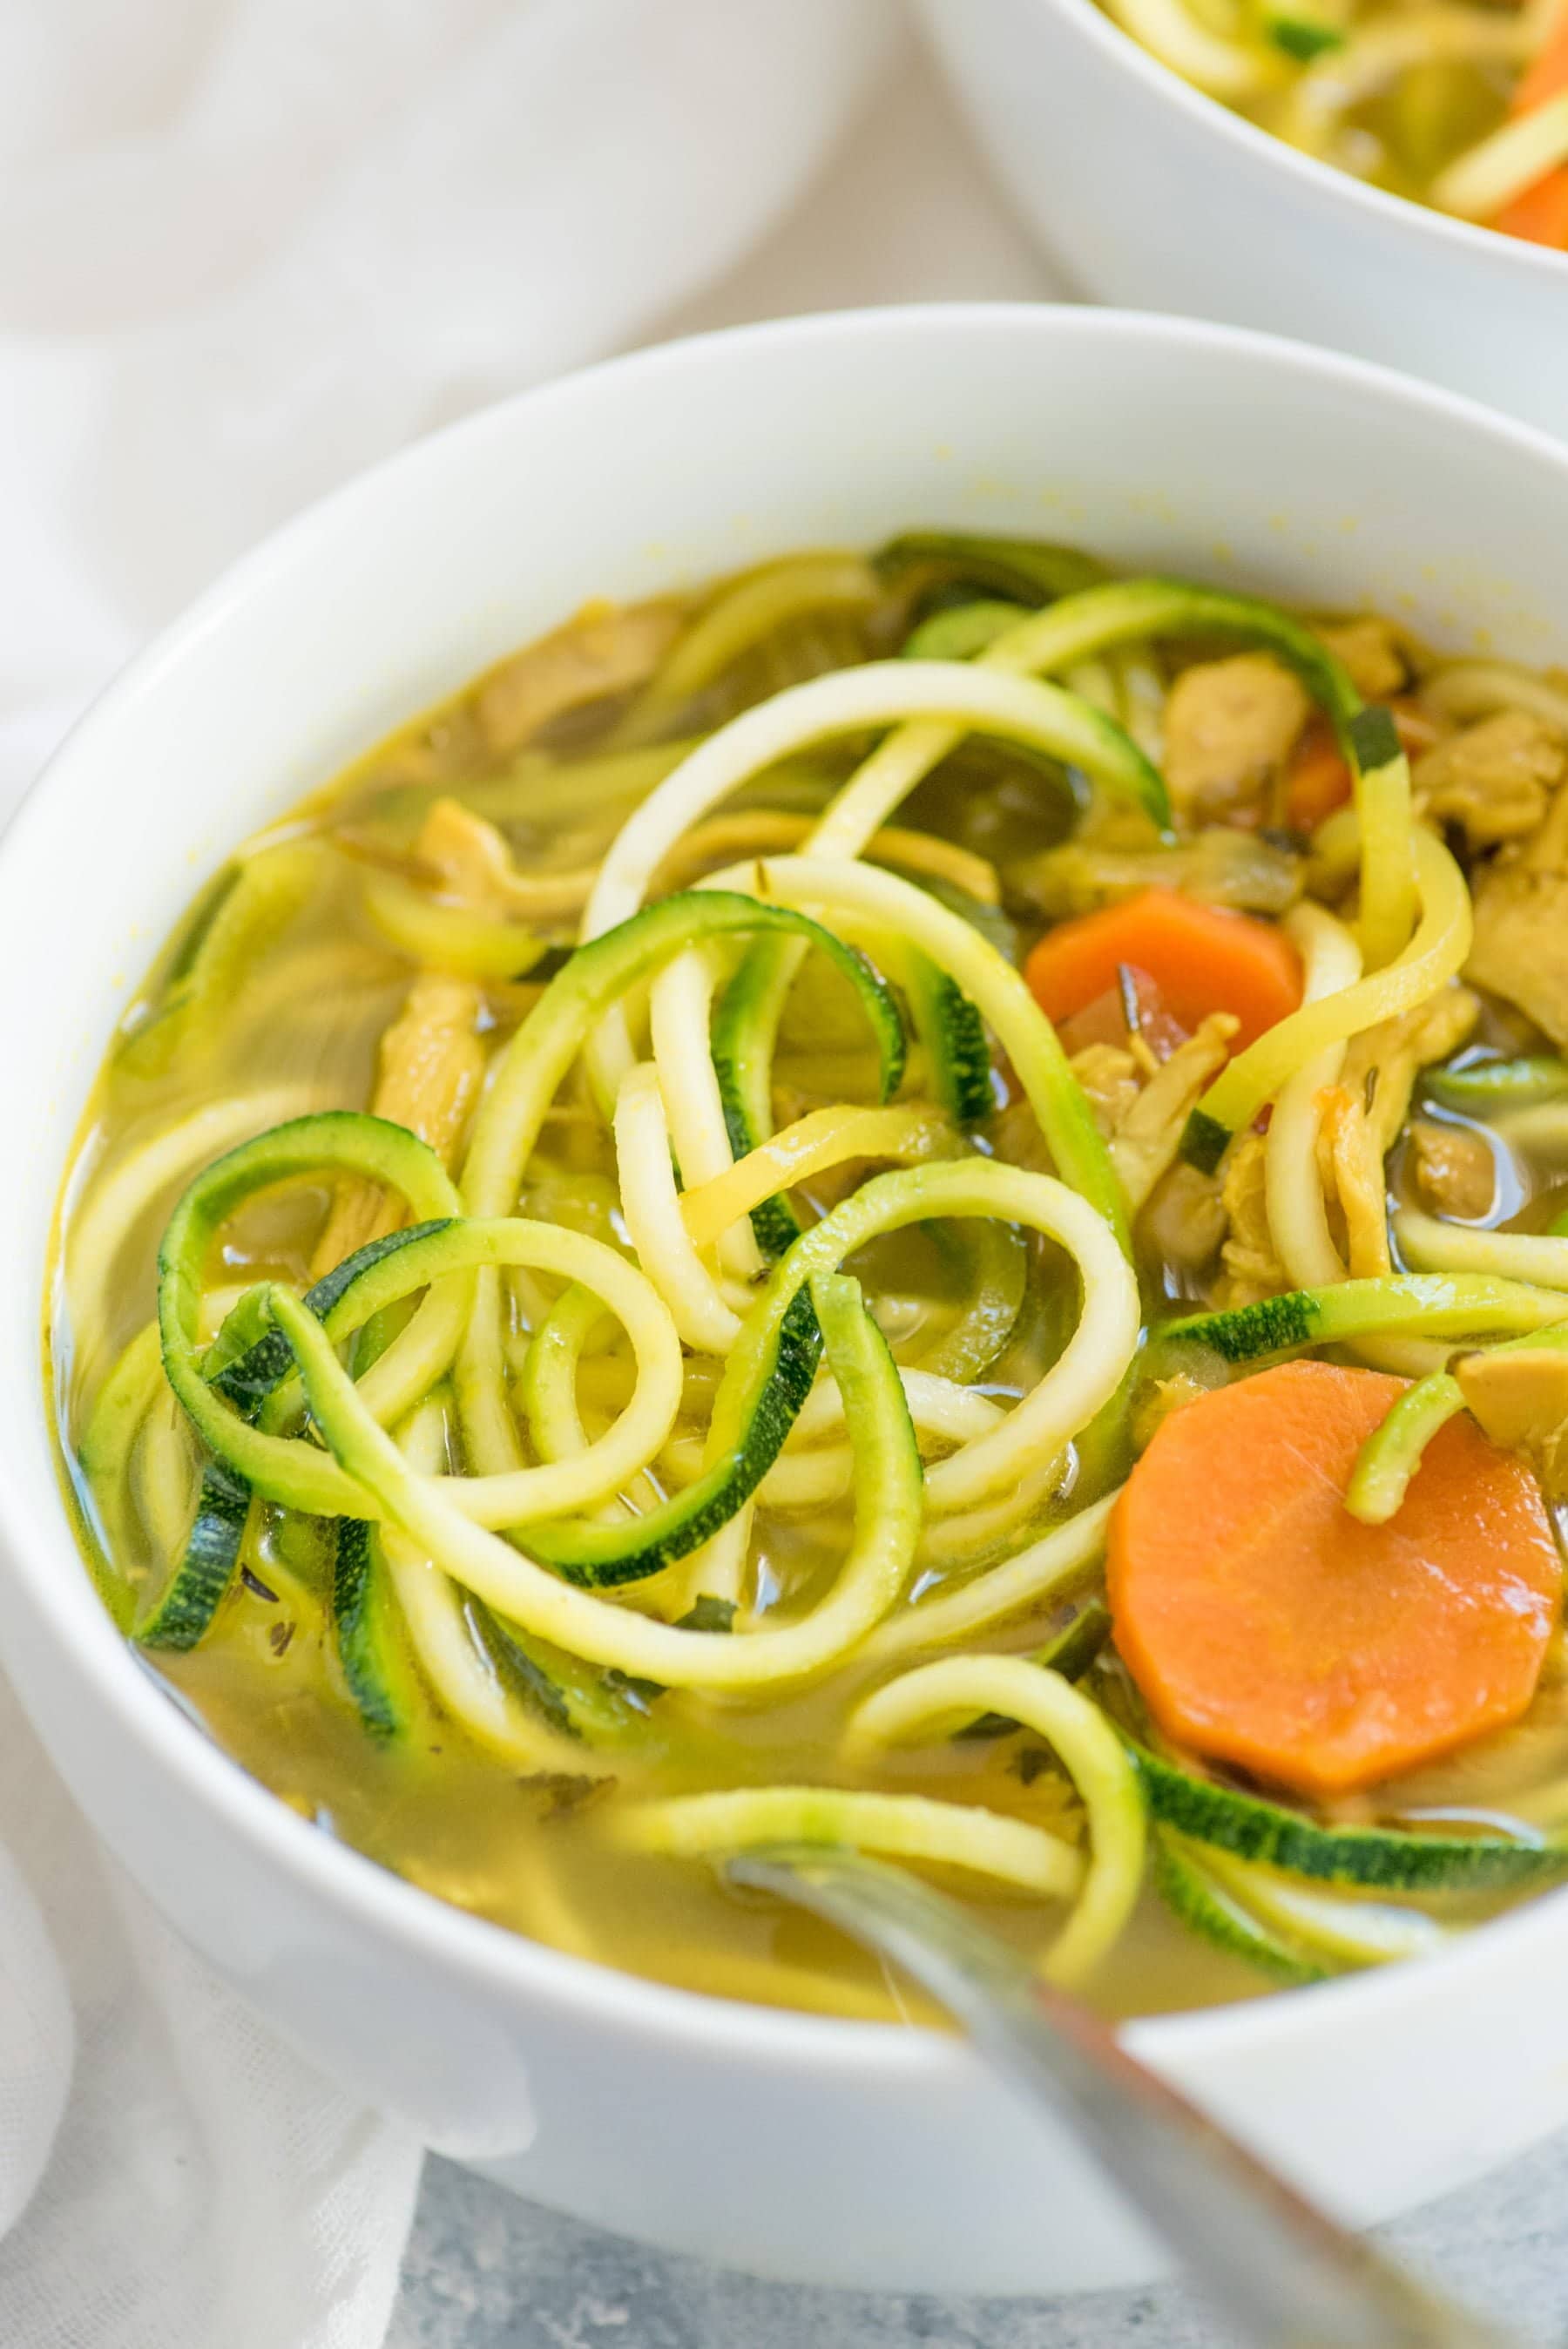
- 🥄 Good For: Sipping, making chicken zoodle soup (or any soup!), any cooking purpose
- ↪️ Make Ahead: Make up a huge batch and keep your freezer stocked
- 🧡 Difficulty: If you can boil a pot of water, you can make bone broth!
Jump to:
- 🔍 Recipe At-A-Glance: Homemade Bone Broth
- 🧡 Why You'll Love This Recipe
- 🍜 The Benefits of Bone Broth
- 🐓 The Ingredients You Need
- 🔁 Variations & Substitutions
- 🥘 How to Make Homemade Bone Broth
- 🤨 Troubleshooting Homemade Bone Broth
- 🙋🏻♀️ Homemade Bone Broth FAQs
- 👩🏻🍳 My Expert Tips & Tricks
- 🍲 Ways to Use Your Homemade Bone Broth
- 📖 Recipe
- 💬 Reviews
🧡 Why You'll Love This Recipe
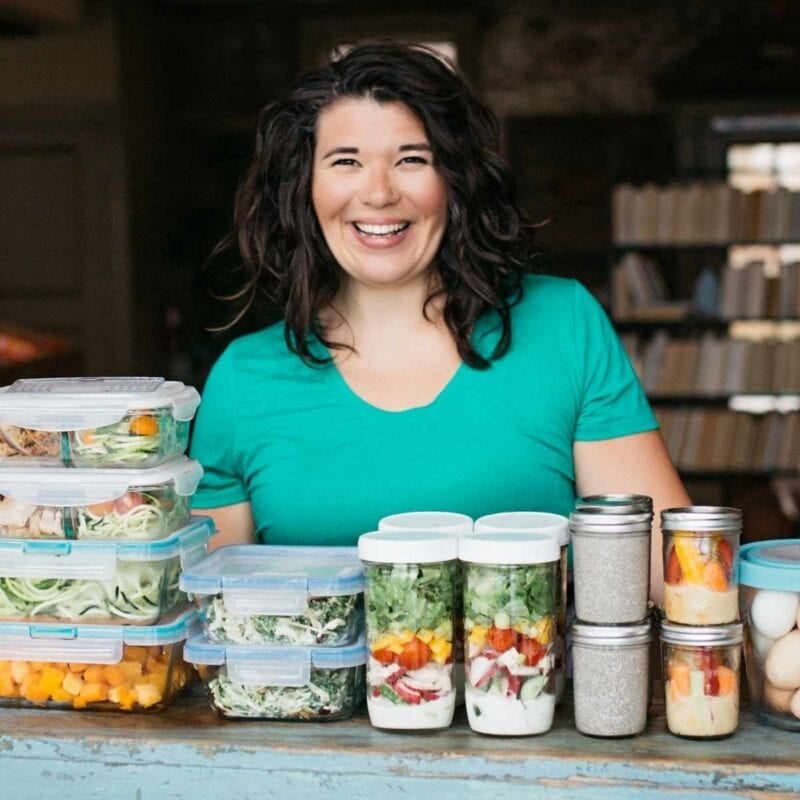
Hey friend. Along with medication, nutrition therapy is a huge part of my treatment plan for autoimmune illness. I was turned on to homemade bone broth years back by a doctor, and I was amazed by how much better a simple, easy-to-make broth could make me feel. Long-simmered healing broths are commonplace in many ancestral traditions, and for good reason! I still sip on bone broth daily (and cook with it nearly as much), and I'm convinced it makes a huge difference in my health.
Here's why you'll love this recipe:
- Affordable to make: storebought bone broth is expensive because of the time required to make it, but you can make it at home for pennies on the dollar
- Almost entirely hands-off: just dump stuff in a pot and that's basically it
- Soooo good for you: packed with protein, collagen, and micronutrients, bone broth is a nutritional powerhouse
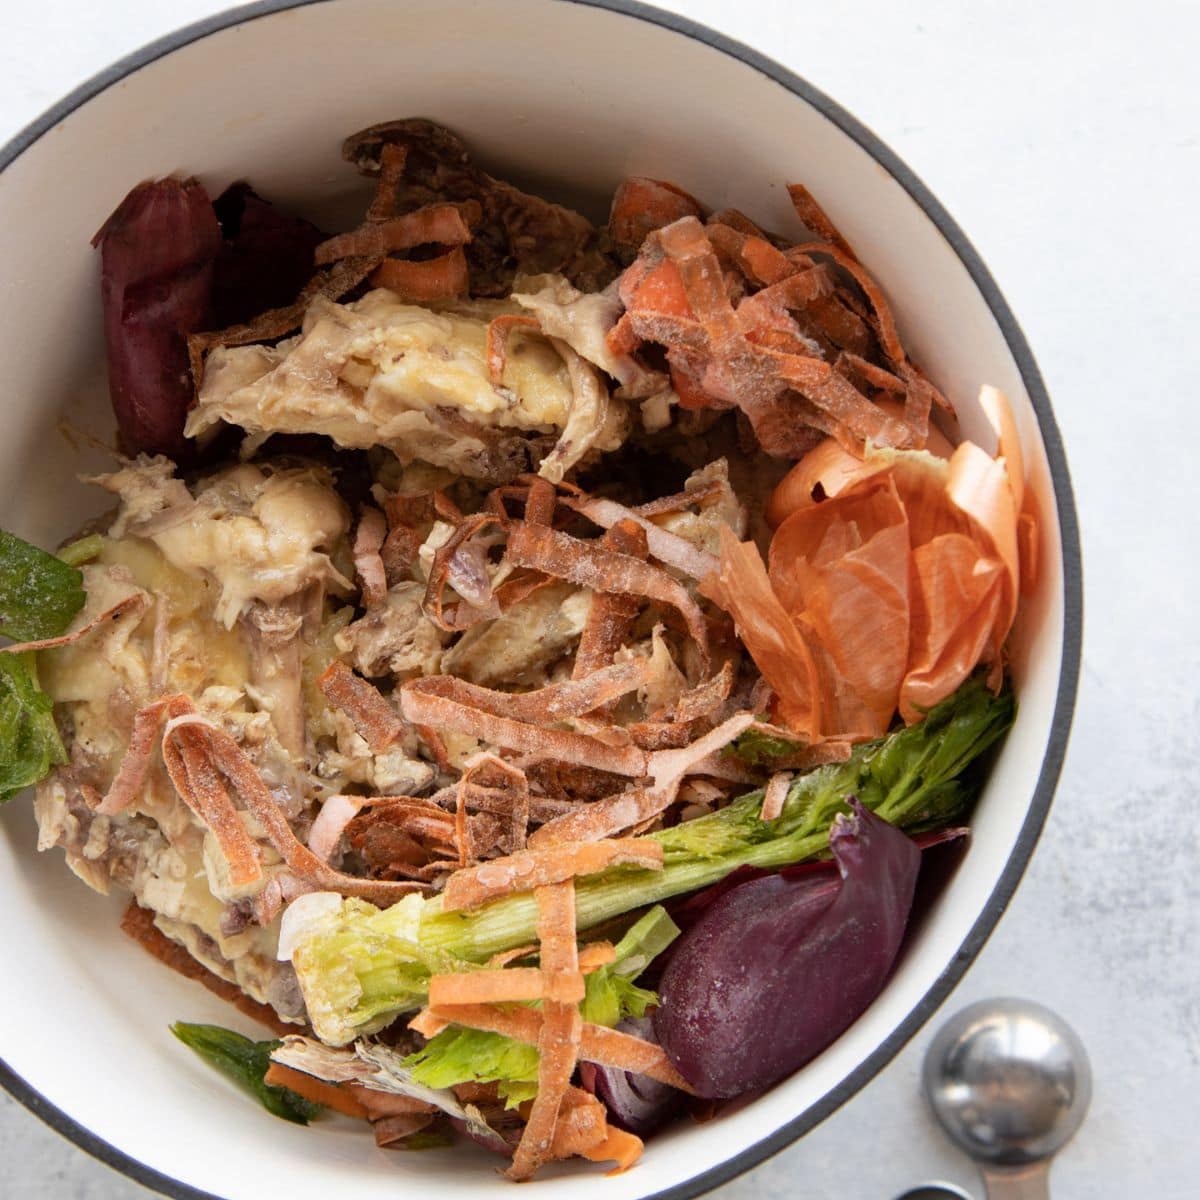
- Great way to use scraps: get every ounce of goodness out of your food by using scraps to make this broth
- Easy to freeze: freeze it in jars or souper cubes for easy use
- Super tasty: packed with slow-simmered flavor, homemade bone broth adds so much flavor to soups, stews, and other savory recipes
🍜 The Benefits of Bone Broth
- Naturally rich in collagen: Long-simmered bones release collagen, which gives bone broth its signature body and silky texture. Collagen is a structural protein that helps support connective tissues throughout the body, including skin, joints, and tendons.
- Easy to digest: Bone broth is simple, gentle, and soothing, which makes it a great option when you want something nourishing, but easy to digest. It's a staple for me during autoimmune flares just like my coconut porridge and coconut yogurt recipe.
- Contains micronutrients and minerals: Slow simmering helps draw out small amounts of minerals like calcium, magnesium, and potassium, along with other naturally occurring micronutrients.
- A slow food classic: Bone broth is the definition of slow food. It rewards patience, uses time as an ingredient, and connects you to traditional kitchen wisdom.
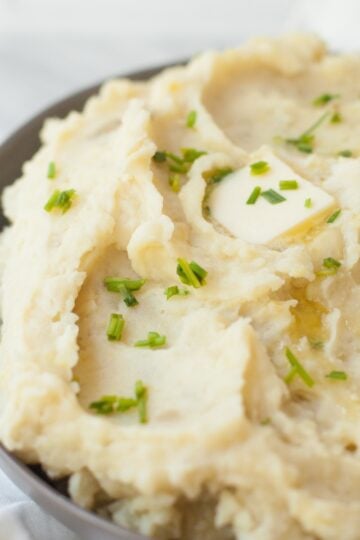
- Versatile and practical: Sip it on its own or use it as a flavorful base for soups (like my chicken noodle soup from scratch), grains (like my baked quinoa), sauces (yes, even in homemade turkey gravy), and everyday cooking.
- Reduces kitchen waste: Bone broth makes good use of bones and scraps that might otherwise be thrown away, turning leftovers into something valuable.
- Comforting and grounding: There's something deeply cozy about a pot of broth simmering on the stove (especially in the winter!). It feeds more than just hunger.
🐓 The Ingredients You Need
- Meat bones (chicken, turkey, pork, beef): I believe the best bones for bone broth are the ones you have! I always make bone broth after making crockpot whole chicken or my simple roasted chicken recipe-because those are the bones I have on hand. Bones that are full of connective tissue (necks, feet, backs, joints) will release the most collagen. You can get those from butchers or local farmers.
- Apple cider vinegar: Traditional wisdom says making the water slightly acidic helps release the collagen from the bones. I've not seen any science proving this one way or the other, but I figure adding a few tablespoons of ACV doesn't hurt.
- Aromatic veggies: I like using carrots, celery, and onion to add savory flavor.
Make sure to check the recipe card below for the full ingredients list, along with quantities and my expert tips and tricks.
🔁 Variations & Substitutions
- Make it low sodium: Just leave out the salt when cooking
- Make it super collagen packed: I keep a bag of chicken paws in my freezer and toss 2-3 into each batch of bone broth to add more collagen. I get these from a local farmer. They also make great dog treats!
🥘 How to Make Homemade Bone Broth
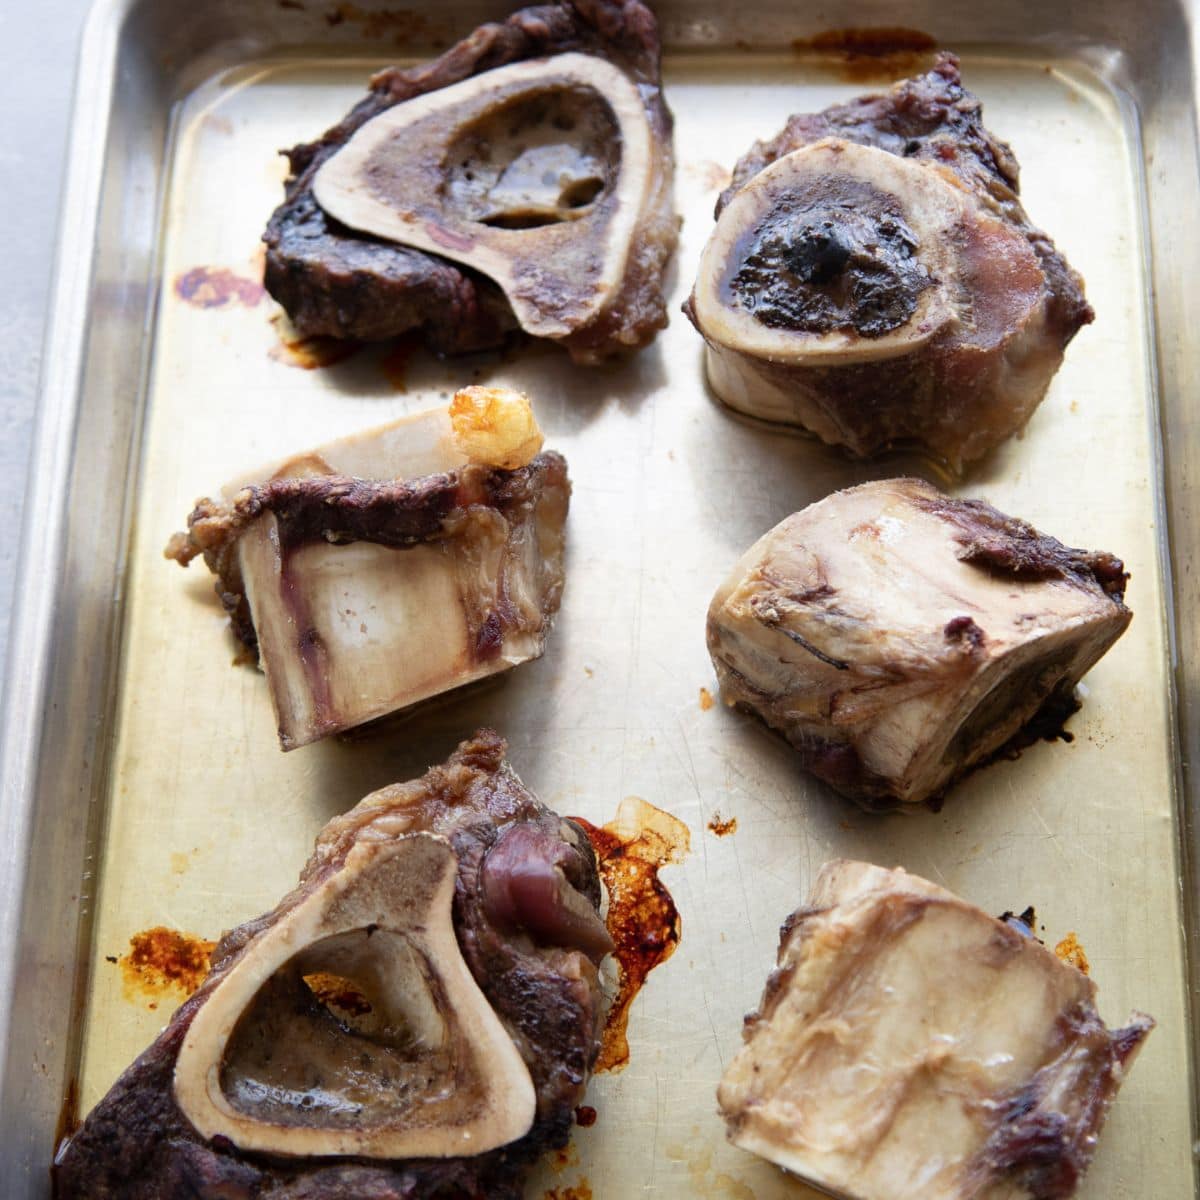
Step 1: For the best flavor, raw bones should be cooked before simmering. You can blanch them first by boiling for 10-15 minutes to remove impurities, then roast, or skip blanching and go straight to roasting. I find blanching makes little difference for chicken but noticeably improves beef broth, especially with lower-quality bones. Either way, roast raw or blanched bones at 425°F for 25-30 minutes, until deeply browned. It's hard to overdo it.
Step 2: Add the roasted bones to your pot with aromatics, apple cider vinegar, and water. I usually use vegetable scraps I've saved in my freezer. The vinegar helps the bones break down, and the seasonings are flexible-feel free to experiment and find the combination you like best.
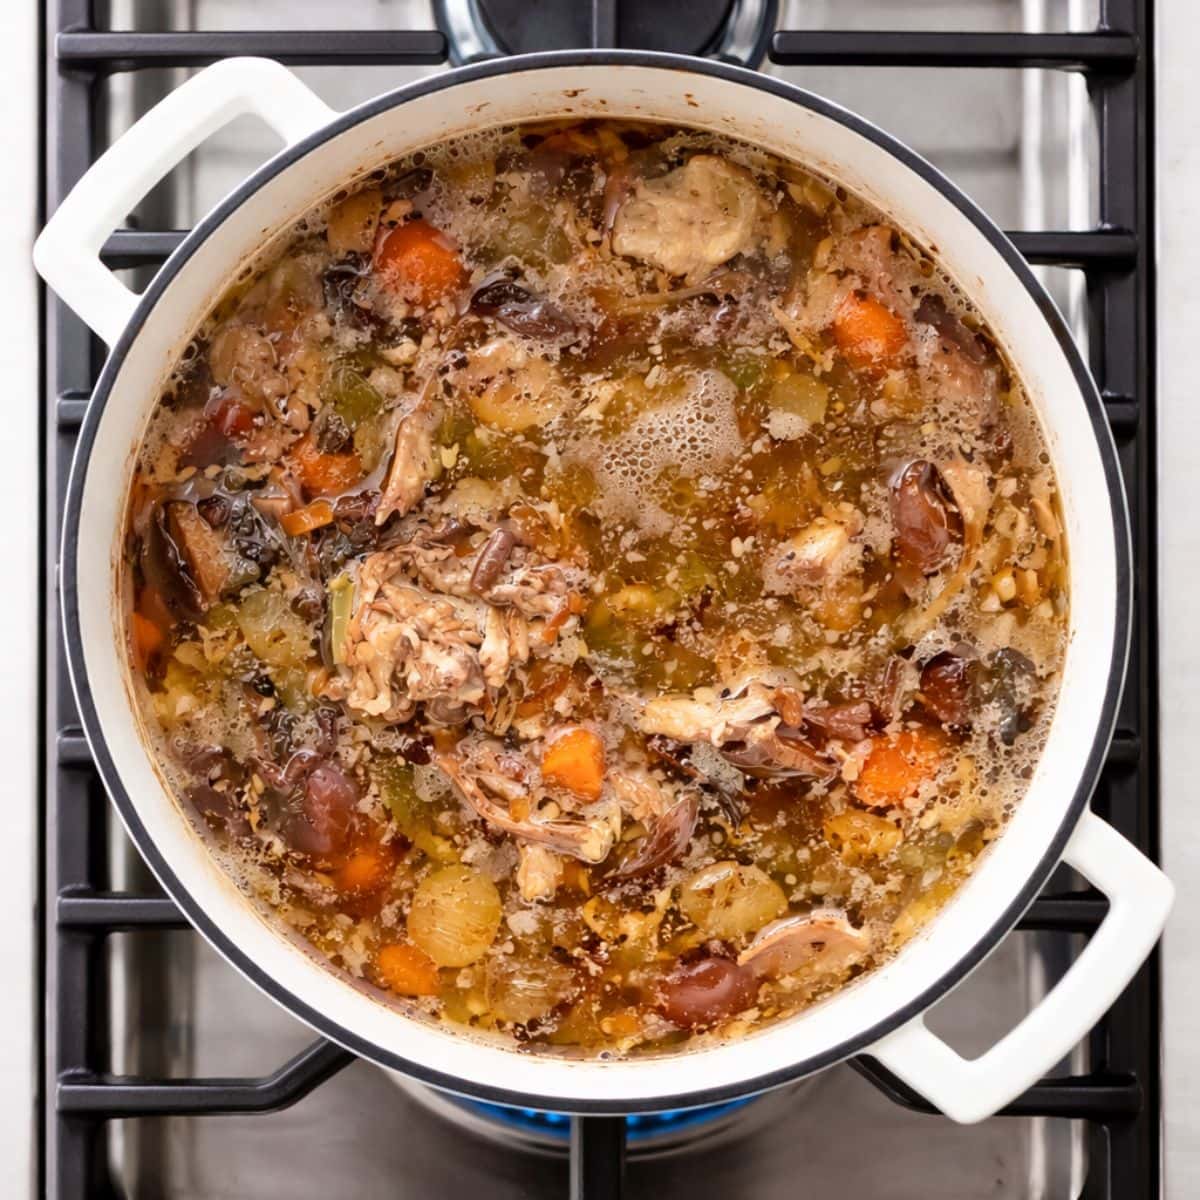
Step 3: Bring to a very low simmer on the stove or in a slow cooker. Depending on the type of bones used, it's ready after about 24-48 hours, kept at a very low simmer rather than a boil. If leaving it overnight makes you nervous, you can refrigerate the broth and restart the simmer the next day. You can also make bone broth in an electric pressure cooker (like an Instant Pot or Ninja Foodi) on high pressure for 2-3 hours. Full instructions for all methods are in the recipe card below.
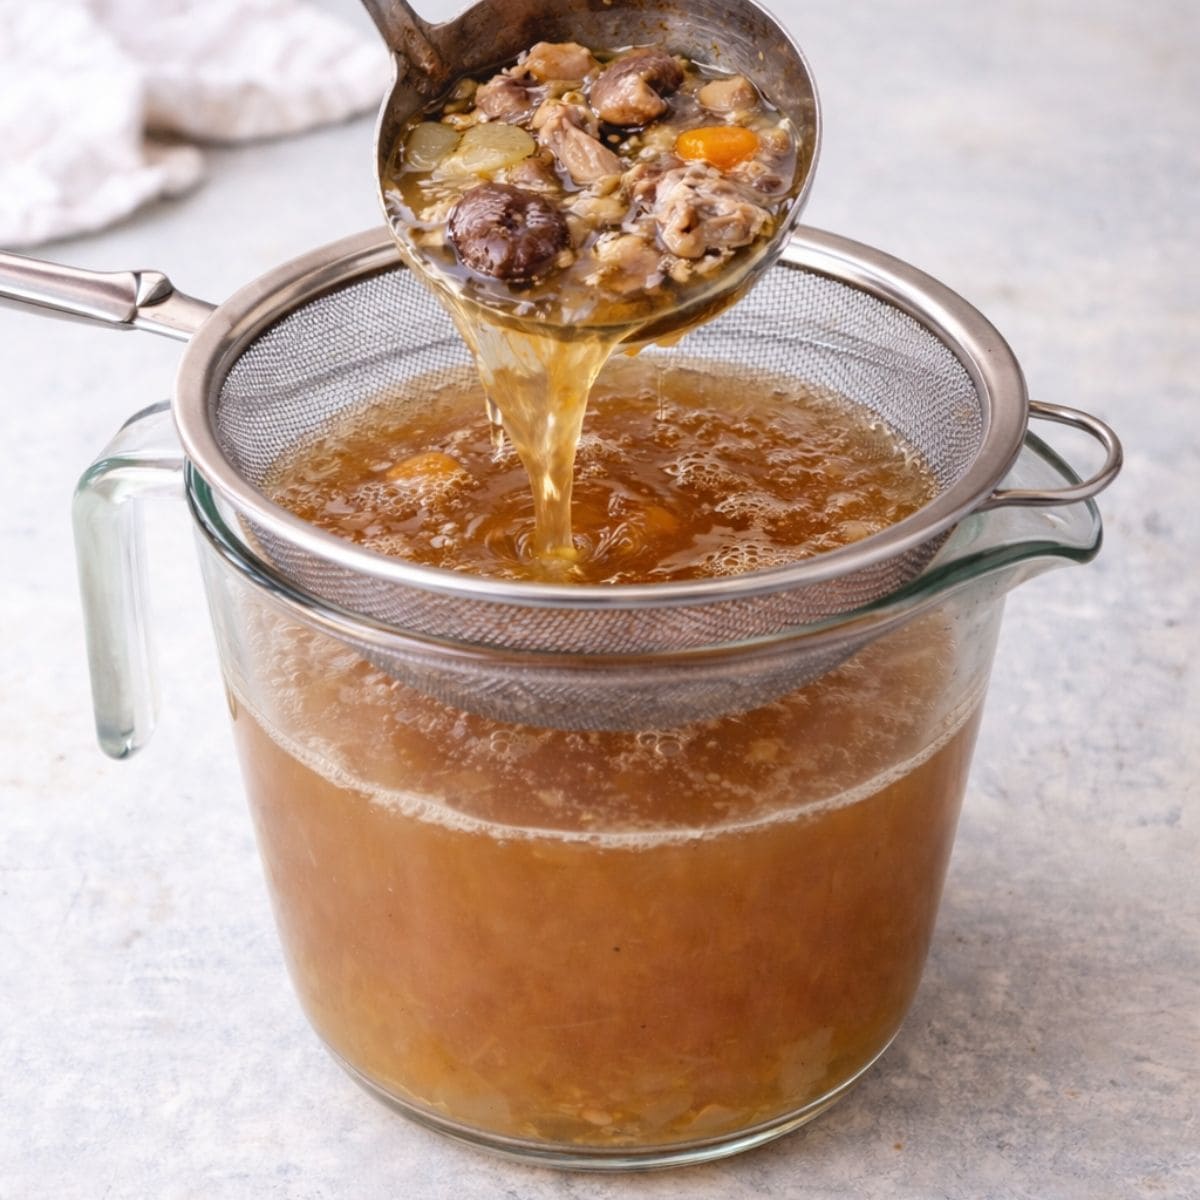
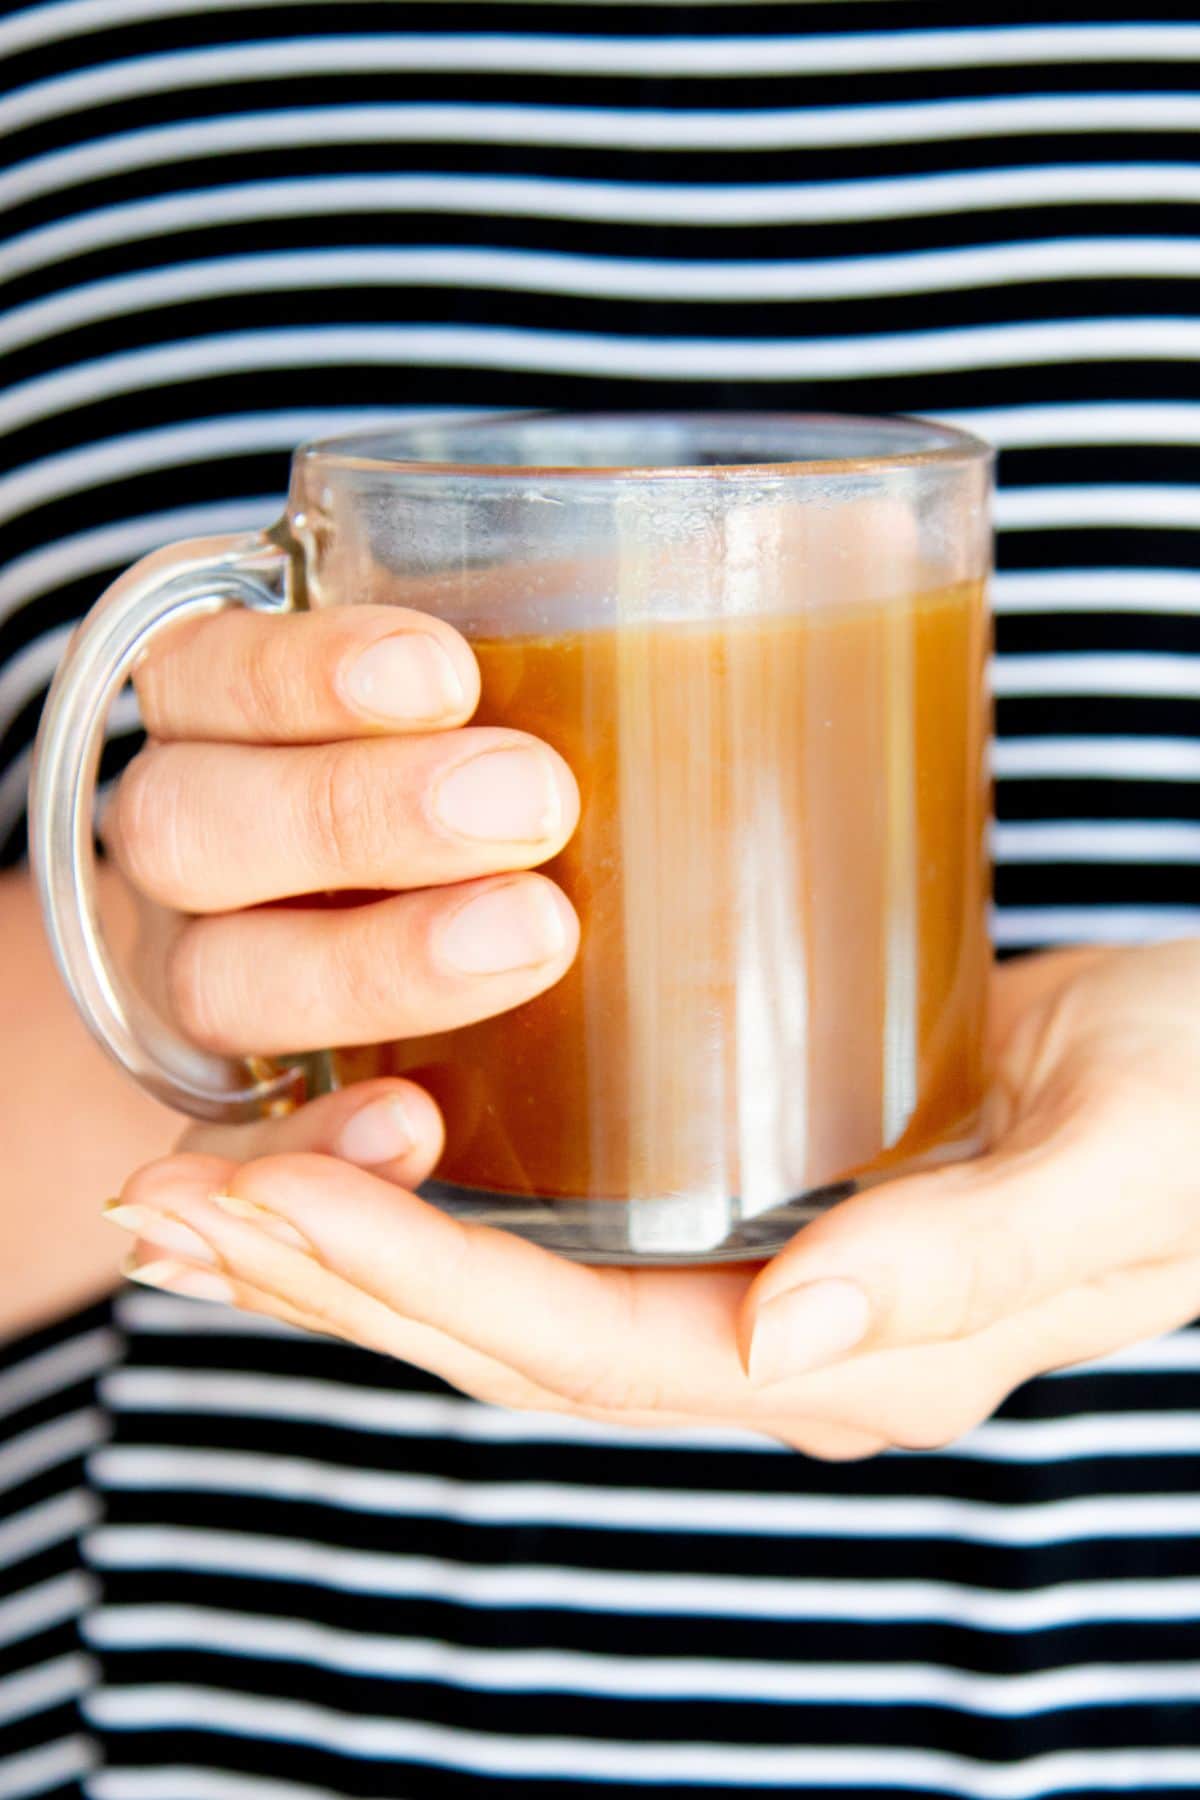
Step 4: Strain the bone broth using a fine-mesh strainer and then pour the liquid into jars for freezing. A layer of fat will solidify at the top of the broth after chilling-you can scoop that off and use it like any other cooking oil. I like to use it to sauté onions! You can also mix it back into the broth.
🤨 Troubleshooting Homemade Bone Broth

- My bone broth looks all cloudy/milky! When bone broth is boiled at too high of a temperature for too long, it can get a milky/cloudy appearance to it. There is nothing wrong with the broth-it's fine to use-it just doesn't look great. Next time, just lower the temperature a little bit.
- My broth is cooking and there is a lot of foam coming up! What do I do? Foam on the top of cooking broth is just impurities in the bones coming out. Just take a slotted spoon and skim it off the top.
- My broth tastes....kinda funky. Did you remember to roast, cook, or blanch your bones before adding it to the broth pot? That tends to be the number one reason why broth gets a funky flavor-using raw bones.
- My bone broth didn't gel! First of all, remember bone broth only gels when cooled. Hot broth will be liquid. Either way, don't worry, the broth is still packed with all kinds of nutrition. To make sure your bone broth gels every time, make sure to include bones that have connective tissues. Feet, knuckles, necks, backs, joints, etc. You'll be amazed at how affordably you can buy these usually unwanted bones from your local butcher or farm. Also: make sure to cook your bone broth for a good long time!
- There is a thick layer of fat on top! That's okay. Meat bones will release some fat! You can either skim it off and discard it, mix it into your broth for a silky texture, or use it as a cooking fat.
🙋🏻♀️ Homemade Bone Broth FAQs
Bones heavy in connective tissue like necks, feet, joints, and knuckles will release the most collagen into the bone broth.
Common bone broth mistakes include boiling instead of simmering, not using bones rich in connective tissue, adding too many aromatics that overpower the flavor, not simmering long enough, and not roasting the bones before making broth.
👩🏻🍳 My Expert Tips & Tricks
- Skip the garlic: You might be tempted to add garlic, but I've found the long simmer makes the garlic very overpowering in the final broth.
- Boost the collagen: I keep a bag of chicken paws in my freezer and toss 2-3 into each batch of bone broth to add more collagen. I get these from a local farmer. They also make great dog treats!
- Freeze for later: I freeze large amounts in use wide mouth pint-and-a-half Mason glass jars and I use souper cubes or plain ice cube trays for smaller amounts.
- Beef flavor: When making beef broth, I like to add in 2 tablespoons of soy sauce or coconut aminos, 1 cup roughly chopped mushrooms, and about 2 tablespoons of tomato paste-this helps create a richer flavor.
- Skip the roasting: if you are using bones leftover from cooking a whole chicken or making a roast, you can skip this step, since the bones were already "roasted" during your initial cooking process
- Keep a bag in the freezer for scraps: toss carrot peels, onion ends, and celery leaves into the bag. When it's full, use it to make homemade bone broth instead of using fresh veggies
- More time is never a problem with bone broth: don't stress about if you go an extra hour (or 3) because you got busy! Bone broth of all kinds loves a good, long simmer.
🍲 Ways to Use Your Homemade Bone Broth

If you tried this Homemade Bone Broth or any other recipe on my blog, please leave a 🌟 star rating and let me know how it went in the comments!
📖 Recipe

Homemade Bone Broth Recipe (Instant Pot, Slow Cooker, & Stovetop Recipes)
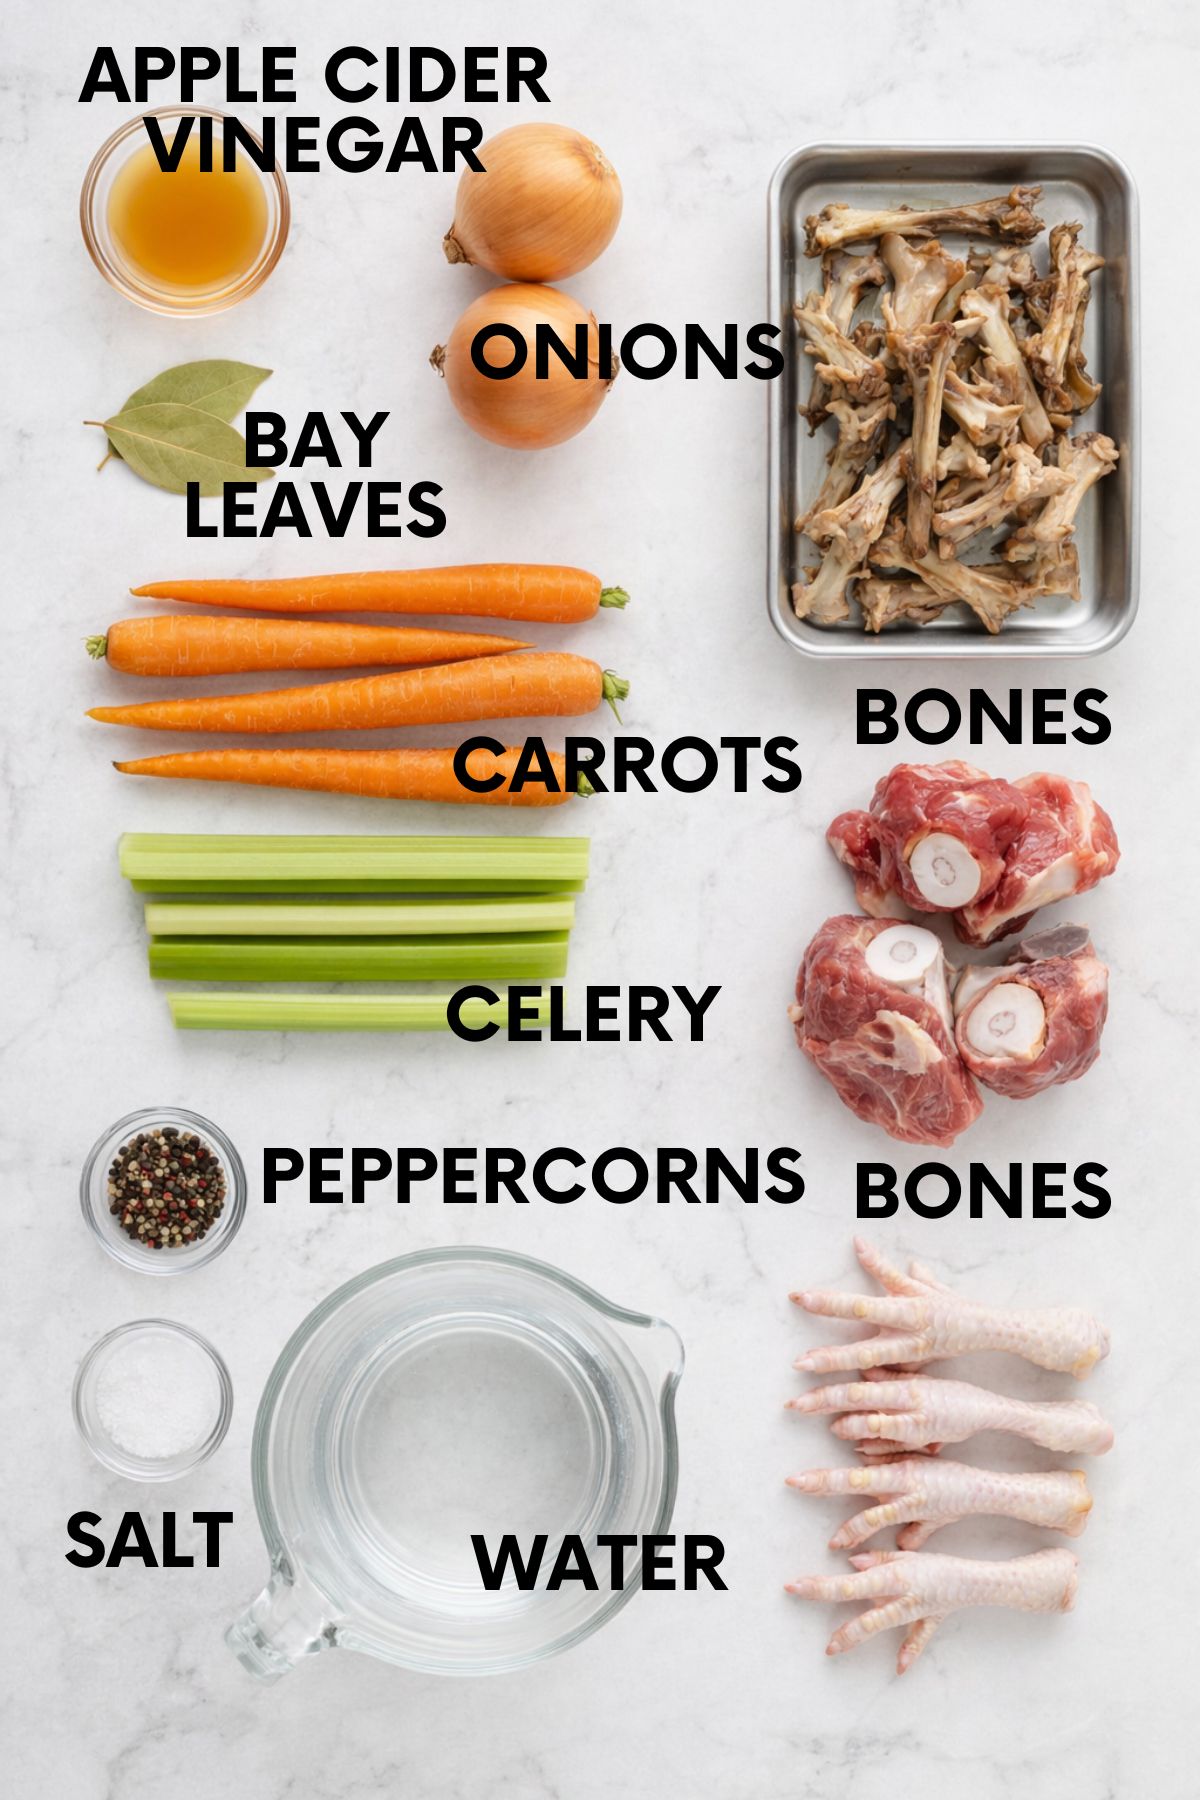
Ingredients
- 2-3 pounds chicken turkey, pork, beef, lamb, or other bones (try to get bones that have lots of connective tissue-feet, knuckles, necks, backs, etc.)
- 1 tablespoon apple cider vinegar
- 4 cups roughly chopped carrots, onions, and celery (or scraps)
- 2 bay leaves
- ½ teaspoon peppercorns
- 1 teaspoon sea salt
- Filtered water
Instructions
- If using raw bones, preheat oven to 425°F. Layout bones in one layer on a large baking sheet or roasting pan. Bake in preheated oven for 25-30 minutes, or until golden brown.
Stovetop:
- In a large soup pan or Dutch oven, place the bones, apple cider vinegar, carrots, onions, celery, bay leaves, peppercorns, and salt.
- Fill pot with filtered water until it covers the bones by about an inch. Let mixture rest for 30 minutes.
- Bring to a simmer over medium-high heat, then reduce heat to as low as your stove will go. You want it to just be barely bubbling. Cover with the lid slightly ajar and cook for 24 hours for poultry bones and 48 hours for red meat bones. If cooking overnight on the stove makes you nervous, you can place the whole pot (covered) in the fridge overnight, and restart the cooking time in the morning.
- When cooking time is up, strain through a fine mesh sieve, and transfer to jars for storing in the fridge or freezer.
- Once chilled, the broth should be jiggly and have a layer of fat on top. Scrape off the fat and use it for other purposes, if desired.
Instant Pot:
- In the basin of an Instant Pot, place the bones, apple cider vinegar, carrots, onions, celery, bay leaves, peppercorns, and salt.
- Fill pot with filtered water until it covers the bones by about an inch (or to the max fill line on the Instant Pot-whichever comes first). Let mixture rest for 30 minutes.
- Close lid and turn knob to sealing, set to cook on low pressure for 3 hours for poultry bones or 4 hours for red meat bones. When time is up, let the pressure release naturally.
- Strain broth through a fine mesh sieve, and transfer to jars for storing in the fridge or freezer.
- Once chilled, the broth should be jiggly and have a layer of fat on top. Scrape off the fat and use it for other purposes, if desired.
Slow Cooker:
- In the basin of a slow cooker, place the bones, apple cider vinegar, carrots, onions, celery, bay leaves, peppercorns, and salt.
- Fill pot with filtered water until it covers the bones by about an inch. Let mixture rest for 30 minutes.
- Cover with the lid slightly ajar, and cook on low for 24 hours for poultry bones and 48 hours for red meat bones.
- Strain broth through a fine mesh sieve, and transfer to jars for storing in the fridge or freezer.
- Once chilled, the broth should be jiggly and have a layer of fat on top. Scrape off the fat and use it for other purposes, if desired.
Video
Notes
- You can optionally blanch your raw bones before roasting them by submerging them in boiling water for 10-15 minutes. This is to remove some of the impurities that can cause the flavor of the final broth to go off. I tend to do this when making beef broth but not with chicken broth-test out both ways and see what works best for you.
- When making beef broth, I like to add in 2 tablespoons of soy sauce or coconut aminos, 1 cup roughly chopped mushrooms, and about 2 tablespoons of tomato paste-this helps create a richer flavor.
- I tend to avoid putting garlic in my bone broth because it can be very overpowering when cooked for that long. If you do want to add garlic, add a single clove in the last hour or so of cooking.
- My slow cooker runs too hot on Low and too cold on Warm to make good bone broth-so make sure to keep an eye on yours.
- If you're short on time, I like to keep some of Kettle & Fire's Bone Broth on hand, but feel free to try other bone broth brands.
- For more flavor without spending extra money, save your veggie scraps-onion skins, carrot peels, celery leaves, herb stems-in a gallon bag in the freezer as they accumulate. These scraps make a great substitute for the veggies the recipe calls for!

Hi, I just finished making Bone Broth from 3 Lbs left over barbecued Beef Ribs (+ green turnip, carrots, bay leaves and gingers) without any acid since I cannot consume any kind of acid.
It didn't gel on the top but the bottom was sort of gelled! I used Instant Pot, High Pressure, 2 Hrs, NPR. Do you think the acid is the only culprit? Or I shall try high pressure for 4 hours, NPR next time to see if it will gelled? Thanks.
Hi MJ! If I had to guess, I'd say it was likely a combo of a shorter pressure cook, the type of bones you used, and the lack of acid that gave the inconsistent gel. The good news is your bone broth is still packed full of goodness! With a few easy tweaks, you'll be well on your way to a more consistent gel. If you'd like to leave out the acid (which typically helps everything break down a little easier), then we'd recommend cooking it for longer next time and tossing in some bones that have a lot of connective tissue—feet, knuckles, necks, backs, joints, etc. That will help ensure there's enough collagen for your broth to gel!
Can I leave in the chicken skins?
Hi Be! Yes you can! The skins will add a lot of flavor and fat to your broth. If the additional fat is an issue for you, you can either reduce or leave out the skins, or you can remove the layer of fat once it solidifies after cooling. Let us know how it turns out for you!
Hi! Was wondering could you use marrow bones? Thanks!
Hi Kelly! Yes—you can definitely use marrow bones to make bone broth. We recommend you roast them first for flavor purposes—but you can find the easy instructions for that in the post! Let us know how it turns out for you. =)
I used a 2 lb mix of organic chicken bones, feet,necks,backs. I did not roast them but will follow your directions on my next batch but not roast the chicken feet. Then cooked in my slow cooker 24 hours. It is tasty, but has not jelled. Advice please
Hi Eve! It's possible that the temperature setting on your slow cooker was too low to break down the collagen. We mention in the notes that our slow cooker runs too hot on Low and too cold on Warm to make good bone broth—so it's best to keep an eye on yours when making it. If we had to guess, we'd say that could be the culprit!
When cooking the broth on the stove top, if you take it off the burner at night, do you need to bring to a boil again in the morning? Or just put on low heat in the morning?
Hi Andrea! You don't need to bring it to a full boil, but you will want to get the broth up to temp as quickly as you can for food safety reasons. We recommend starting it on a higher temp to get it back to a simmer, then bringing the heat down on your burner to maintain a nice low simmer the whole time.
can I throw in vegetable pulp that I have made fresh juice from? Its a dry pulp, would it not have any taste?
Hi Jackie! We haven't tried it ourselves so we're not sure how much taste it would add. But if you're looking for a way to use it up, we don't think it should hurt anything by adding it in. The only downside we can think of is the pulp making the straining process a bit more tedious. If you give it a go, let us know how it turns out for you!
Thank you for this awesome recipe! When using chicken feet do you pre bake these?
Hi Denice! You can if you have other bones you're roasting, as well. But we usually throw one or two feet in per batch just for the added collagen boost. It helps our broth gel every time! Let us know how it turns out for you =)
Hello, I used a large beef bone in the instant pot that was one piece (shoulder or hip I think, but not sure). It fit in the pot and I cooked it on low for 4 hours, but the broth didn't gel and the bone doesn't seem "used up". Would a larger bone like this need more cooking time? I blanched and then roasted the bone for about 70 minutes too. And would it make sense to try making more bone broth with the same bone again if I didn't cook it long enough this first time? I'll definitely still use the broth I already made!
Hello Shaina! It's possible that a larger bone might need more cooking time. We haven't tried it with one large bone before. Our recommendation would be to put it on again for another 4 hours and see how it turns out. If you've already frozen or used up the first batch of broth you made and can't put it back in again, you could try making another batch with it. Still give it longer the second time around, but know that it's possible it might not gel again. I hope this helps! Let us know how you make out with it =)
I bought a whole chicken and cooked it in my slow cooker, there is a lot of liquid and fats left over from cooking the chicken. I was wondering if that liquid could stay in the crock pot for when I add the bones to make the broth because of all the fat that's in it. I didn't add any water when I cooked the chicken. I just put it in there dry. Or should I just dump it out and use filtered water only.
Hi Courtney! It's fine to leave the liquid in for making the broth—there's lots of flavor in there! Once you're finished making the broth and cooling it, the fat will solidify on the top. You can easily remove it then if you don't want it. I hope this helps!
After pressure cooking my beef bones or ox tail, the meat that is left, is it devoid of all nutrients or can you still eat it? Or are you eating empty calories? Lol
Thank you
Hi, Rhett! There's likely still some nutrients there, but it probably won't be very flavorful after all that cooking. You can still eat it, though, if you'd prefer it didn't go to waste!
Hi, my crockpot has " keep warm " and "low" I'm not sure if I put it on keep warm or low
You'll want to use the Low setting on your crockpot for this recipe!
Hi, I have a clarification question!
I noticed your recipe for instant pot poultry bones states to cook 3 hr at low pressure but your YouTube video linked above says 2 hrs at low pressure. Which is best? Thank you!
Hi, Karen! We generally go for 2-3 hours depending on how much time we have in our day. More time is never a problem!
Hi,
I am making beef bone broth from the crock pot recipe. I blanched in boiling water and roasted. The bones that are currently in the crock pot right now, are they only good for this one pot or can I separate and add more liquid for additional time? My crock pot is smaller and I have the smaller instant pot too... so my batches will be on the smaller size.
I am doing a 3 day fast so I want to make sure I have enough broth.
Any good seasoning tips anyone had learned making their broth? Thanks for the recipe!
Hi, Brianna! Because of the loooong simmer time, the bones will make one good pot of bone broth, even if your crock pot and/or instant pot is on the smaller size. By the time it's finished, the bones will have given up nearly all of their good stuff into the broth. You could probably get a thinner second broth out of them, but it won't be as flavorful and it won't gel the way bone broth does.
If the size of your appliances is what's holding you back from a big batch, then you may want to try using a great big pot on the stove. It's a lot slower, but it'll be worth it if lets you get more out of your ingredients! The other option is to consider upgrading to a bigger slow cooker or Instant Pot if you plan on making lots of bone broth consistently. But if you have a big pot, or are willing to work with a second thinner batch, then there's no need to spend any money on an upgrade. Hope this helps!
Hi
I’m about to use my pressure cooker to make the broth .
I have blanched the meat and roasted it as per instructions.
Can I then store it in the fridge until I have more time to carry on ?
If so how long can I keep it in the fridge?
Also once it’s made how long can it be stored in the fridge or freezer ?
Thank you
Hi, Julie! You can store the blanched and roasted bones in the fridge for 3-4 days before carrying on with the recipe if you like. Once the bone broth is made, it can keep for about 7-10 days in the fridge or 6+ months in the freezer. Let us know how it turns out for you!
I’m very interested in making bone broth because I am currently having a severe flareup of my ulcerative colitis and every time I eat food it’s horrible for me pain wise digestive wise so forth, and so on.
The bone broth was a suggestion as nutritional value instead of eating.
This will be the first time that I have ever done something like this, so I’m excited to give it a try.
My question is, will this be a good “ food replacement“ with all the protein values added in the recipes?
Are there other recipes that will also help in my digestive problems.
Hi Gail! We recommend you check with your health care team about this. They'll have the expertise to guide you towards choices that'll help you heal. Best of luck, and we hope you're symptoms settle down soon!