
A Beginner's Guide to Making Blueberry Wine: All You Need
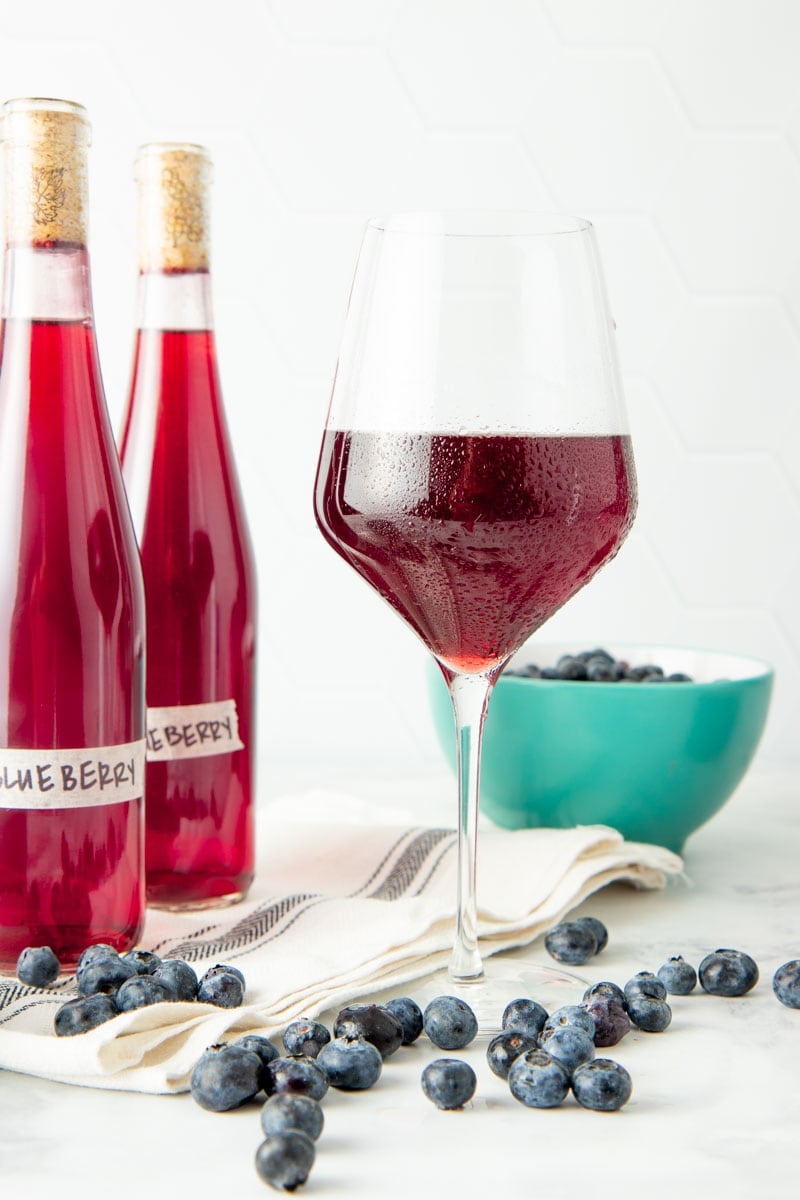

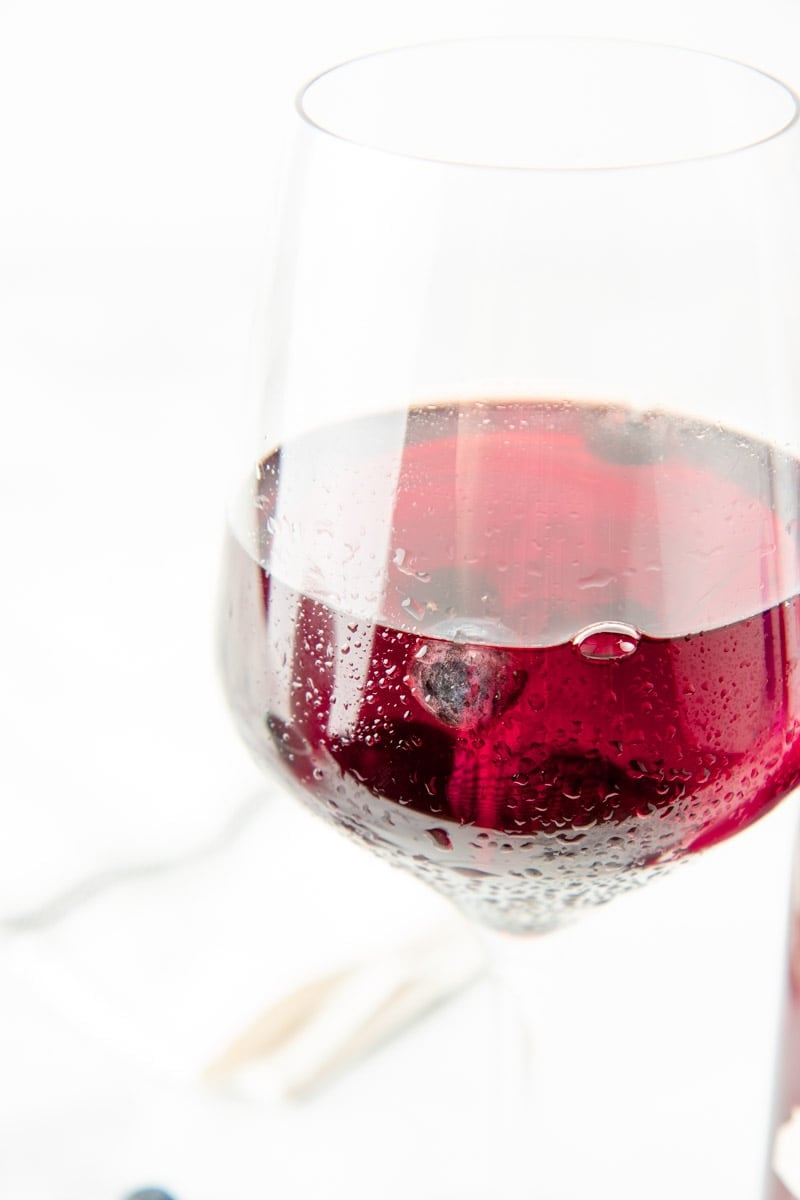
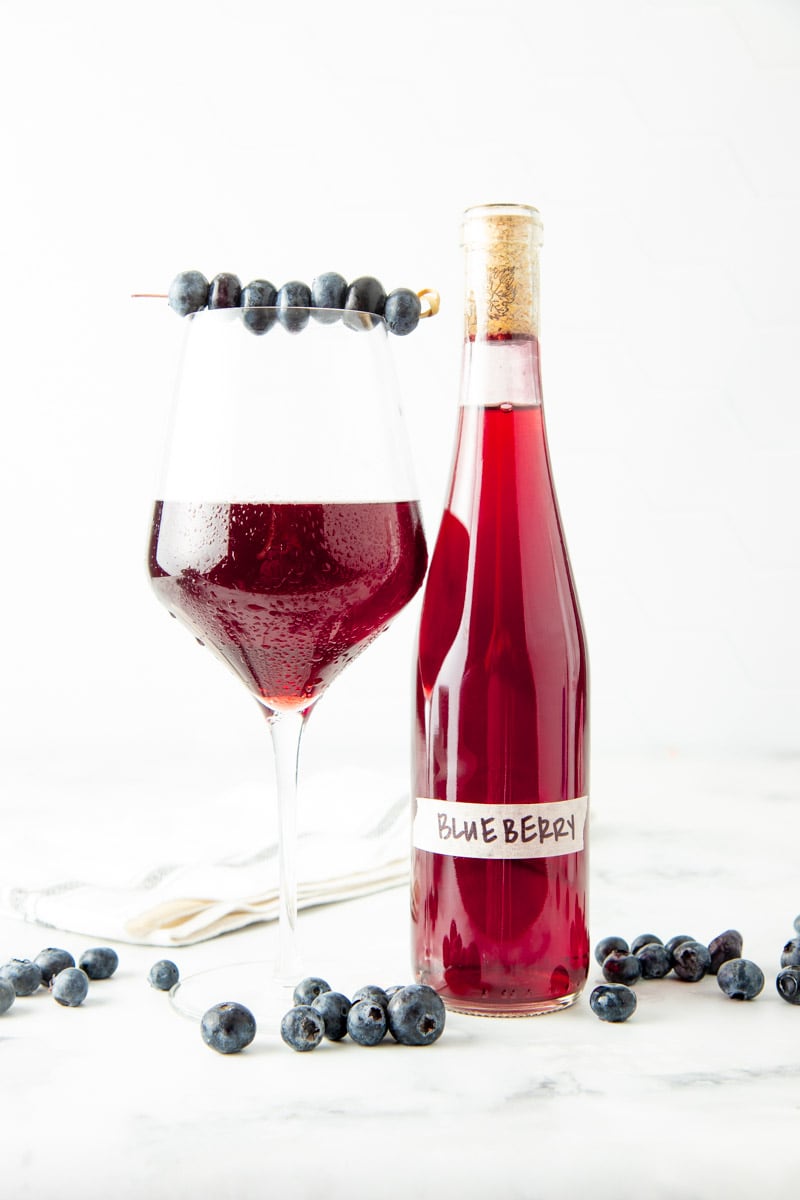
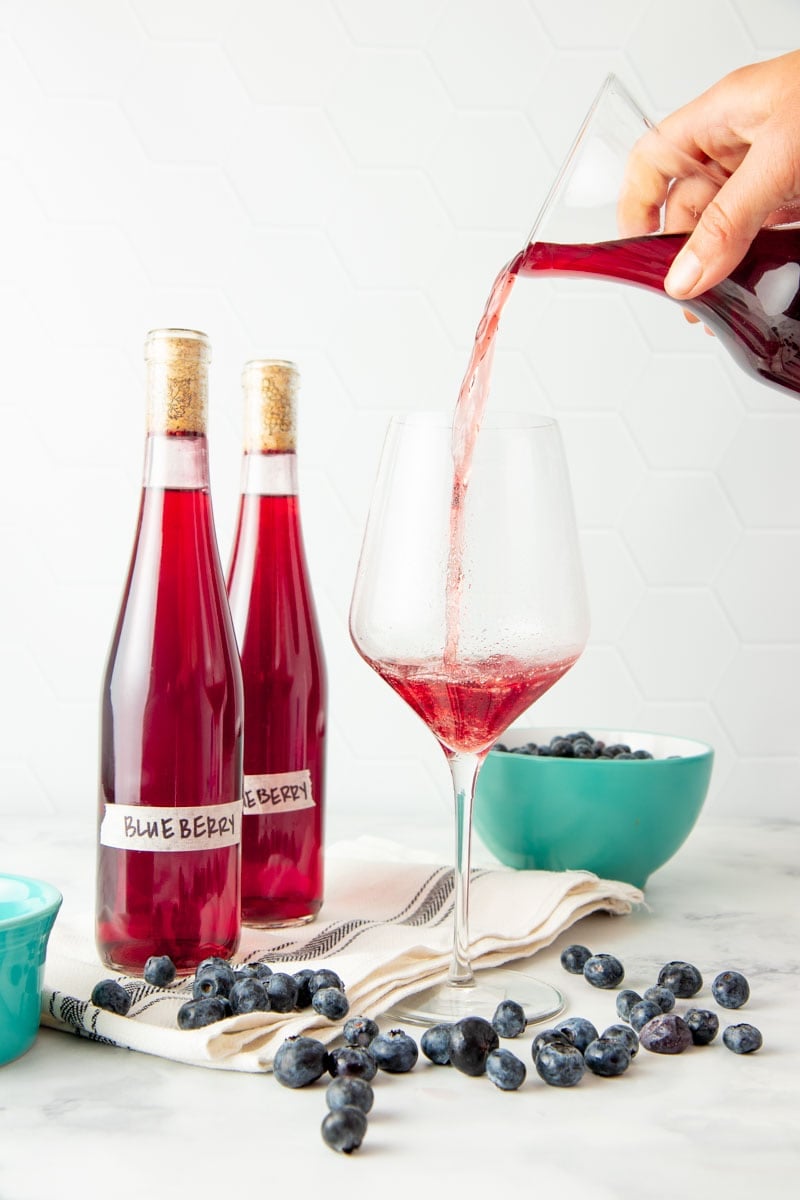
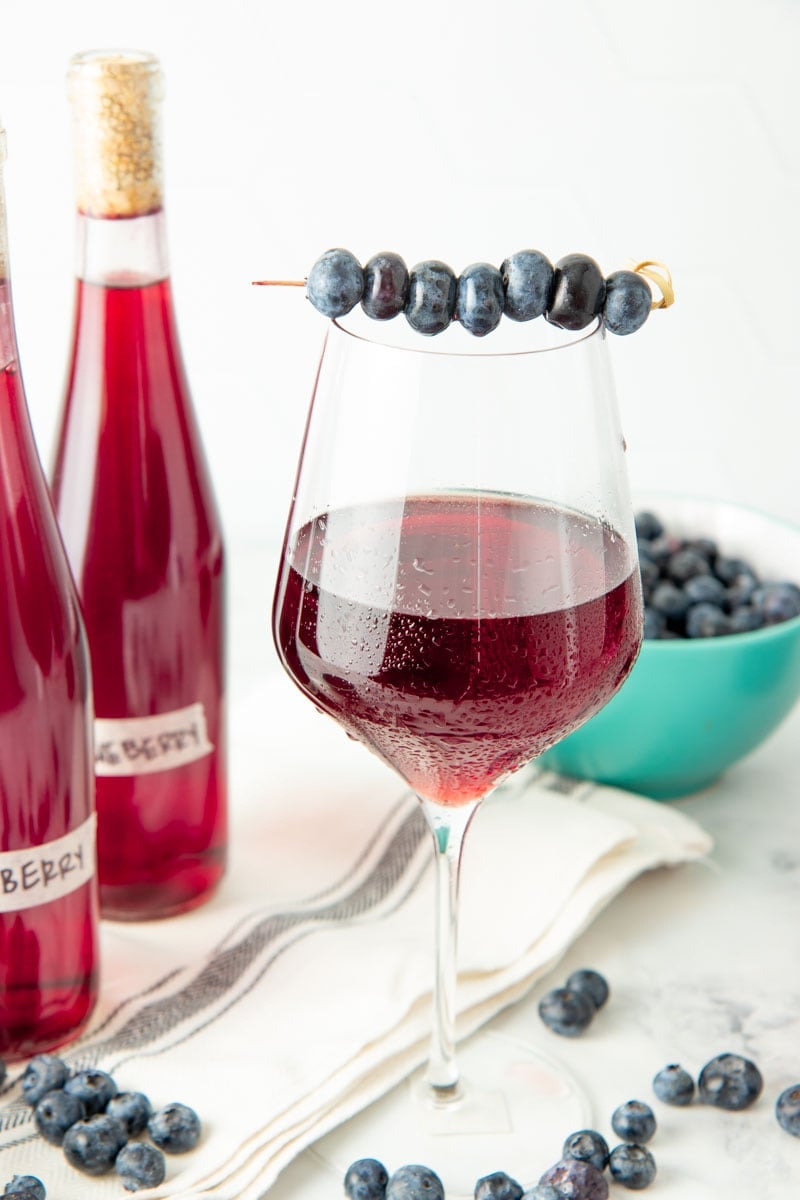
Once you've gotten the hang of making fruit wines, you'll be amazed at how easy it is to expand your skills to all kinds of other fruity flavors. Blueberry wine is one of our absolute favorite country wines to make (and drink!). It has a beautiful purple color when poured, and it's easy to customize to make it is as sweet or tart as you like.
If you're new to making your own wine, no worries! We'll walk you through the entire process, and you'll be making your own country fruit wines in no time. Let's get brewing!
What does blueberry wine taste like?
Blueberry wine has all the tangy, tart, and sweet flavor profile of eating a fresh blueberry. When making your own wine, you have complete control over how sweet or dry the final product is-so YOU are in charge! You also can control (somewhat) the alcohol content-which means you can make your final wine taste more or less boozy. When it comes to making homemade wine, you can experiment to figure out the perfect combo for you.
What equipment do I need for making blueberry wine?
There are all sorts of bells and whistles you can get for winemaking, but when you're just getting started, here's what I recommend. It's the bare minimum for making blueberry wine, and should come out to under $60.
A primary fermentation container:
We use a specifically designed fermenter, but you can use big bucket, larger jar, or crock. You want it to be at least 40% larger than the amount of wine you want to make. This may seem like a lot, but it is because your primary fermentation will have fresh fruit in it AND because the extra space will give the yeast room to get all bubbly. Plus, it will provide some extra oxygen for the yeast to work with.
This blueberry wine recipe is for one gallon, so you'll want a container that is at least 1.4 gallons in size.
A carboy for secondary fermentation
This is really just a big glass jug! You can purchase one gallon carboys in a bundle with an airlock and cork, or you can get them in larger sizes if you want bigger batches. Make sure you choose a carboy with a narrow neck-it makes it so that there is less surface area of the wine exposed to oxygen, which is a good thing!
An airlock:
You don't have to have an airlock, but they clock in at less than $3, and they make winemaking so much easier. The airlock lets your wine release carbon dioxide produced during fermentation, without letting oxygen or any nasties (microbes or bugs) into your wine. For more on the types of airlocks and their pros and cons, we talk about them in detail in our fruit wines post.
Bottling equipment:
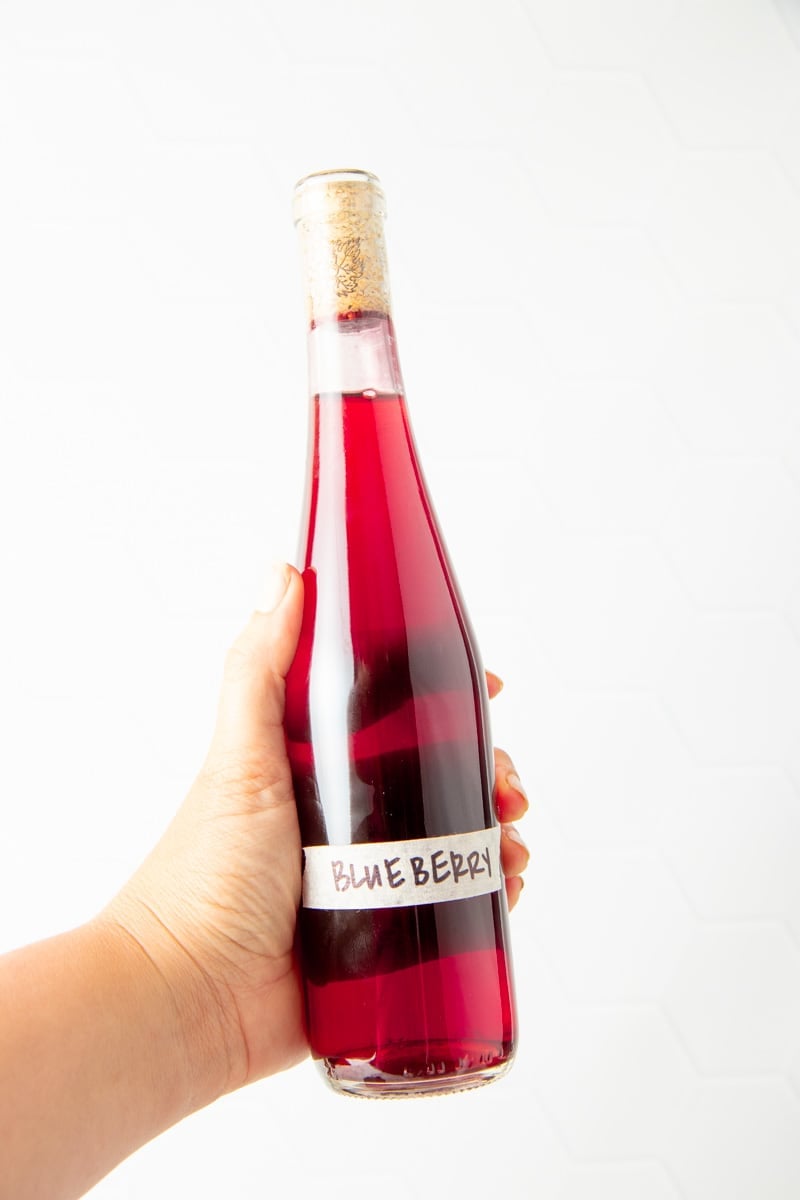
We use flip-top style glass bottles to bottle our homemade wine because it's easy, but wine bottling is a personal decision! You can definitely use new or recycling wine bottles and a corker. You can even just stash your wine in mason jars!
When it's time to bottle or transfer your wine (called "racking"-more on that in a bit), a siphon/bottle filler is another item that will make your life easier. This helps you move the wine from one container to another without disturbing the sediment, and makes bottling much easier. You'll also need some sort of container to bottle from that has a spigot. You can buy a special bottling bucket, or you can just use your primary fermenter.
Wholefully Protip
Everything else you'll need for winemaking (spoons, funnels, sieves, etc.) are standard kitchen wares that you probably already have kicking around. Some folks use a hydrometer to measure the specific gravity, but unless it's important for you to know the ABV of your wine-it's not necessary for a beginner.
How do you sanitize the tools for winemaking?
The level of sanitization that feels good to you may vary. Some folks prefer to use synthetic chemical sanitizers (Star San is a common one) before making wine to kill any yeast or bacteria that might impact the flavor of their wine. On the other end of the spectrum, some people don't even wash the spoon they use to stir so it'll keep the same yeast on it from batch to batch!
We recommend you experiment to figure out what feels right for you. In our house, we make sure all of our tools are cleaned very well. Plus we use an oxygen wash as an extra layer of sanitization before making our wine.
What ingredients do I need for blueberry wine?
It's amazing how simple it is to make fruit wines! You just need a few ingredients to get started.
Fruit
The best blueberries to use are in season, fresh blueberries that you've frozen first. The freezing process breaks down the cell structure of the berries so that they can release their juices more easily. In a pinch, fresh fruit will work too, but I really recommend freezing it first!
Sugar
Get out the big bag of organic cane sugar-you're going to need a lot! Don't worry though-most of it is going to feed the yeast so that the sugar can get turned into alcohol. Even if you add two pounds of sugar to your wine, you could still end up with a very dry wine because the yeast ate it all!
You can swap out the sugar for another kind of sweetener, but you won't be making wine anymore, and the process will be a little different (using honey means you're making mead, and maple syrup will make acerglyn). So we're sticking with sugar here.
Water
You wouldn't think it, but the kind of water you use here matters. Chlorinated tap water can inhibit or kill your yeast-so I always opt for filtered water straight from our Berkey water filter. Spring water from the store will work too.
Yeast
This is where the magic happens, and what turns the fruit, sugar, and water into wine! Many folks use wild yeast to brew wines-it's the original way to make wine-but to keep things consistent and easy for beginners, we're recommending you use purchased winemaker's yeast. We use Red Star Premier Blanc Yeast for our Blueberry Wine.
Wine additives
That's really all you need to make blueberry wine, but there are some additives you can use to improve the flavor, fermentation, and appearance of your wine. Here are the most common options for adding to blueberry wine:
- Yeast nutrient: Yeast needs more than just sugar to thrive-they also need folic acid, magnesium, and other nutrients. Most fruits have plenty of these nutrients, but we've found our blueberry fermentation to be sluggish at times without the addition of these nutrients. Purchased Yeast Nutrient can reactivate the fermentation and help your wine along. Some folks also use raisins to accomplish a similar result.
- Acid: To get a good balanced flavor, it's nice to add acid to your homemade wine. You can do this using citrus juice, but we like the consistency you get from a high quality winemaker's acid blend.
- Pectic Enzyme: If you want a crisp, clear wine, you'll want to use pectic enzyme in your brew. This helps the wine clear up after fermentation. If a cloudy or hazy wine doesn't bother you, skip the pectic enzyme!
Wholefully Protip
Tannin is a common additive to homemade wine-but we've never found it necessary in blueberry wine. The tartness of the blueberries tends to balance the sweetness enough. But experiment to figure out your favorite recipe!
Can I use frozen fruit?
You sure can! In fact, we recommend you do-even if you just picked your blueberries. By freezing the blueberries, the juice is released easier. You'll get the best flavor by using fresh, in-season berries that you freeze yourself, but store-bought frozen berries will work too.
How much fruit do I need for 1 gallon of blueberry wine?
Making wine is more of an art than an exact mathematical equation, so you'll want to do a little experimentation. But in general, you'll need about 2 ½ to 3 pounds of blueberries for a gallon of blueberry wine.
How do you make a dry wine versus a sweet wine?
How sweet your finished wine is will depend both on how much sugar you add and how much sugar your yeast can eat. Different types of yeast can eat different amounts of sugar and survive to higher amounts of alcohol-so a wine that uses a yeast that can survive to a higher alcohol content will typically end in a drier wine.
For your first batch of wine, I recommend starting with a yeast with a middle-of-the-road alcohol tolerance and 2-3 pounds of sugar. Red Star Premier Blanc has a 14% alcohol tolerance and is a great starting point to make a semi-dry wine, and you can adjust the sweetness to taste from there.
If you want to make a semi-sweet wine, you can use more sugar during the brewing process with the same yeast OR you can add simple syrup just before serving.
If you want to make the wine drier, you can use less sugar during the brewing process and the same yeast OR you can use the same amount of sugar and choose a wine yeast that has a higher alcohol tolerance-like Lavlin EC-1118.

How do you make blueberry wine?
We recommend visiting our Strawberry Wine post for a visual tutorial for how to make fruit wines, but here are the basics:
- Sanitize your equipment to your preferred levels of sanitization.
- Make the must by adding your frozen fruit, sugar, and pectic enzyme to the primary fermentation container. Cover the fermentation container, and set aside for at least a few hours, up to 24 hours.
- When the 24 hours are up, mix the wine yeast with some non-chlorinated water in a small bowl. Set aside.
- Using a berry masher or clean hands, mash up all the fruit to finish making the must. It doesn't have to be perfectly smooth, just break it up pretty well.
- Add in your preferred additives and non-chlorinated water. Pitch in the yeast and water mixture. Stir well.
- Close the fermenter and fit it with an airlock filled with water.
- Agitate the wine mixture at least once a day by either swirling the whole container or removing the lid and stirring it well.
- Let the mixture ferment until the bubbling in the airlock slows down dramatically.
- Strain out the fruit and rack the wine into a clean carboy. Fit the carboy with an airlock and ferment until the wine is still and there are no bubbles left.
- Bottle and age your wine.
Wholefully Protip
It's important to keep breaking up the floating cap of fruit pulp during primary fermentation.
Should blueberry wine be refrigerated?
A general rule of thumb is that if your wine has an alcohol content of 15% or less, you want to keep it in the fridge. Alcohol content above that, and it can safely be stored opened or unopened at room temperature.
You can figure out your ABV by measuring the specific gravity using a hydrometer. You can also estimate your ABV by knowing the alcohol tolerance of the yeast you use.
Should I use stabilizers (like Campden tablets) in this wine?
A frequently used additive in homemade wine are Campden tablets. They are sodium or potassium metabisulfite tablets that are used to sterilize wine at various stages during the winemaking process. They kill off all the yeast and bacteria.
Many people use them to stop fermentation before it's complete if they want to achieve a certain level of sweetness. And some people also add them to the wine just before bottling to make certain fermentation is over to avoid making bottle bombs.
I personally do not use Campden tablets. Mostly because I just don't find that I need them in my winemaking process, but also because I enjoy including wild yeasts and bacteria in my creations. There are tons of resources on the internet about using Campden tablets if sterilization is of interest to you.
Want more fruit wine recipes?
This method is adaptable to so many other fruits! We can walk you through how to make peach wine and strawberry wine, too.
📖 Recipe
Blueberry Wine Recipe
Ingredients
- 3 pounds frozen whole blueberries
- 2 ½ pounds cane sugar this will make a semi-dry wine
- ½ teaspoon pectic enzyme optional
- Non-chlorinated water
- ¼ packet Red Star Premier Blanc yeast
- 1 teaspoon acid blend OR 2 tablespoons lemon juice
- 1 teaspoon yeast nutrient
Instructions
Before You Start
- Wash all your tools and sterilize to your desired level of cleanliness. Maintain this level of cleanliness throughout the process.
Making the Wine
- In a big bucket, a large jar, or specifically designed fermenter, add the frozen fruit, cane sugar, and pectic enzyme (if using). Cover and let sit out until the berries are defrosted and the entire mixture is quite juicy—at least four hours, up to 24 hours.
- Using a potato masher or clean hands, mash the berries to crush them. No need for it to be a smooth puree.
- In a small bowl, combine about a cup of water with the yeast, set aside to wake up for 10 minutes.
- Add the acid blend or lemon juice and yeast nutrient to the blueberry mixture. Add in enough water to bring the total volume of the mixture to about 1 ⅓ gallons—no need to be perfectly accurate.
- Pitch the yeast water into the mixture, and stir well to agitate. Close the lid on the fermenter and fit with an airlock.
Primary Fermentation
- Place the fermenter in a spot out of direct light, but where you can keep an eye on it. Agitate the mixture well at least once per day by stirring or swirling.
- The fermentation should start within 1-3 days. Continue to stir or swirl thoroughly throughout the entire primary fermentation stage.
- When the bubbles slow down considerably in the airlock (usually around the 10-day mark for us with this wine, but it’ll vary based on the heat of your house), your primary fermentation is done.
Secondary Fermentation
- Fit a funnel with a mesh sieve into the neck of a sterilized carboy. You can also use a special brewing funnel with a strainer if you choose.
- Using a large ladle, scoop out the whole and mashed blueberries and pour them through the sieve and funnel.
- Press the berry puree into the sieve to get as much of the early wine out as possible.
- When the sieve fills up, dump the spent must into the compost, and replace. Keep repeating until the majority of the fruit is out of the wine.
- Pour the remainder of the wine through the sieve and funnel.
- You want the wine to come to the bottom of the neck of the carboy. If you have too much, you can pour yourself a glass of not-yet-finished-but-still-delicious wine. If you have too little, you can top it off with more non-chlorinated water.
- Fit the carboy with an airlock. All this agitation will restart any sluggish fermentation quite actively, so I recommend placing the carboy in a place where you can keep an eye on it easily (but still out of direct sunlight).
- Once you know it’s not going to geyser wine everywhere, you can then move the carboy to a dark, out-of-the-way spot to do the longer secondary fermentation.
- Secondary fermentation is complete when the wine is “still,” meaning there is no carbonation in the wine, no bubbling in the airlock, and the wine has cleared. This can take anywhere from a couple of weeks to months, depending on a number of factors. Do not bottle until the wine is still.
Bottling and Aging
- Using a siphon, transfer the finished blueberry wine—leaving behind the sediment—from the carboy to the bottling bucket (or the primary fermenter if it has a spigot).
- Fit the bottling container spigot with a bottle filler, if using.
- Fill clean, sanitized bottles using the bottle filler or just the spigot.
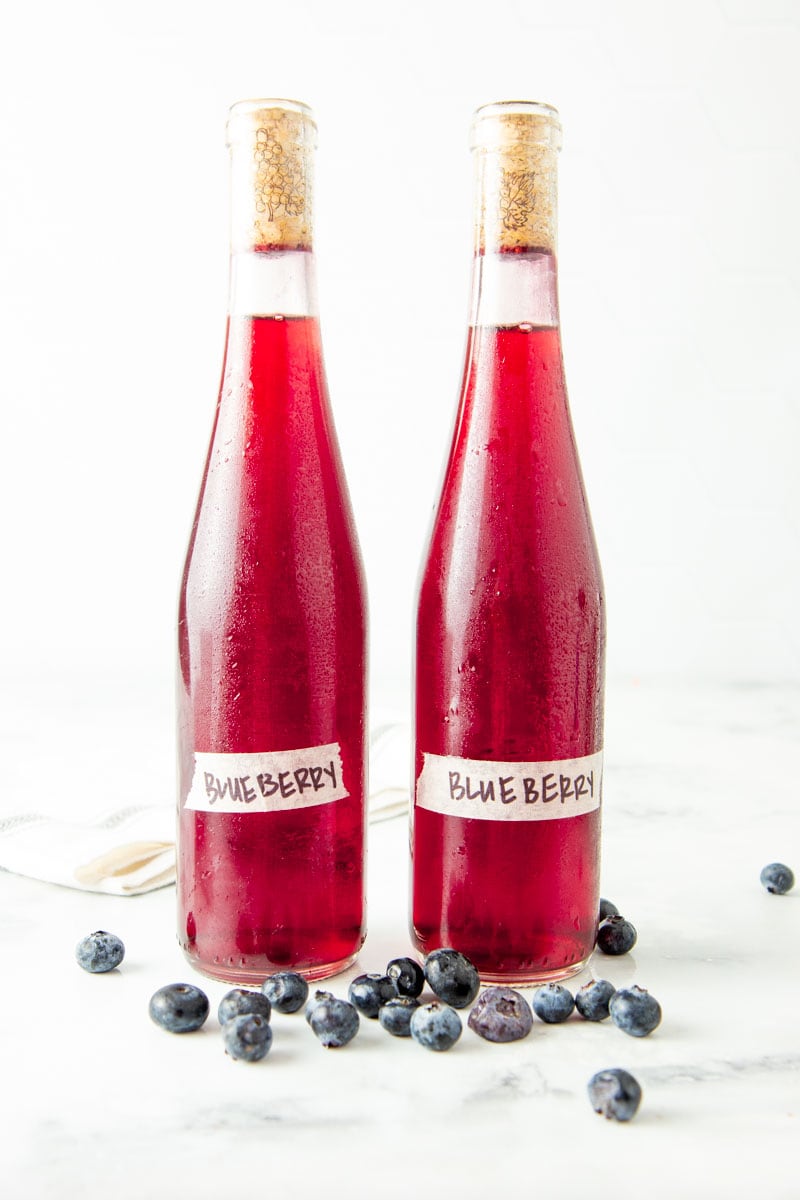
- Cap, cork, or close the top of the bottles. Label the bottles.
- Store in a cool dark spot (if using corks, turn the bottles on their sides to keep the corks wet) and age for at least 30 days, but preferably 6-12 months for the best flavor.
Notes
- If your blueberry wine tastes too dry after secondary fermentation, you’ll want to back sweeten it using the process outlined in our Strawberry Wine post.
- Make sure to taste your wine throughout the process! Not only is it fun to sample, it also helps you better understand the fermentation process at work.
Hello Cassie,
I am making the blueberry and have a question. In the beginning, in the wine additives section, you mention yeast nutrient and not the regular yeast. Then in the instructions/recipe section you mention the regular yeast and not the nutrient. When do I add the yeast nutrient? Can’t wait for the finished product.
Thx Kim
Hi Kim, You'll want to add it with the acid! From Step 4 of "Making the Wine" — "Add the acid blend or lemon juice and yeast nutrient to the blueberry mixture. Add in enough water to bring the total volume of the mixture to about 1 1/3 gallons—no need to be perfectly accurate."
how do you filter your wine, I tried to use coffee filters. I did this 4 times and there's still sediment in the bottom of the bottle.
Hi Barry! We don't filter ours at all, actually! We follow the technique outlined in the recipe instructions, which is to place the syphon above the sediment when transferring the finished wine to the bottling bucket (or primary fermenter with a spigot). It's step one under Bottling and Aging in the recipe card. We don't do any additional filtering beyond that!
I noticed your recipe didn't call for Camden tablets, why?
Hi Barry! If you head to the Table of Contents in our post, you'll see a link for section 10. Should I use stabilizers (like Campden tablets) in this wine? Click that link (or scroll to that part of the post) and you'll find everything you're looking for! In that section we break down what campden tablets are, why folks use them, and why we don't find it necessary.
Hi,
I moved my wine into secondary fermentation and there's still a lot of sediment at the bottom of the carboy (I didn't use a sieve when racking from primary to secondary), in your opinion do you believe it would benefit from a second racking to remove the built-up sediment and continue secondary fermentation, or would it be fine to leave it as it is until ready for bottling.
Hi Adam! It should be fine to leave it as is—it just may not be as clear. If clarity is important to you, a second racking could help make it more clear.
Hello, I just finished with the primary fermentation and my wine has a chemical smell and doesn't really have any blueberry taste. Is there any way I can fix this or do I need to restart?
Hi Anna! Fruit wines tend to be very green (which can manifest in tasting/smelling chemically). It’s best to let it age 6-12 months before you can really tell what’s going on!
Im curious if this method would work with cherries as well?
Hi Mads! Yes! You can definitely make cherry wine using a very similar method. We recommend heading over to our Strawberry Wine post that breaks down how to make fruit wines using any fruit. We have all the details you need to get started there! But in general, for one gallon of fruit wine you can use this formula as a starting point: 3 pounds of fresh or frozen fruit + 2-3 pounds of cane sugar + 1 gallon of water + Yeast and desired additives. Let us know how it turns out for you!