
Quick Gluten-Free Bread

You'd never know that this gluten-free bread contains zero grains, and it's one of my favorite bread recipes. Because you can't taste the difference between this bread and traditional drop biscuits, it's an excellent option for those of us who struggle to digest grains but still want some crusty bread with our soup!
What is this gluten-free bread made of?
There are no grains in this gluten-free bread-which means no traditional flour. Thankfully, clever gluten-free bakers have come up with alternatives to conventional flours that make delicious bread like this possible. To make gluten-free bread like this, you'll need some special gluten-free flours and a handful of other common ingredients. Before you bake, make sure you have:
- Yeast-Needs to be active dry yeast
- Blanched almond flour-Works with the arrowroot flour
- Arrowroot flour-Works with the almond flour to create the base of the bread dough
- Honey-Helps activate the yeast
- Raw apple cider vinegar-Improves the texture and crumb of the bread
- An egg-Acts as a binder to hold the bread together (you'll need a whole egg, not a separated one)
- Salt-Slows down the action of the yeast so it rises slower
- Olive oil-Creates a softer crumb and crust in your bread
- Warm water-Helps proof the yeast
Is this bread grain-free?
Yes, this bread is 100% grain-free! You avoid traditional flours by using blanched almond flour-made from almonds-and arrowroot flour from a tropical plant called Maranta arundinacea. This bread is gluten-free and perfect for anyone who can't tolerate grains. You should also try our grain-free sandwich bread if you have gluten sensitivity. It's a little softer than this bread, which makes it ideal for slicing and sandwiches.
How do you make gluten-free bread?
This is a surprisingly simple recipe to make. You don't need a bread maker, stand mixer, or a fancy bread pan, just a mixing bowl, a spatula, a whisk, and a baking sheet.
- Whisk together the water, honey, and yeast. Let the mixture sit for five minutes so it can become frothy.
- When the yeast mixture has activated, add the flours, beaten egg, olive oil, salt, and vinegar.
- Stir the mixture using a spoon or spatula until a dough has formed-but don't overmix, or you'll create a tough bread.
- Cover the bowl with plastic wrap and set it in a warm location for 30-60 minutes to give the dough time to rise. It is ready when the dough smells yeasty and looks puffy.
- Preheat the oven to 400°F and line a baking sheet with parchment paper or spray the sheet with cooking spray and sprinkle on some cornmeal to prevent the dough from sticking.
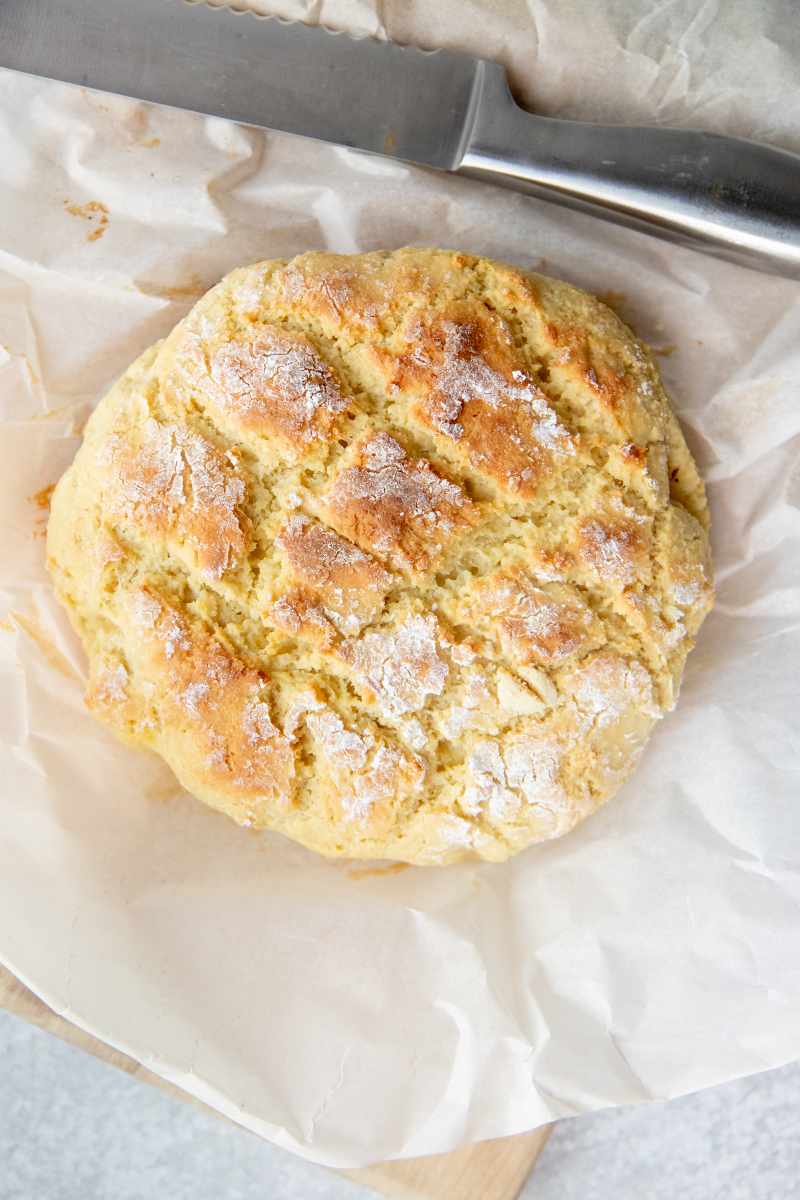
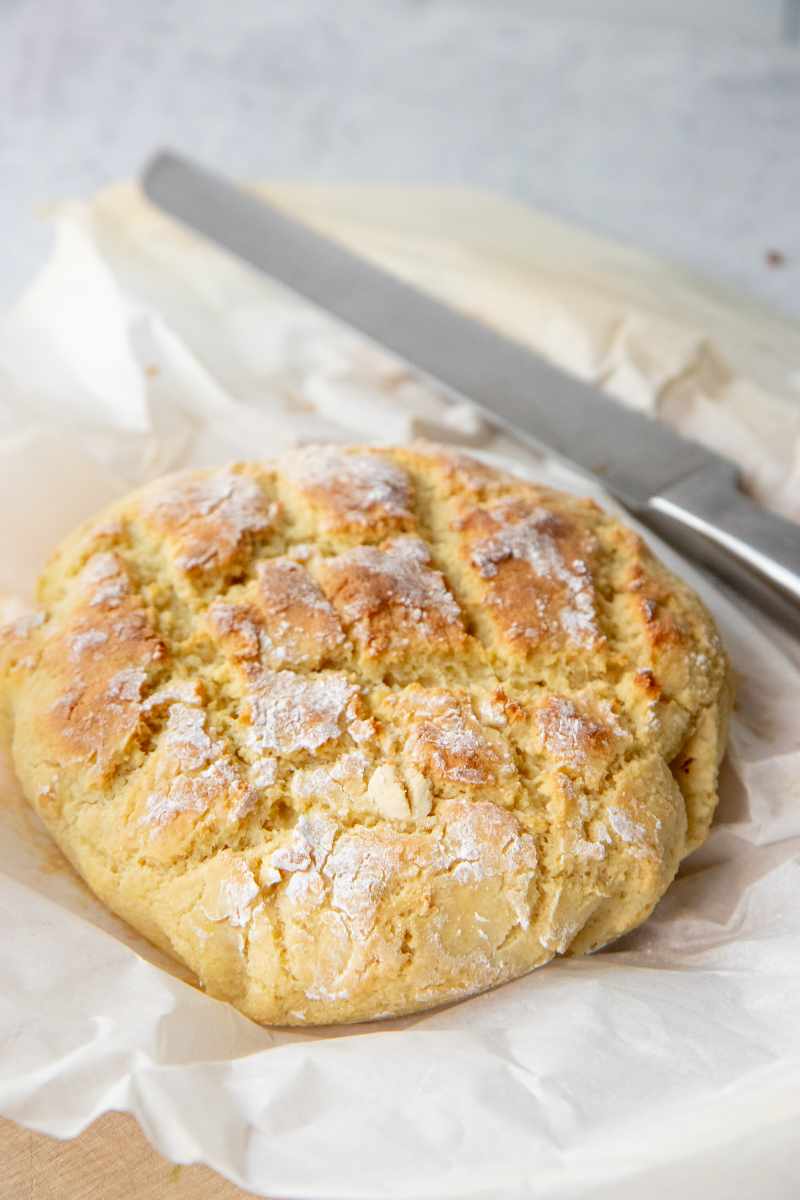
- When the dough is ready, shape it into a round loaf (or stretch it into a long, skinny loaf) and set it on the baking sheet.
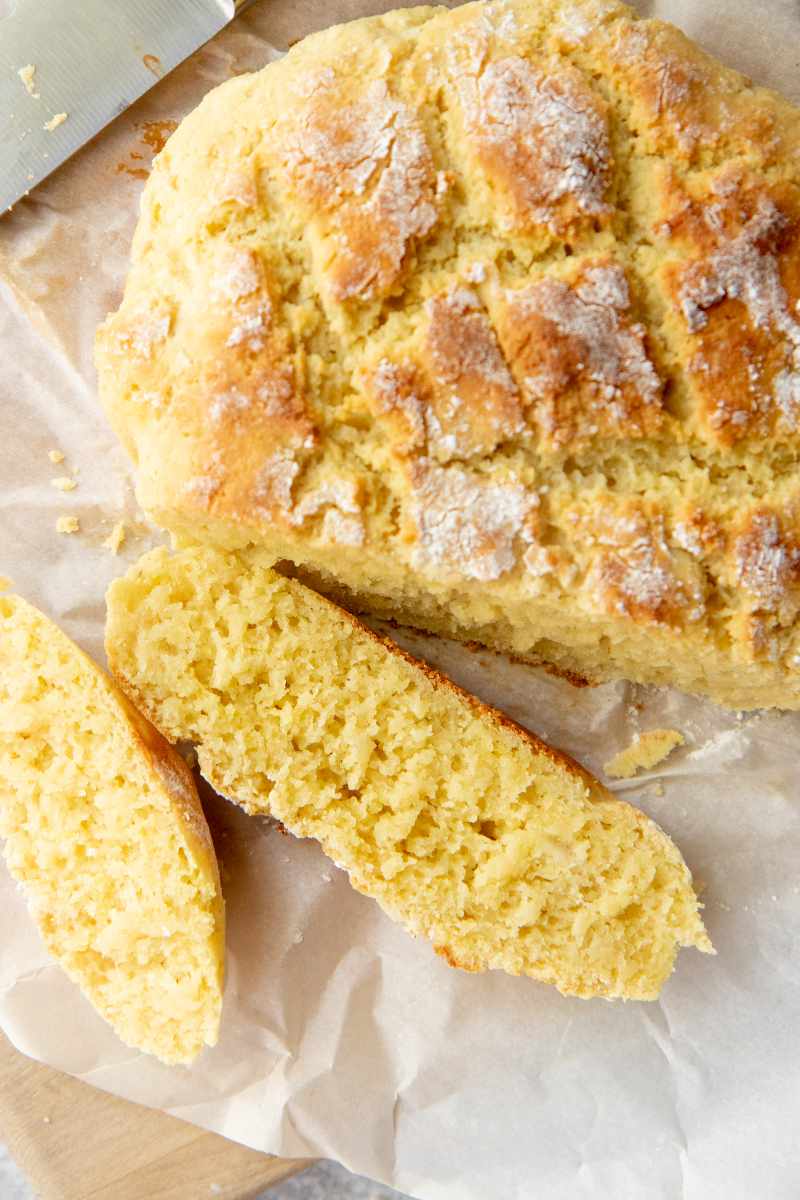
- Use a sharp knife to cut diagonal slices along the length of the loaf, spaced roughly an inch apart.
- Bake for 20 to 25 minutes, then allow the bread to cool for ten minutes on a wire rack before slicing and serving.
I've never used yeast before-is it hard?
Although many bakers have strict rules that can seem intimidating, baking with yeast doesn't have to be a perfect science. There's a little wiggle room for trial and error. When working with yeast, just remember a few tips, and you'll be okay!
- Use fresh yeast. Stale yeast causes the majority of yeast issues. To avoid this, keep your yeast in an airtight container in the fridge or freezer. Yeast will last almost forever when kept in the freezer, but you should probably toss your fridge yeast after a few months just to be safe.
- Don't use hot, hot water! Hot water can kill your yeast, preventing it from activating and rising. Instead, use warm water.
Why is my homemade gluten-free bread so dense?
A few things can cause dense bread. For starters, make sure you added enough vinegar to your dough. Vinegar helps lighten the bread dough so if your loaves are coming out a little dense, try adding a bit more vinegar next time.
Substituting different gluten-free flours in this recipe can also make the dough heavier. If possible, stick with the arrowroot and blanched almond flour listed here. We chose them specifically to create a bread that's light and fluffy inside.
Overmixing your dough can create a flat, tough, dense bread. There's no need to knead the dough in this recipe, so simply mix the ingredients until they're combined and they've formed a workable dough.
How can I use this gluten-free bread?
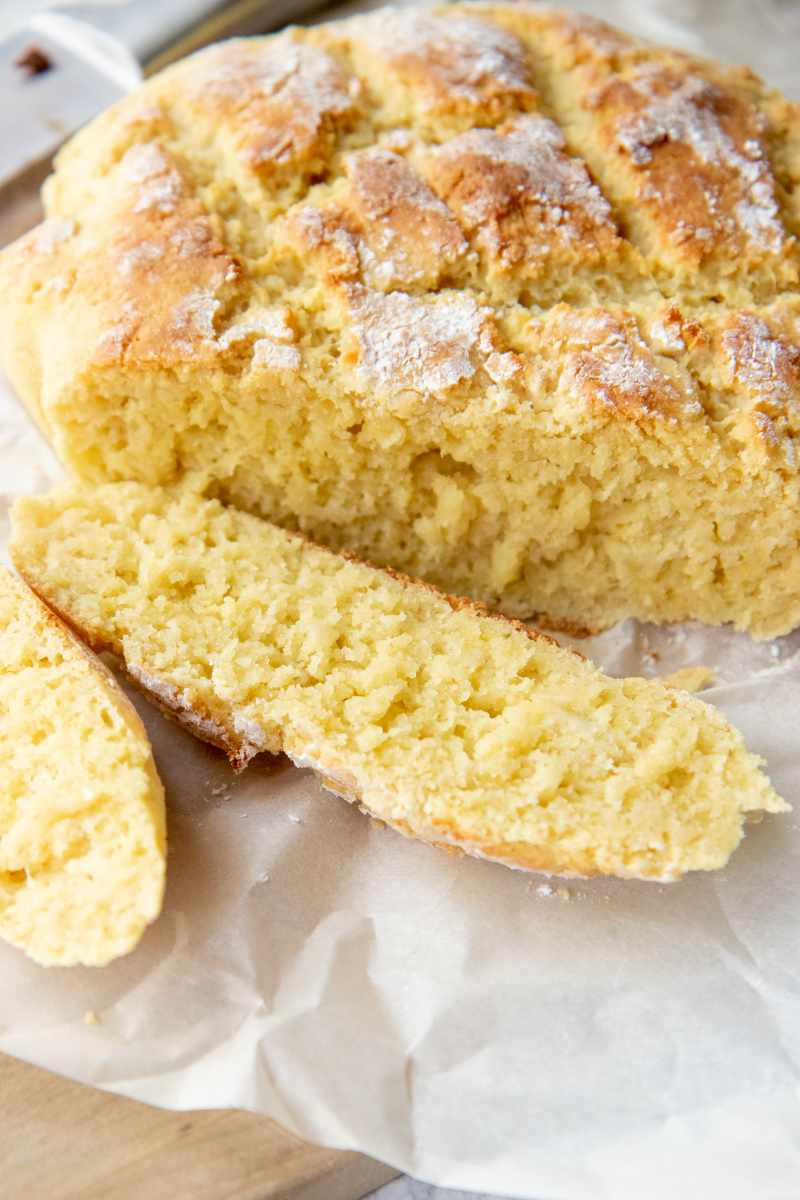
My favorite way to use almond flour bread is alongside soups and stews. It's the perfect consistency to rip apart, and it'll hold its shape even after being dipped in a warm bowl of something yummy. It's a lot like a classic drop biscuit! Try it with:
If soups and stews aren't your things, you can still use this gluten-free bread in a variety of other ways, including:
- As the base for avocado toast
- Spread with some roasted garlic
- Dipped into vegan spinach artichoke dip
- Made into bruschetta
- Turned into garlic bread
How to store leftover bread
After your gluten-free bread has cooked, allow it to cool and then store it in an airtight container, breadbox, or bag at room temperature for up to three days. Don't put it in the fridge, as this will cause it to dry out and become stale quickly.

Can gluten-free bread be frozen?
Yes! To store your bread in the freezer, wrap it in aluminum foil or plastic wrap before sticking it in a zip-top bag. Push as much of the air out as possible, then freeze. Your bread will remain fresh this way for up to three months-although it's safe to eat long after that point.
📖 Recipe
Quick Gluten-Free Bread
Ingredients
- 2 teaspoons dry active yeast
- ⅓ cup warm water
- 2 teaspoons honey
- 1 ½ cups blanched almond flour
- ¾ cup arrowroot flour
- ¼ teaspoon salt
- 1 egg beaten
- 1 tablespoon olive oil
- 1 teaspoon raw apple cider vinegar
Instructions
- In a large bowl, whisk together the yeast, water, and honey. Set aside for five minutes to proof, or until frothy.
- Add in the almond flour, arrowroot flour, salt, egg, olive oil, and vinegar. Stir just until a dough forms.
- Cover bowl with plastic wrap or a damp kitchen towel, and let rise in a warm spot in your kitchen for 30-60 minutes, or until the dough looks decidedly puffy and smells of yeast.
- When rising time is nearly over, line a baking sheet with parchment paper or a silicone baking mat. Preheat oven to 400°F.
- Transfer the dough to the prepared baking sheet and form into a round loaf. Use a sharp knife to cut diagonal lines every 1" along the loaf.
- Bake for 20-25 minutes, or until the bread is golden brown on top. Remove from oven and let cool for 10 minutes, then slice and serve.
We throw together this gluten-free quick bread at least twice a week to serve alongside dinner! It comes together fast, has tender texture, and it tastes great dipped in soups and stews. Enjoy!