
All Butter Pie Crust

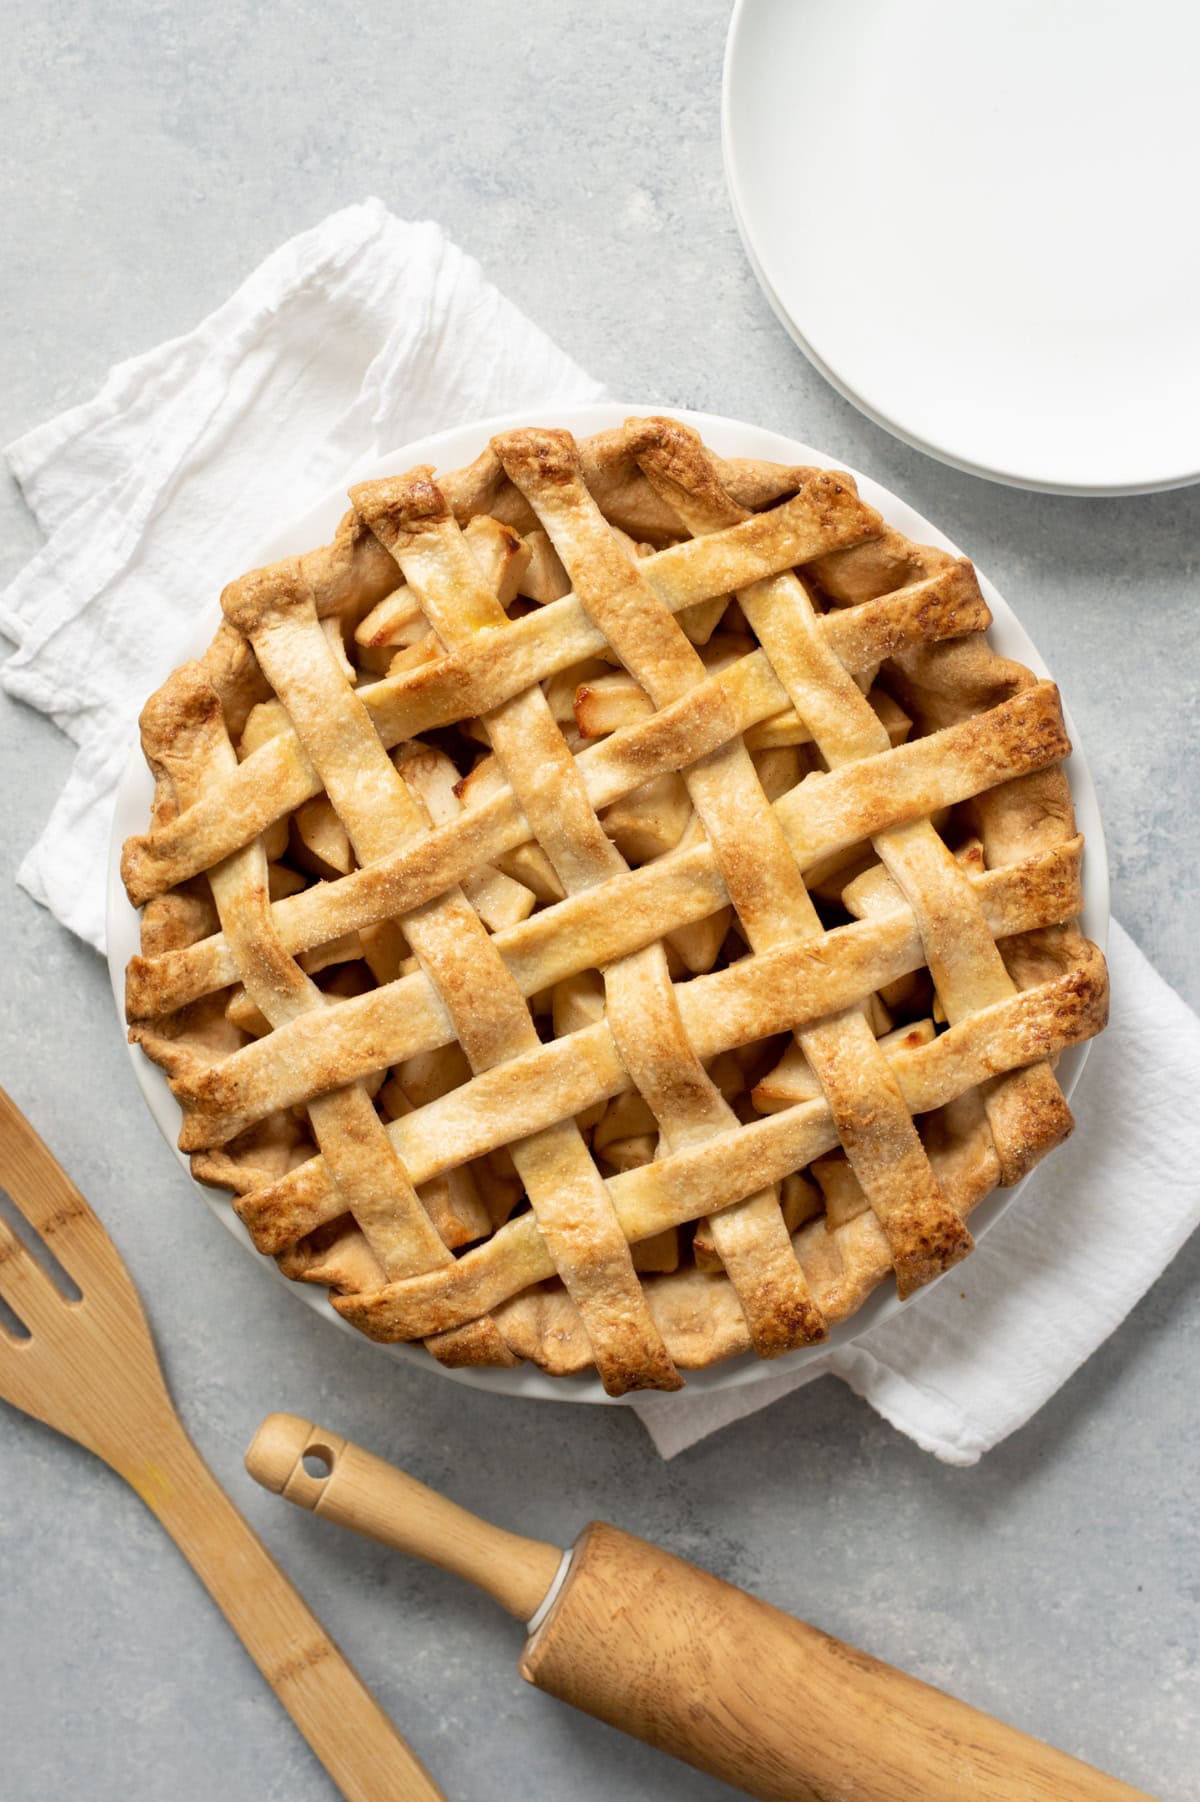
This all-butter pie crust will make you feel like you've got generations of pie-baking wisdom tucked in your back pocket, even if its your very first pie. Flaky, rich, and unapologetically buttery-it's the crust that makes even the simplest of fillings shine.
🔍 Recipe At-A-Glance: All-Butter Pie Crust
- 🕰️ Prep Time: 10 minutes
- ⏰ Chill and Rest Time: 30 minutes
- 🦃 Flavor Profile: Buttery, flaky, and ready to let your favorite pie filling shine.
- 🔄 Make Ahead: Refrigerate this pie crust for up to 3 days, or freeze for up to 3 months for a smoother Thanksgiving Day!
- 🧡 Difficulty: The food processor makes this easy-peasy.
Summarize and Save this Recipe Using:
🧡 Why You'll Love This Recipe

Hi friend: Homemade pie crust is one of those things that's really worth the extra time to make from scratch. Whether you're making a sugar cream pie or a fruity caramel apple pie, a homemade pie crust is life-changing good. And the best part is: it's actually pretty darn easy to make a perfect pie crust using your food processor!
Here's why you'll love this recipe:
- Skip the arm workout: That's right-I've been making my all-butter pie crust in my food processor for years! No need for a pastry cutter or a ton of arm strength...the food processor will do the work for you!
- Simple recipe: Don't be afraid to dive right in, because homemade pie crust is so much easier (and tastier) than you'd expect. And all you need are five simple ingredients.
- Well tested: I've made this pie crust over and over again (most recently to make my derby pie recipe), and it comes out perfectly every time.
🌾 The Ingredients You Need
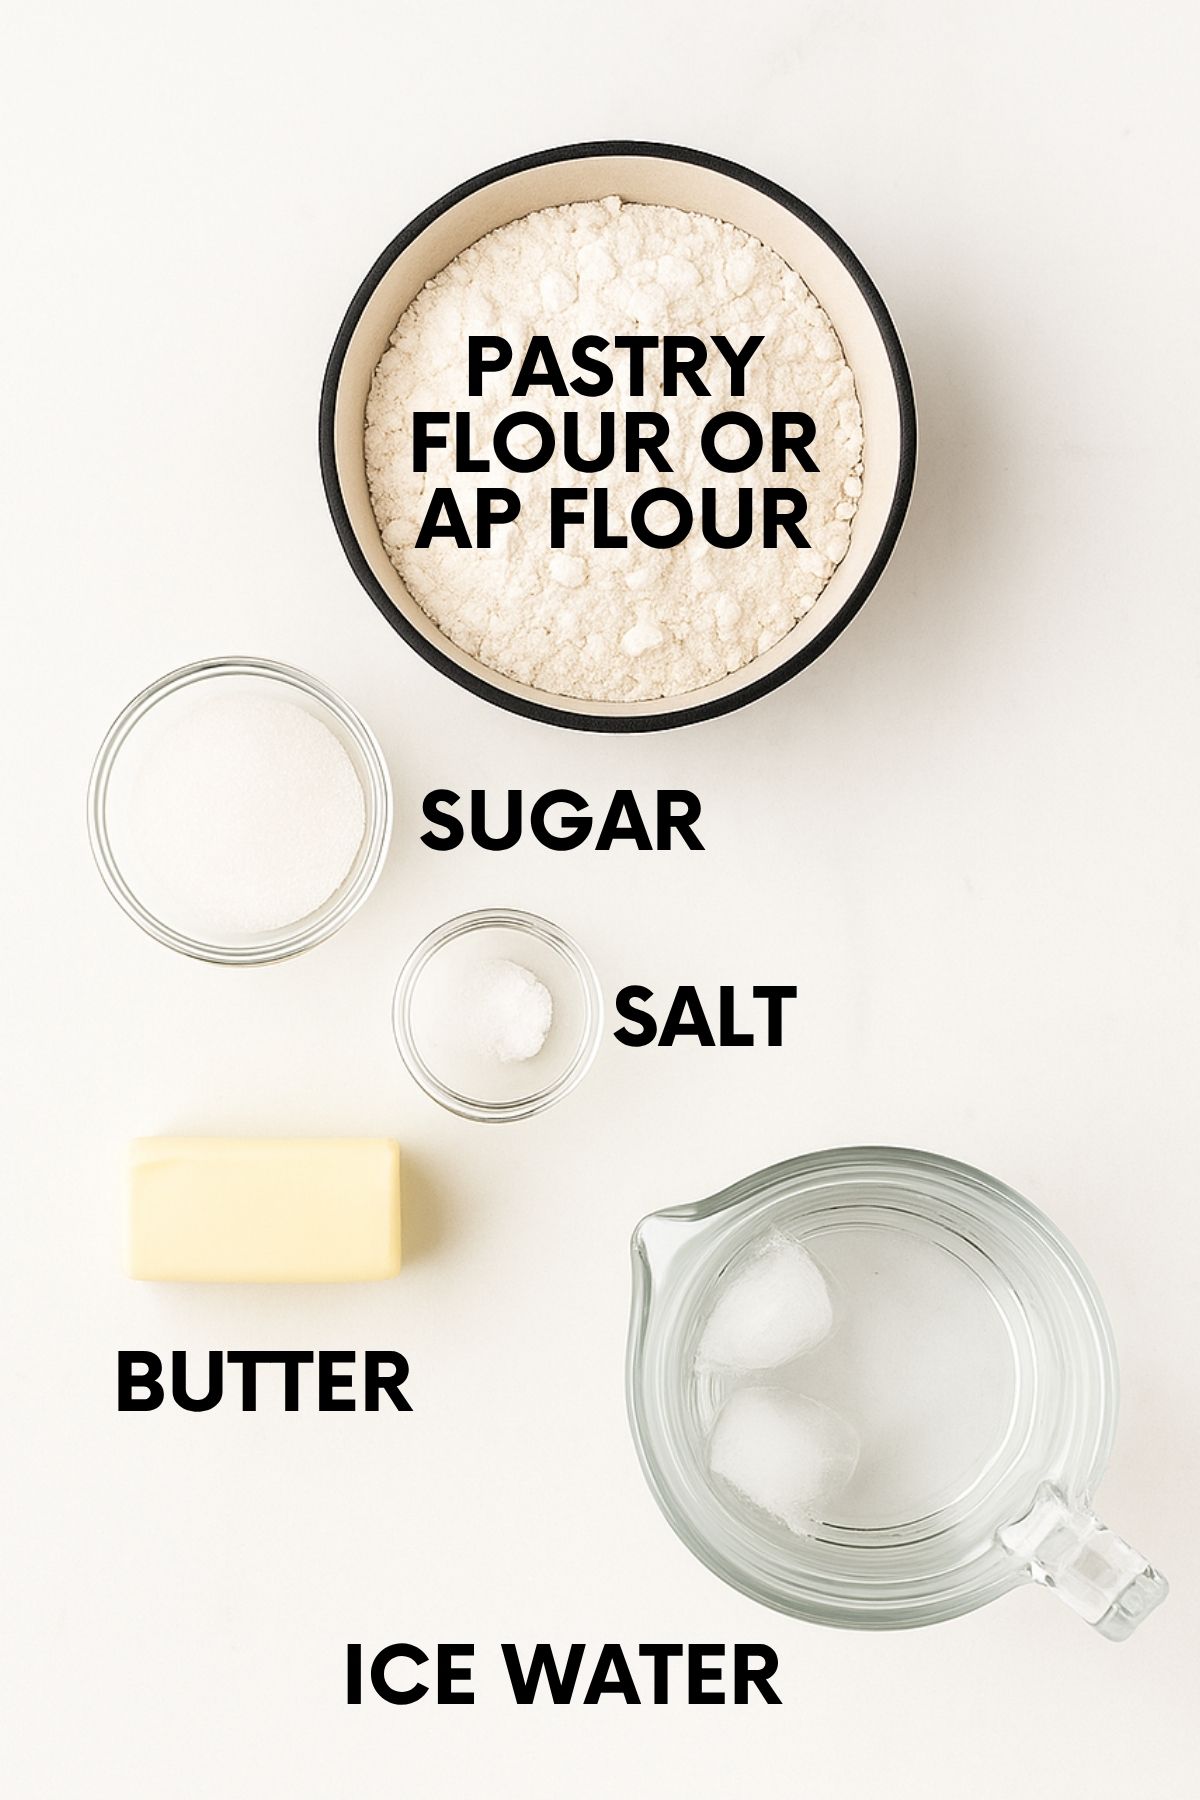
- Flour: You can really experiment here! I like using whole wheat pastry flour (a good brand means you'll barely be able to tell the difference between it and white flour), but white whole wheat flour and regular all-purpose flour work great, too.
- Butter: You don't need years of baking experience behind you, just one solid stick of frozen butter. Butter will serve you better here than margarine. You want to use a fat that is hard when it's cold to give your dough that just-right texture. Plus, butter has way more flavor...which means your pie crust will, too.
Make sure to check the recipe card below for the full ingredients list, along with quantities and my expert tips and tricks.
🔁 Variations & Substitutions
- No food processor? No problem: If you don't have a food processor, you can definitely still do this by hand (we include instructions below)-just know that it'll require a bit of elbow grease!
- Select your sugar: Granulated sugar, brown sugar, and coconut sugar all work well here! If you're making a savory pie, mini quiche, or Mediterranean quiche, you can leave this out.
- Make it gluten-free: Try my gluten-free pie crust recipe! You don't need a bunch of specialty flours and gums, and you'll still end up with a buttery, flaky crust!
🥣 All-Butter Pie Crust How-To

Step 1: Pulse together the flour, sugar, and salt in the bowl of a food processor-just a few times to get it nice and mixed up. If you're making your pie crust by hand, whisk the dry ingredients together in a large mixing bowl.
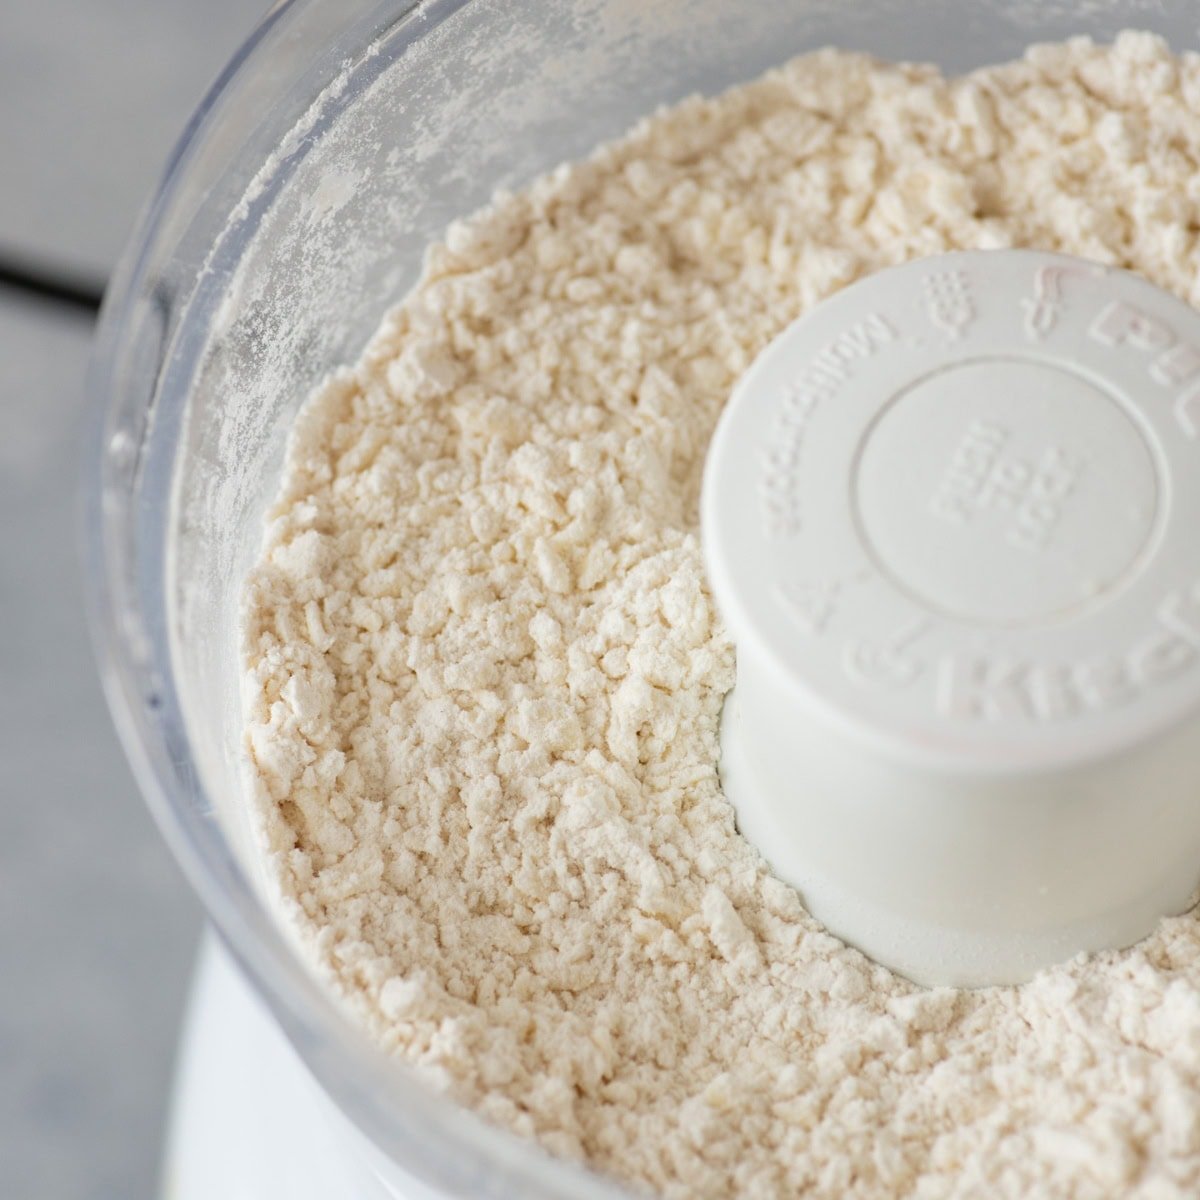
Step 2: Cut up your frozen butter and then add it to the food processor and pulse until the mixture resembles the texture of small pebbles. Don't worry about getting all the butter chopped up evenly. It's more important for your butter to stay frozen than for the butter to be perfectly distributed.
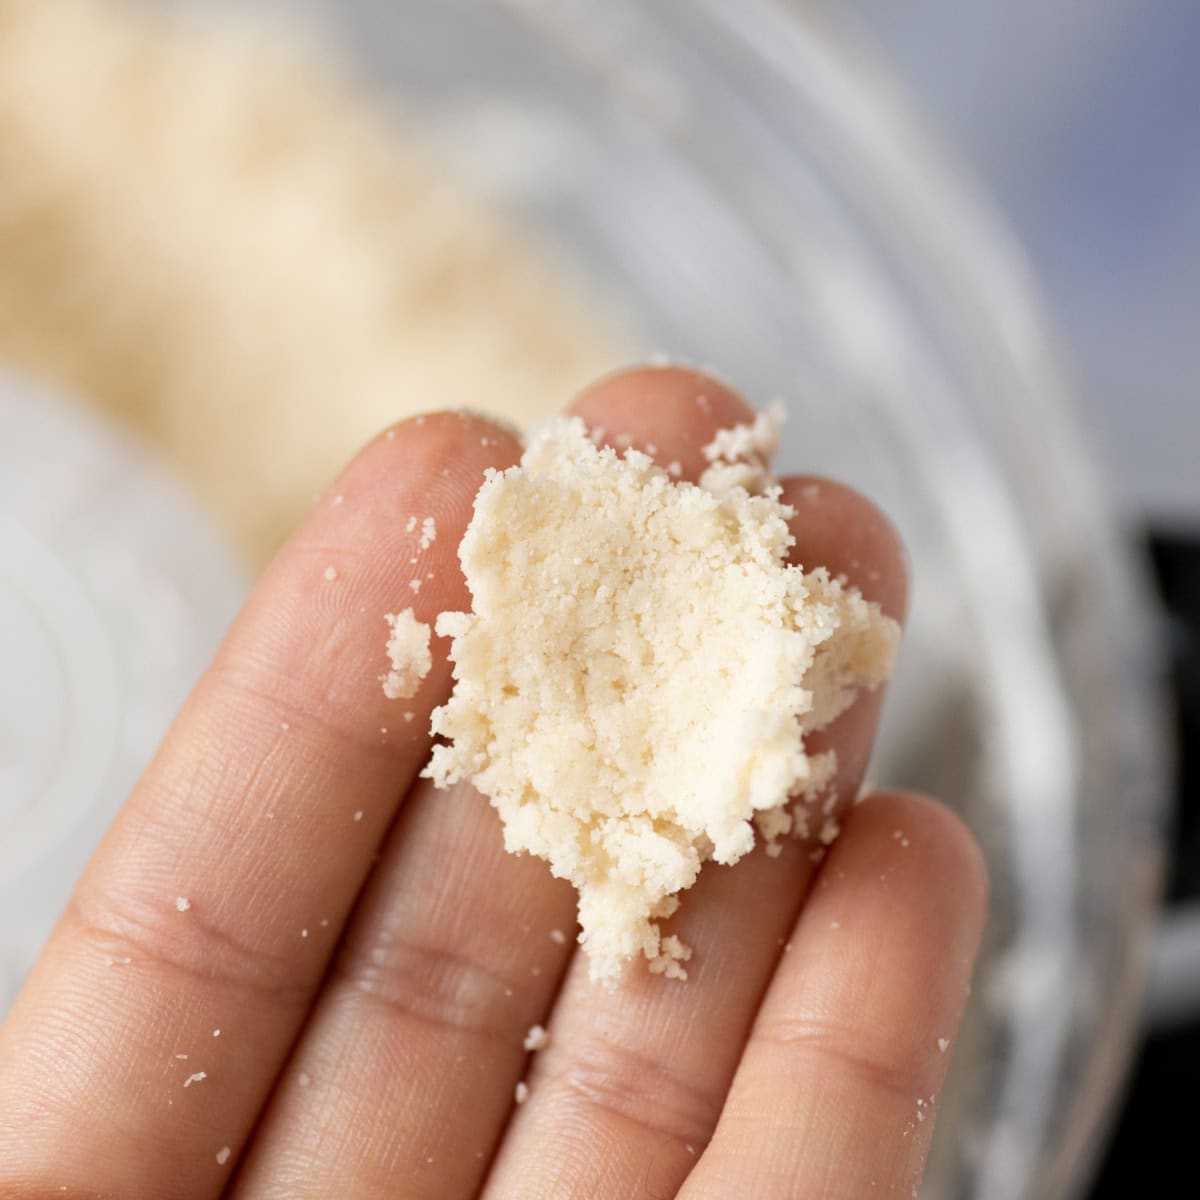
Step 3: Working a tablespoon at a time, add the ice water and pulse the food processor until combined. After each addition, carefully grab a handful of the mixture and squeeze it together. When it stays together without crumbling (it usually takes about four tablespoons for me), you are done.
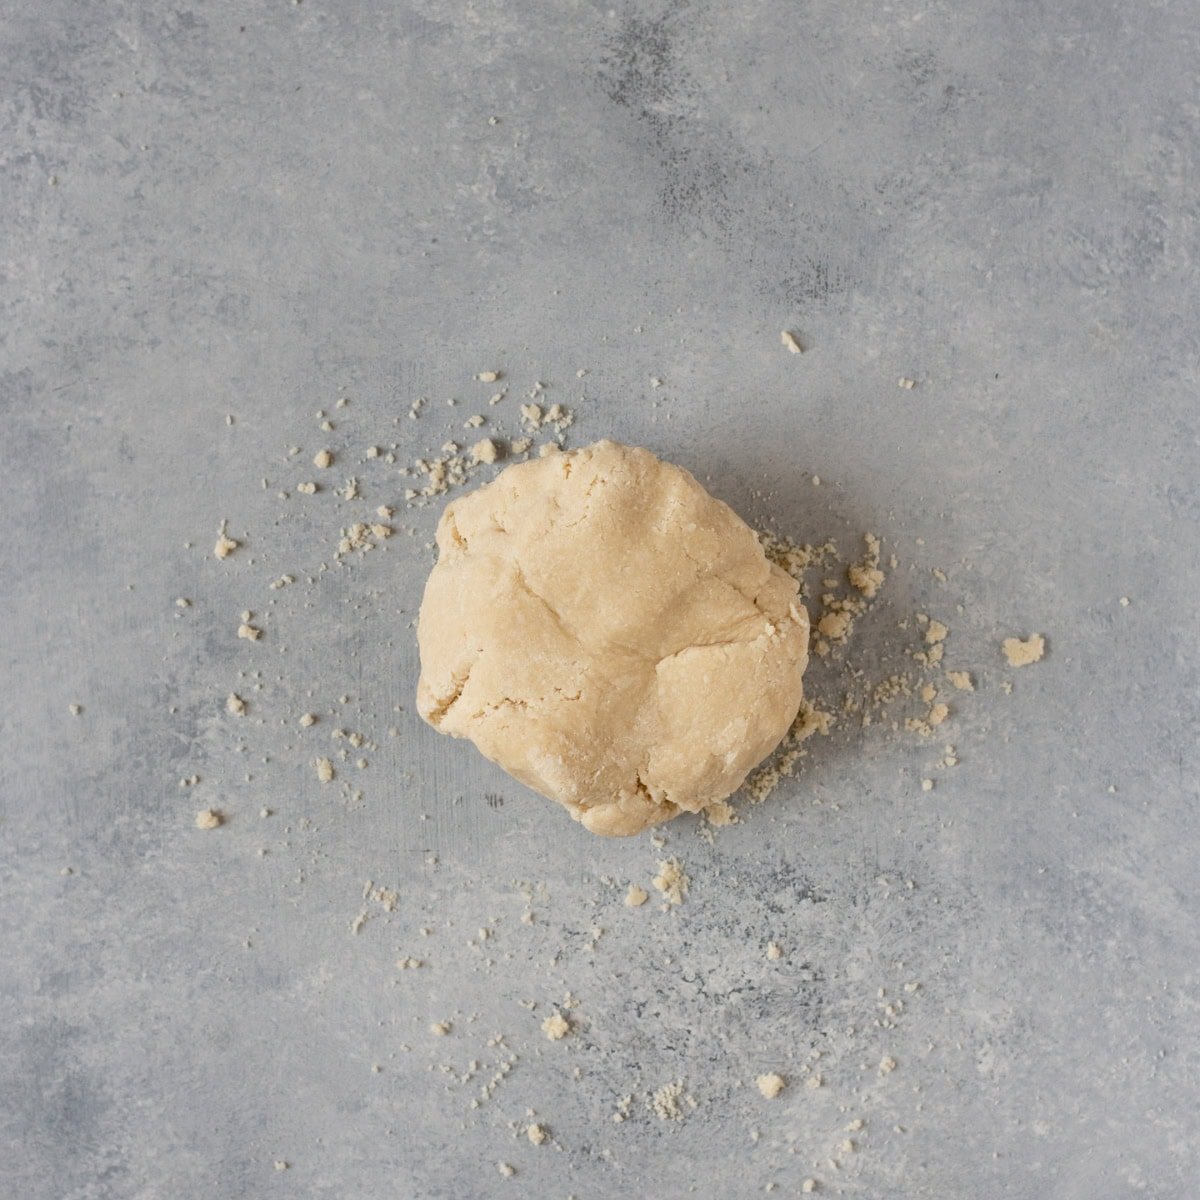
Step 4: It might not look like it yet, but your pie crust dough is done. Yay! So easy, right? Now, dump the crumbly dough onto a clean work surface. Using your hands, form it into a solid lump, and then into a disc. Work as quickly as possible: the disc doesn't have to be perfect. It's more important that the heat from your hands doesn't melt the butter.
Wrap the disc tightly in plastic wrap and stash it in the fridge. Let it rest for about an hour in your fridge before moving on to the next step. If you're in a rush, you can stick it in the freezer for 15-20 minutes.
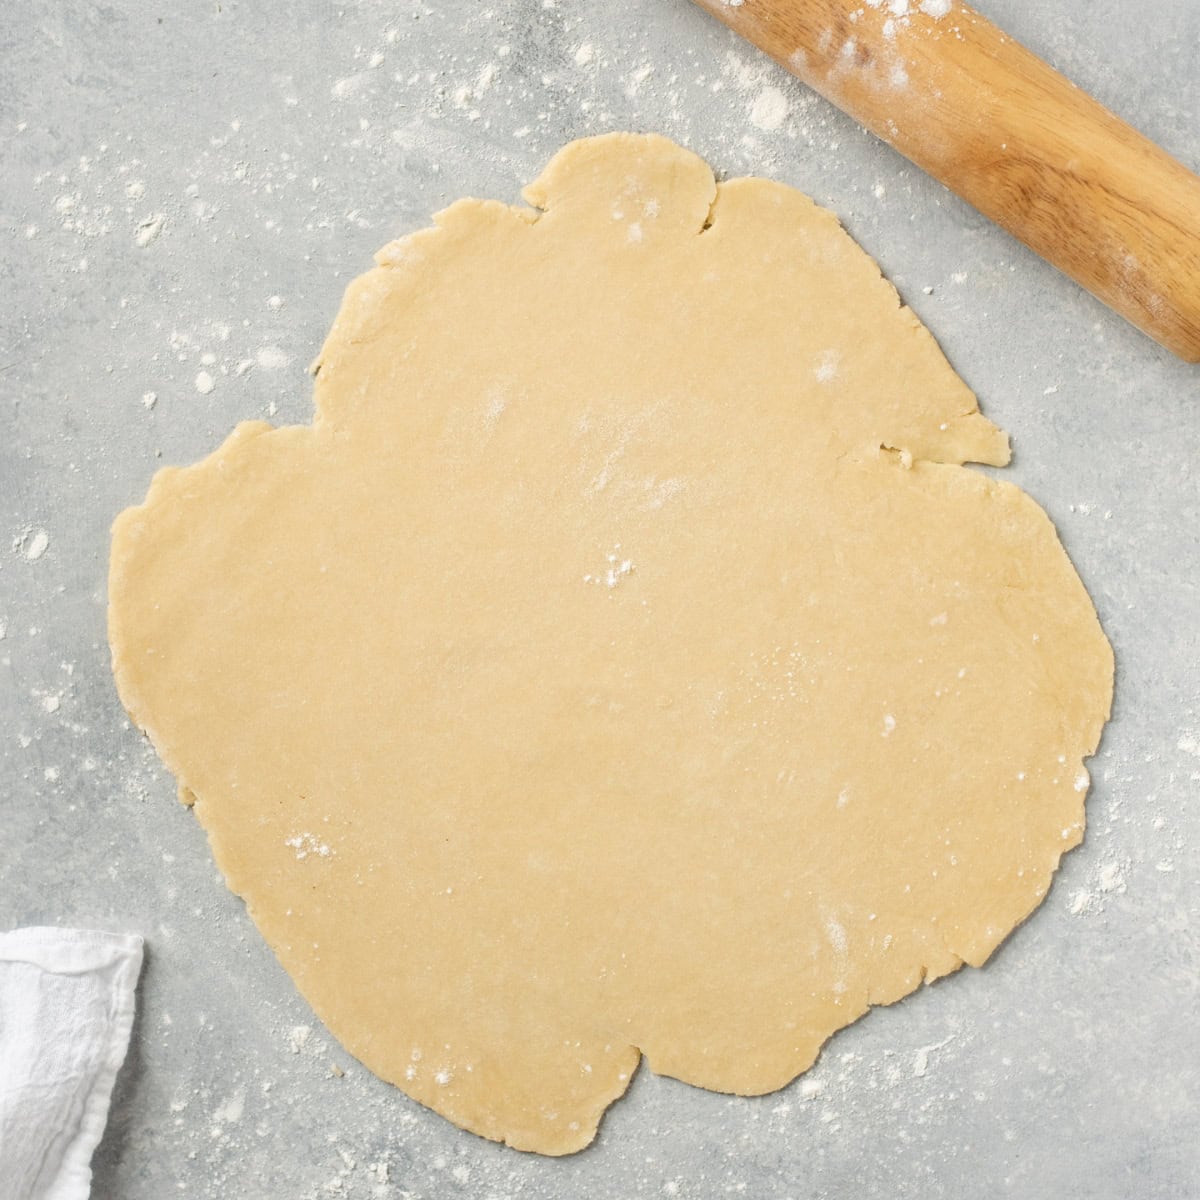
Step 5: After the crust has chilled out in the fridge, let it sit for a few minutes at room temperature before trying to roll it out. When you're ready, roll it out on a lightly floured work surface (a marble pastry board is great, though a silicone pastry mat works just fine, too) until it is about ⅛" thick and large enough to cover your pie dish. Gently roll the crust around your rolling pin for easy transporting.
Then unroll your pie crust on top of your ungreased pie plate (because you made an all-butter pie crust, you don't have to worry about it sticking). Gently push it into the plate to contour along the sides.
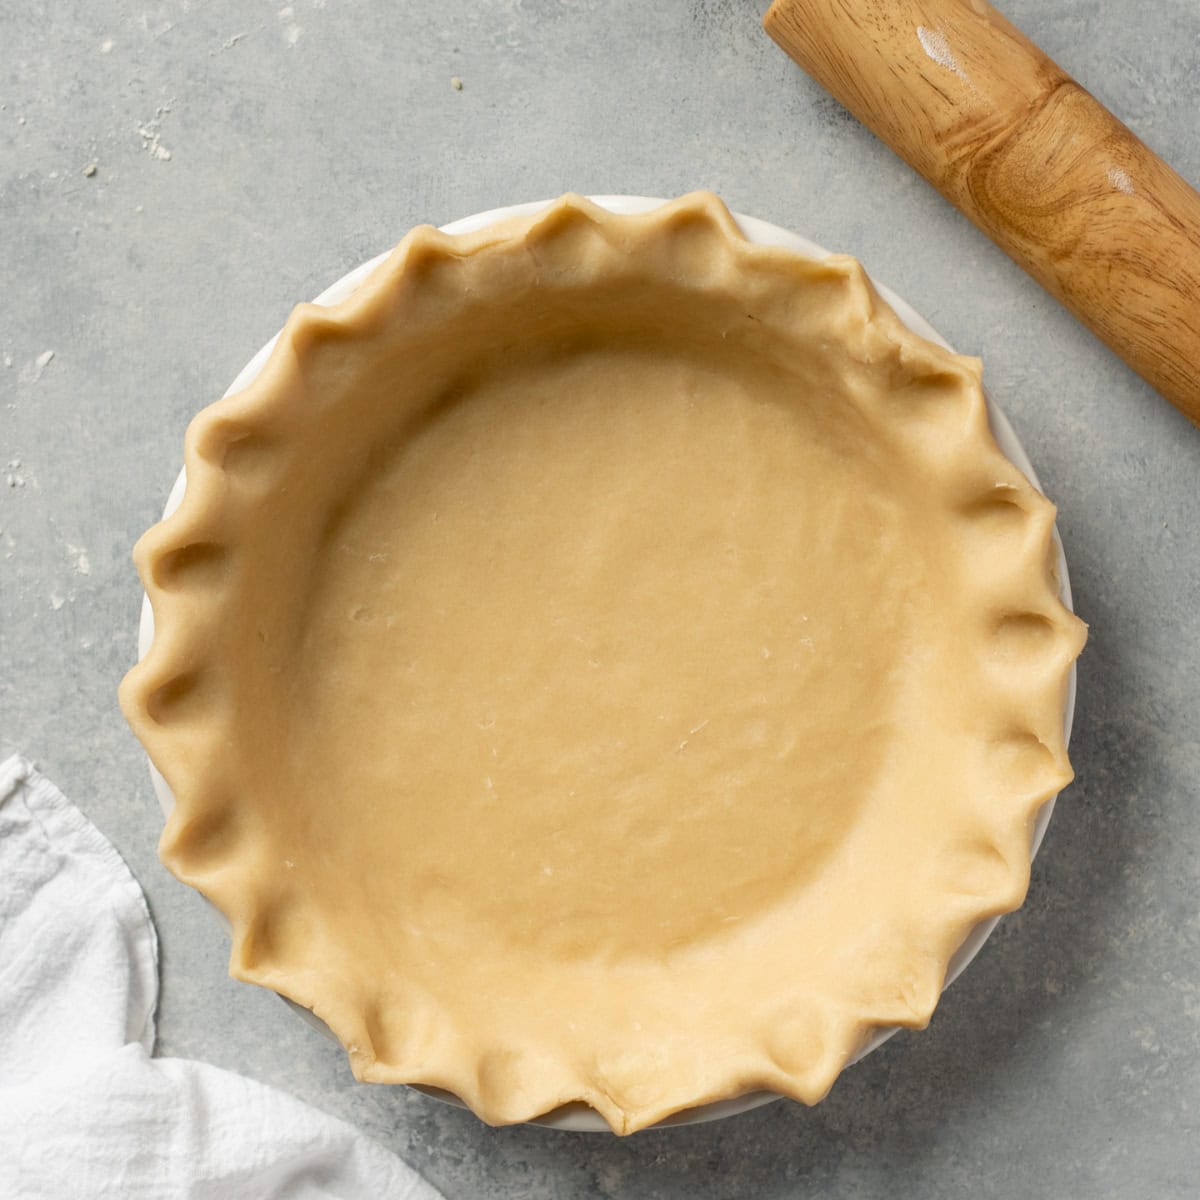
Step 6: Trim any extra crust, leaving about ½" all the way around. Roll that remaining ½" under, and then flute or decorate the edge however you prefer. Tada! Your food processor pie crust is ready!
🙋🏻♀️ All-Butter Pie Crust FAQs
Sure can. That's actually my preferred way to make pie crust! Nothing fancy is needed here. I've been using this Hamilton Beach food processor to make pie crusts for over a decade, and it's still going strong.
There are two secrets to getting a flaky pie crust instead of a dense brick: keep everything cold, and don't overprocess. The secret to a good pie crust isn't perfection...it's about keeping the butter colder than the weather outside. Either start with frozen butter, or stick your cubed butter back in the fridge for a few minutes if it starts to soften up from your hands as you cut it. And use ice water!
As for overprocessing: only pulse the food processor as much as you need to get the butter worked into the dough and the ice water incorporated. It doesn't have to be perfectly even-it will all level out during the dough's time-out in the fridge.
👩🏻🍳 My Expert Tips & Tricks
- Grate your butter: I prefer to shred the frozen butter using a cheese grater! It's much easier than trying to cut into rock-solid butter straight from the freezer. Use the largest holes on your cheese grater and go to town (scroll down to the recipe to see a video of how I do this). The grated bits coat in flour faster and stay colder longer-no pastry cutter required.
- Keep the salt: You may think that you don't need salt for a sweet pie, but that's where you'd be wrong. Salt brings out all the other flavors, so don't skip it!
- Make ahead: Refrigerate this pie dough for up to three days, or freeze for up to three months. Thaw overnight in the fridge before rolling it out. You can also freeze the dough rolled out in a foil pie pan. Then all you need to do is fill the frozen pie shell up and slide it right in the oven, adding a few minutes to your cooking time.
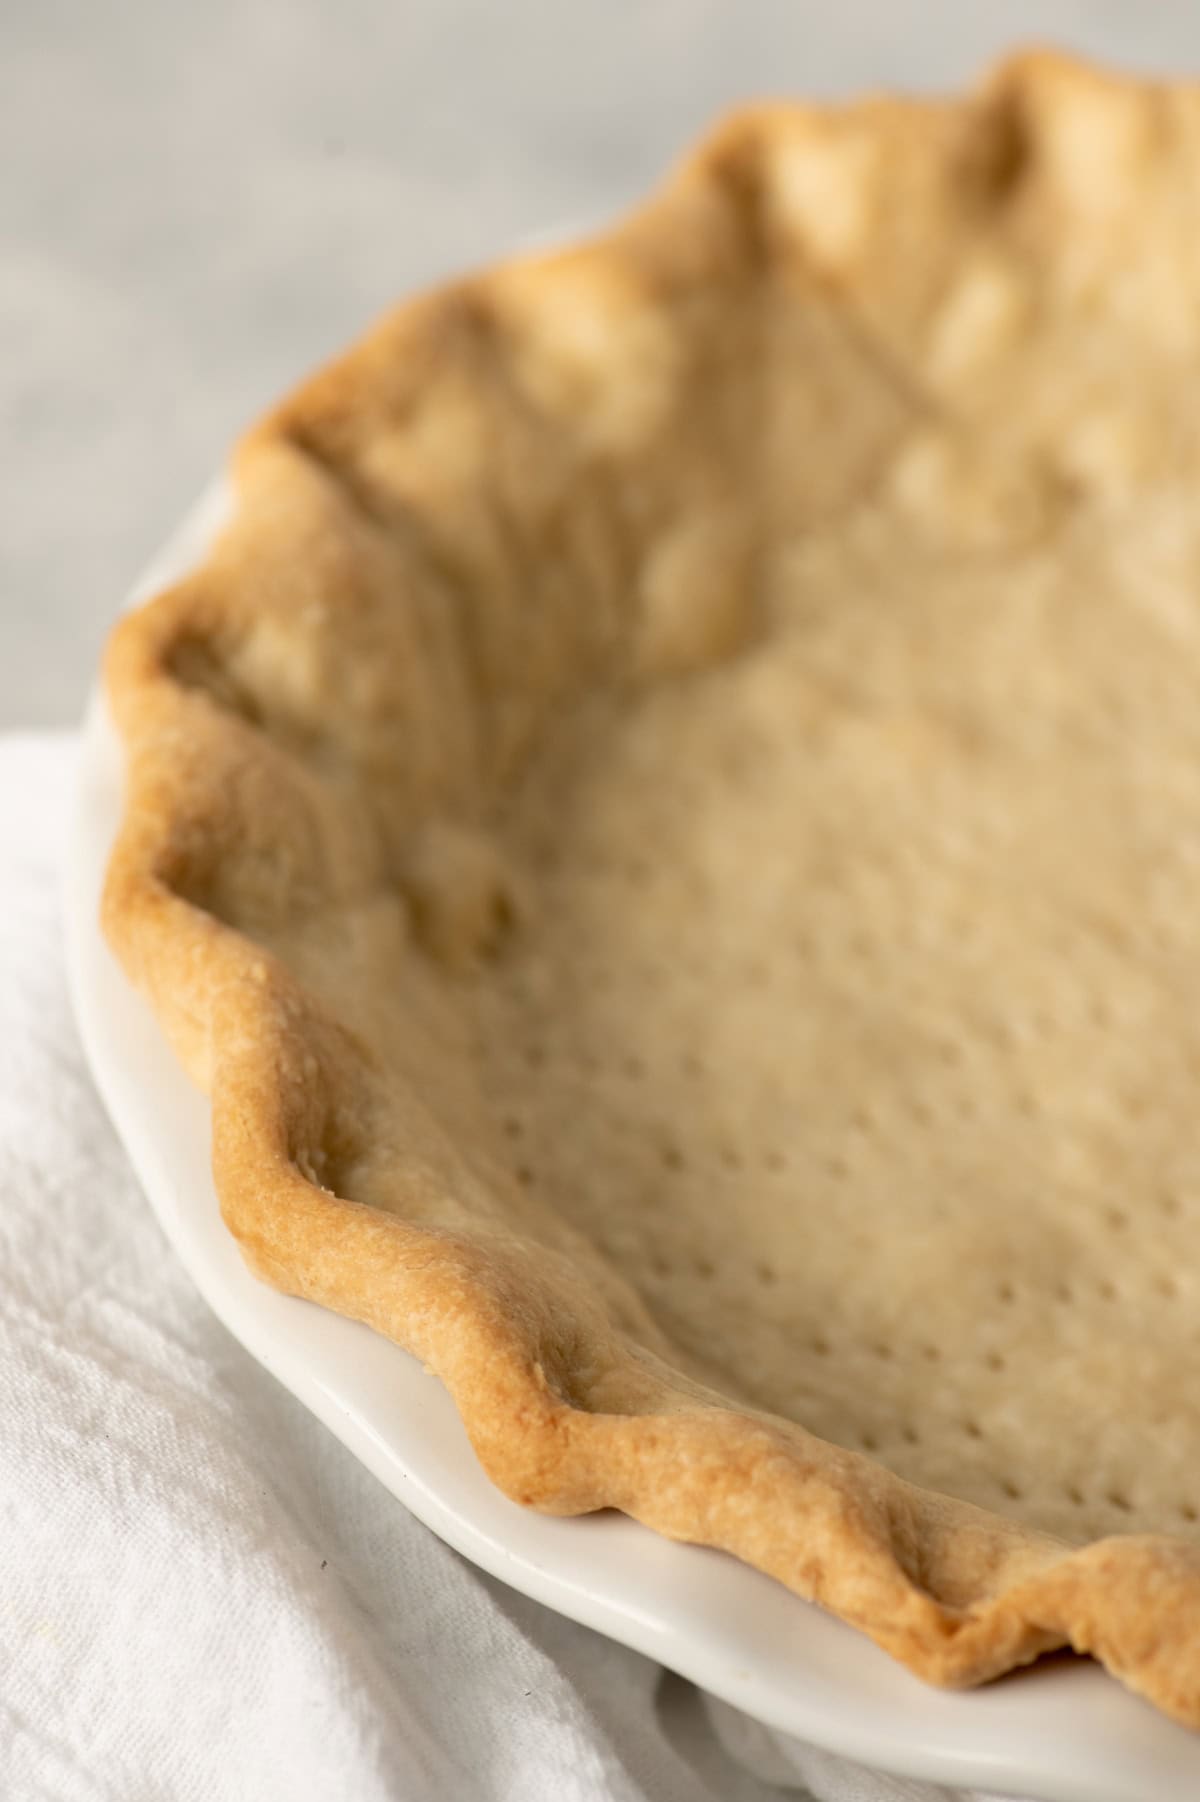
- Baking your pie crust: If your pie recipe calls for an unbaked crust, just fill and bake according to the directions in your recipe. For a blind-baked crust (a crust that is already fully cooked-usually for no-bake pies), line your crust with parchment paper, then fill with pie weights or country-girl pie weights (dried beans or dried lentils). Place everything in the fridge for 30 minutes. Then bake in a 375°F oven for 20 minutes. Remove the pie from the oven and lift the parchment and weights out. Using a fork, prick all over the bottom of the crust, then pop it back in the oven for an additional 15 minutes or so.
🥧 Great Pie Recipes Using This Crust:
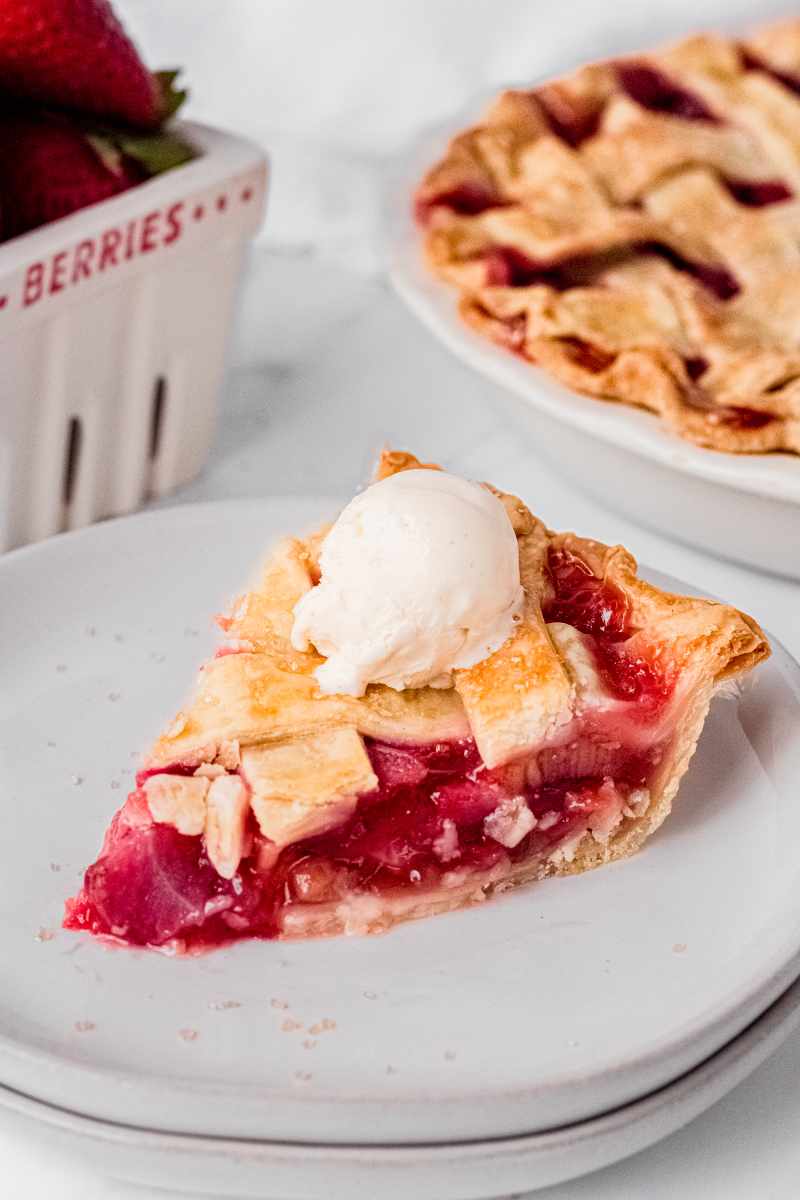
- Strawberry Rhubarb Pie
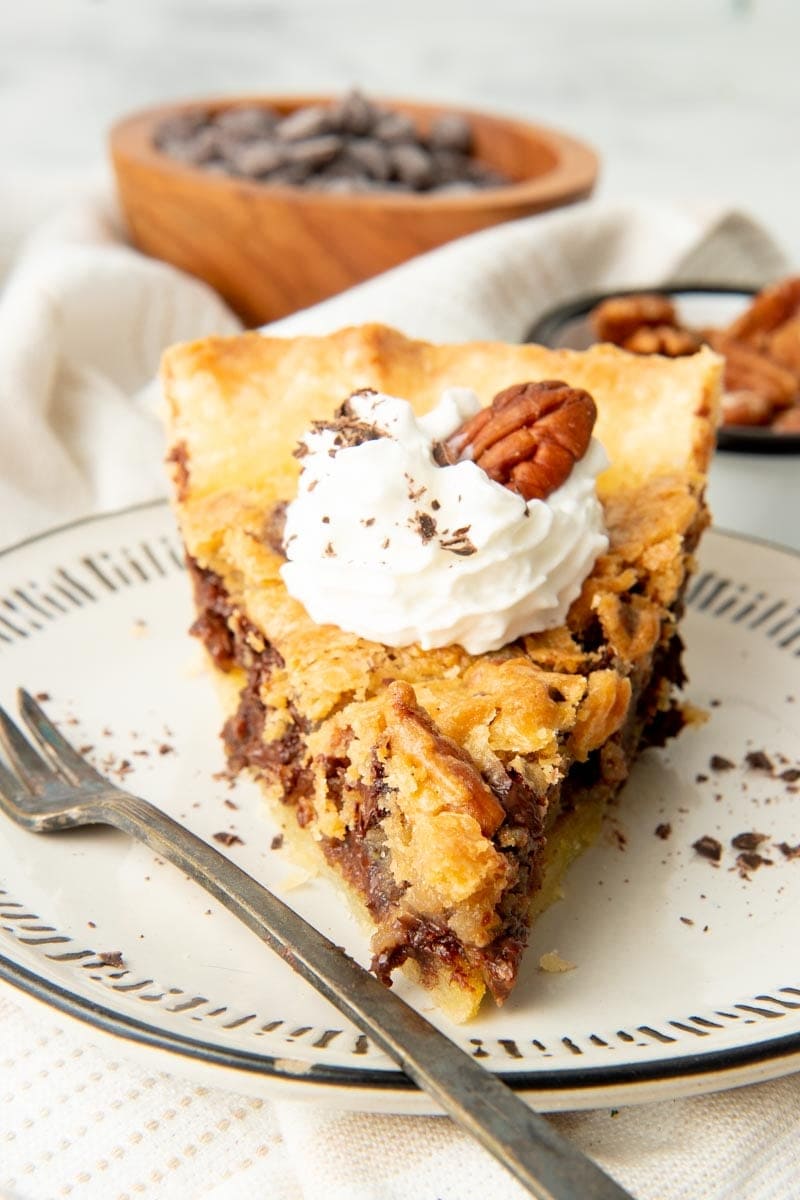
- Chocolate Bourbon Pecan Pie Recipe
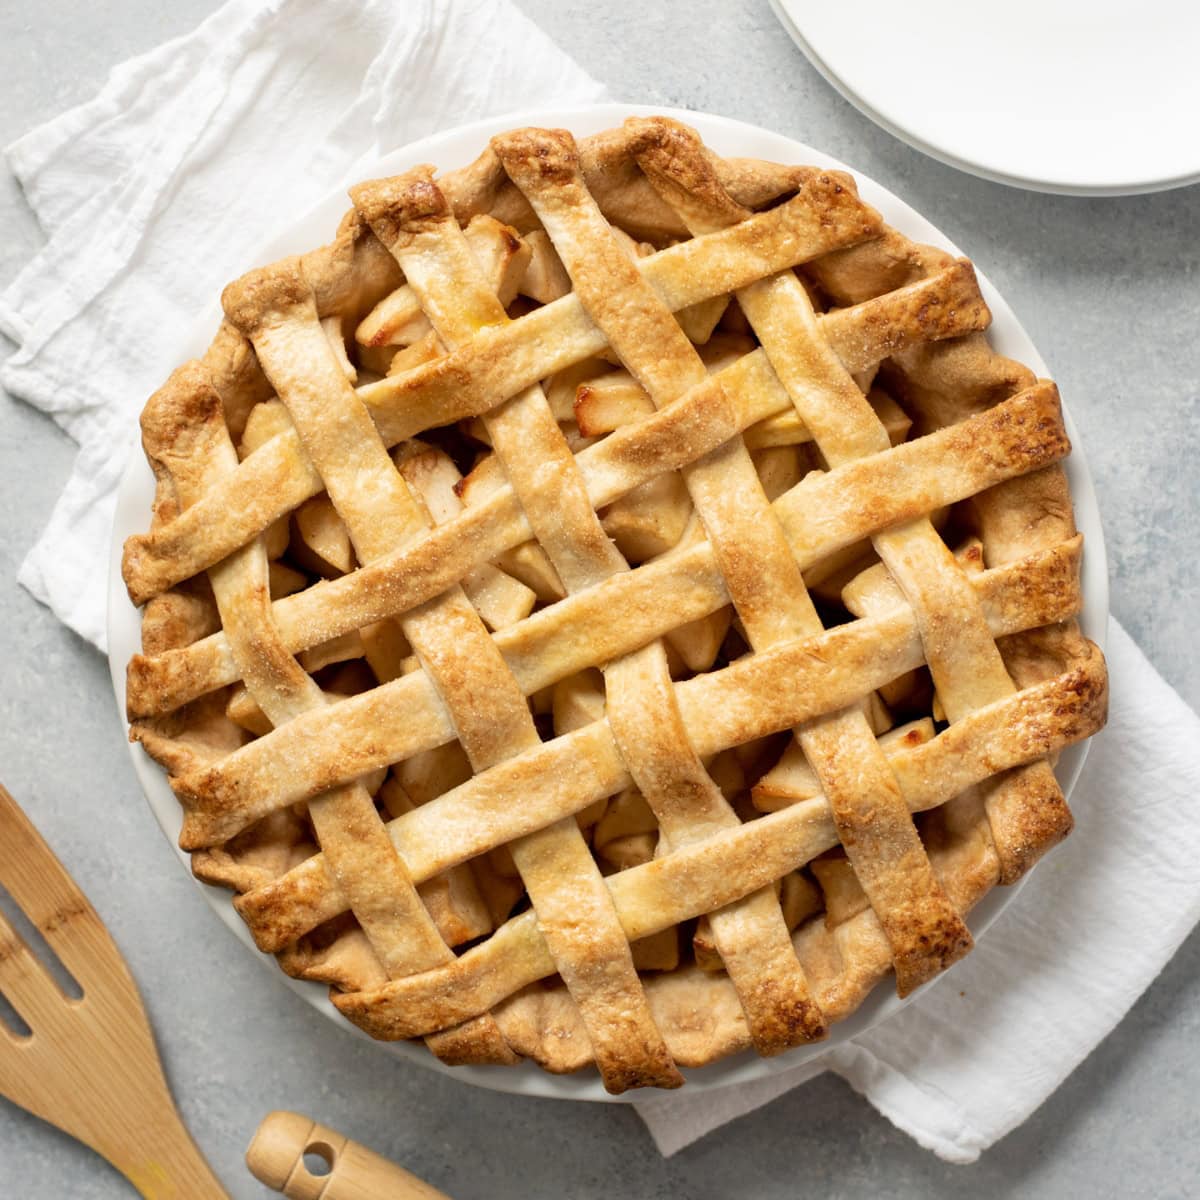
- Caramel Apple Pie
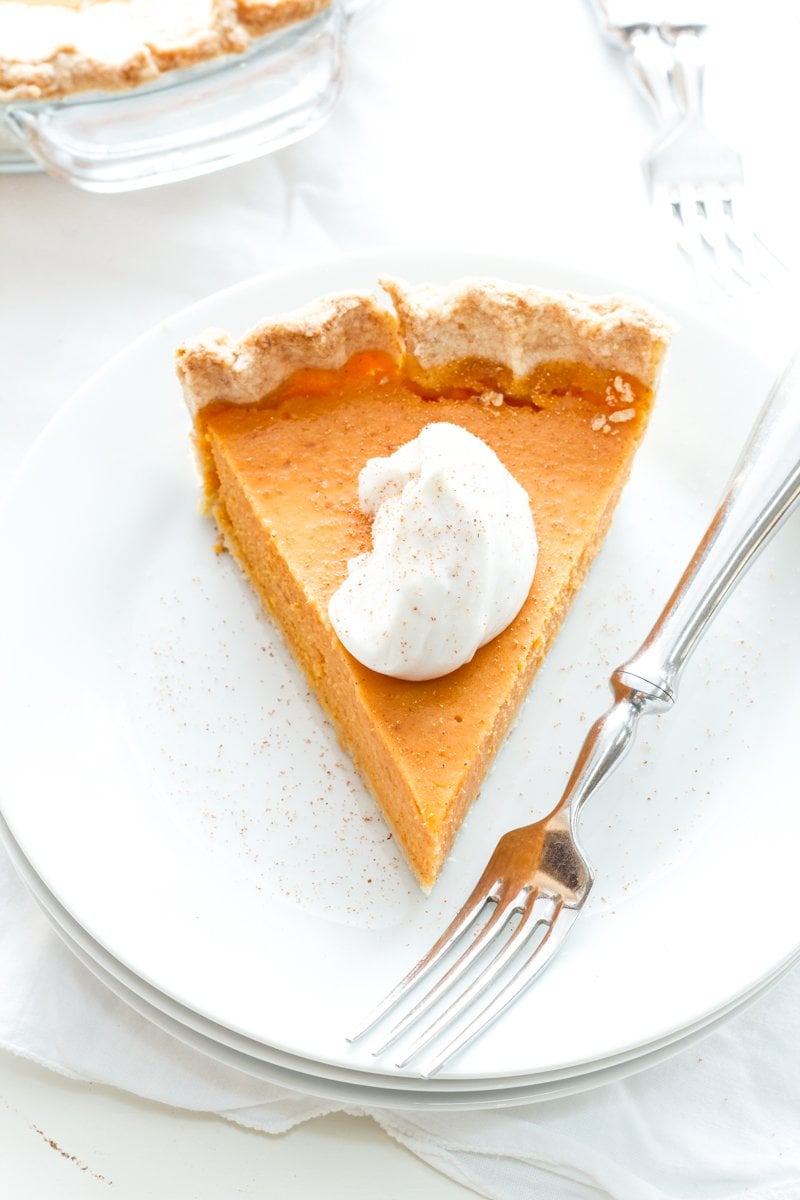
- How to Make Sweet Potato Pie
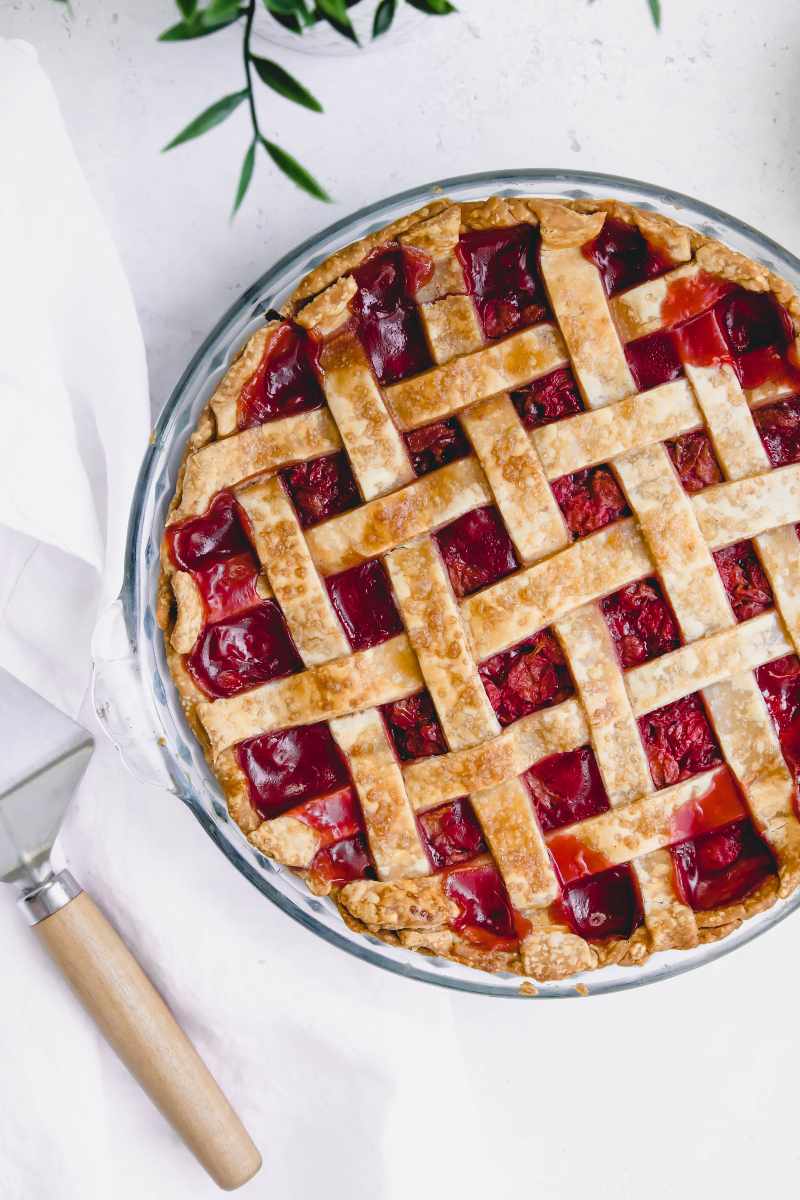
- Homemade Cherry Pie Recipe
- Pumpkin Pie Recipe with a Perfectly Silky Filling
- How to Make a Chocolate Chess Pie
- Indiana Sugar Cream Pie Recipe
- Vegan Chocolate Pie with Walnuts
- Triple Coconut Cream Pie
- Veggie Mediterranean Quiche
- Spinach and Feta Mini Quiche Recipe


If you tried this all-butter pie crust or any other recipe on my blog, please leave a 🌟 star rating and let me know how it went in the comments!
📖 Recipe
All Butter Pie Crust
Ingredients
- 1 ½ cups whole wheat pastry flour or replace with all-purpose flour or a combo
- 2 teaspoons sugar granulated, brown, or coconut sugar all work
- ½ teaspoon fine sea salt
- 1 stick frozen butter grated using a cheese grater
- 4-5 tablespoons ice water
Instructions
- In the basin of a food processor, pulse together the flour, sugar, and sea salt.
- Add in the butter, and pulse until the butter resembles the texture of small pebbles-slightly smaller than peas. All the butter doesn't have to be cut up. It's better to err on the side of too big butter pieces than too small.
- Working a tablespoon at a time, add in the ice water and pulse the food processor until combined. After each addition, grab a handful of the mixture and squeeze it together. When it stays together without crumbling (it usually takes about four tablespoons for me), you are done.
- Dump the crumbly meal onto a clean work surface and, using your hands, form into a solid lump, then into a disc. Work as quickly as possible because the heat in your hands will melt the butter. The disc doesn't have to be perfect.
- Wrap up the disc in plastic wrap and stash in the fridge. It'll need to rest in there for about an hour before you roll it out. If you're in a rush, you can stick it in the freezer for 15-20 minutes.
- After the crust has chilled out in the fridge, let it warm up a bit at room temperature for 5-10 minutes, then roll out on a lightly floured surface until it is about ⅛″ and large enough around to cover your pie plate. Roll the crust around your rolling pin for easy transporting.
- Unroll on top of your ungreased pie plate (don't worry, there is enough butter in the pie crust to not stick). Gently push it in the plate to contour along the sides. Leaving about ½″ all the way around, trim the extra crust, roll the ½″ under, and then flute or decorate the edge however you prefer. Fill and bake per your pie recipe's instructions.
To Blind Bake (Pre-Bake) the Crust:
- Line the unbaked crust with parchment paper, fill crust with pie weights (dried beans work, too), and then chill for 30 minutes. Then bake in a 375°F oven for 20 minutes.
- Remove the pie from the oven. Using the parchment paper, lift out the weights and set aside.
- Using a fork, prick the bottom of the crust all over. Return the crust to the oven and bake for an additional 15-17 minutes, or until the crust is golden brown.
Video

Notes
- I'm a big fan of this whole wheat pastry flour for pie crust making-it turns out perfectly every time. If you want to go all white flour, just regular all-purpose flour works just fine and dandy.
- I always keep a box of sticks of butter in my freezer. Not only do they keep for months in there (pick them up when they're on sale!), but that way I always have frozen butter ready for pie crusts or biscuits.
- Grating your butter is way easier than trying to cut into frozen butter. You'll have the best success if you use the largest holes on your cheese grater.
- Don't leave out the salt! Trust me, you want a little bit of saltiness when you're making sweets.
I use Crisco instead of butter, and my recipe calls for a tablespoon of vinegar! Not sure what it does, but it is a very good pie crust.
It shortens the dough. Makes it more tender.
1 cup flour 1/2 cup 1/4 cup water double or triple .never had a failure
Most often I use a blend of butter and shortening.
I'm old fashioned and prefer lard ( organic free range if possible) amazing crusts.
I have made all variations, all butter (always unsalted), shortening, half butter and half shortening, and lard. Allthough I prefer an all butter crust, I have developed a milk allergy, so butter is now out for me. ?
.
I just came upon this recipe on Pinterest. I am going to make my first ever pie crust tomorrow. I'm pushing 60 yrs old and decided it's time to put fear aside and just do it!! Wish me luck! I'll be using your recipe and techniques. And for my first pie I'll make apple.
When you say 1 stick of butter, does that mean 1/4 cup or 1/2 cup of butter?
1/2 cup 🙂
Do you have a printable version of this recipe, I would really like to use this.
I made my first homemade pie crust today. It was for a German Chocolate Coconut Pie. It's chilling in the fridge for thanksgiving tomorrow. I'm not sure it'll make it through the night without sneaking a piece:) One step that I wasn't prepared for in the recipe I followed was needing pie weights. I ended up putting my foil lining in place and pouring in uncooked rice. Seemed to work good. Do you use pie weights?
Thank you for posting this! I have also always had an irrational fear of making my own pie crust, so have never done so. I am in charge of pies for Thanksgiving this year and will take the dive and use your recipe. Thank you!
Try freezing the butter and then grating it into the flour mixture and combining it with a fork then adding the liquid as required.This method produces a really open fluffy texture.
I have the world's smallest kitchen with absolutely no counter space for rolling out, so I usually make single crust, press-in pie crusts. So easy and you save a ton of calories with only a bottom crust. You can find a bunch of recipes on google or bing.
That's awesome! I'll have to look into it, thanks!
Yes! I'm pumped about this. I'm in the butter camp but have never mastered the art so I don't make pie. And of course it's husbands favorite food ever... poor man is suffering and you may have just saved his life. I owe you one.
Hahah! It's easy, I promise! And pie is one of my favorite foods, too. We didn't have cake at our wedding, just a whole table of different pies!
I love that you posted this today! I made my very own pizza dough for the first time last night and was like, stupid proud of myself. I've ALWAYS been so intimidated by breads and refused to make them myself. I think I thought they were way more complicated than they really are.
Weird question, have you ever had issues using a gas stove verses an electric? When we moved to our townhouse I had to adjust to using a gas stove for the first time ever, and I can't find a balance between temperature and time. I have little trouble with putting chicken or pizza in the oven, but my cookies and other baked goods end up burnt or gooey in the middle all! Any advice?
I grew up cooking on a gas stove, so I've barely ever even used an electric, so I <3 gas. That being said, those stoves in those apartments SUCK. SUCK. SUCK. I had the hardest time finding the right temperature. I eventually learned that my stove was a lot hotter than it said it was and that helped. Good luck!
I have one that is way easier and it's flaky and perfect for Apple Pie...
2 Cups Flour
1/2 Cup Vegetable Oil
1/4 Cup Milk
Mix ingredients together with a fork until crumbly, then form into two balls. Roll each out between waxed paper. Makes 2 crusts or 1 top and 1 bottom.
Awesome! I might have to try it out, although I have to say butter > oil in my world, always and forever. Me and butter be tight. 🙂
I'm so glad this does not have Crisco or any other kind of trans fat! I love my Mom to death (and her amazing apple pie with homemade crust), but the trans fat has got to hit the road!
Companies are so sneaky these days to manipulate their labels to say 0g trans fat. Newsflash - that really just means <1g per serving! It could be .99 grams, yet they are able to bare the "No Trans Fat!" label.
That drives me crazy! Did you know Girl Scout cookies have trans fats? But they put the NO TRANS FATS! label on the outside. So wrong.
My recipe calls for half butter, half shortening, but when really want to indulge I go with all butter. This crust you made is gorgeous! I wish I had taken pics of the kindergarten crusts that came out of my class on Monday! Not at all like yours!! They each got a tiny ball to roll out and we baked our pies in muffin tins so each kiddo got their own. I was so glad I did this because I realized that many of the kids had never even seen someone make pie. Somme didn't even know what flour was! I think I'll work on an after school cooking class!!!!
All butter, all the time! 🙂 And you are doing AWESOME work teaching those kids about food. I remember watching a Food Revolution episode where Jamie Oliver went into a classroom and kids (not even super young kids, maybe 6th graders?) couldn't identify common veggies. Like tomatoes or potatoes or cucumbers! They had no idea. So sad.
You are spot on when you say that homemade crust is life changing. I've been making homemade pecan pie for Thanksgiving since I was in middle school, but two years ago I made it with a homemade whole wheat crust. My dad went on and on about how this was the best version I'd ever made. And he always says that my pecan pie is the best so this meant a lot that I had improved it even further.
And I'm definitely in the butter camp. Shortening has it's place, but not in my pie crust.
Oh gosh, I so want a pecan pie, now! A perfect pecan pie is pretty much the stuff dreams are made of.
Perfect!!! And now maybe you could do a similar post on fluting, haha. My pie crusts always look puffy and uneven and sad - more like pizza crust. But you've got me looking forward to what looks like a delicious autumn comfort food!
Fluting is so easy once you figure it out, that it almost doesn't seem worth a post! For years I couldn't figure it out, and then I watched a video on YouTube and the light clicked on!
I always make my own pie crusts. And I always use unsalted butter. I don't typically put sugar in my crust though, so next time I make a sweet crust I will try it. I also sometimes put some baking powder in with my savory crusts to make it a bit fluffier. Enjoy your pie season!
I think just a touch of sugar is a really nice contrast to the butter. And I always use unsalted, too! I'd much rather control my own salt.