
Honey Glazed Chicken Thighs






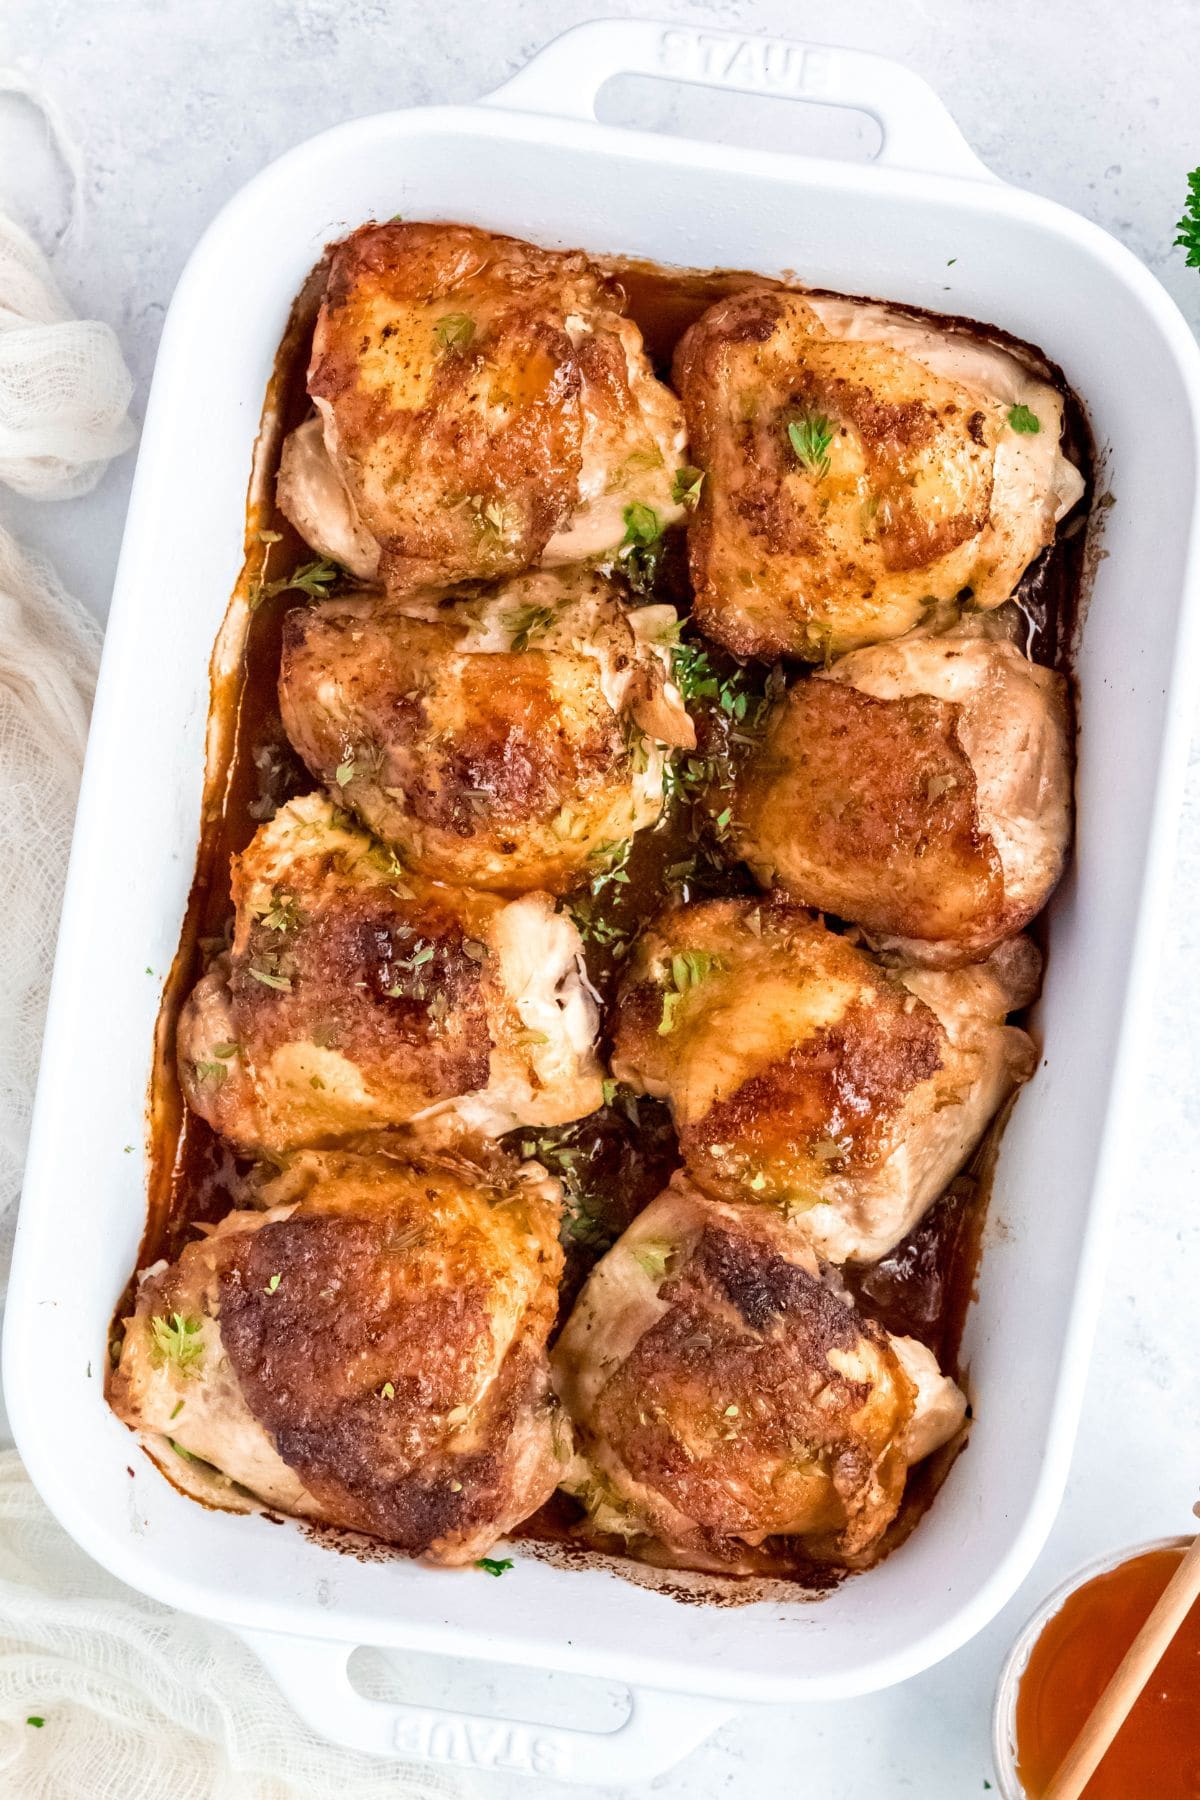
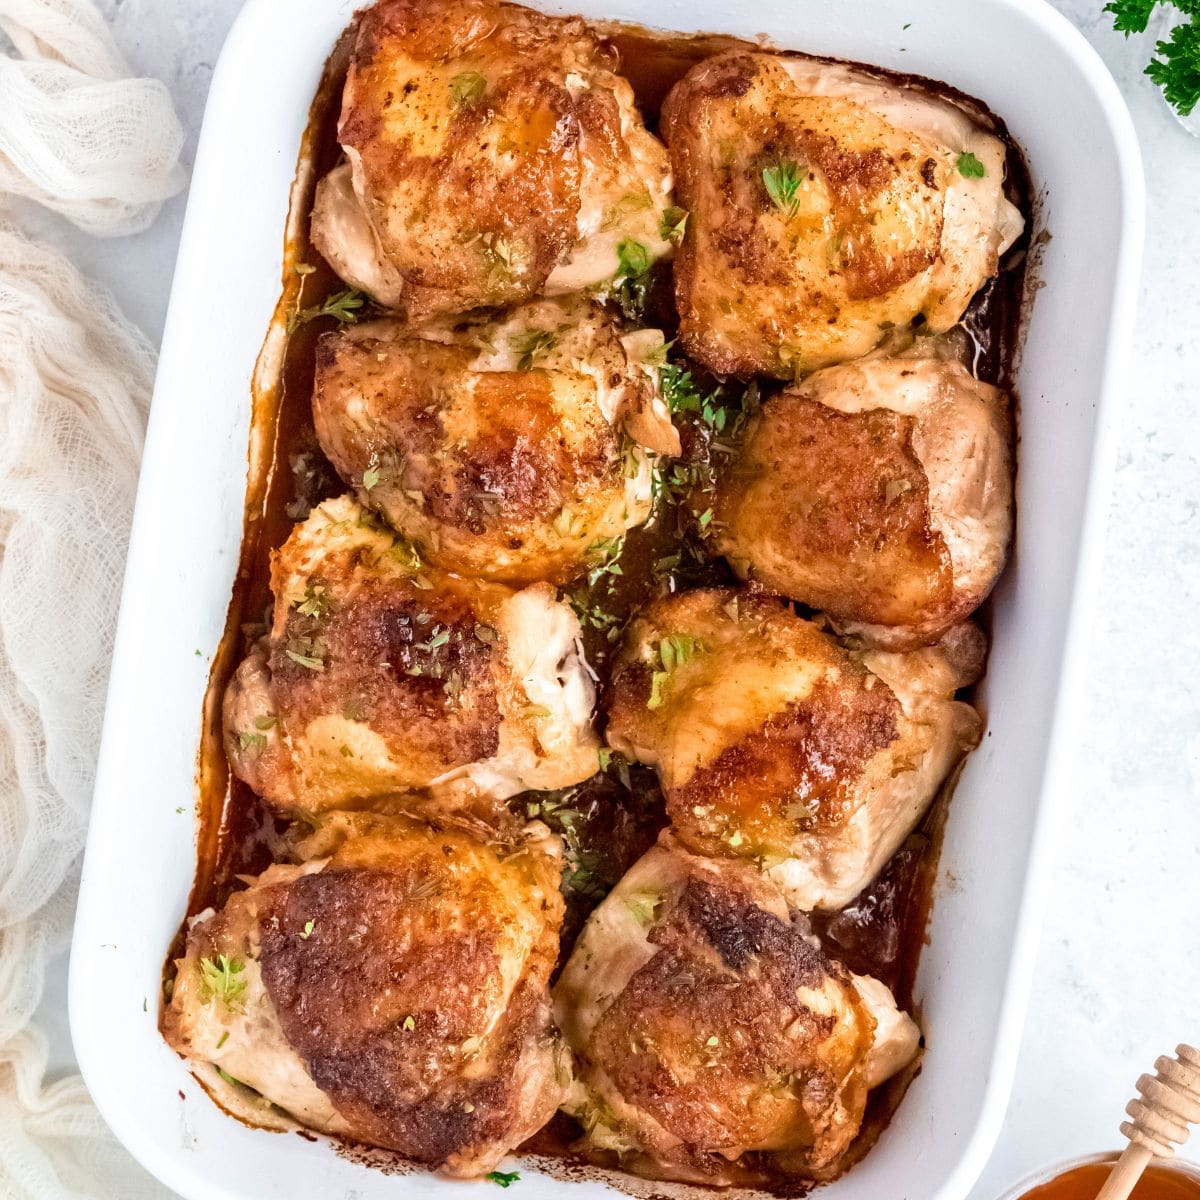
Honey Glazed Chicken Thighs get seared first in a hot skillet for that succulent, crispy skin we all love. The bone-in thighs are then smothered by an easy-as-can-be sticky honey garlic glaze and baked so the meat stays tender and juicy.
FROM THE COOK
"These chicken thighs are an easy-peasy weeknight dinner because the oven does most of the work for you!"
- Cassie
Recipe at a glance
Why I Love This Recipe
The searing step is what separates this from the sticky honey chicken thighs you'll find anywhere else. A hard sear adds a ton of flavor and that crisp, succulent texture we all love.

If skin-on, bone-in chicken thighs don't have a regular spot in your dinner rotation, they should! They are one of the most affordable cuts of chicken out there, plus they are packed with so much flavor. This sticky honey glazed thigh recipe is the perfect place to get your feet wet if you're new to bone-in thighs. Here's why this recipe deserves a spot in your kitchen:
- The magic combo: sear + bake. Searing them first gets you that crispy, golden skin everyone ends up fighting over at the table.
- Juicy, tender, succulent. A bone-in cut helps keep the meat juicy even if you leave it in the oven a few extra minutes. Bone-in thighs are also more flavorful than their boneless counterparts.
- Sticky, gooey, savory glaze. The sauce is thick and rich and perfect for smothering on chicken thighs. The sauce seeps into the chicken while in the oven adding tons of flavor in every bite.
- Professionally tested in a home kitchen. This one has been run through its paces, so the timing and ratios are already dialed in. No guesswork on your end.
No fancy equipment, no complicated technique, just a skillet and an oven doing the work. Let's dig in

Ingredients
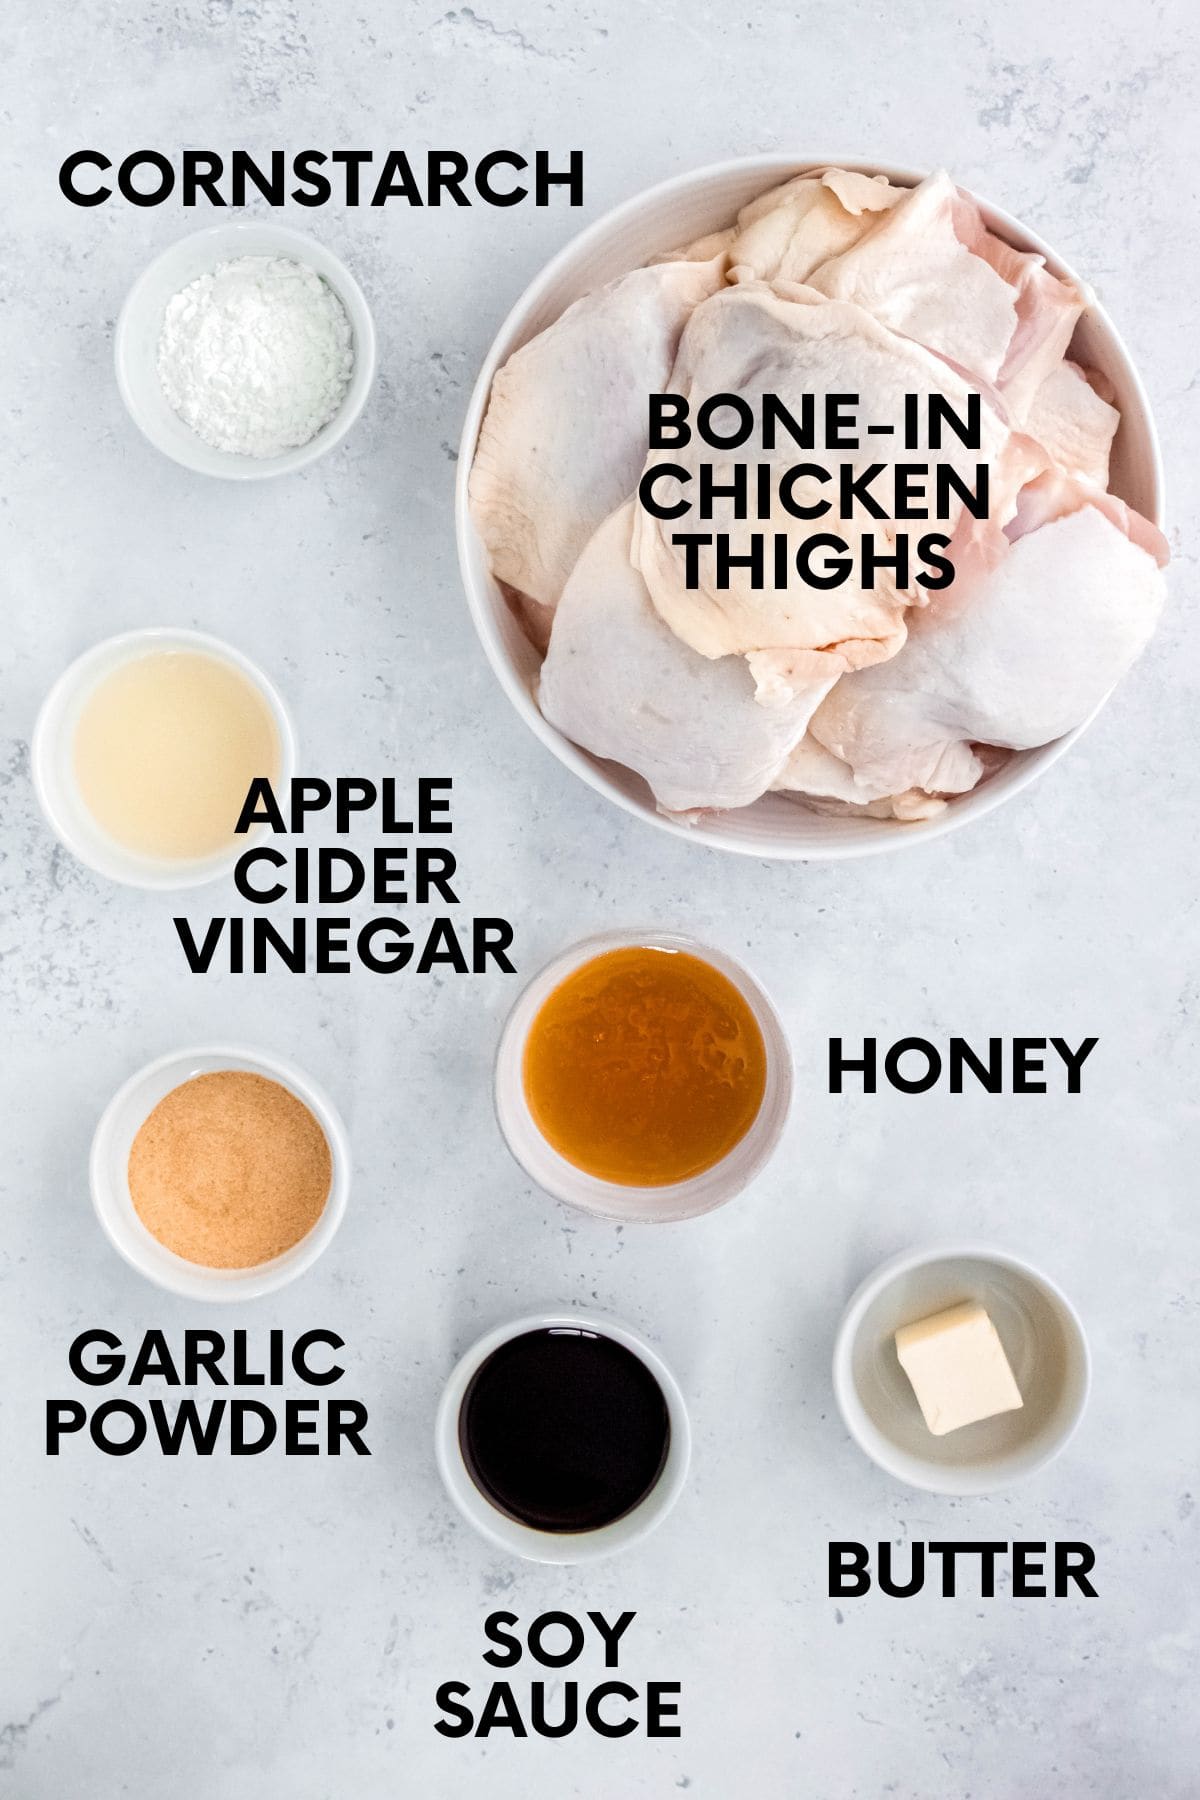
Head's up: Check the recipe card below for the full ingredients list
- Bone-in chicken thighs: Bone-in is what gives this recipe its edge. If you only have boneless on hand, you can swap them in, just cut the bake time down to 20-25 minutes so they don't dry out. My grilled chicken thighs are another spot to use bone-in thighs-so stock up when they are on sale!
- Unsalted butter: Used for the sear, split between two batches so the pan doesn't get overcrowded and the chicken actually browns instead of steaming. To make this recipe dairy-free, use vegan butter or any neutral-flavored oil like avocado oil.
- Honey: The base of the glaze and where all that glorious stickiness comes from.
- Soy sauce: Balances the sweetness with salt and umami. For a gluten-free version, use Tamari or Coconut Aminos.
- Garlic powder: Fresh garlic would burn during the roasting time and turn bitter, so powder is the better call here for even flavor throughout the glaze.
- Apple cider vinegar: Just a splash to cut the sweetness and keep the glaze from tasting one-note.
- Cornstarch: Whisked into cold water first, then into the glaze. This is what turns a thin, watery sauce into something that actually clings to the chicken.
How to Make It
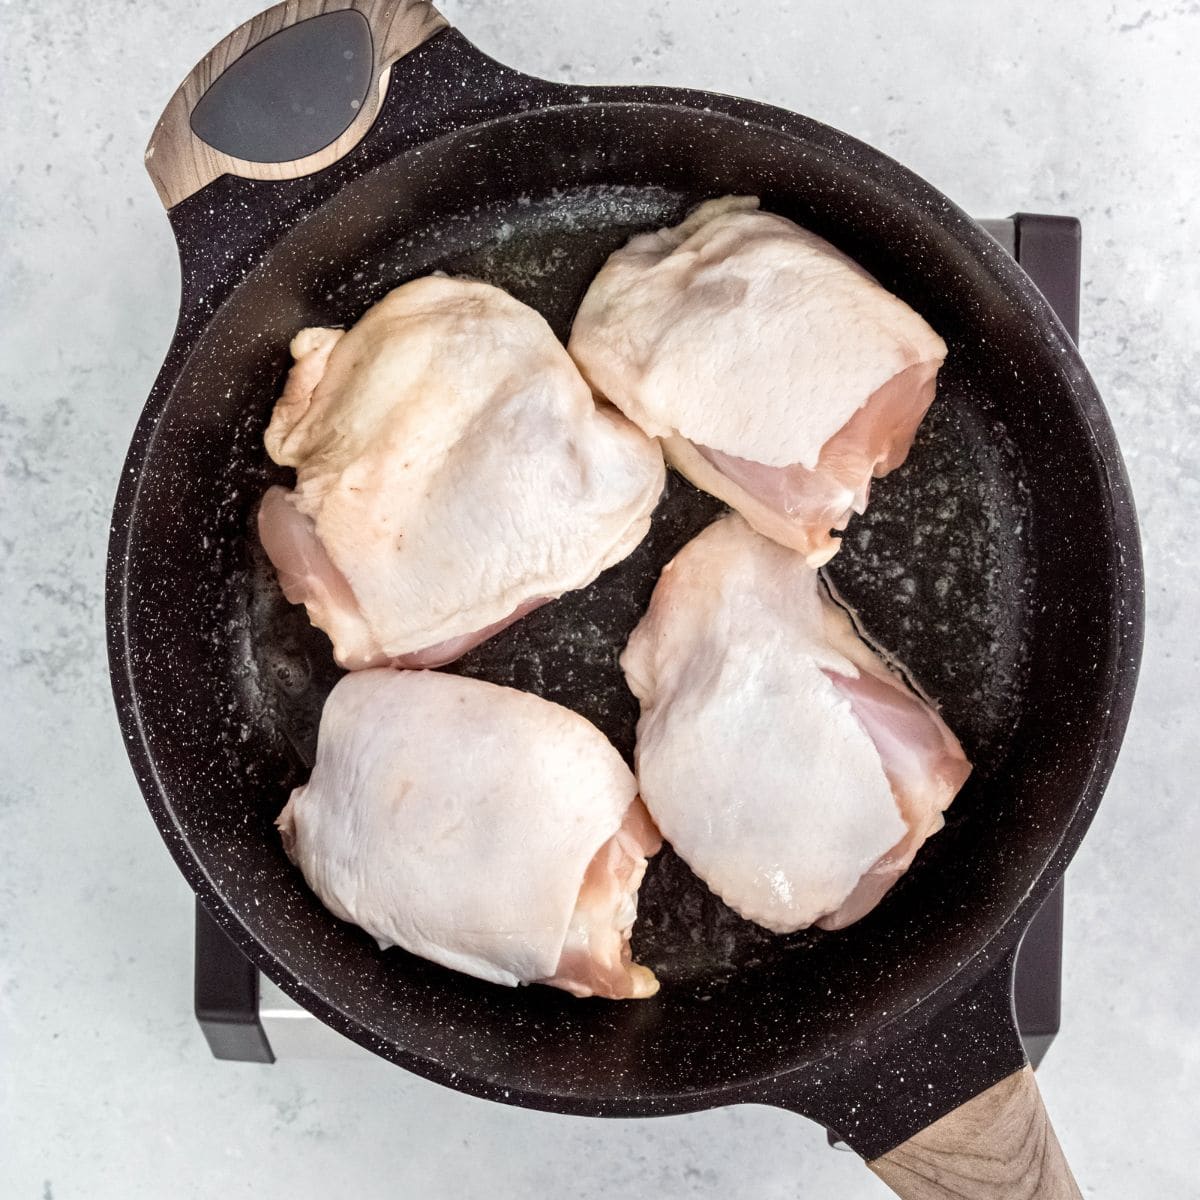
Step 1: Start the sear. Preheat your oven to 400°F. Melt 1 tablespoon of butter in a large skillet over medium-high heat. Pat the chicken dry, then add 4 chicken thighs, skin-side down, and let them sear undisturbed.
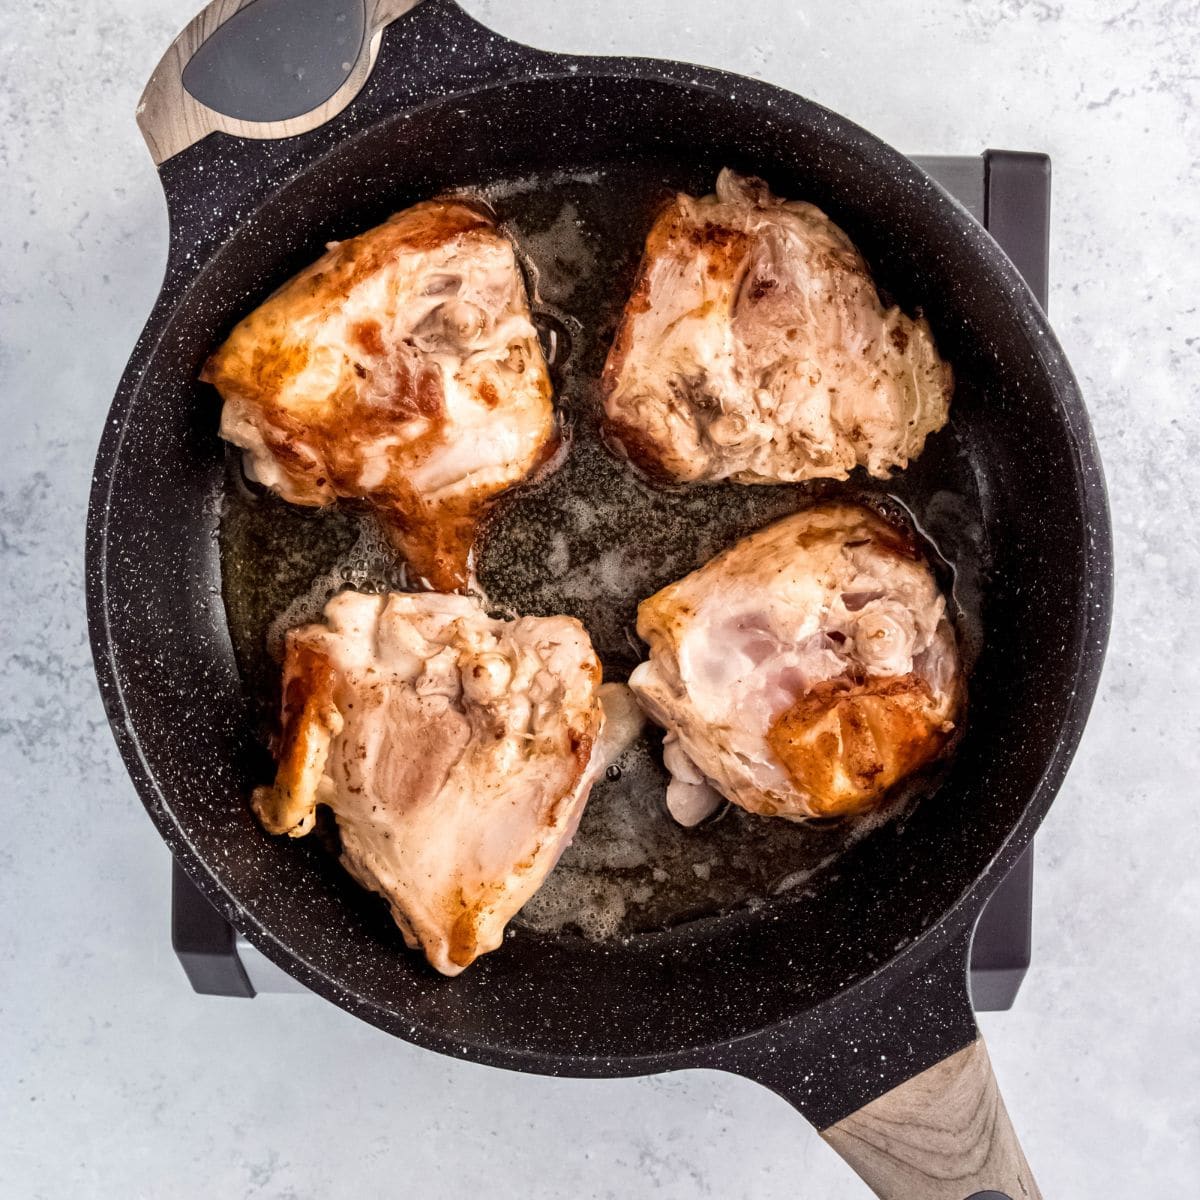
Step 2: Finish searing. Sear for 4-5 minutes per side, until deeply golden, then transfer the thighs to a greased 9x13 baking dish. Melt the remaining butter and repeat with the rest of the chicken.

Step 3: Mix the glaze. Whisk together the honey, soy sauce, garlic powder, and apple cider vinegar in a small bowl. In a separate small bowl, whisk the cornstarch with 1 tablespoon of cold water until smooth, then stir it into the honey mixture.
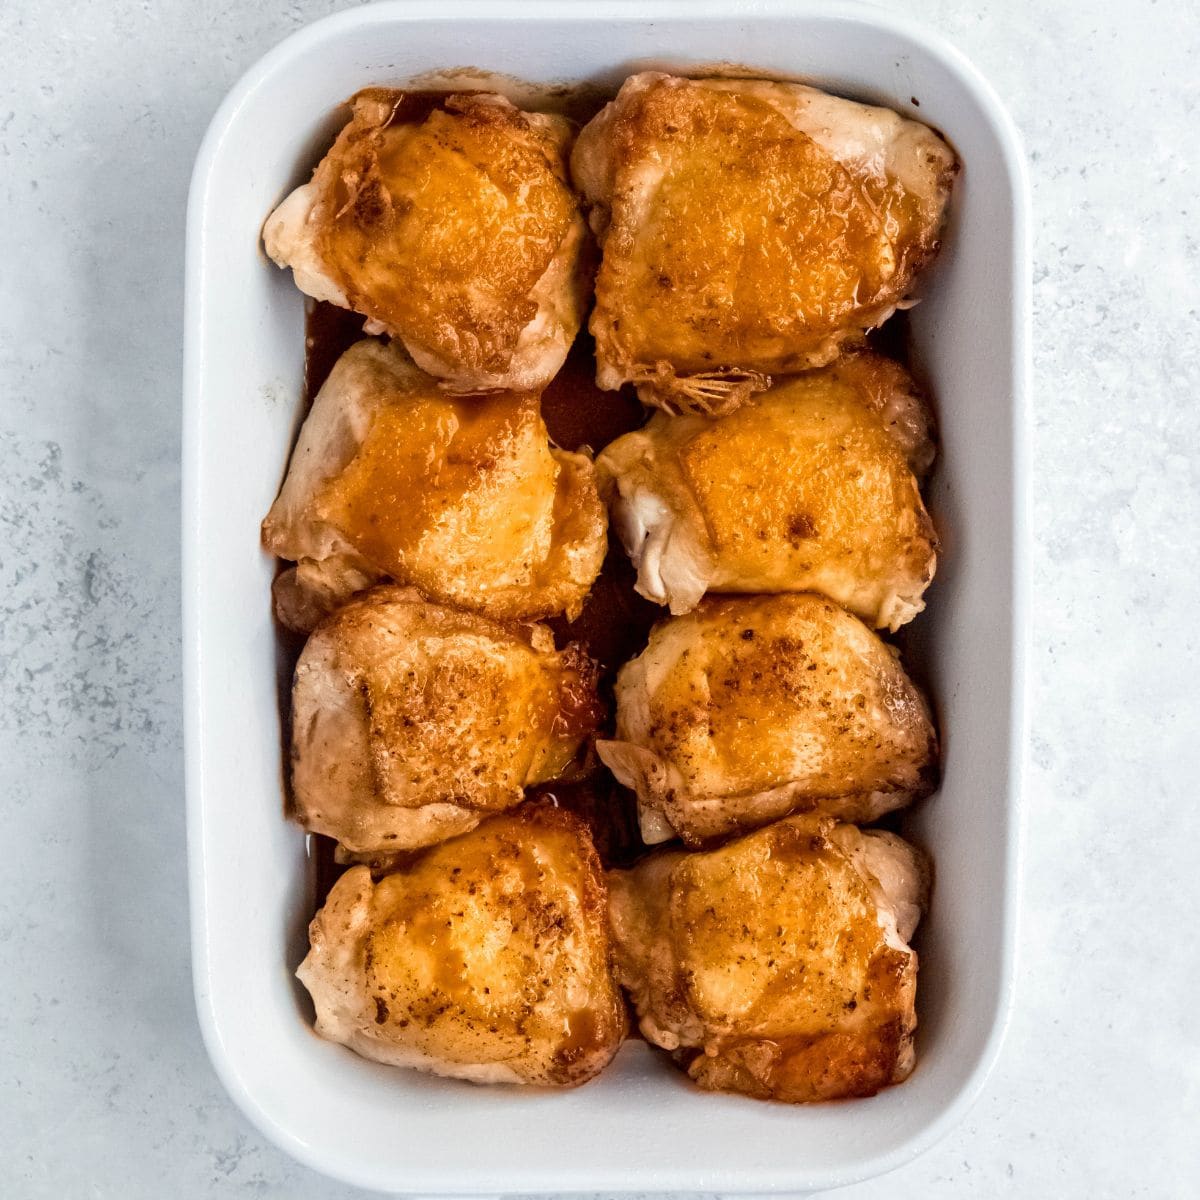
Step 4: Pour on the glaze. Pour the glaze evenly over the seared chicken thighs, making sure each piece gets covered.
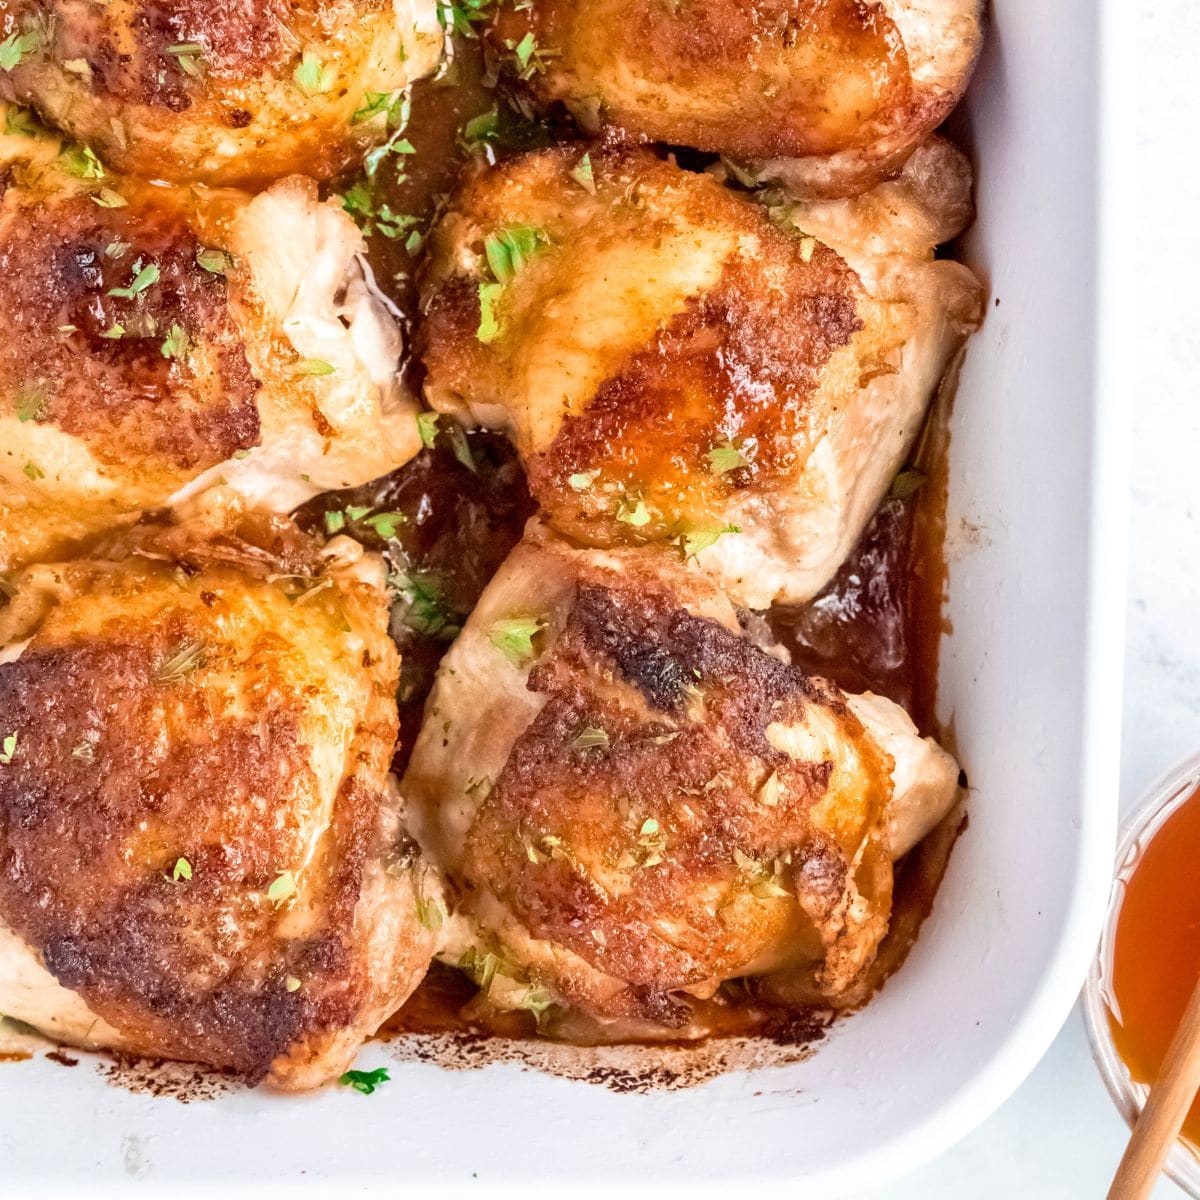
Step 5: Bake uncovered for 25-30 minutes, until the chicken reaches 165°F and the glaze has thickened and turned glossy.
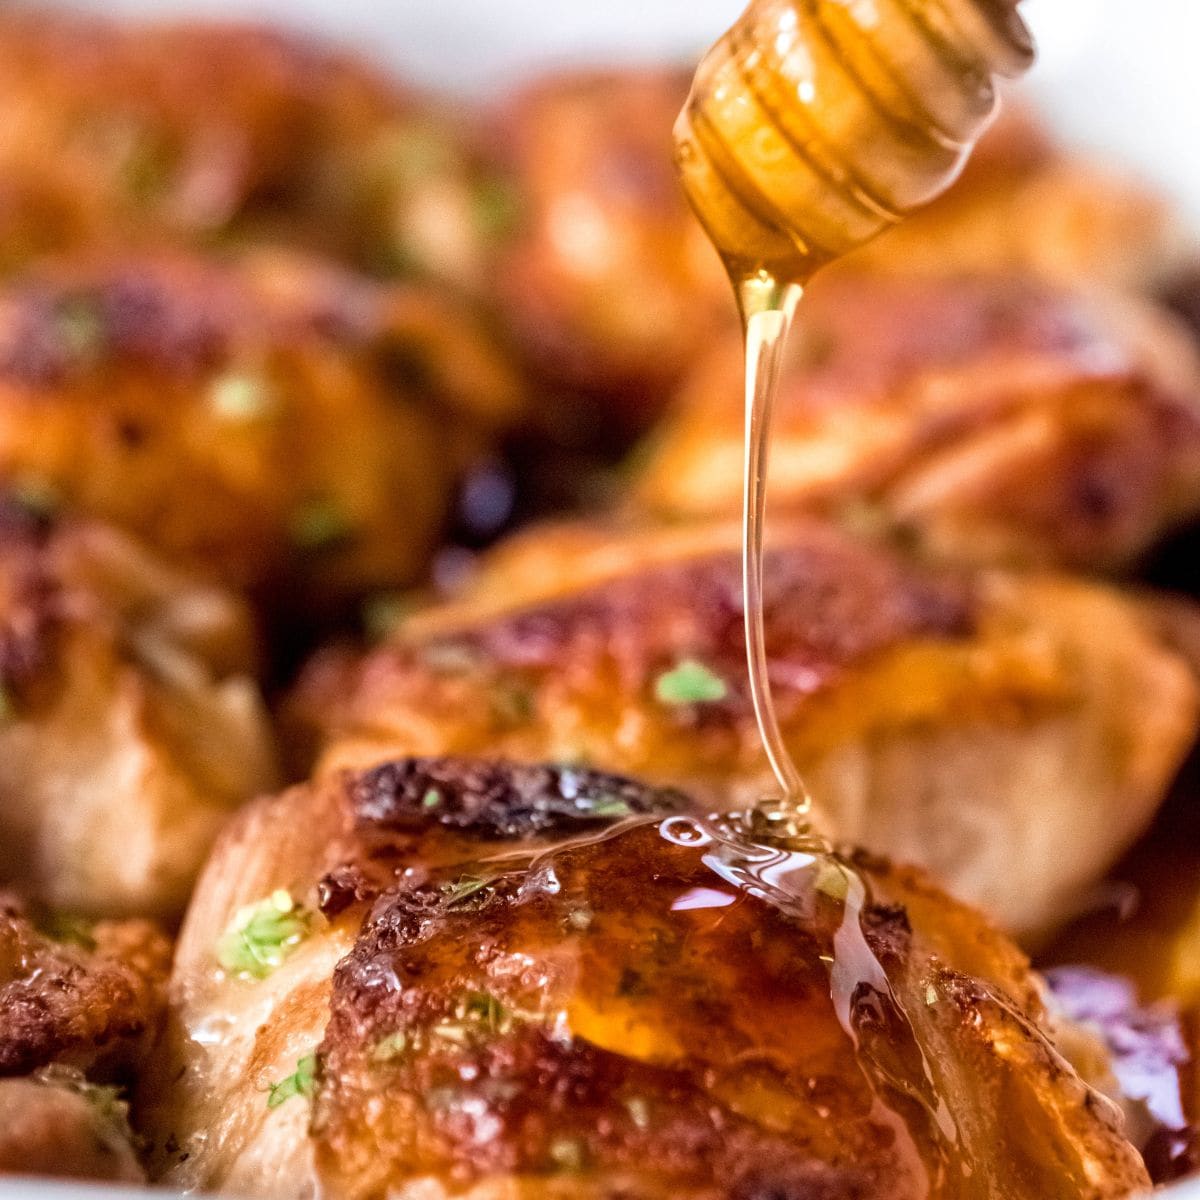
Step 6 (optional): Extra honey drizzle. Want it even stickier? Drizzle a little extra honey over the chicken right before serving for more shine and gooey texture.
👩🏻🍳 Cassie's Tips
- Pat the chicken dry before it hits the pan. Any surface moisture stands between the skin and a good sear, and moisture is the reason chicken skin ends up soggy instead of crispy.
- Don't crowd the skillet. Searing four thighs at a time instead of all eight keeps the pan hot enough to actually brown the skin instead of just warming it.
- Use a meat thermometer, not the clock. Oven strength and thigh size vary enough that 165°F is the only number that matters, the 25-30 minute window is just a guide. I bought this Bluetooth meat thermometer a few years back, and it has been a game changer.
- Skipping the sear is fine if you're short on time. It's not required, just recommended for the texture and color.
FAQs
Yes. Boneless thighs work fine here, just pull the bake time back to about 20-25 minutes so they don't dry out. Bone-in will still give you more flavor and a juicier bite, but boneless is a fine swap if that's what you have on hand.
Make sure the cornstarch slurry is fully whisked into the honey mixture before it goes over the chicken, and give it the full bake time. The cornstarch needs the oven heat to actually thicken, so pulling the chicken early can leave you with a thinner sauce.
Any solid veggie side dish is going to be great with this chicken thighs. Some options to try: Honey Glazed Carrots, Roasted Asparagus Parmesan, Perfect Roasted Brussels Sprouts, Twice Baked Potatoes, and Roasted Beets with Balsamic Glaze.
Leftovers keep in the fridge in an airtight container for up to 5 days.
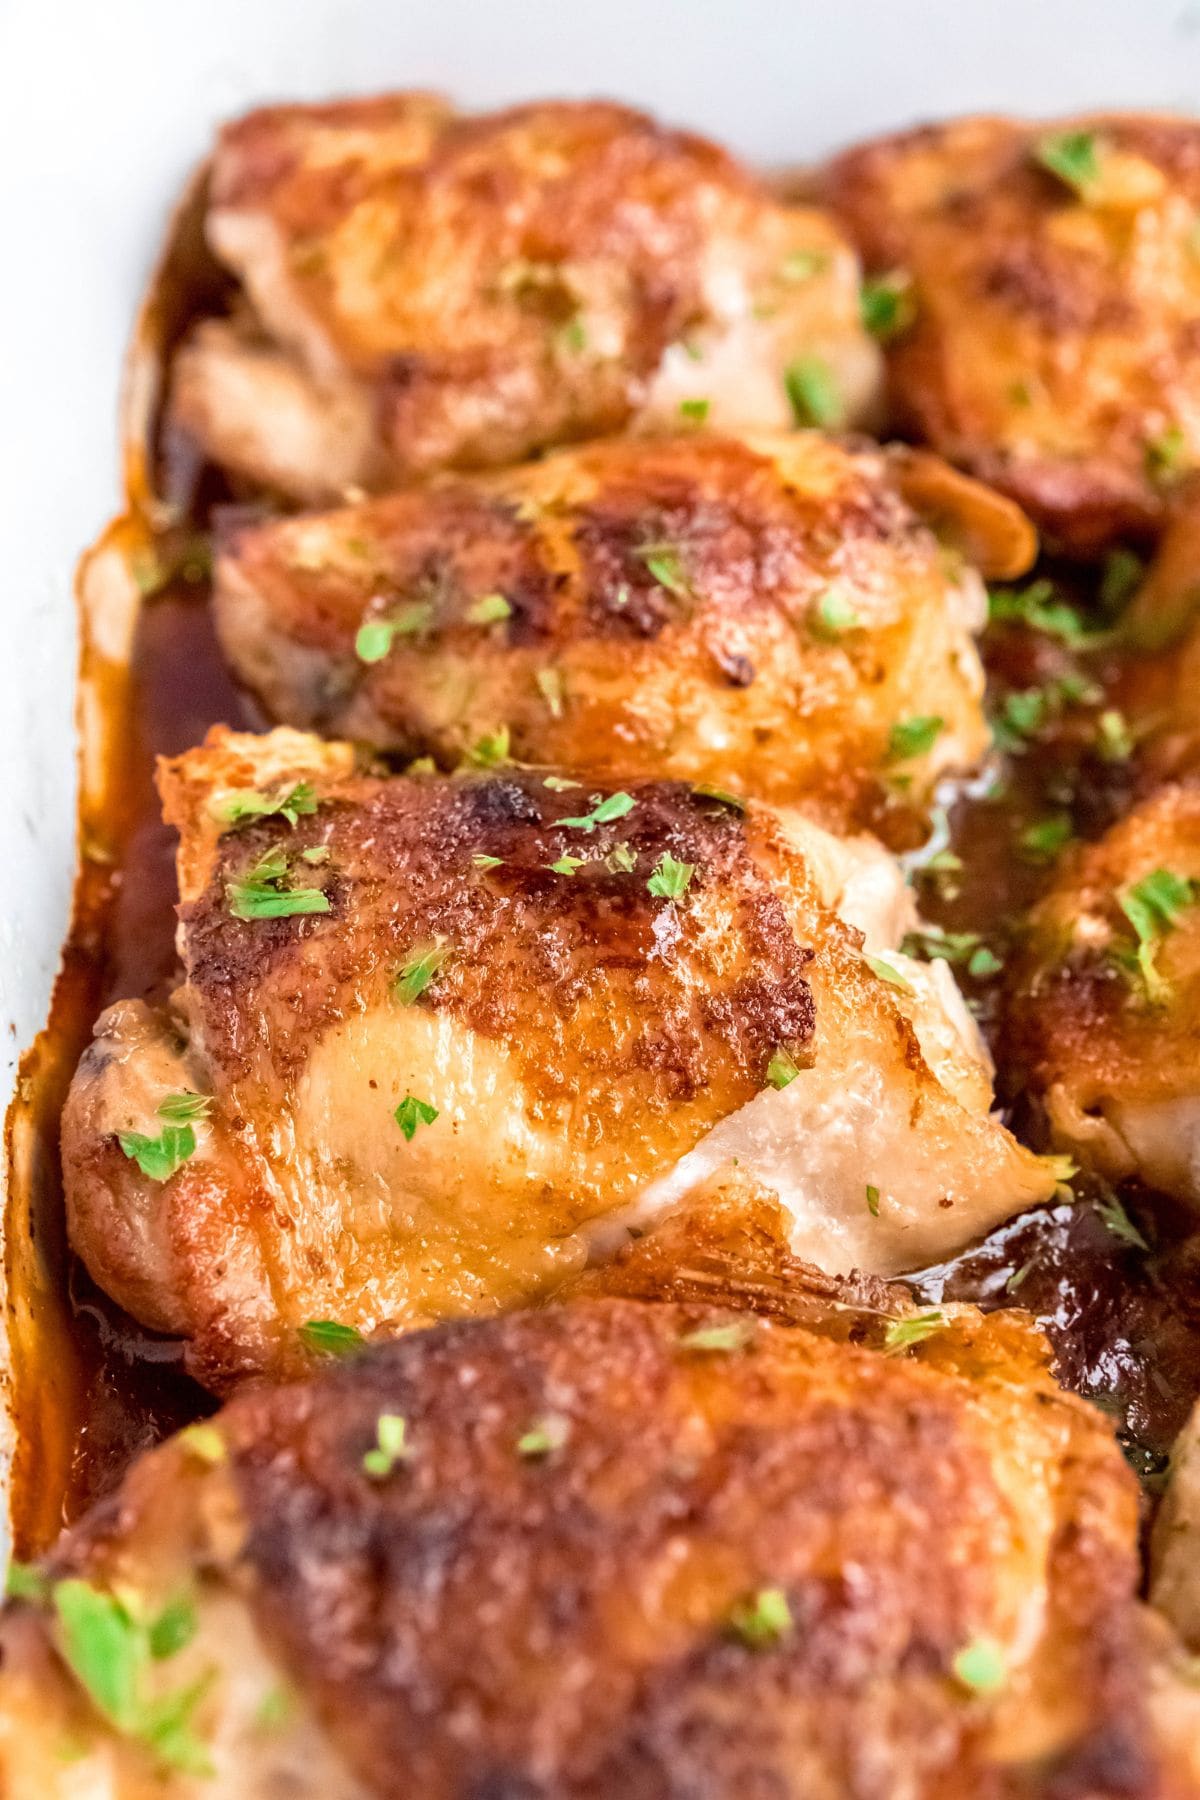
Make these once, and I don't think you'll go back to steaming green beans. They're just flat out better and easier. Enjoy!
Love that sweet and sticky glaze? Try these:
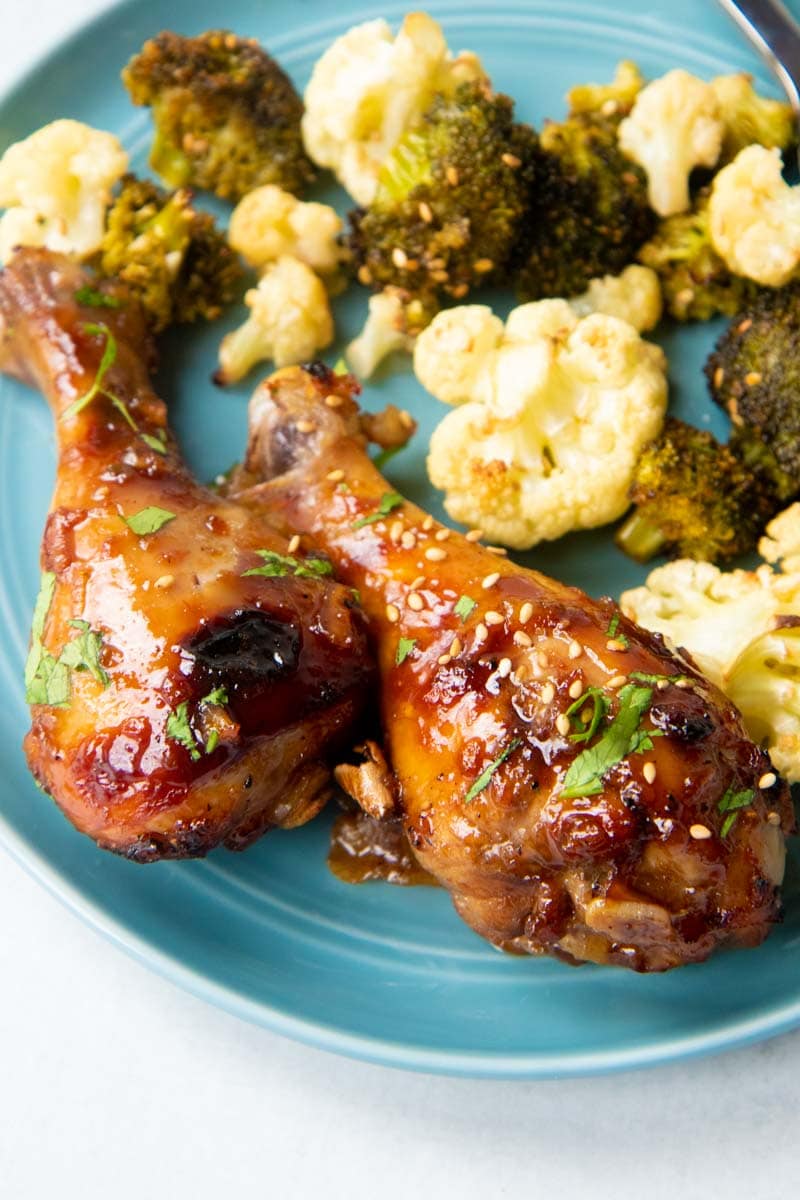

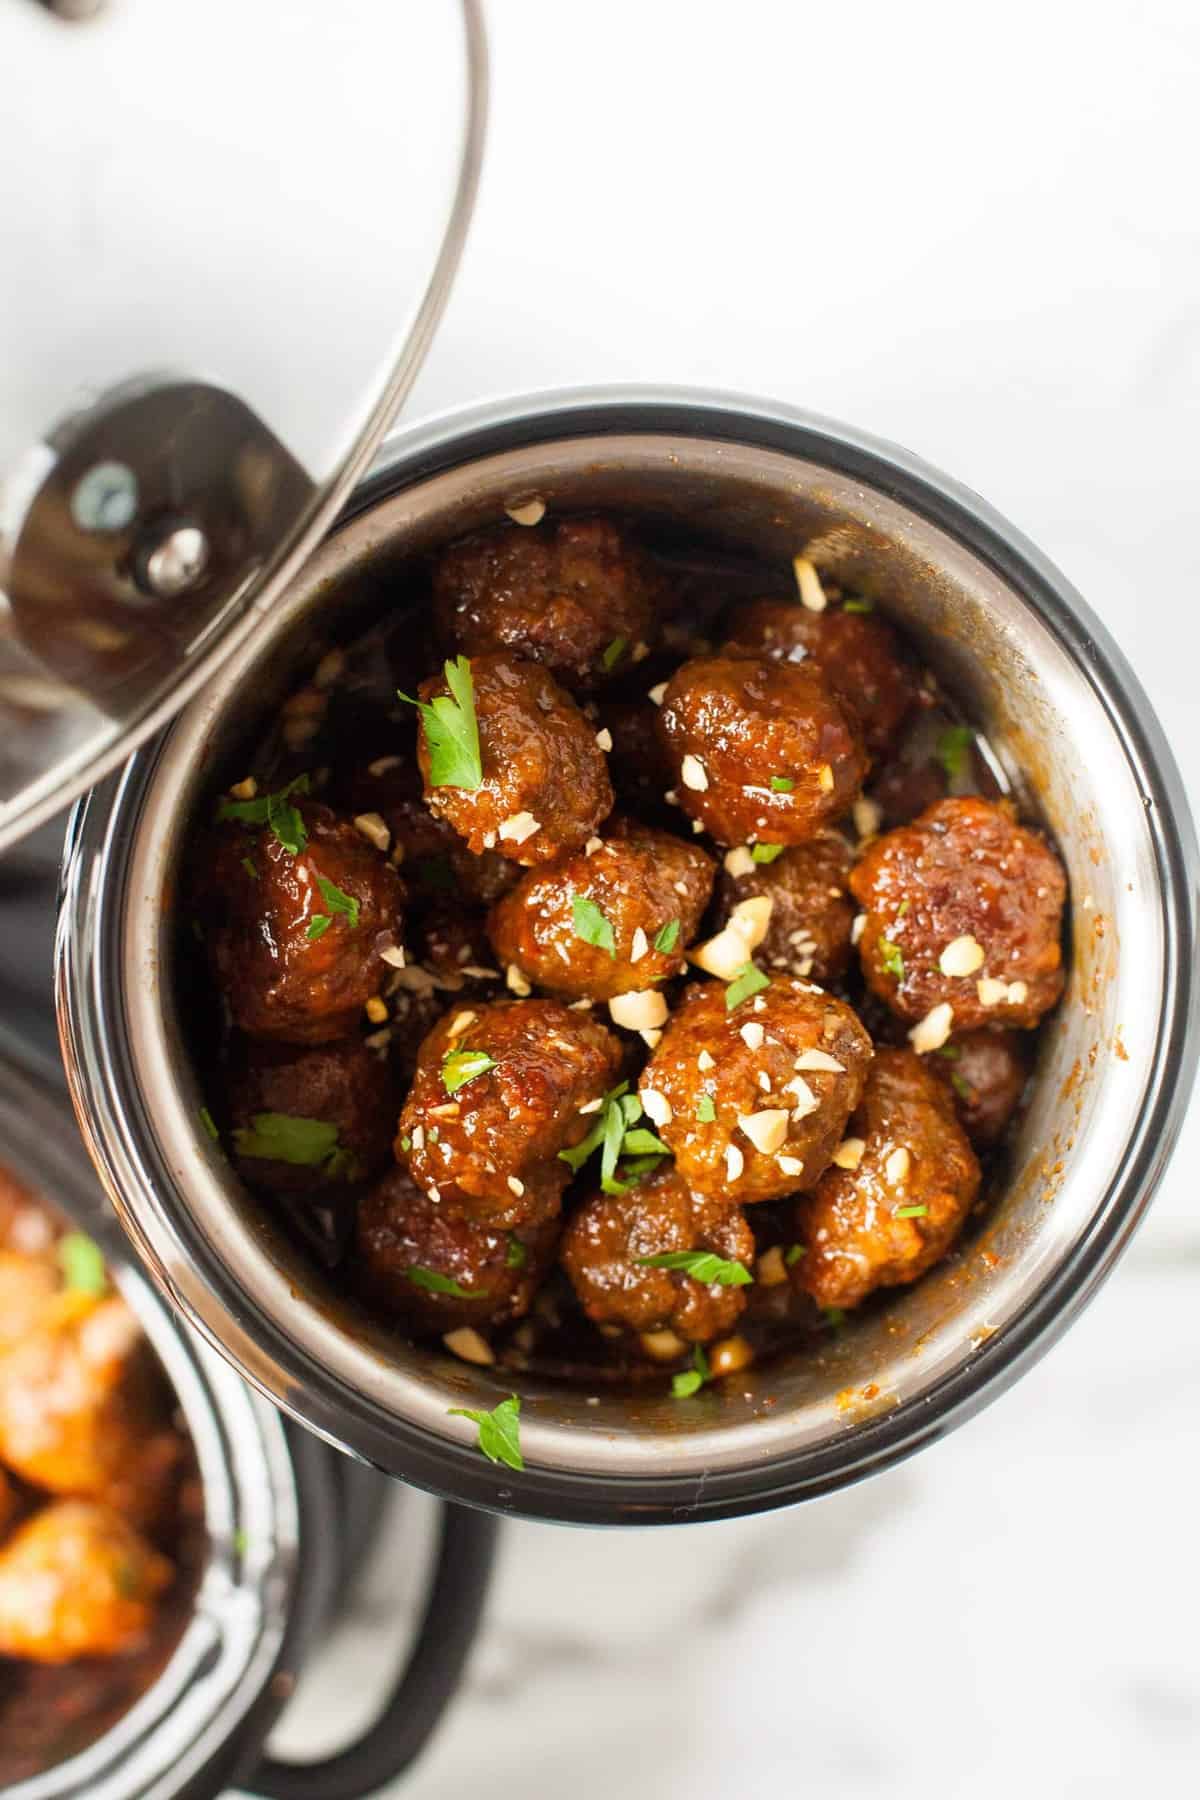

If you tried these Honey Glazed Chicken Thighs or any other recipe on my blog, please leave a 🌟 star rating and let me know how it went in the comments!
📖 Recipe
Honey Glazed Chicken Thighs
Ingredients
- 2 tablespoons unsalted butter divided
- 8 bone-in chicken thighs
- ⅓ cup honey plus additional for topping, optional
- ¼ cup low-sodium soy sauce
- 1 tablespoon garlic powder
- 2 teaspoon apple cider vinegar
- 1 tablespoon cornstarch
Instructions
- Preheat oven to 400°F. In a large skillet, melt 1 tablespoon butter over medium-high heat.
- Add 4 chicken thighs and sear on both sides for 4-5 minutes on each side.
- Move the chicken to a greased 9"x13" baking dish, skin side up. Repeat with remaining butter and chicken thighs.
- While the chicken is cooking, mix together the honey, soy sauce, garlic powder, and apple cider vinegar in a small bowl.
- Whisk together cornstarch with 1 tablespoon cold water, then add to the honey mixture and set aside.
- When all the chicken has been seared and moved to the baking dish, pour the sauce over the chicken.
- Bake the chicken uncovered for 25-30 minutes until cooked through to 165°F.
- If desired, drizzle the chicken with 1 teaspoon each of honey just before serving.
Notes
- Searing is optional but recommended. It's what gives you the crispy, golden skin.
- Make this gluten free by swapping in tamari or coconut aminos for the soy sauce.
- Make this dairy-free by swapping in vegan butter or a neutral oil (like avocado oil) for the butter.
- Boneless thighs work, too. Reduce bake time to 20-25 minutes. They will have slightly less flavor and be less tender.
- Whisk the cornstarch slurry in fully and don't shortcut the bake time. Both matter for a thick, clingy glaze.
- Leftovers keep in the fridge for up to 5 days.

Many links on this site are affiliate links. As an Amazon Associate, we earn from your qualifying purchases at no extra cost to you.
Comments
No Comments