
How and Why to Neti Pot (Plus DIY Neti Pot Solution Recipe)

I live in one of the seasonal allergy capitals of the world. That not hyperbole-literally, allergies here are RIDICULOUS. From March through October, everyone you see in my area is sniffling, sneezing, and rubbing their eyes. It's a running joke around here. Everyone has allergies. Everyone suffers. We're all in it together. It's the price we pay for so much natural beauty!
Through my decades of allergy suffering, I've tried everything out there to tame the beast that pops up each spring. I've tried pharmaceuticals. I've tried alternative medicine. I've tried folk remedies. And after lots of experimentation, I've landed on a combo that has pretty much kept my allergies at bay (or, at the very least, tolerable on those really rough days)-and a huge part of that has been regular nasal irrigation, AKA Neti Potting.
As always, your first step with any medical condition (including seasonal allergies) should be to develop a plan in conjunction with your healthcare provider. What we provide here on Wholefully should be used only for informational purposes and only with the go-ahead from your healthcare team.
That being said, using a Neti Pot is a very simple, safe, and affordable treatment for all kinds of sinus and nasal issues-chances are, after you speak with your health care team, you'll be given the green light to try it, and it might help a whooooole bunch!
How to Neti Pot
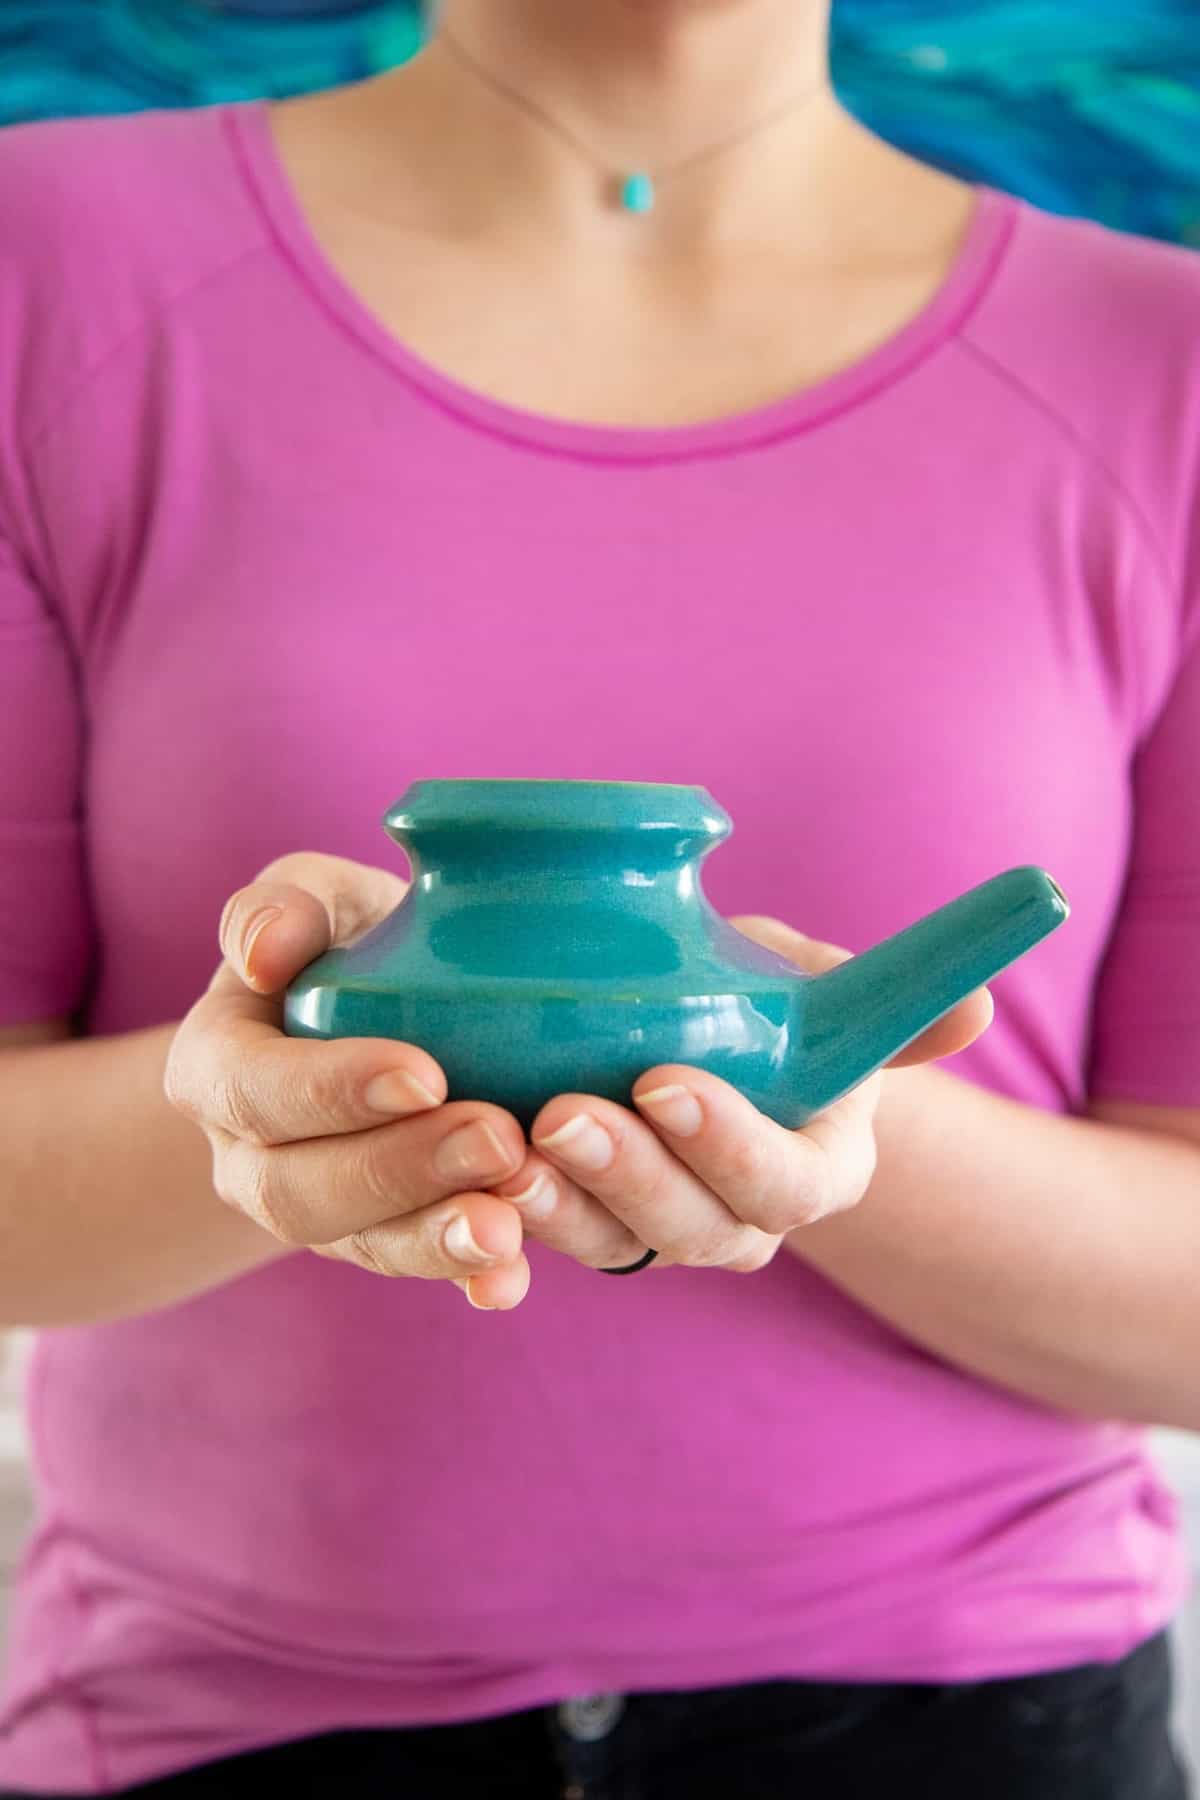
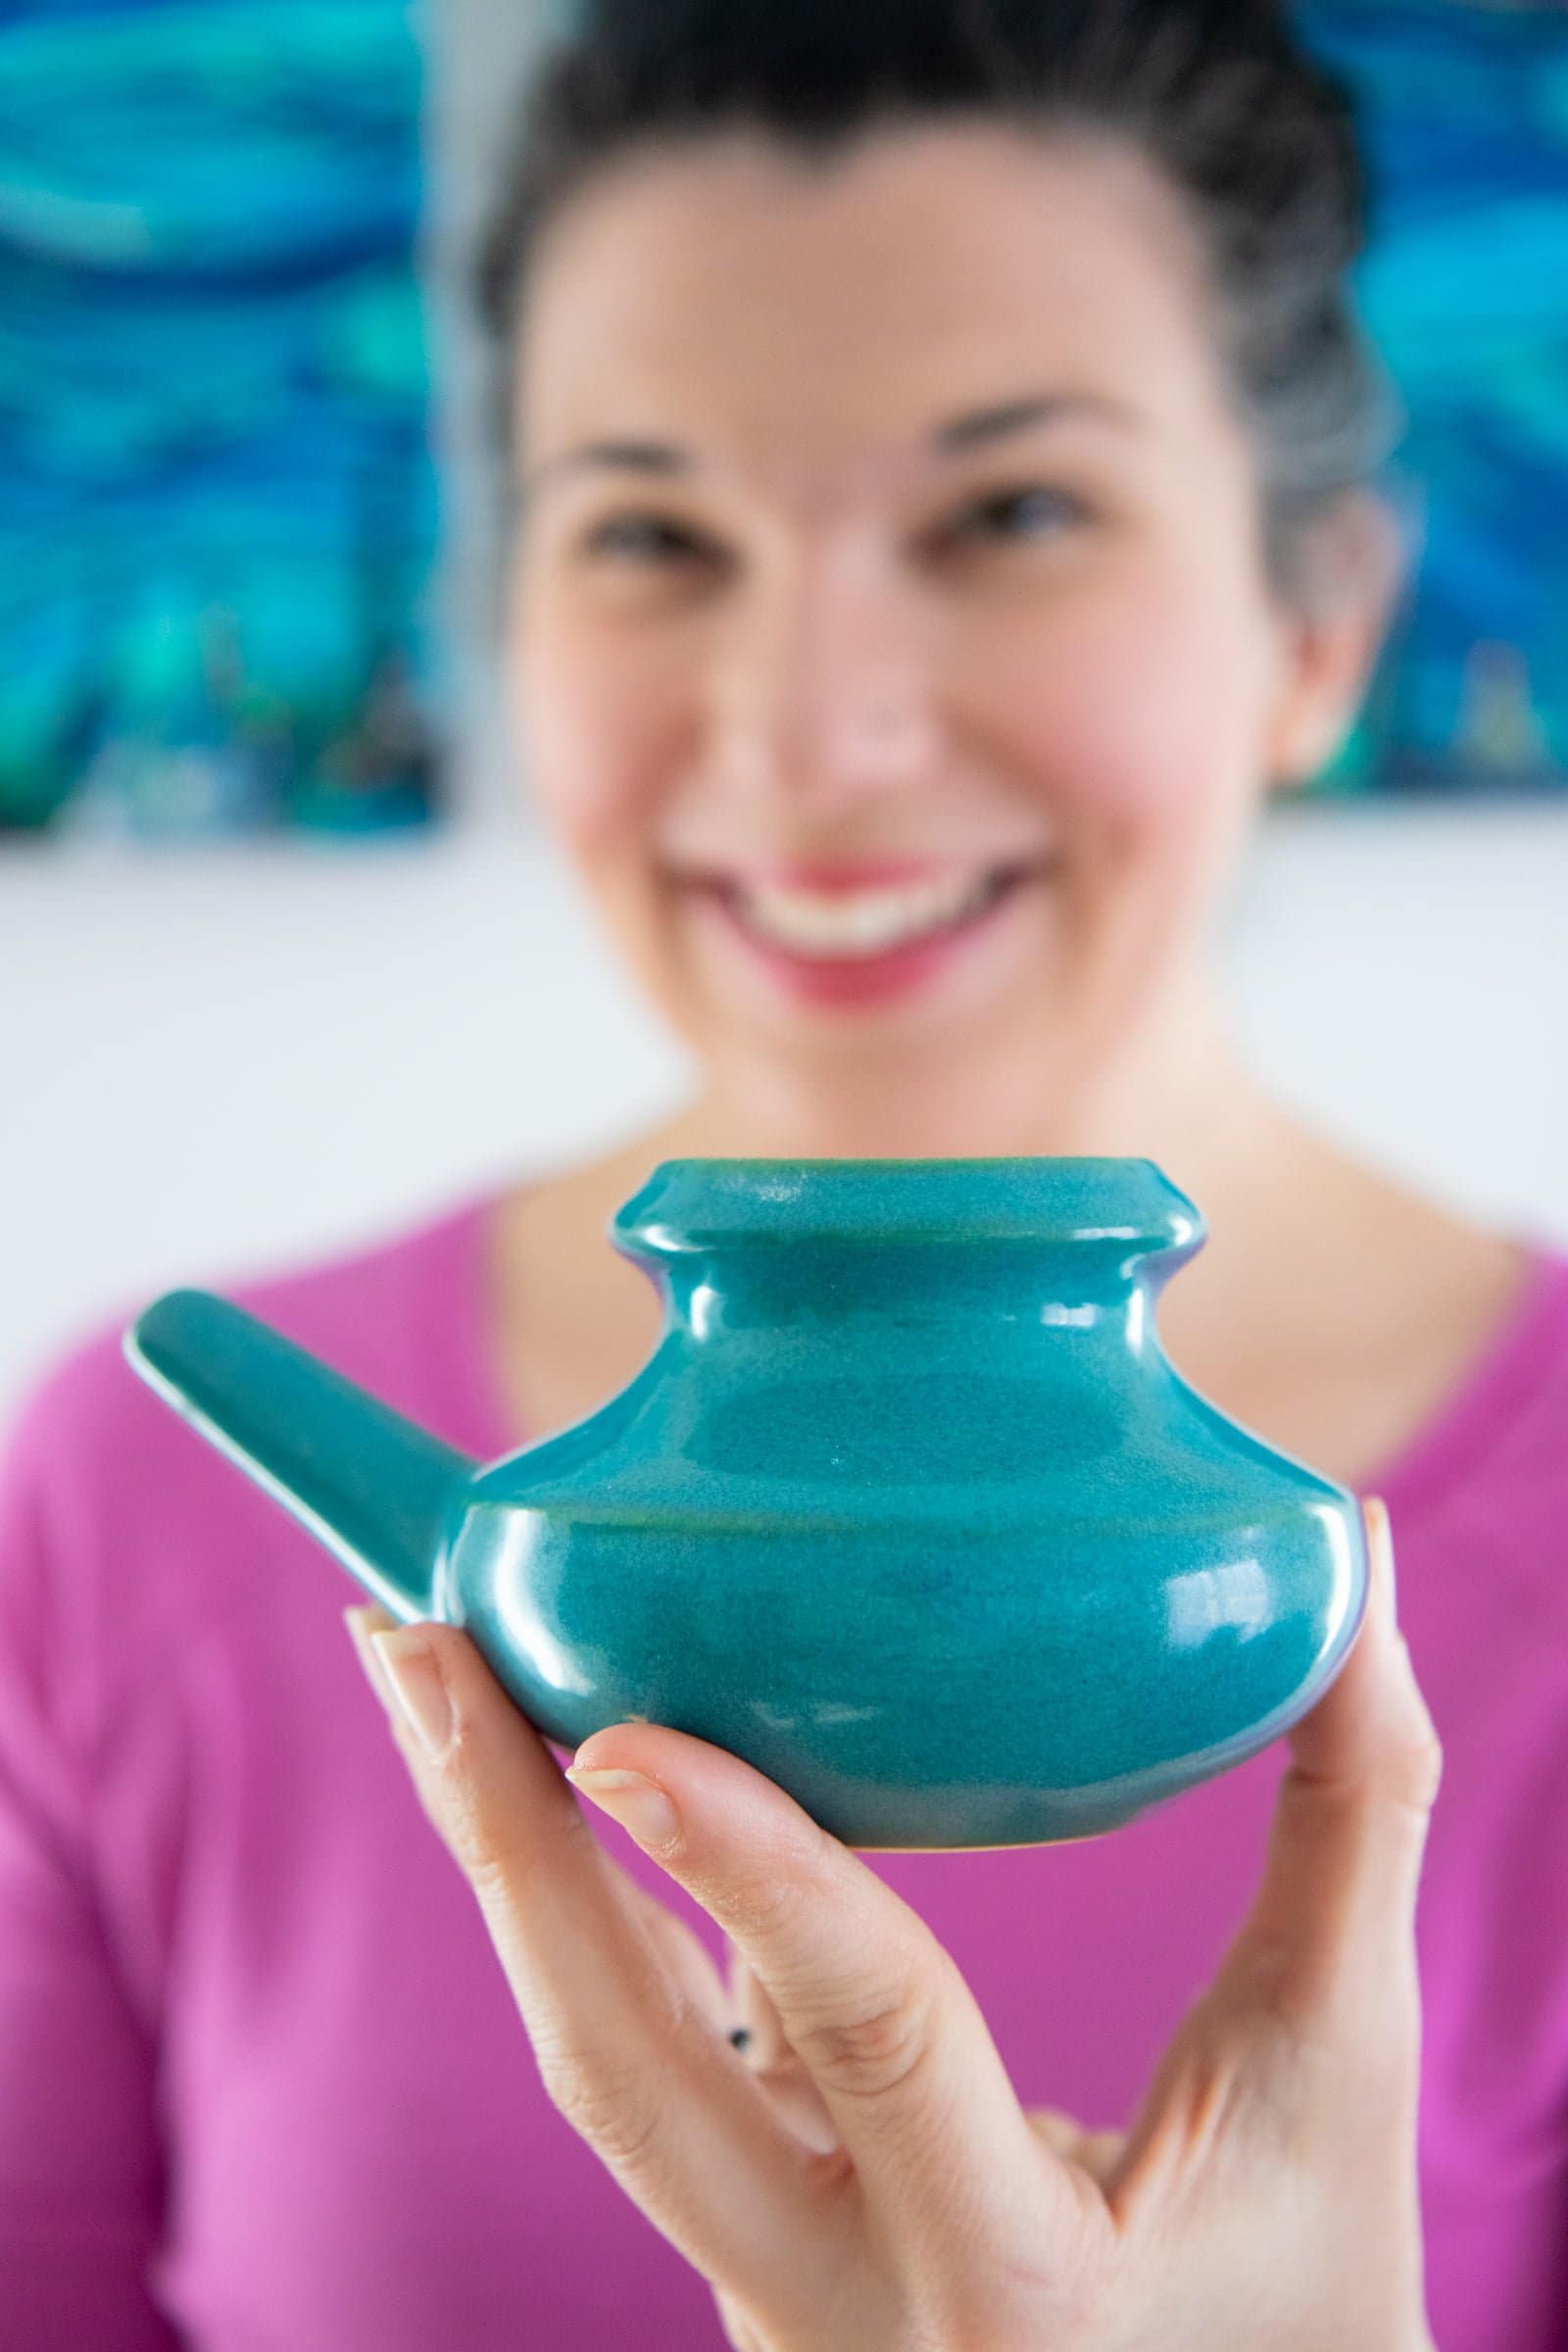
If you've never seen a Neti Pot, it looks like a tiny version of the genie's lamp from Aladdin. The idea is that you fill the pot with a solution, and then use gravity to help the solution flow through all your sinus cavities-giving them a good rinse and making sure they're moisturized, which I find really helps during both allergy season and cold and flu season.
There are a ton of different methods for nasal irrigation-some even involve using air to blast the solution into your nose. I personally much prefer the gentle, gravity-fueled Neti Pot.
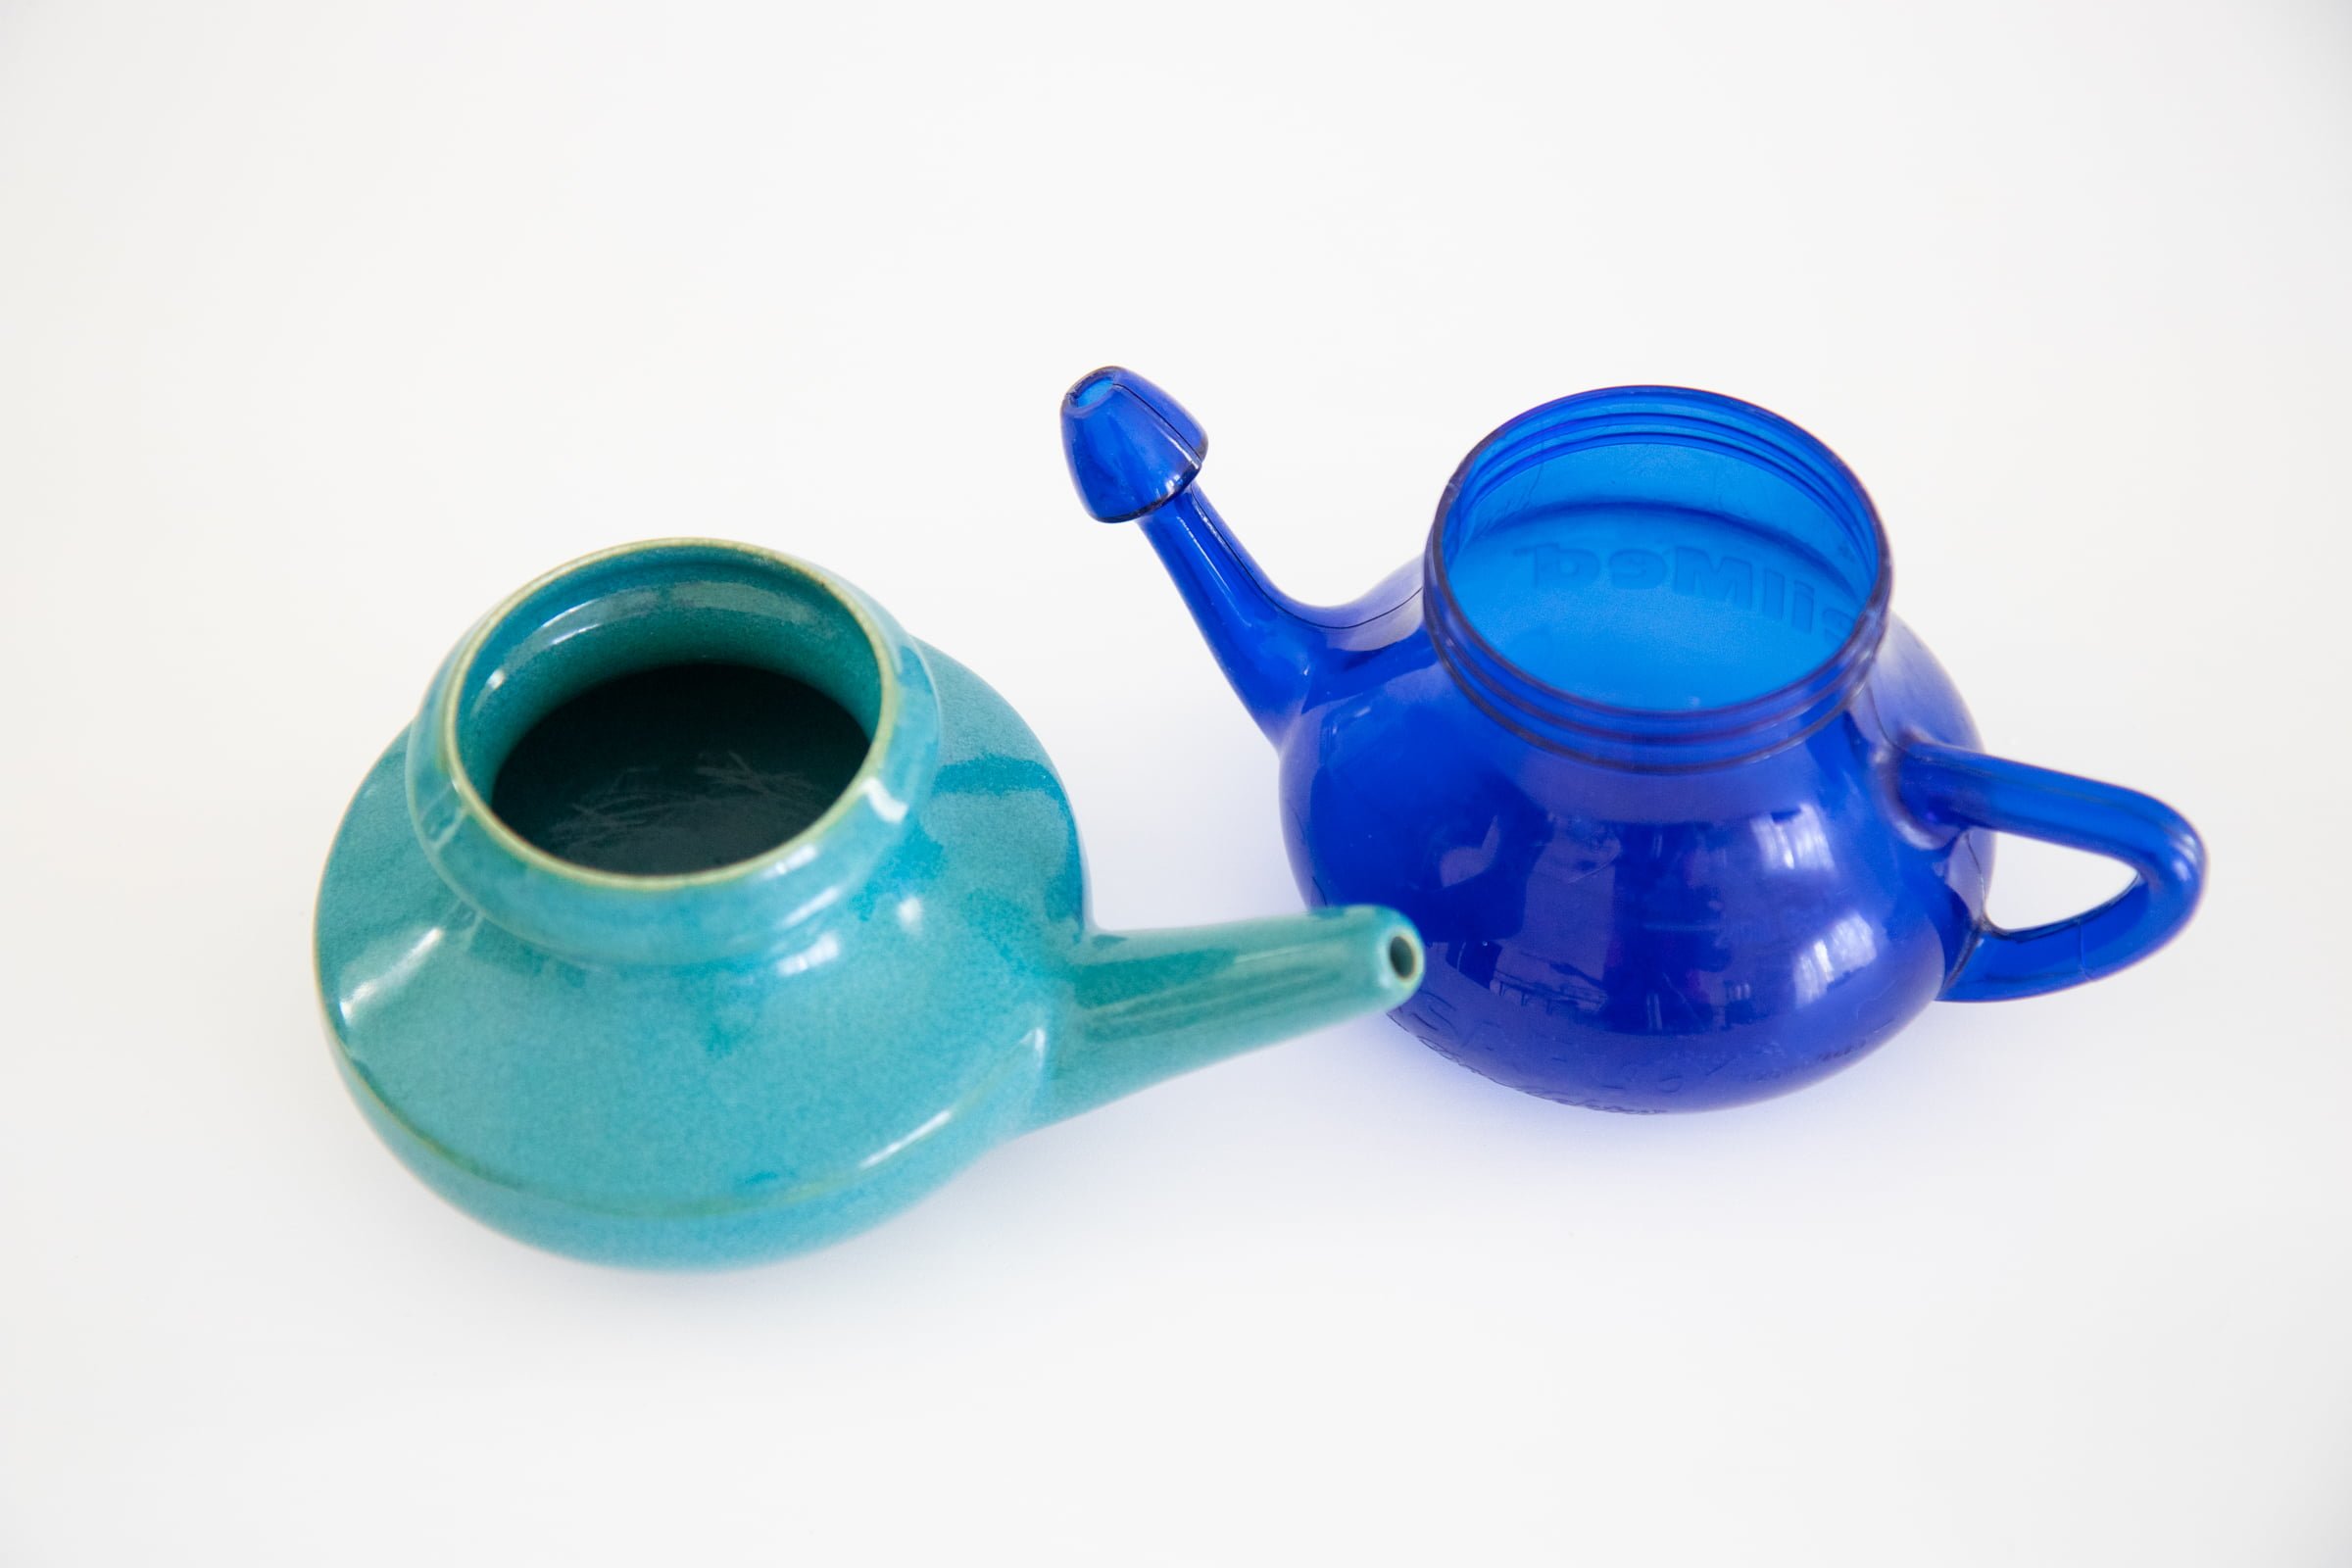
Most major pharmacies and supermarkets carry a plastic version of the Neti Pot (it's almost always blue!), which is a great, affordable way to get started.
I personally use a ceramic Neti Pot for two reasons. (A) It's pretty and it makes me smile. I leave it out on my bathroom counter all the time. (B) I had worn out/lost three different plastic Neti Pots in my life before investing in this guy, and I figured it would save me money over the long term to buy a high-quality pot now. Somehow my plastic Neti Pots always seemed to end up in my daughter's bath toys.
In the Neti Pot goes a saline rinse solution and warm, filtered water. The saline rinse solution can be purchased in pre-measured packets that are very convenient. But they are also extremely expensive for what they are (salt and baking soda) and create a lot of waste. I much prefer to make my own solution, and you'll find that recipe down below.
The water you use in your Neti Pot is important, since you'll be introducing it to the mucous membranes of your sinuses. I use filtered and boiled water (filtered through my Berkey). I then bring the water to a good rolling boil, then cool the water down until it's just lukewarm-hot or even too warm water really doesn't feel good on the sensitive membranes of your sinuses. Right around body temperature is perfect.
It's extremely rare, but it's very important to not use just plain tap water in your Neti Pot due to the risk of introducing certain bacteria to your sinus cavities. If you don't want to filter your water, you can also use distilled bottled water.
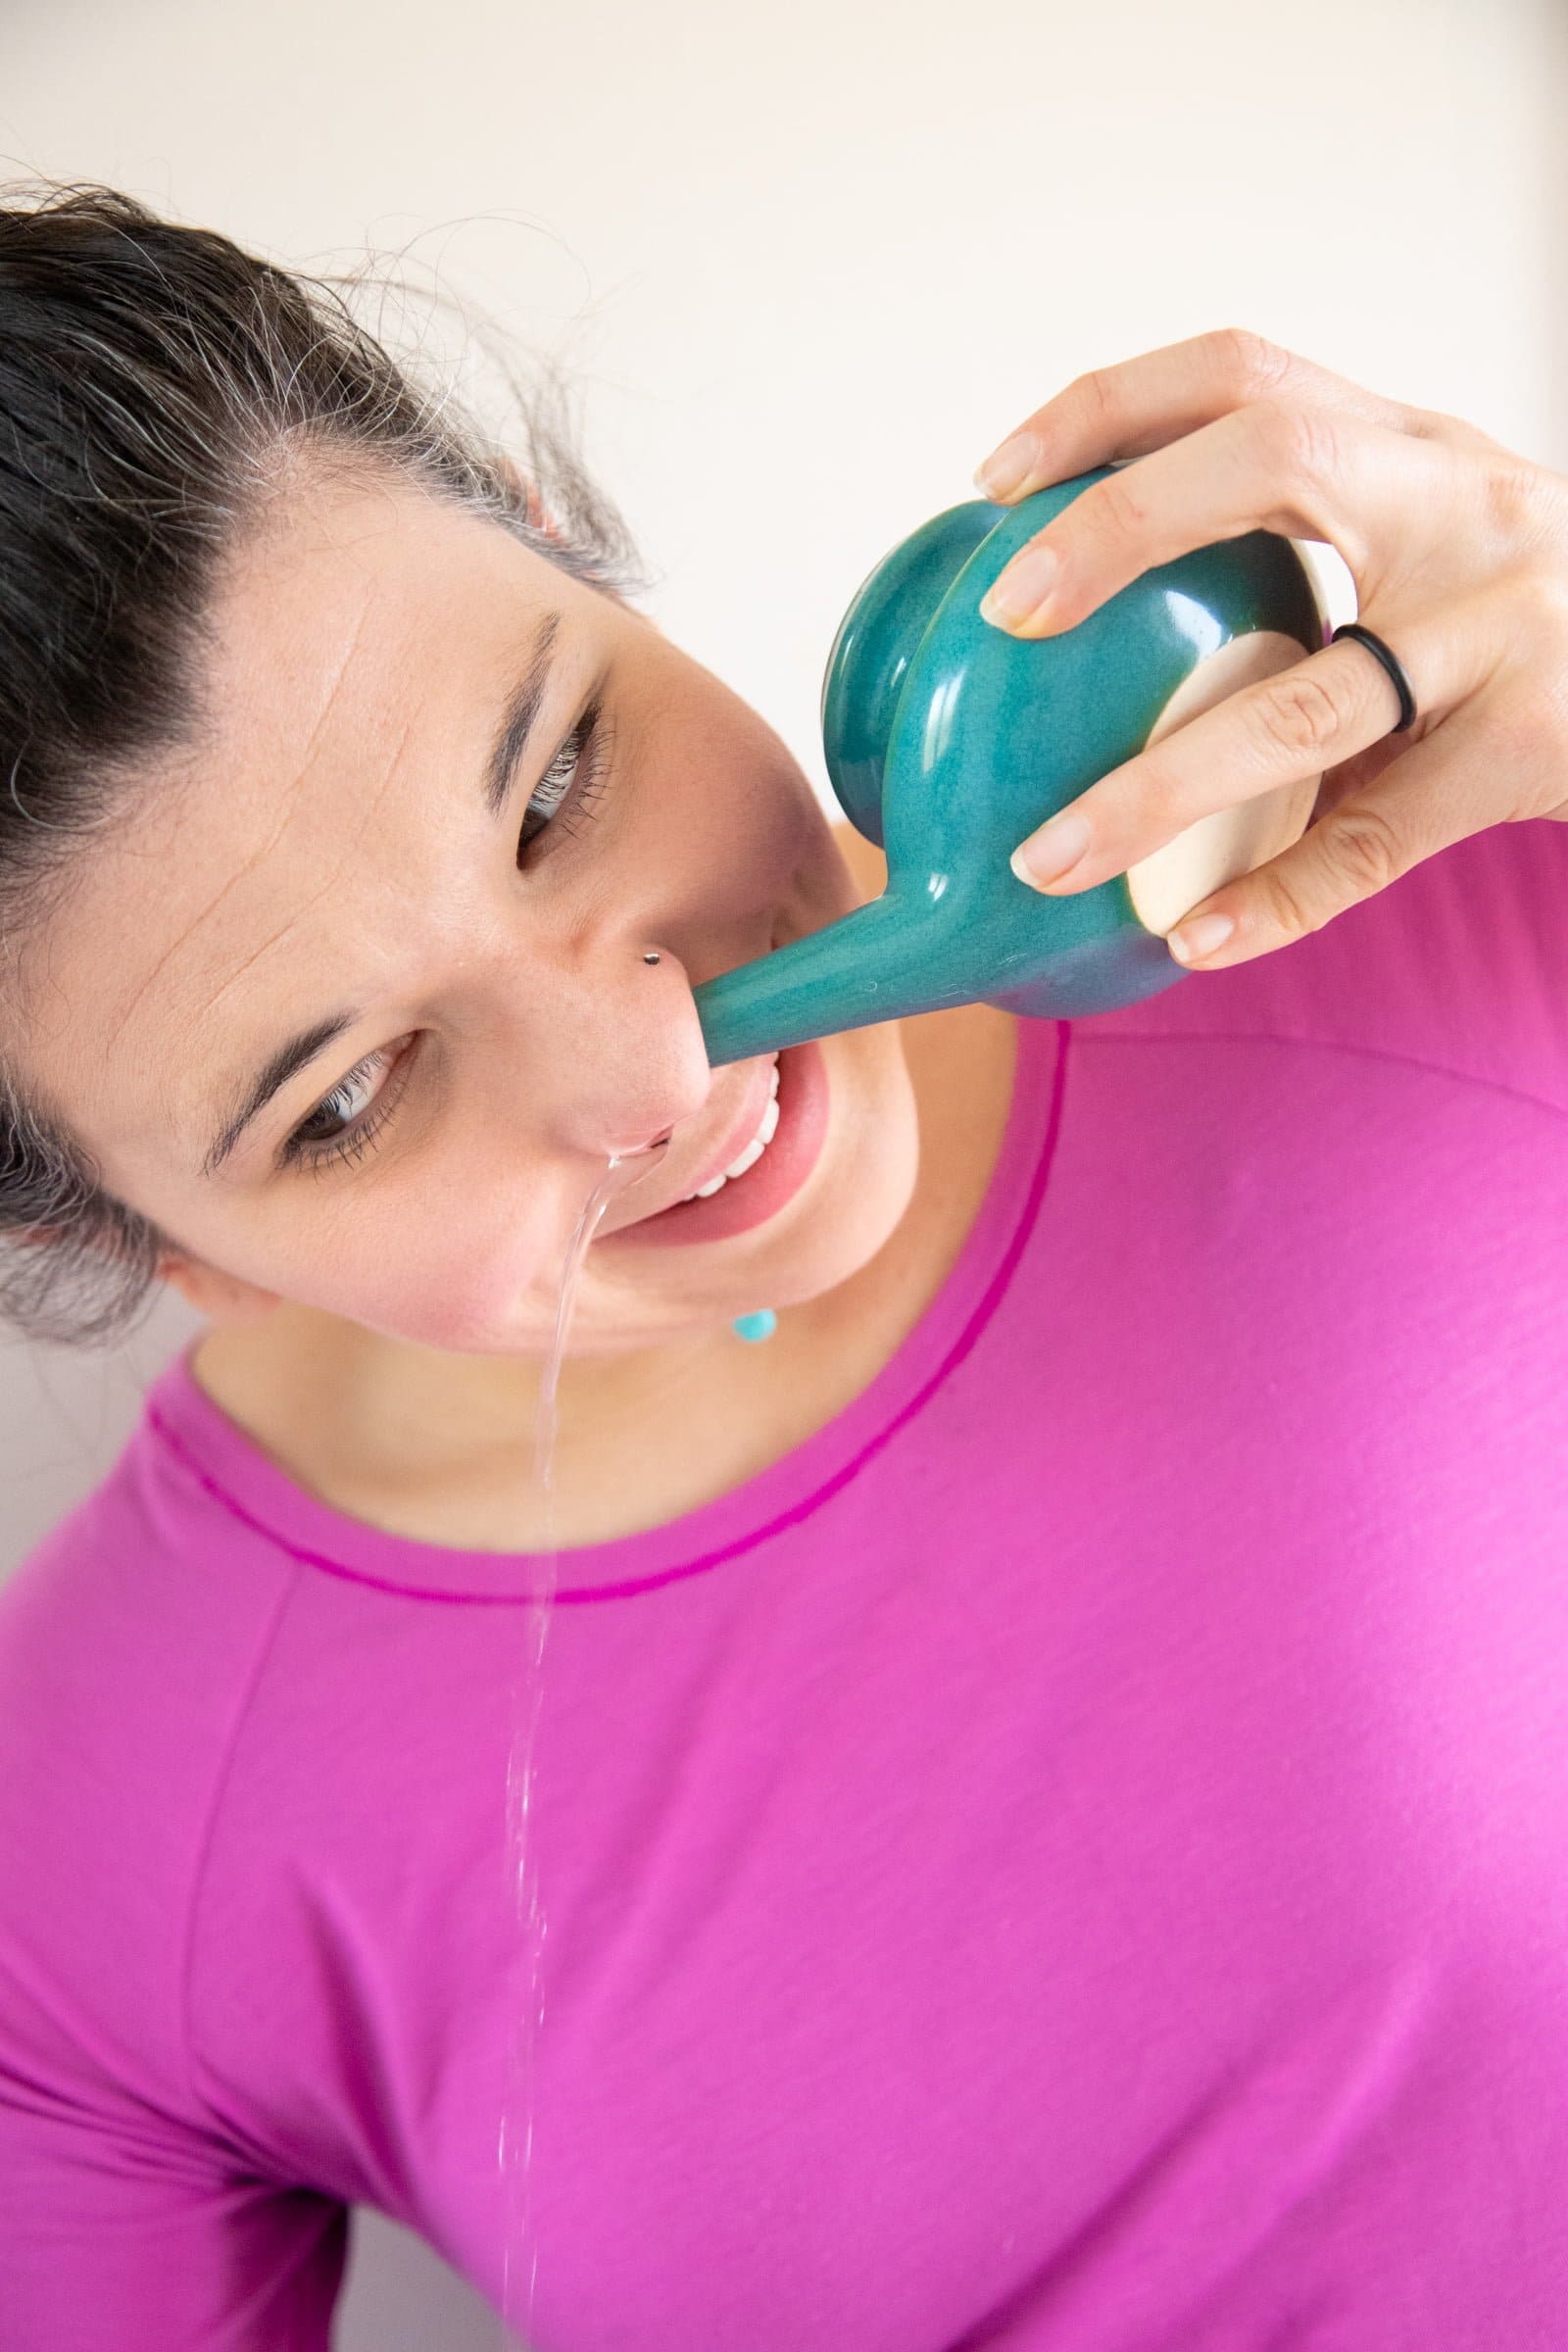
Once the saline rinse is mixed in, you put the spout of the Neti Pot snugly against one nostril, and then you tilt your head until the mixture starts running out the other nostril. It might take you a bit to get the angle right, but you'll know it because the water will start dribbling out your other nostril like magic!
It does take a moment or two to filter through all of your sinuses, and it might feel a bit like the "water up your nose" feeling from your childhood swimming pool days, but eventually it'll start running and shouldn't feel like much at all.
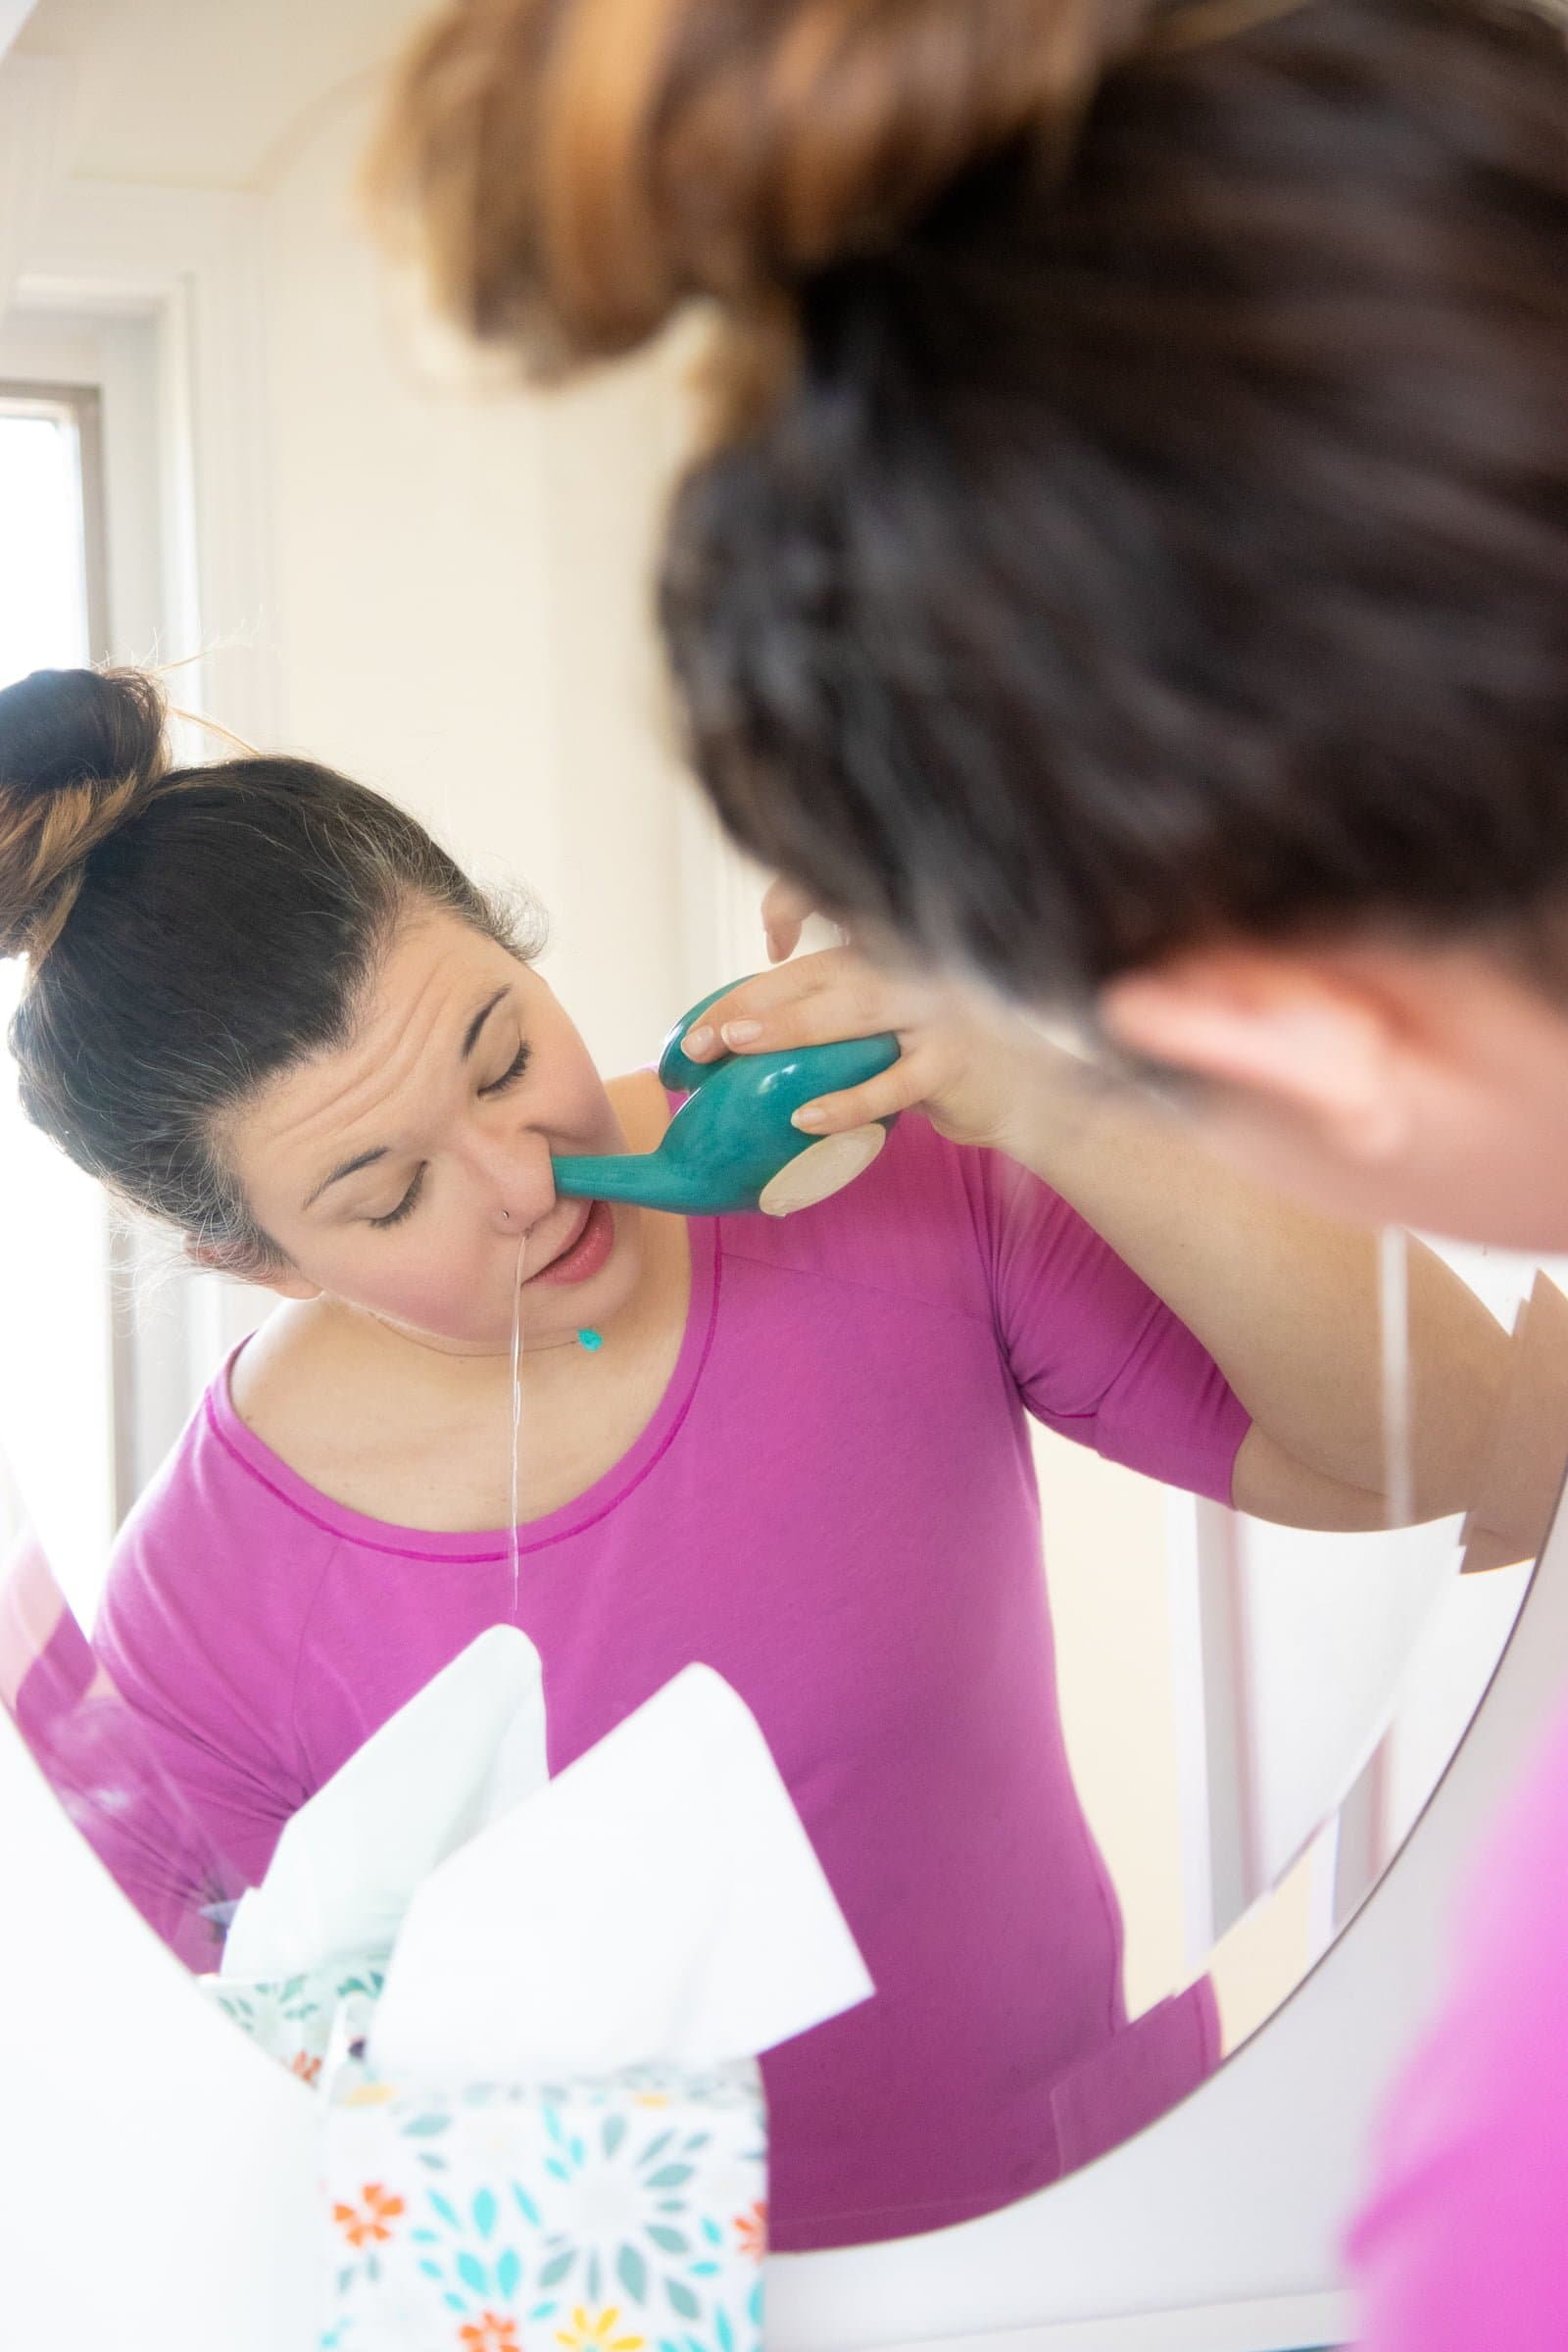
Once I've done about half the Neti Pot on one side, I set it down and then gently blow my nose. Then I repeat the process with the other side and the other half of the solution.
Then I rinse my Neti Pot and store it for the next time I'll use it. I tend to pop it into the dishwasher on a sanitize cycle every few days just to give it a good clean.
During peak allergy season or when I feel a virus coming on, I tend to Neti Pot once or twice a day. I do not Neti Pot every single day. I find that my nose tends to dry out more if I Neti Pot daily. Instead, I like to do it daily for 2-3 weeks at the max, and then give my nose a break for a few weeks. With our allergy schedule in my region, it means I usually have a Neti Pot "burst" in March and another one in August-and then again anytime I feel a cold coming on.
I also do not Neti Pot when my nose is congested. It's really important for all that liquid to be able to run through freely. So I skip Neti Potting when I'm really snotty.
Once you get well-versed in the Neti Pot, you can start to do more advanced Neti Pot techniques like using essential oils in your Neti Pot or creating Neti Pot solutions with herbs or herbal tinctures (I personally deal with a lot of dry sinus infections in the winter, and I use a combination of mucilaginous herbs, lavender essential oil, and black walnut tincture in my Neti Pot to help fight them).
Before you start adding herbs or essential oils to your Neti Pot, promise me you'll connect with a trained herbalist or natural medicine practitioner to get the go-ahead on the specific herbs and oils you want to try, okay? Your sinus cavities are sensitive places and not the spot to go wild with herbal experimentation.

DIY Neti Pot Solution
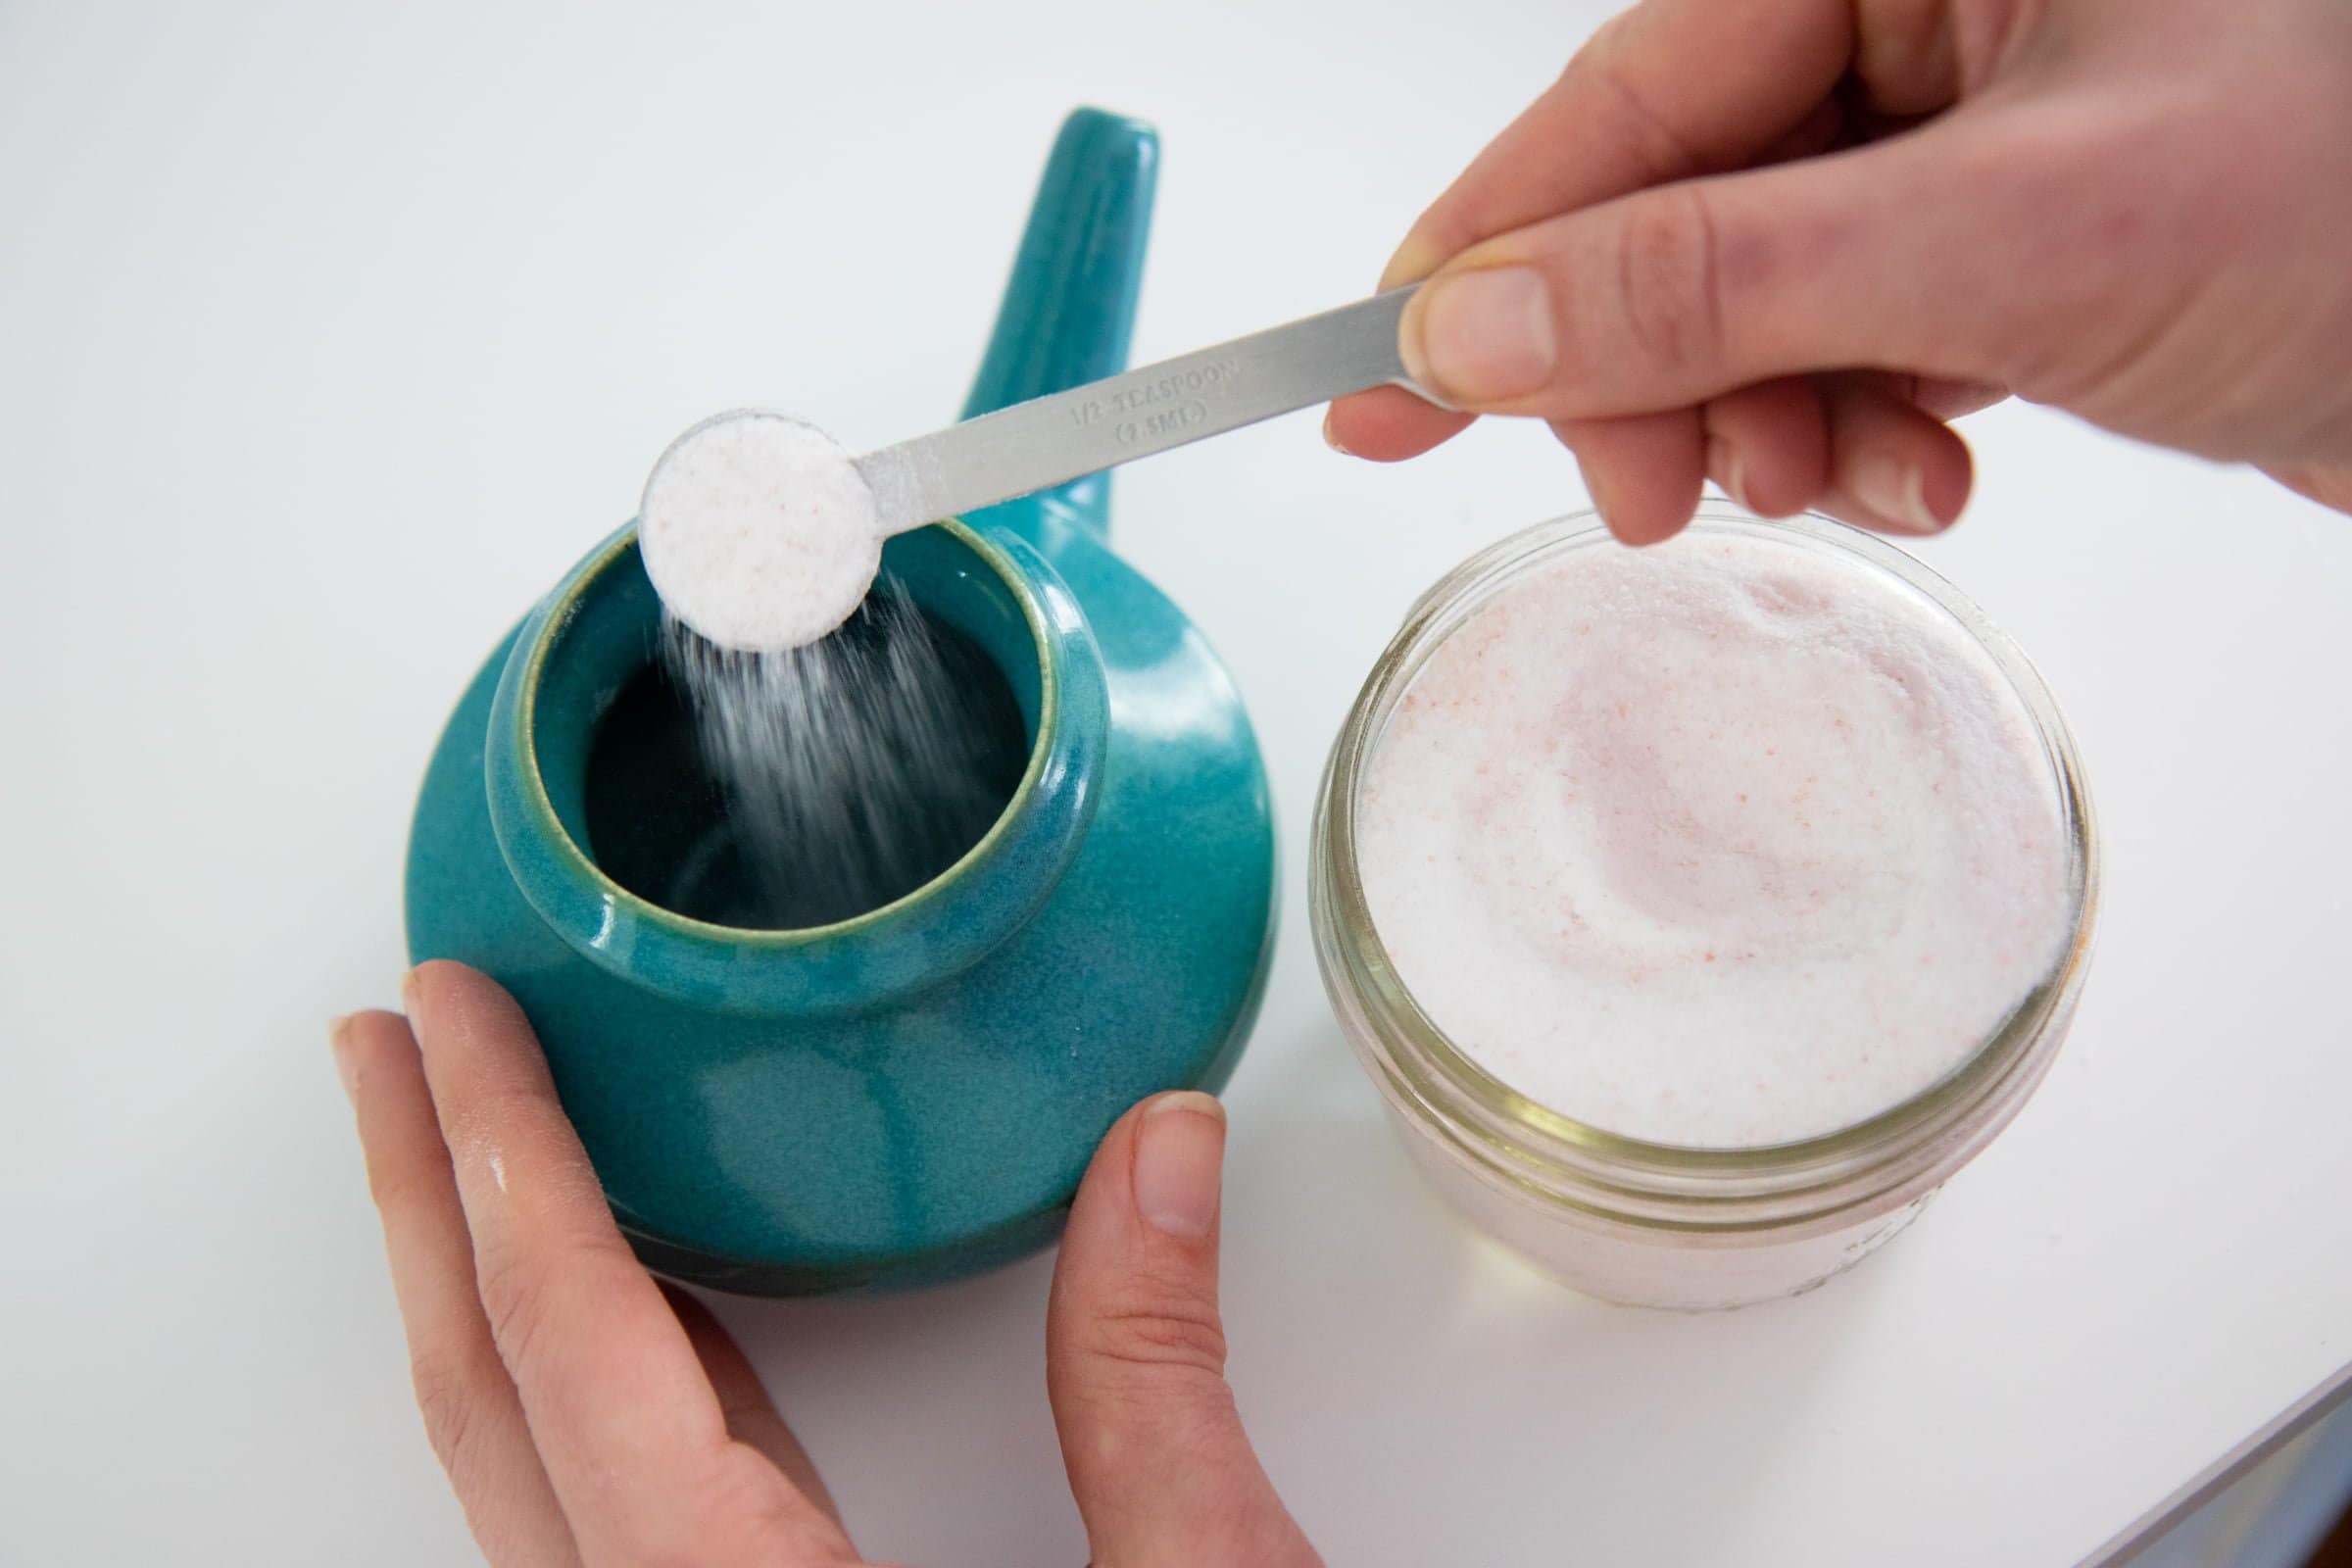
But a place you can definitely DIY it? Your own Neti Pot solution! Like I said, you can buy the pre-mixed packets (they are good to have on hand for travel), but they are quite literally just salt and baking soda and lordy, do they make a lot of waste if you use 1-2 of those packets per day!
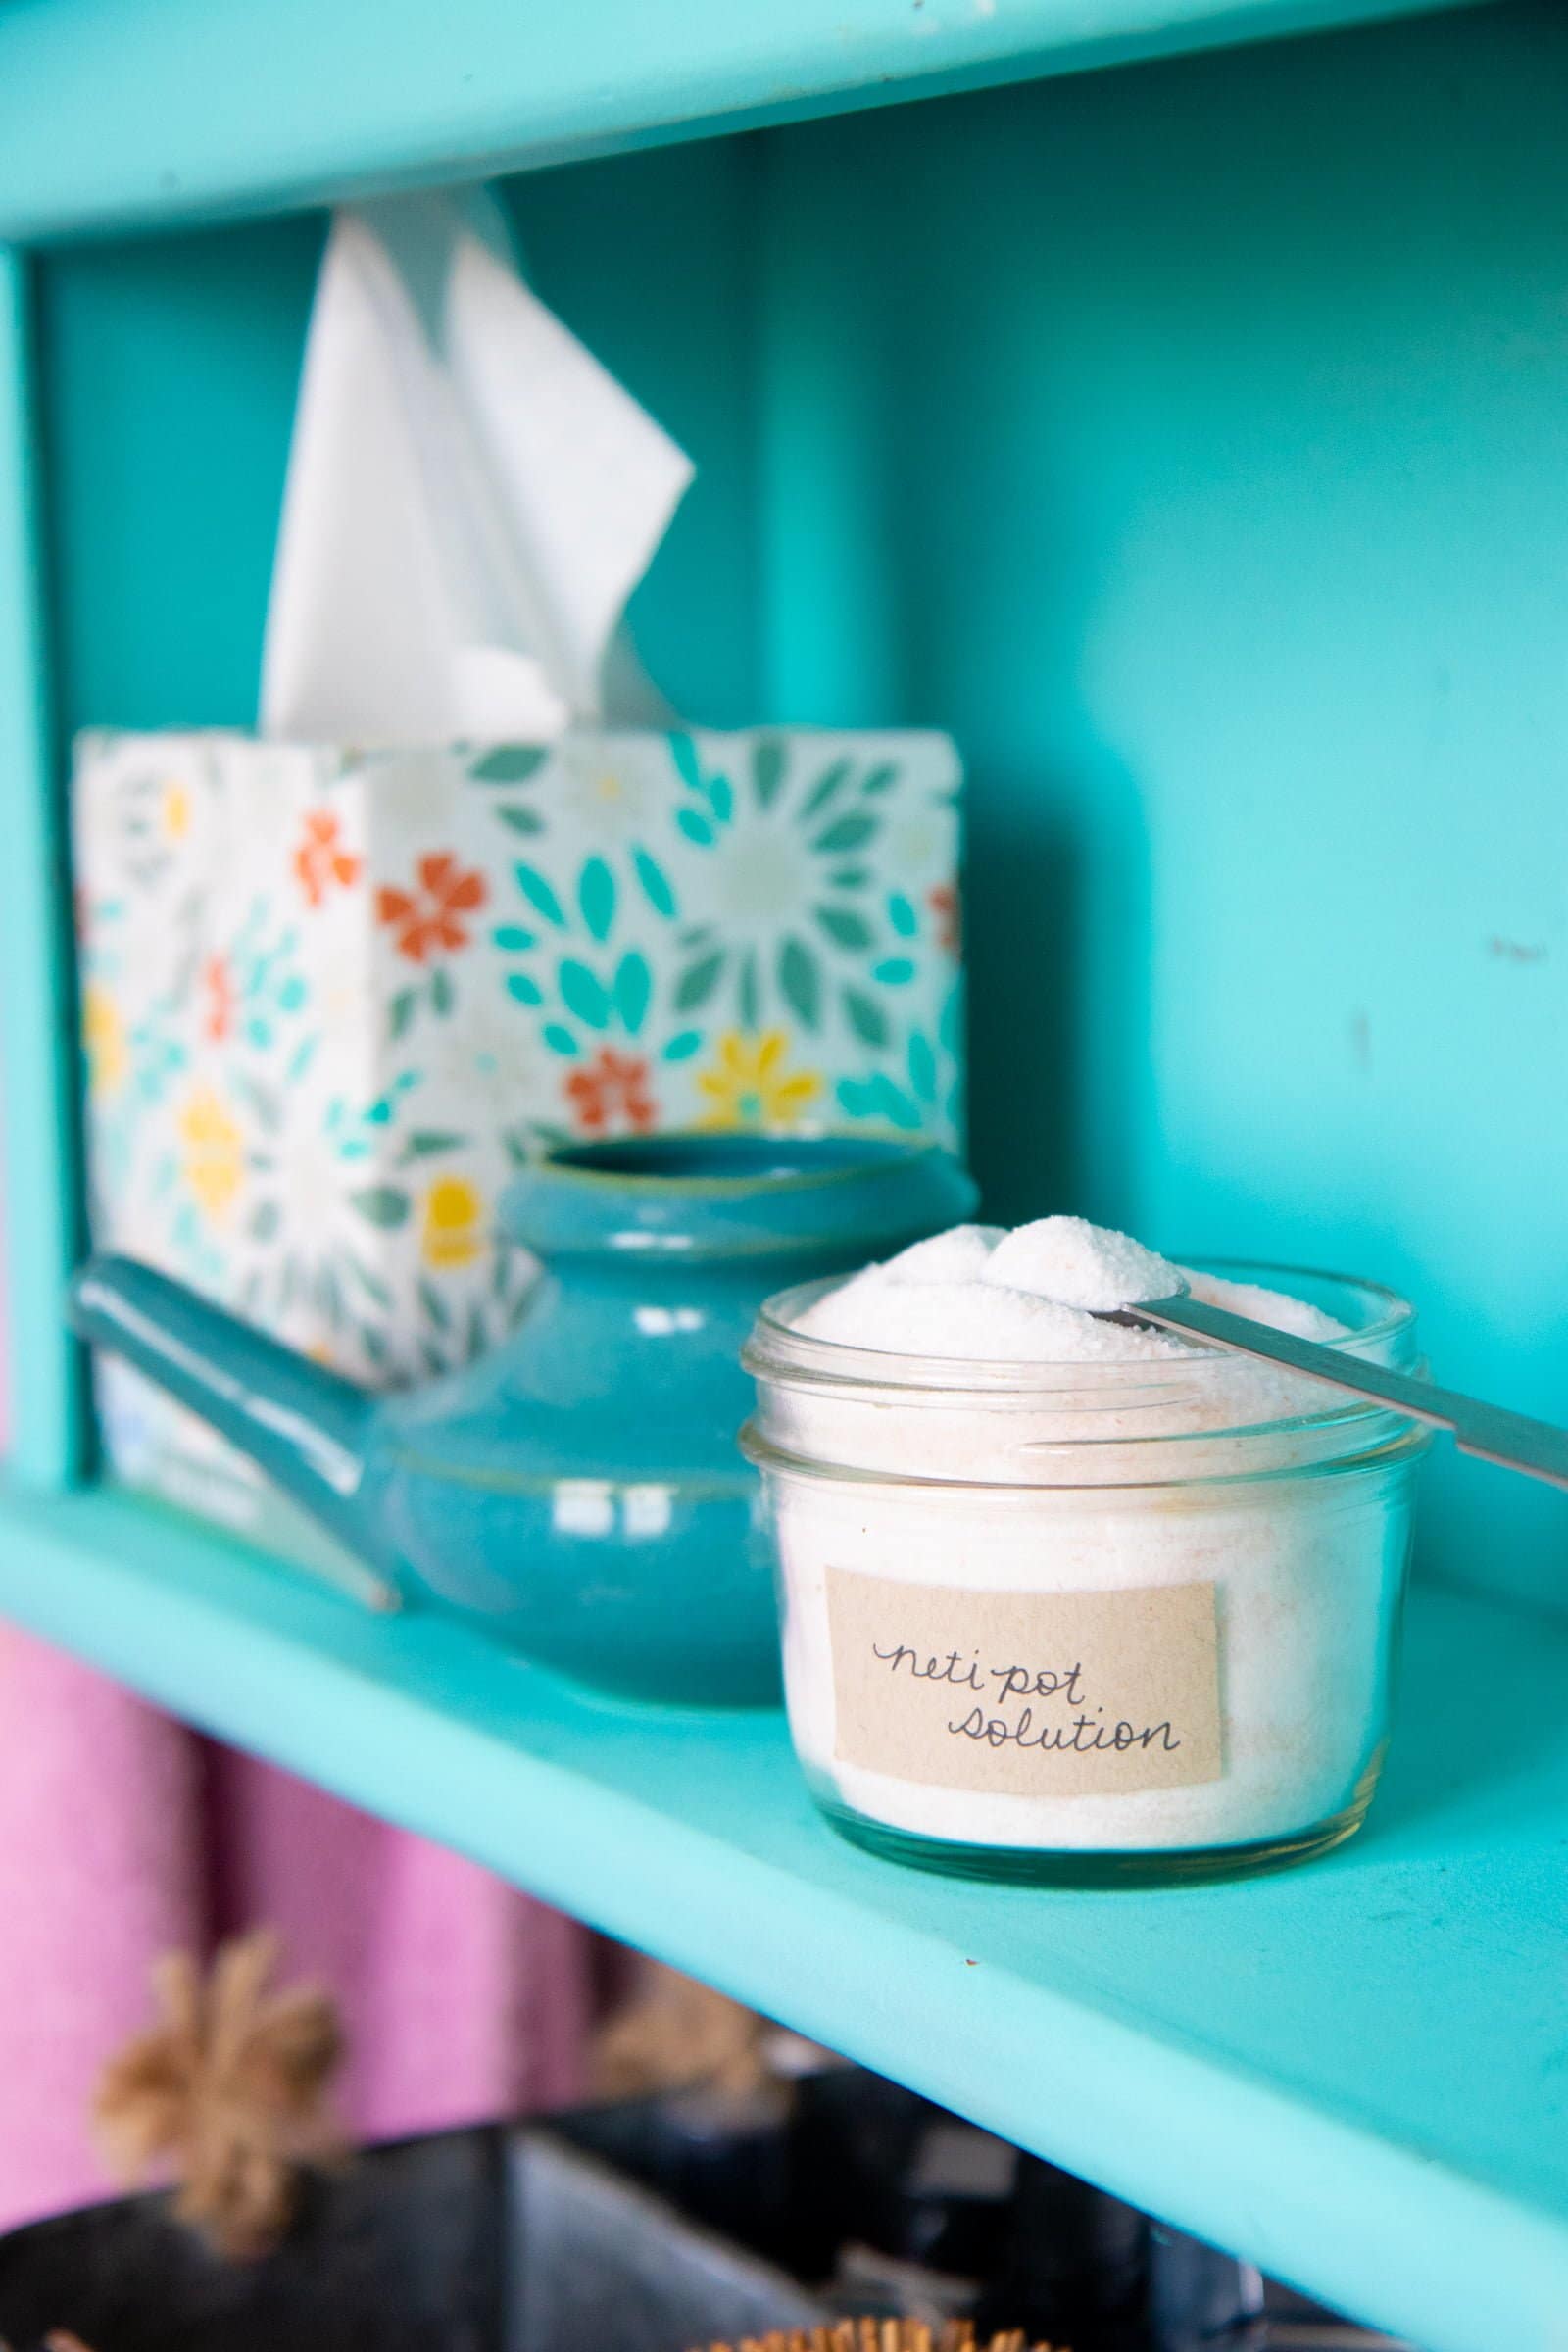
Instead, I mix my own solution up at home and keep it in a glass canning jar in my bathroom. I keep a teaspoon measuring spoon in there and just scoop out as a I need it.
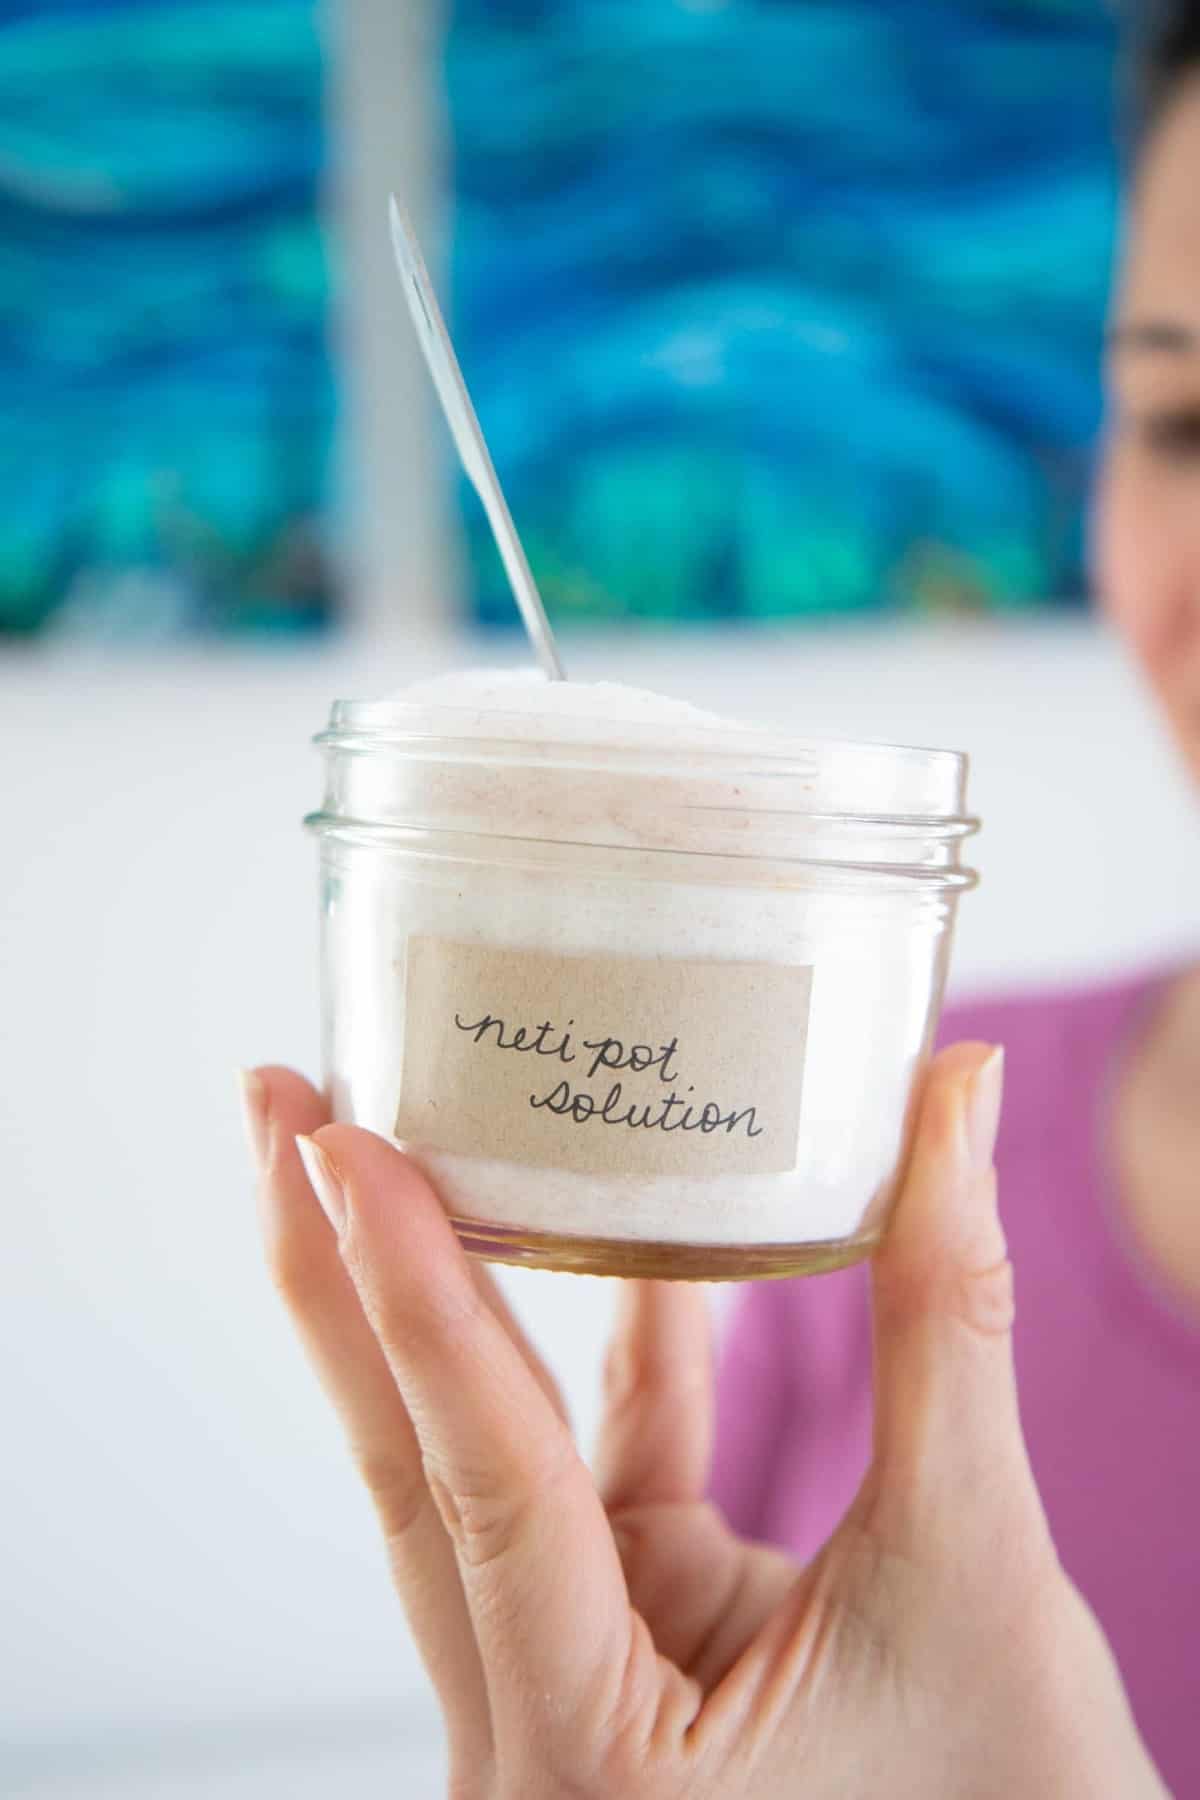
In theory, you really just need the salt part of the equation for the solution to do its job, but I wouldn't recommend it! Just salt burns like crazy when it hits your nasal cavity, but when mixed with baking soda, it takes away all of the sting. That's why it's very important when you make this solution to mix it very well so you can make sure to get the right baking soda to salt ratio in every spoonful. Trust me, it's not fun to get too much salt in a batch. Happy Neti Potting, friends!

DIY Neti Pot Solution
Equipment
- Small mixing bowl
- Airtight container
Materials
- ½ cup fine salt see notes
- ½ cup baking soda
Instructions
- In a small mixing bowl, thoroughly combine the salt and baking soda.
- Transfer to an airtight container.
- Use ½ teaspoon of solution per 8 ounces of water in a Neti Pot.
Notes
- It’s important to use salt with no additives—no caking ingredients or iodine. I prefer to use Himalayan Pink Sea Salt. You can also use Real Salt, which is available at most major supermarkets in the baking aisle.
- Will last indefinitely if stored in an airtight container.
Thanks for the information! I'm not seeing the amount of water and solution to use when preparing to use the neti pot. Could you please provide that?
Use 1/2 teaspoon of solution per 8 ounces of water in a Neti Pot.
Love the article!
Have been using an air pressure Neti for the last few months (first time user). I have been noticing a huge improvement in my sinuses. Especially in the allergy area.
I was wondering about essential oils. I, personally, love the scents Tea Tree, Lavender as well as others.
Could you recommend where to get these essential oils? Also, what to look for to make sure they are for Neti.
Thank you,
Dave
Hi David! Thank you for your patience as our offices were closed for summer break. We're so glad you love the post! If you're interested in adding essential oils to your Neti, we recommend you connect with a trained herbalist or natural medicine practitioner to get the go-ahead on the specific herbs and oils you want to try. Your sinus cavities are sensitive places and not the spot to go wild with herbal experimentation!
Very useful, especially the DIY recipe for Neti Pot (NP) solution. Thanks!
PS: I use my NP in the shower so I needn’t worry about dribbling solution (going in or out) on clothing or the floor, and best of all I can fill my sinuses and lean way back (safely) to allow the saline to get to my rearmost sinus cavity surfaces to get maximum effect. Afterwards, breathing is a joy.
I still have packets of the mixture that came with the product which shows expired 11/12. Wow, huh? Old old stuff. Would these packets still be useful or should they be trashed?
Hi Diana! We always recommend following the expiration dates on any medical products. Best to toss these old packets just to be on the safe side!
I'm convinced to try a neti flush. Excellent descriptions in this article.
Q: Do you think it a good idea to up the recipe for a gallon rather than 8oz? That way a person could buy a one gallon distilled water and have a supply on hand.
Hi Jake! We don't recommend mixing large amounts of the solution to keep that way. The mixture can settle and you risk introducing bacteria into the gallon whenever you portion some out to warm and use. Our recommendation is to make a large batch of the powdered mix and add it to warm water whenever you need it!
Cassie,
Thanks for this post and the recipe. It has been awhile since I have been using my Neti Pot so I needed to refresh myself on the proportions. I like the equal part of baking soda to salt. I note others have 1 part salt to 1/2 part baking soda. I am guessing your proportions soften the solution even more.
A couple of suggestions - especially for people who have never used a Neti Pot:
One, and correct me if I am wrong, but one should let the water run naturally through one's nostrils WITHOUT breathing in or inhaling. In fact, when I was helping my teenage daughter I even suggested she exhale just a little to reverse the temptation to breathe in.
Two, please explain why the solution needs salt as opposed to just lukewarm purified water.
Best regards.
Hiya, Scaramouche! The salt is added to the water to make it less irritating for your nasal cavity and sinuses! And yes, you're right—if you try to inhale while irrigating you'll end up inhaling all the water and stuff you're trying to flush out. So it's best to stay relaxed, let the water flow through, then very gently blow your nose before switching sides and repeating! Hope this helps =)
Thank you for this recipe!
I guess I had thrown away the saline packets that came with my Neti Pot, and I was in need of a DIY solution. This recipe is not only SO easy to put together, it is extremely cost-effective! And it works (because I used it right after I made it)! Another good thing about this recipe is that it does not burn like I've seen other people say about other recipes.
So glad it helped!
Cassie:
Thanks for your instructions.
In your instructions you say, "3. Use 1/2 teaspoon of solution per 8 ounces of water in a Neti Pot." However you didn't mention any solution; you just said to make a mixture of 1/2 cup of fine salt and 1/2 tablespoon of baking soda. So I believe that it should say, "3. Use 1/2 teaspoon of the salt + baking soda mixture per 8 ounces of water in a Neti Pot."
Dave
Dave,
Everyone but you understood the instructions, either way I did enjoy reading your mansplaining!
Ron
THANK YOU so much for this! Priced 50 tiny generic nasal solution salt packets at my local drug store...cost was $17 bucks! Maybe a tablespoon of salt, if that? Got up and running, along with my nose, after following your recipe...
So glad it helped!
I find neti potting a great help as well, but I keep it way simpler: I use un-filtered, un-boiled lukewarm tap water (I live in France and I drink tap water, so I figure I can use it to rinse my nose too), I use plain salt (avoiding any burning sensation is just a matter of using the right amount of salt and the right water temperature), and I just rinse my neti pot, never bothering to sanitize it (I doubt bacteria would enjoy the dry, salty residue in there). On the other hand, there are a few extra things that I do: I'm careful to give the salt time to dissolve properly, otherwise, unless I use very fine-grained salt, I find tiny bloddy clots when I blow my nose later in the day (I typically put the salt in the neti pot, add a bit of hot water, give it a good stir, wash my teeth, then fill up the pot with lukewarm water); after neti potting, before blowing my nose, I lean forward with my head down for a minute or so, so that water reaches all the sinuses. And I do neti pot even when my nose is congested, although I try to get to it before I reach that stage (and then neti potting helps not to reach that stage).
I admittedly don't know much about the tap water in France, but in the United States, it is advised against using tap water. It can contain bacteria and other microorganisms in small enough amounts that they are killed by stomach acid when you drink the water, but these microorganisms/bacteria are still present if you use it in a Neti Pot and can cause infections.