
How To Make Fruit Leather

Sweet, chewy, and packed with vitamins, this delicious Fruit Leather brings back childhood memories of your favorite after-school treats-and you only need three ingredients. Get their lunch boxes ready: a new fruit snack is in town.
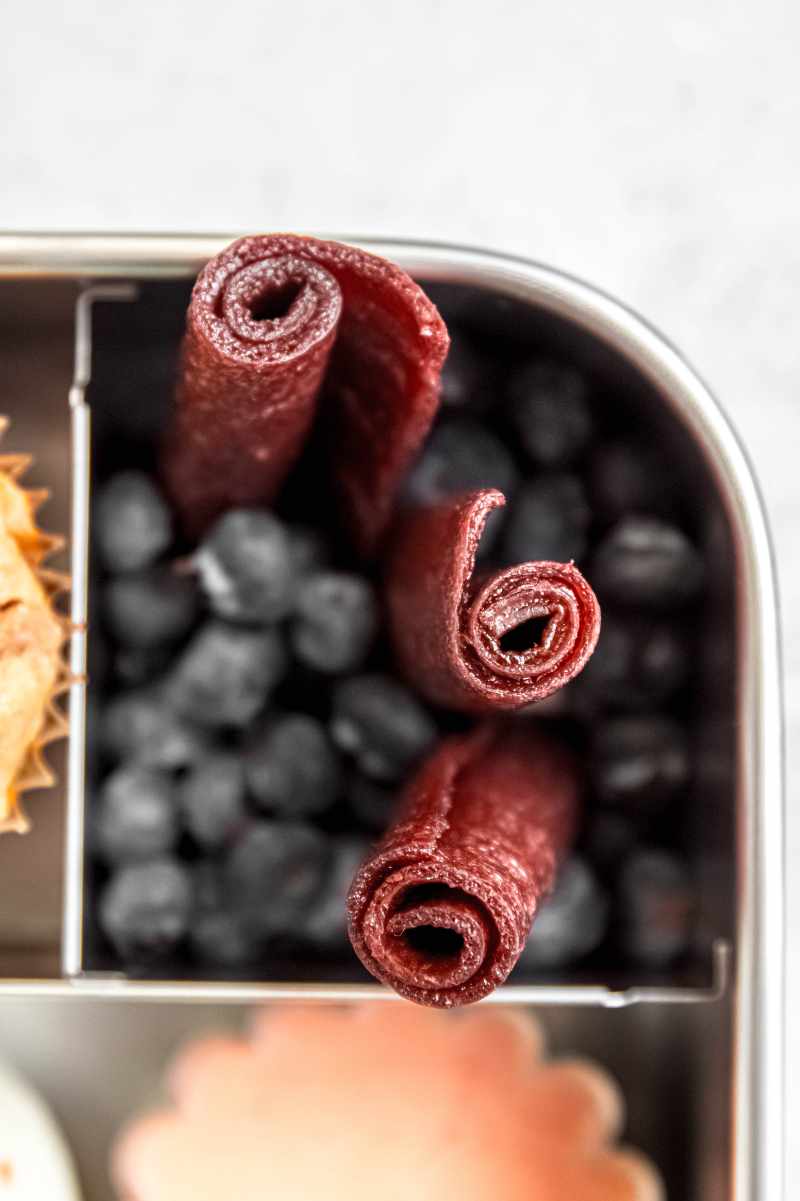
Fill their lunch boxes with this homemade fruit leather, yummy chicken bacon ranch pinwheels, and Caprese sticks for a lunch other kids will want to trade for.
What is fruit leather?
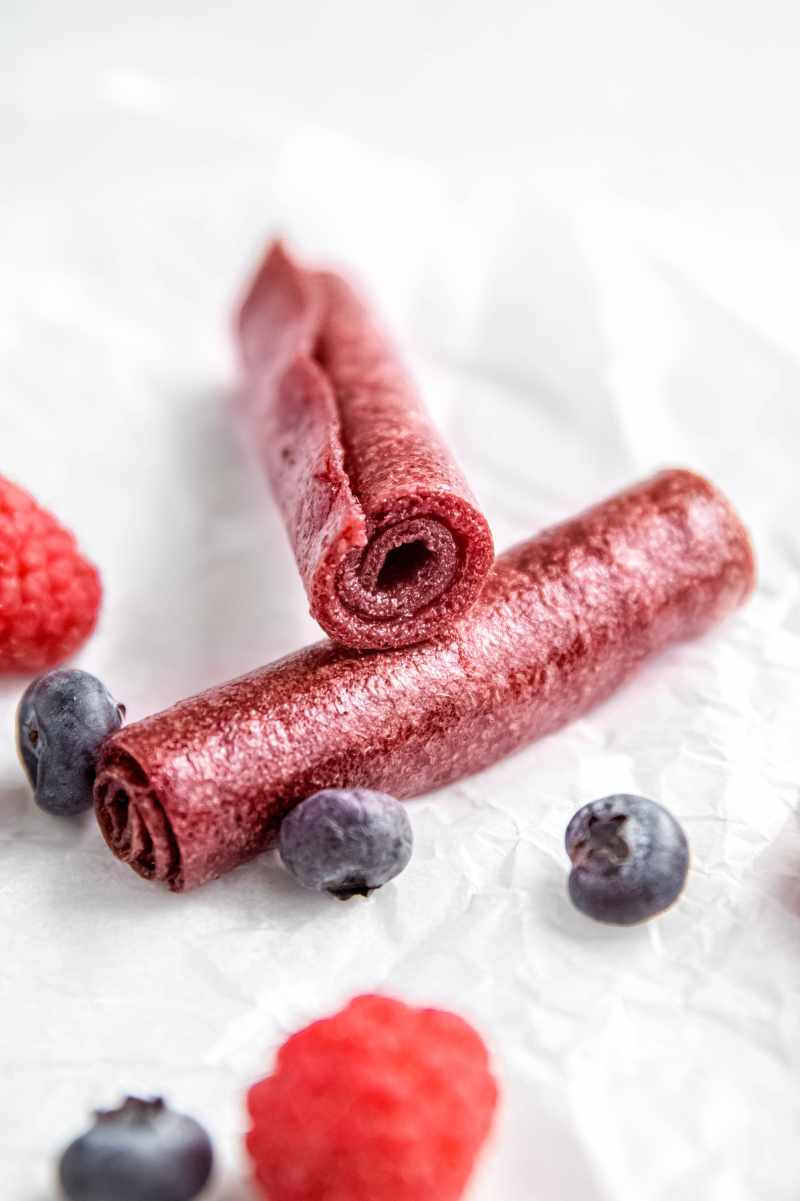
Think of it as fruit jerky! Fruit leather is made by blending pureed fruit with sweetener and then drying it over low heat until it reaches a springy, stretchy, fruit roll-up consistency.
Do I need a dehydrator?
Nope! There are plenty of fruit leather or dried fruit recipes that call for one, but we know most people don't have a dehydrator just lying around. Instead, you'll just need your oven.
What you'll need to make fruit leather
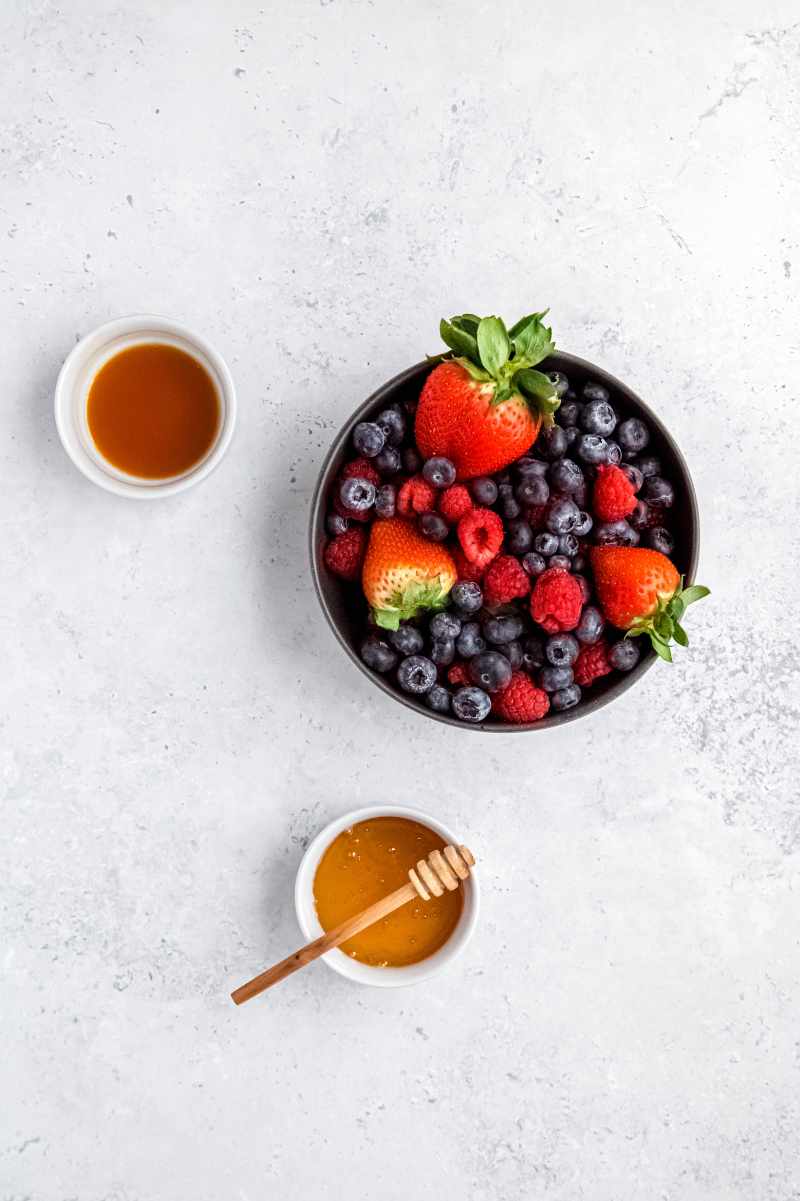
Treat your kids (and your inner child) to homemade fruit roll-ups and watch yourself become parent of the year with just a few simple ingredients:
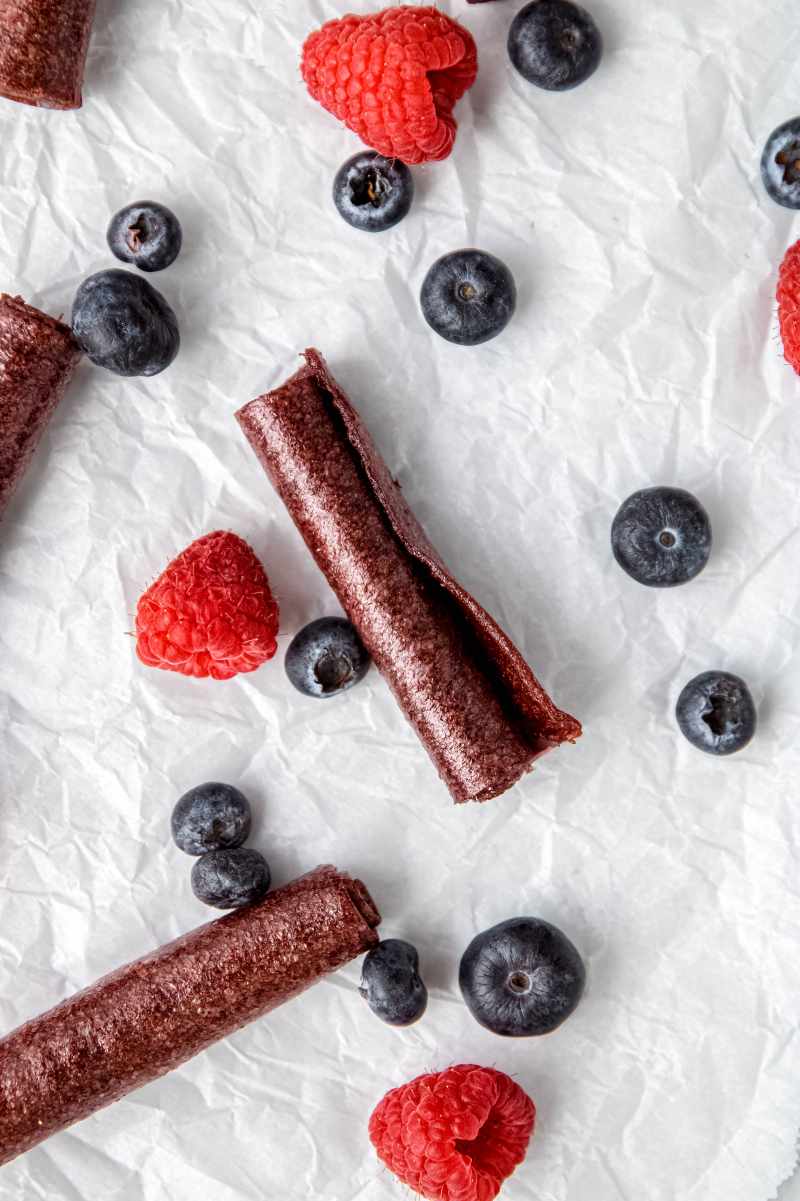
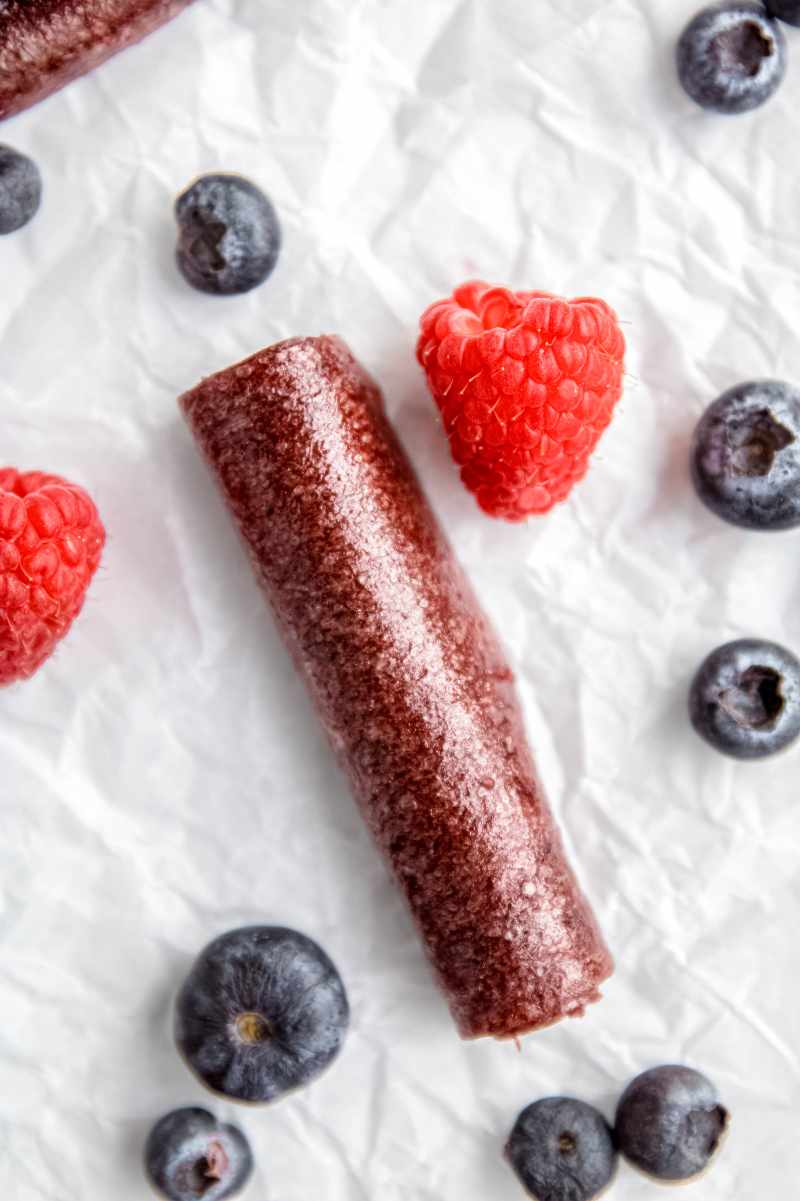
- Fresh Fruit: We recommend using chopped strawberries, raspberries, or blueberries!
- Honey: A little sticky sweetness is needed.
- Vanilla Extract: Optional, but adds a lovely flavor.
Protip: Use the right sheet pan!
We recommend using a 9"x13" sheet pan for this recipe. Anything larger will result in a snack that is too thin and too dry. If you only have a standard-size cookie sheet, double the recipe!
What is the best way to wash berries?
Did you know that you can wash off most pesticide residues with a warm salt wash? Dissolve a generous amount of salt in a bowl of warm water then add the fruit, swirling gently for a few minutes. Drain and rinse the berries with cold water, then pat dry! You can avoid pesticides by using organic fruit, but we still recommend washing all fresh fruit thoroughly before consuming it.
How to make your own fruit leather
While this easy snack takes just ten minutes of prep time, the actual drying process takes a long time. But don't let that intimidate you! This simple recipe makes one of the most delicious snacks you'll ever have.
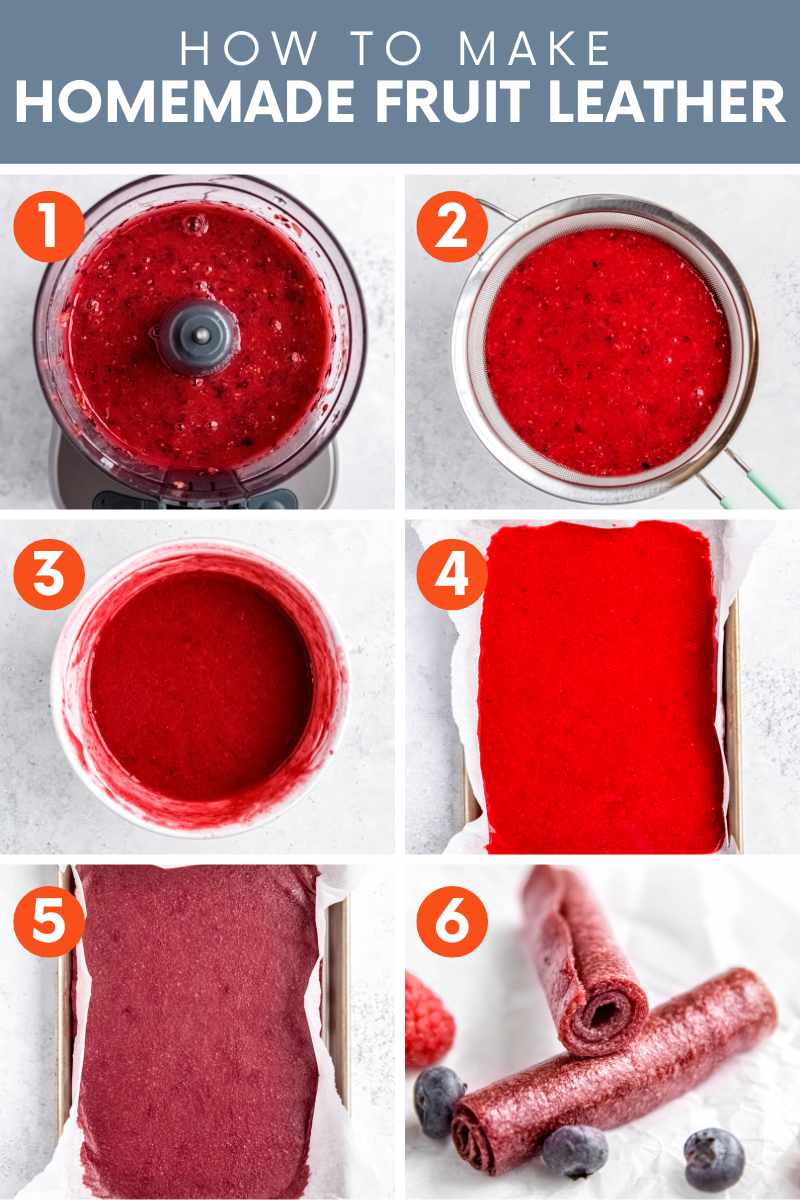
- Preheat the oven to 175°F and line a 9"x13" baking sheet with parchment paper. Put your fruit in a high-speed blender or food processor and blend until smooth.
- Remove large seeds and skins from the liquid for a smooth fruit mixture using a fine-mesh strainer. Press and stir the mixture into the strainer with a spatula to get as much fruit product as possible into the bowl.
- Stir the honey and vanilla extract into the pureed fruit until fully incorporated.
- Pour the fruit puree onto the prepared baking sheet, ensuring it is in an even layer throughout the pan.
- Place pan in the oven and bake for 10-12 hours, or until the fruit leather peels away easily from the parchment and the center is firm.
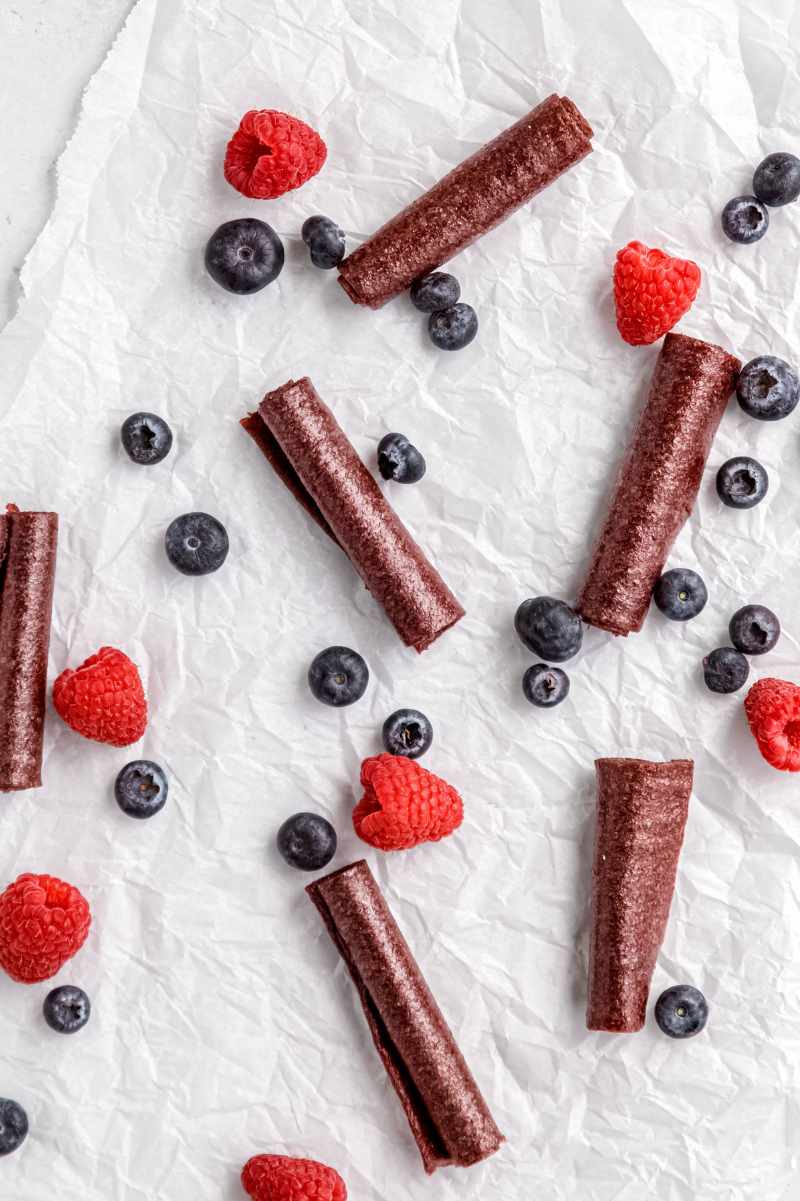
- Let cool fully. Remove from parchment paper, slice into long strips, and roll! Pack in a lunch or stash in an airtight container for a few weeks.
Protip: Make it smooth!
Removing the seeds and skins is technically optional, but we recommend doing it if you or your kids are texture sensitive. It will give you a much smoother end result.
How do you know when fruit leather is done?
When homemade fruit leather is properly set, it will peel away from the parchment paper easily. You also shouldn't see any gooey or wet spots in the center of the baking sheet-you want the fruit mixture to be dried all the way through.
Why is my fruit leather not setting?
It needs to dry for longer! We recommend checking in on your fruit leathers around 6-8 hours in to the drying time, depending on your oven. Be prepared for up to 12 hours of baking time for a good quality end product.
How do you wrap and store fruit leather?
Use a sharp knife or pizza cutter to cut the sheet of dehydrated fruit puree into long strips. Cut parchment paper into strips just slightly larger than the fruit leather pieces. Place a piece of fruit leather on top of a piece of parchment, and roll into a spiral. Repeat with remaining fruit leather and parchment paper.
Can I make this ahead of time?
Absolutely! Roll each piece with parchment paper to keep the rolls from sticking together for best results.
How long does fruit leather last?
These can be stored in an airtight container at room temperature for a few weeks.
📖 Recipe
Homemade Fruit Leather Recipe
Ingredients
- 4 cups chopped berries strawberries, raspberries, and/or blueberries
- ¼ cup honey
- 1 teaspoon vanilla extract optional
Instructions
- Preheat oven to 175°F.
- Add the berries into a high-speed blender or food processor and blend until smooth.
- Remove the seeds and skins from the liquid using a strainer. Press and stir the mixture into the strainer with a spatula to get as much liquid as possible.
- Stir the honey and vanilla extract, if using, into the berry mixture until well combined.
- Spread the mixture evenly with a spatula over a parchment-lined 9x13 baking sheet.
- Bake for 10-12 hours, or until the fruit leather peels away easily from the parchment paper and the center is not gooey.
- Allow to cool, then remove from parchment paper, slice into strips, roll, and store at room temperature! For best results, roll each slice with a piece of parchment paper.
Notes
- It is really important to use a 9x13 baking sheet for this recipe. Otherwise, the fruit leather will be too thin! If you only have a standard-size cookie sheet, double the recipe.
- We used a combination of strawberries, raspberries, and blueberries, but you can use any combination of the fruits as long as it equals 4 cups.
- Vanilla extract is optional but adds a nice flavor to this recipe!
- Removing the seeds and skins is optional, but it makes the fruit leather much smoother. We recommend it if you or your kids are texture sensitive.
I love this recipe as a fun way to get some fruit into my kiddo's diet!
I am excited to try this! I do have a question- have you been successful in getting the same results with frozen fruit?
Thank you!
Hi Angelica! We haven't tried making this with frozen fruit, but we think it could work. If you thaw the fruit completely and strain off the excess water before blitzing the fruit in the food processor, you should be able to proceed with the rest of the recipe as written. It might take some experimenting to get to get it right. But if you give it a go, please let us know how it turns out for you!
If I have a dehydrator (one of the features on my toaster oven/air fryer), can I use it for this recipe?
Hi Kelly! If you have a dehydrator, we recommend checking out the manual that came with it for a recipe or timing info for fruit leather. Most dehydrators have specific settings or requirements, so while we can't say for sure what the specifics are for your appliance, your manual should be able to!