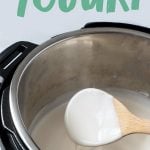
How to Make Instant Pot Coconut Yogurt
I first started making this dairy-free coconut yogurt back in 2014. When my daughter was born, she had a Milk and Soy Protein Intolerance (MSPI, for short), meaning that even the slightest bit eaten by me would come through my breastmilk and cause her incredible stomach upset. It only lasted six months, but in that time, I discovered that my body functions better without dairy. It was confirmed later when I did my time on the AIP diet to find food intolerance.
That's how I discovered the amazing versatility of cashew cream. And that's when I started making my own dairy-free Instant Pot coconut yogurt. It's such a great AIP breakfast option (or any dairy-free diet).

Why should I make this coconut yogurt recipe?
Making yogurt in the Instant Pot (dairy-free or otherwise) is so incredibly fool-proof. If you've ever been intimidated by making your own yogurt before, the Instant Pot is your answer. It makes it so hands-off and so simple-it's honestly almost easier than just going to the store to buy premade coconut yogurt.
And my gosh, can you save some serious cash by making your own yogurt at home-especially the dairy-free stuff. At our local grocery store, a five-ounce cup of coconut milk yogurt runs about $1.99. You can make an entire quart-32 ounces worth-of Instant Pot coconut yogurt for less than $4. It'd cost you $12.74 to buy that much pre-made! And when you go through as much yogurt as we do, that adds up fast.
Another (huge) added benefit: you can control everything about your yogurt-the thickness, the tanginess, and most importantly to me, the probiotic levels. Most store-bought yogurts are barely fermented at all-some sources say that yogurt from the store can be fermented for as little as one hour! One hour does not get you much healthy bacteria, but you know what does? Using your Instant Pot to ferment for 24 hours or more. Yogurt that is fermented for 24 hours has more healthy probiotics per cup than any over-the-counter probiotic pill-we're talking billions of good guys helping to keep your gut happy! And it's way more delicious than popping a pill.
Are there any drawbacks to making Instant Pot coconut yogurt?
The one caveat with Instant Pot coconut yogurt-it's never going to get as thick as cow's or goat's milk yogurt without some help. That's because coconut milk just doesn't have the lactose and proteins that transform the texture when fermented.
How do I make thick, creamy homemade coconut yogurt?
If you love good thick yogurt like I do, I highly recommend using any or all of these three ways to get there:
- Use the right coconut milk. Full-fat coconut milk from the can (not "Lite" coconut milk or the coconut milk from the refrigerated cartons) is going to give you the thickest, creamiest yogurt. In fact, if you can find straight-up coconut cream (this is what I usually use), you're going to get the best results.
- Go for a long ferment. Yes, coconut milk won't thicken like cow's milk during fermentation, but it will thicken some. The baseline time I recommend to turn your milk into yogurt is eight hours-but that's not going to thicken your yogurt at all. If you set your fermentation time for closer to 24 or even 36 hours, you're going to get a naturally thicker yogurt.
- Use a thickener and chill. This is absolutely optional, but I usually thicken my yogurt using unflavored beef gelatin (I've also had good results using agar agar for a vegan version). I just add enough to give it a little bit of body-and not turn it into yogurt Jello-and then I chill until completely cold.
It might take you a bit of experimentation to figure out the right combo that makes your family happy. But once you land on it, you'll never go back to buying yogurt again!


What kind of starter do I need for this coconut yogurt recipe?
When you're making your yogurt, you will need to inoculate your batch with either yogurt starter culture or pre-made plain yogurt from the store. I've done both, and they both turn out beautifully. If you choose to use a yogurt starter, this Yogourmet starter is my absolute favorite*. It has very specific strains of bacteria that are great for your tum-tum-my naturopath has actually recommended I eat yogurt only when it's made with the strains in this yogurt starter to protect my gut health.
(*Please note: this starter contains skim milk powder. If you're looking for a completely dairy-free way to start your batch of coconut yogurt, you'll want to use a different starter or a dairy-free yogurt with live active cultures like we mention below!)
The way easier (and cheaper) route is to use premade yogurt as your starter. Just take three tablespoons of whatever plain yogurt you'd like (dairy, soy, coconut, almond-all fine) that has live, active cultures in it-and whisk that in to innoculate your batch of yogurt. Then, when your batch is done, reserve about ¼ cup of it to make your next batch. You'll never have to buy yogurt again! It's the gift that keeps on giving.

What if I don't have an Instant Pot?
Of course, you absolutely don't have to have an Instant Pot to make yogurt. You can do it in the slow cooker or on a heating pad (my preferred method pre-Instant Pot) or even under the light in your oven-basically, any way you can consistently keep your yogurt around 100°F for 8-36 hours while it ferments will do the trick. The Instant Pot just makes keeping the temperature there SO FLIPPING SIMPLE. It removes all the variables and just makes for perfect yogurt every. single. time. Happy yogurtmaking!
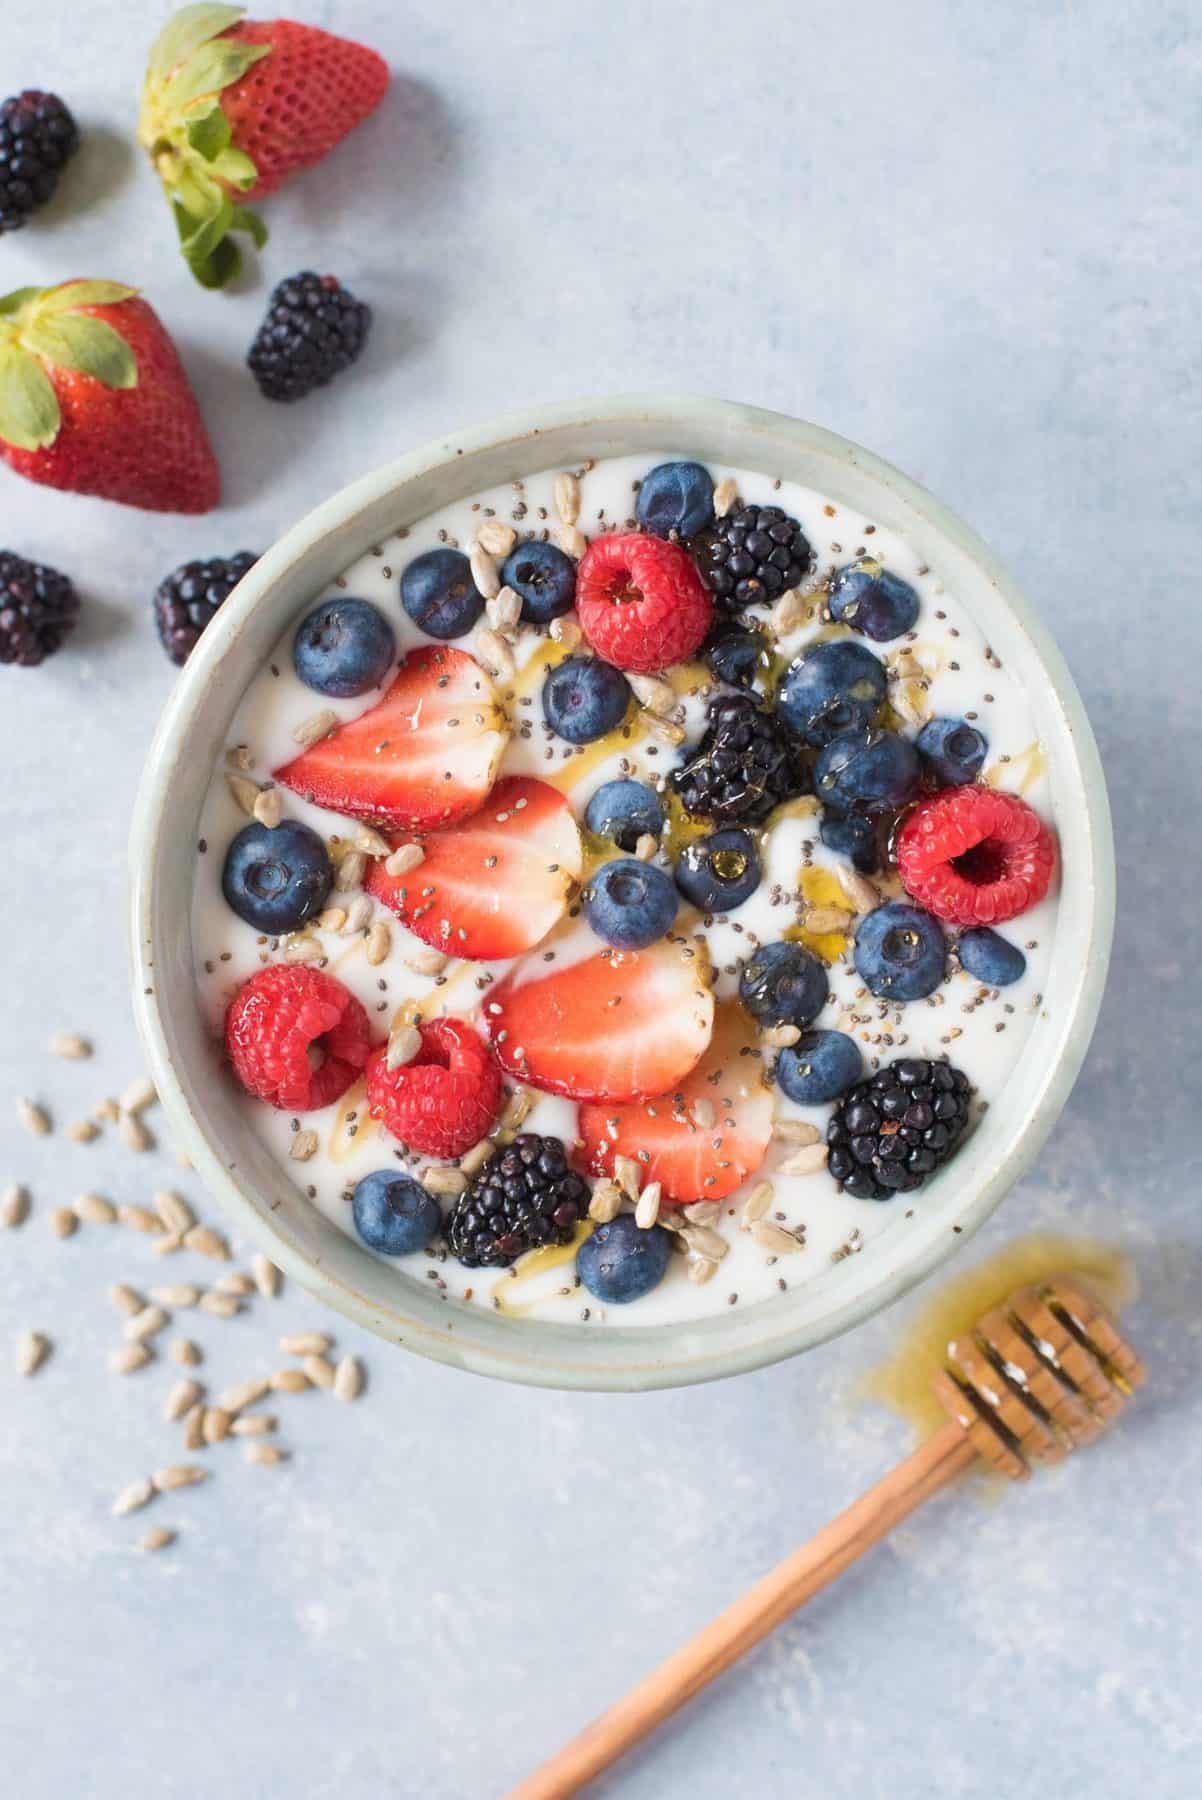
How do I flavor or sweeten homemade coconut yogurt?
When the yogurt is finished and cooled is a great time to stir in any sweetener (or this pumpkin butter recipe!) or flavoring like vanilla extract or honey.
📖 Recipe
Instant Pot Coconut Yogurt
Ingredients
- 1 quart full-fat canned or boxed coconut milk I get best results from this coconut cream, but any full fat coconut milk will work
- ¼ cup maple syrup do not sub in honey-it has its own bacteria that will fight the yogurt culture
- 3 tablespoons plain yogurt with live active cultures dairy, soy, coconut, almond-all fine OR one packet of freeze dried yogurt culture (I like this one)
- OPTIONAL THICKENER: 1 to 2 teaspoons unflavored grass-fed beef gelatin OR ½ to 1 teaspoon powdered agar agar
Instructions
- Pour the coconut milk and maple syrup into the pot of the Instant Pot. Whisk well, then press the "Yogurt" button, and then adjust the setting until you see "boil." Let the Instant Pot run through the process (it's getting the milk up to a temperature of around 185°F), whisking occasionally. No need to place the lid on the Instant Pot during this stage.
- When the Instant Pot beeps that it is finished, allow the milk to cool until it is between 100ºF and 110ºF. This can take upwards of an hour.
- If using starter yogurt: When the milk is at the correct temperature, ladle out about ½ cup of the warm milk into a small bowl, and whisk with the 3 tablespoons plain starter yogurt until smooth. Pour the mixture back into the Instant Pot and whisk well.
- If using freeze-dried yogurt culture: When the milk is at the correct temperature, sprinkle on one packet of the starter culture and then whisk very well to combine.
- If using a thickener, sprinkle on top of the warm milk, and then whisk very well to combine.
- Close the lid of the Instant Pot (no need to seal), and press the "Yogurt" button. Adjust the setting until you see the time display. Set for the desired amount of fermentation time. Eight hours is bare minimum, but I *much* prefer yogurt that has been fermented closer to 24-36 hours. This results in a naturally thick and tangy yogurt-very like regular Greek yogurt. Plus, it has more probiotics! (See notes for more info about time and temp)
- When the fermenting time is up, transfer the yogurt to a glass storage container (I use a wide mouth quart jar) and keep in the fridge. It will thicken up considerably as it cools.
Video
Notes
- If you like thicker, Greek-style yogurt, I recommend using either the gelatin or the agar agar. However, if you want to leave those our, the longer you ferment, the thicker the yogurt gets naturally.
- If you do use the thickeners, the upper range will get you a thicker, Greek-style yogurt, while the lower will just thicken to a "normal" yogurt consistency.
- Since coconut milk doesn't have the same kind of sugars that cow's milk has, the added maple syrup is to give the bacteria a jump-start meal-they eat almost all the sugars and the resulting yogurt isn't sweetened at all.
- My favorite starter (linked in the post and the recipe above) contains skim milk powder. If you're looking for a completely dairy-free way to start your batch of coconut yogurt, you'll want to use a different starter or a dairy-free yogurt with live active cultures.
- Some people recommend using opened probiotic capsules as yogurt starter, and it can work-depending on your probiotic. Proceed with caution though, as some can make yogurt taste really not good.
- When you spoon your yogurt into a container for storage, make sure to reserve a little bit for the next batch of yogurt in a small jar (I just fill one of these quarter-pints). That way, you'll never be without yogurt starter.
- I love my Thermapen for yogurt-making (and honestly, everything else in the kitchen), but if you don't have a thermometer, it's not a big deal. Another trick is to place a (clean!) finger in the milk-when you can hold your finger in the milk while counting to ten, it's cool enough to pitch in the yogurt starter.
- Some folk in the comments mentioned that their Instant Pot only maintained the desired yogurt fermentation temperature (around 110°F) when set for up to 8 hours. Set for longer than 8 hours, their IP used a lower temperature (around 88°F). Our IP doesn't adjust the temperature in this way, so please check your owner's manual before choosing your time setting!
Hello! I have made this a few times and love it! Can you tell me though, how are your calories so low per serving?
Hi Keli! We're so glad you love the yogurt! Our nutritional information is automatically calculated in our system based on the ingredients listed in the recipe card. If you're looking for the most accurate calorie info, we always recommend putting your exact ingredients and amounts into a free online nutrition calculator. You'll get the best results that way!
Hi, I made this recién small 6oz jars after cooling in fridge for 8 hours I opened the lids and I have pink spots on top. What did I do wrong ?
Hi Shar! My best recommendations are to give your Instant Pot insert, lid, and ring a good scrub in hot soapy water before beginning, and to check that your culture is alive and well before starting. Cleaning everything will make sure you don't have any other bacteria competing with your culture. If you used a ready-made yogurt to start your culture, did you check that it said "live, active cultures" on the container? If you used a yogurt starter culture, check to make sure it wasn't expired. No matter which starter you used, double-check the temperature of the milk you pitched it into. If it was too high, it could have killed off your culture before it even had a chance to grow. Based on the info here, those sound like the most likely culprits. If you'd like to troubleshoot more, please feel free to send us more info. We're happy to help! Good luck with your next batch!
Hello, wanting to try your recipe but I’m curious…. Can I use Greek yogurt as the starter? Or should I use plain yogurt? Thanks so much!
Hi Emily! It's perfectly fine to use Greek yogurt to start a batch!
Thanks so much for this recipe! I made it with the 24 hour fermentation time, and used gelatin as a thickener. It was still pretty runny, and way too tangy for my tastes. Could I do a shorter fermentation time with more gelatin instead??
Hi Kara! You can definitely play around with the fermentation time and amount of gelatin to get your yogurt just how you like it. The only thing to be careful about with the gelatin is that you don't use too much and end up with yogurt jelly! Increase it a little at a time until you find the right balance.
Can I used boxed, shelf stable coconut milk that has coconut milk as the only ingredient?
Hi Matt! We've used boxed coconut cream that's shelf stable with good results. In fact, one of the brands we recommend (this one) is shelf stable. We haven't had good luck with anything "lite" or the refrigerated cartons that are meant for drinking. You want something that's meant for cooking or using as an ingredient!
Thanks. I gave it a shot and followed to a t using shelf stable coconut cream. After 18 hours I checked on the yogurt and it had orange mold growing on it. This happens basically every time I try
This turned out really great! How long does it stay good in the fridge? And how long can I keep the starter good for another batch?
Hi Michelle! We're so glad you love it! Because of the extra long fermentation time, the yogurt should be good for about as long as store-bought yogurt would be in an airtight container in the fridge. The starter culture will last for a week or two in the fridge or longer if you freeze it!
Hi! I tried this twice. The first time was an epic failure (had to go down the drain it was gross), but I quickly figured out why after watching another instapot yogurt tutorial on YouTube. It was a combo of the temperature issue AND not having a sterile silicone ring. I actually went with that person's suggestion to buy a replacement set of rings and reserve one only for this process, but I went ahead and bleached my current one and used some baking soda to scrub my pot out.
Then I figured out how to get my stupid instapot to stay at the correct temp for the entire fermentation time (btw, this is not in instructions anywhere that I could find. Manuals are all online and they are super generic now 🙄).
I bought a 3pk of the coconut milk you use. I used Cocojune plain yogurt as my starter, and I used agar agar because nothing on the shelves said "beef gelatin." It wasn't until I read another person's comment that I learned I could use Knox Brand gelatin. Learn something new every day.
When it reached 32hrs (I couldn't stay up till midnight), I opened it up, and it smelled right, but it was still really thin and had a lot of water. I wish I'd had a cheese cloth to strain it, but I didn't, so I stirred it and jarred it and into the fridge it went.
This morning it tastes fine, but it's very runny. So if call it a partial success.
My instapot doesn't seem to like not having the lid secured, but that seems to allow water to build up. And I'll try Knox gelatin next time, now that I know that's unflavored beef gelatin.
Did I miss anything? I can't this if why it would be so runny. 2tsp agar agar, 32hrs fermentation, right temp, a good starter.
Hi Michelle! It doesn't sound like you missed anything. Our best suggestions would be to try it with gelatin to see if you get better results. Then you might need to experiment with different coconut creams/milks (we also have had great results with this brand) and different starters to find the combo that gets you the texture you're looking for. If you give it another go, please let us know how it turns out for you!
Hi Michelle,
Just curious which IP you have and what did you do to keep it at the correct temp for the whole fermentation?
I just did my first attempt with this and mine was also runny/watery at the end of the fermentation.
Cheers
Aaron
Hello! I plan to try this soon! I previously followed another recipe that used the powder from a probiotic supplement to inoculate the coconut milk. Would that work for this recipe?
Hi Taylor! We mention this in the recipe notes, but I'll copy it here so it's easier to find: "Some people recommend using opened probiotic capsules as yogurt starter, and it can work—depending on your probiotic. Proceed with caution though, as some can make yogurt taste really not good." It's not something we recommend because you won't know if your probiotic will effect the taste until you make it. If you're okay with experimenting, or you have a probiotic that you've used before with good results then it should work.
After SEVERAL attempts at making DF yogurt, THIS ONE wins the prize! I was worried as the initial mix never did boil, but 14 hours later and 8 hours in the refrig - perfection! Sweet without any added sugars or honey! I used Stonyfield farms organic full fat yogurt as a starter ( I know, that's dairy - 3 Tbsp in 32 oz of DF won't kill me, although some might feel it). And 1 1/2 tsp knox gelatin. Thank you for this recipe and all the tips!
You're so welcome, Kelly! We're glad it worked out well for you! Thanks for coming back to tell us about it. We really appreciate it! =)
The first time I made this yogurt, my Instant Pot didn't get to your recommended temps when choosing the 24 hour fermentation cycle. Close but not quite there. It ended up turning out quite good. I used Cocoyo plain yogurt as my starter. I then made it again using the reserved 1/4 cup of starter from my first batch. This batch of yogurt had a smell of rotten eggs after the 24 hour fermentation period. And I noticed that the color of the yogurt was brown whereas my first batch started off brown from the maple syrup but finished white. Do you think that too low a temperature during the fermentation cycle may be the culprit?
Hi Sally! Thank you for your patience as our offices were closed for summer break. It sounds like either the temperature wasn't high enough or your reserved starter was no longer active. That can happen if there's too much time between batches or if the culture from the previous batch wasn't strong enough to make another batch. Our best recommendation would be to check the user manual for your particular device and see what settings are recommended to maintain the correct temperature. Some folks have had to adjust their settings based on their Instant Pot to get the yogurt to turn out. If you need more help troubleshooting, feel free to reach out again or send us an email. We're happy to help!
Insta pot is such an amazingly versatile kitchen device.
I made a batch of this a couple days ago. It turned out beautifully. Fairly thick, wonderfully tart! Mine did not separate much so a quick twirl with a whisk brought it all together nicely.
Thank you for your recipe and commentary.
Thanks, Susanne! We're so glad it worked out for you!
Hi I love this recipe I am so excited for mine to finish! It has been in the instapot for 24 hours I’m going for and additional 12 to reach 36. I noticed though the last time I open it that there is quite a bit of seperation. Like almost a cream to water separation you see in coconut milk cans… I used you recommended coconut cream. Any suggestions?? Thank you!
Hi Lauren! We've had that happen with some brands of coconut milk and cream before. A quick whirl in the blender (or a little elbow grease with a whisk) is usually enough to reincorporate everything! We usually whisk or blend it together once it's finished, then sometimes again after it cools (if needed). Please let us know how it turns out for you!
Hello, I have made 2x now and once cooled the yogurt has a sandy texture. Any tips on how to fix that ?
Hmm...it might be worth trying a different brand of coconut milk. It's possible that the emulsifiers (or lack thereof) in the particular brand you're using are giving it that grainy texture. If you try it with a different brand, please let us know how it turn out for you! We're happy to help troubleshoot further if you need it.
Why does the ingredients list include a sugar? (Maple syrup) yet the Nutritional information says 0 sugar?
Thank you.
Hi Barbara! That 0g is for the Fiber. The amount for the sugar comes after the colon—so it reads "Sugar: 8g"
Hi, thank you for the recipe. Is there a low carb, sugar free alternative to maple syrup? Will monk fruit sweetener work?
Hi Rose Anne! Sugar-free options won't work for this because the sugar is food for the starter culture. If you use something non-caloric, there won't be enough natural sugars in the coconut milk to support the growth of the starter culture. Depending on how long you ferment your yogurt, most if not all of the sugar is consumed by the culture leaving the end result barely sweetened at all. Here's what we say about it in the recipe card notes: "Since coconut milk doesn’t have the same kind of sugars that cow’s milk has, the added maple syrup is to give the bacteria a jump-start meal—they eat almost all the sugars and the resulting yogurt isn’t sweetened at all."
I don't have an Instant Pot, but I do have a Ninja Foodi. What temperature should I use and for 24 hours, or longer?
Hi Niara! You're aiming to keep the temperature at around 110°F for at least 8 hours, but closer to 24 hours to get the most probiotics. You can check out our post on how to make yogurt with or without an Instant Pot here: https://wholefully.com/yogurt-making/
Thanks for the recipe. Can I use 3 Tbs homemade coconut yogurt from previous batch as the yogurt starter? Will it work?
Hi Belina! Yes, you can reserve some from your previous batch to start the next one!
Thanks for the easy to follow recipe. But what happened to the 19 g of fat per 1/2 cup in your preferred coconut cream?
Hi! Nutritional info is automatically calculated in our system based on the ingredients in the recipe card. My guess is that it's calculating the full fat coconut milk as the main ingredient based on the way it's listed. We always recommend that you use your favorite online nutrition calculator with the actual ingredients and amounts you use to get the most accurate nutritional info. If that's something that is important to you, you'll have much more control over the accuracy when you input it yourself using the exact brands and quantities of each ingredient!
I followed the directions to A T. Used products suggested for 24 hours. Cooled in fridge. Have heard mass on top like fat- 2inches - super sour, did all but use thickener. Help for next batch?
Hi Jensen! Were you able to blend the refrigerated yogurt back together? We’ve had something similar happen before (depending on the brand of coconut milk or cream we used), and a quick blitz in the blender was all it took to come together and be creamy and smooth again!
Hi, can you please expalin what is 1 quart of full fat canned coconut milk? I'm going to use Trader Joe's canned coconut milk. 1 can is 13.5FL OZ (400ml), how many cans should I use to make this recipe? Thank you.
Hi Belina! 1 quart is 4 cups worth of coconut milk. You should be able to check the serving information on the can for how many cups it holds and go from there!