
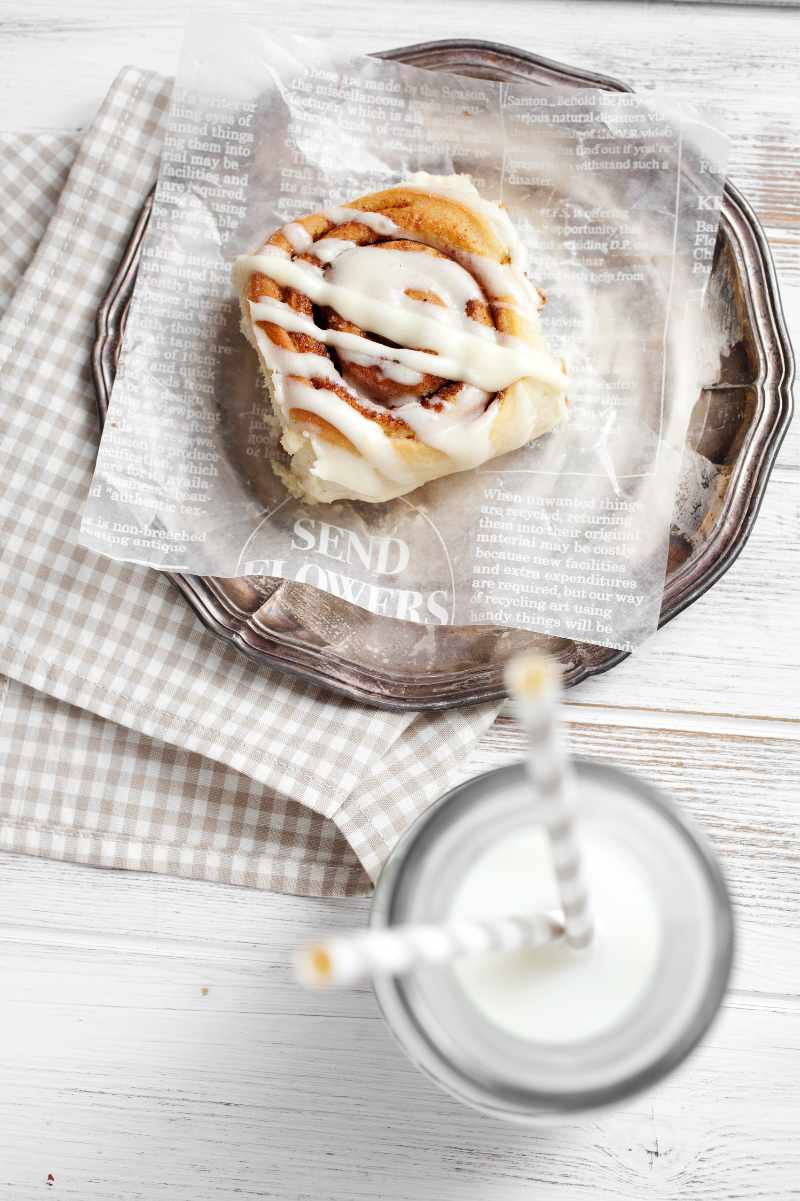
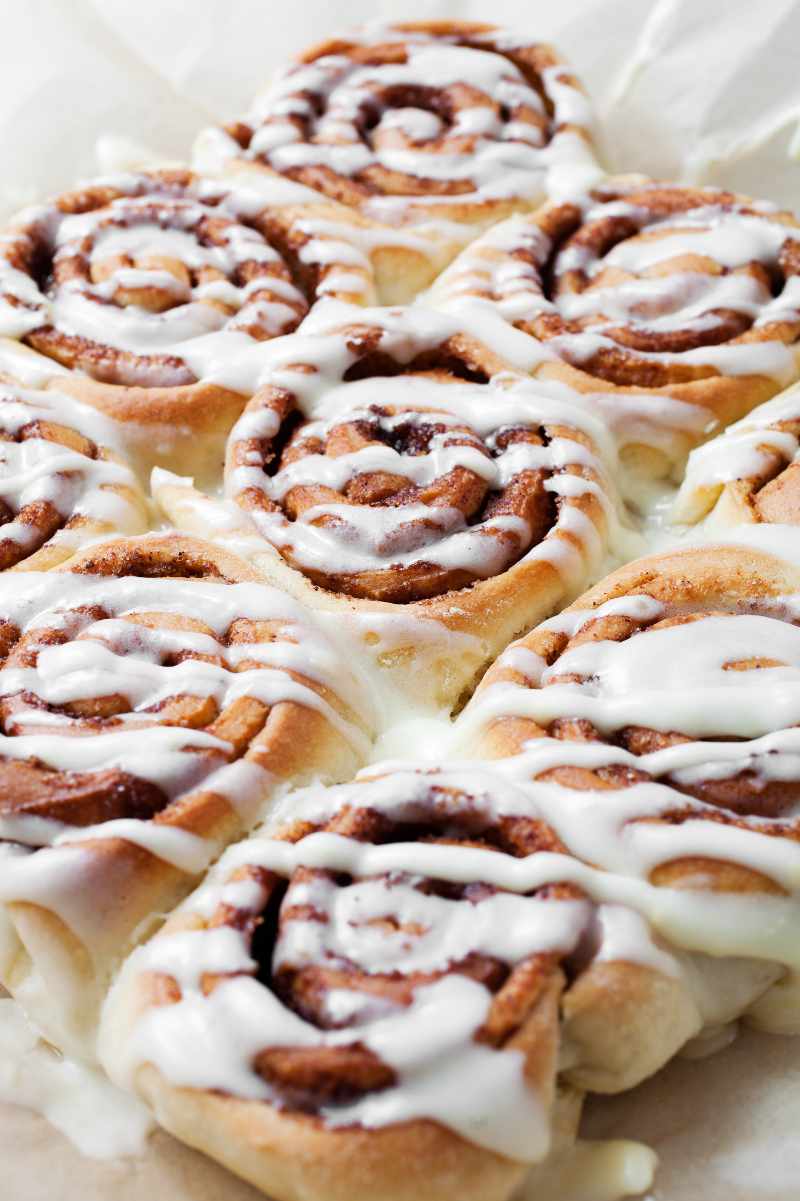
Homemade Cinnamon Rolls
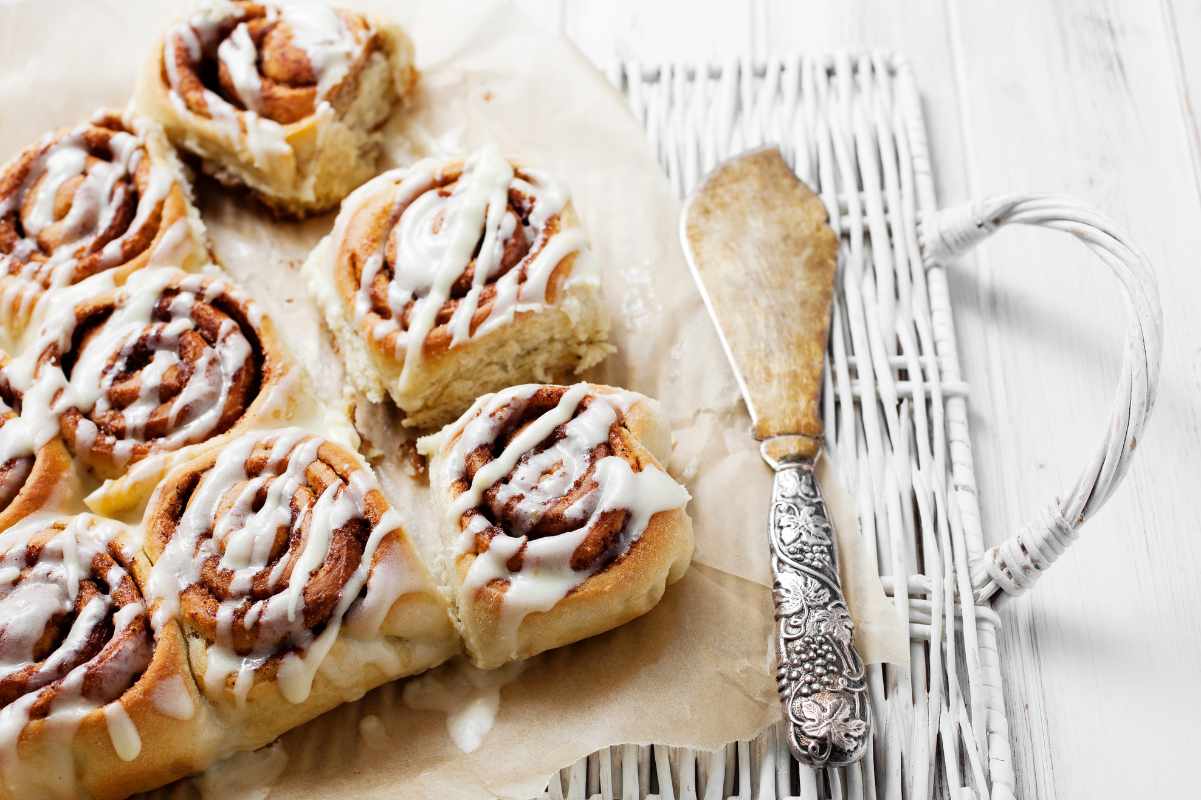

Get ready for a cinnamon-scented hug in the form of our very best homemade cinnamon rolls recipe! These gooey delights have been tested at dozens of family holidays to rave reviews. Best of all? They are a piece of cake to whip up thanks to our overnight rise-yes, even if you've never worked with yeast before. We've got your back every step of the way.
Since you can easily make these cinnamon buns ahead of time (in fact, we recommend it with our overnight cinnamon rolls option), these make for an excellent holiday or special occasion breakfast! So, tie on your apron, grab a rolling pin, and let's roll into the world of irresistibly easy homemade cinnamon rolls that'll make you a baking hero in no time!
Are you a yeast beginner? No worries, here are our yeast protips for the best homemade cinnamon rolls.
Not sure where the stigma came from that yeast is hard to work with-it's actually really simple! And once you dive in, you'll never be afraid again. Here are the things to keep in mind when working with yeast:
- Yeast dough rises fastest in warm but not hot conditions. What is too hot? If you can't comfortably keep your finger in the mixture for 10 seconds because it's too hot-then it's too hot for the yeast.
- Yeast dough will also rise in cooler temps (or even cold-which is why we recommend an overnight rise in the refrigerator), but it does so much more slowly.
- There are a number of different types of yeast that are designed for varying recipes-active dry yeast, bread machine/instant yeast-but we're going to be honest: we've never found a difference between any of the store-bought options in this particular recipe. Use whatever you have on hand, and you'll end up with delightfully fluffy cinnamon rolls.
Ingredients in the best cinnamon rolls
It's actually pretty shocking how few ingredients you need to make cinnamon roll dough. In fact, you probably have it all on hand already. Here's what you'll need:
- All-purpose flour
- Sugar
- Active dry yeast
- Salt
- Milk
- Butter
- Egg
- Brown sugar
- Ground cinnamon
For the frosting, all you'll need is powdered sugar, butter, vanilla extract, milk, and whatever flavoring you choose. We have two incredible cinnamon roll frosting flavors for you to choose from: orange frosting and maple frosting. You could also mix up the filling by using this pumpkin butter recipe instead of butter, cinnamon, and sugar.
How to make overnight cinnamon rolls
Our favorite method for making cinnamon rolls is the overnight rise in the fridge. Not only is it incredibly simple and hands-off, but we think making overnight cinnamon rolls adds more flavor and results in a better texture. This makes a great make-ahead breakfast option for Christmas morning breakfast, Mother's Day brunch, or any of your favorite special occasions! Here's how to do it:
- In a large bowl, combine the dry ingredients. You can do this using a wooden spoon and bowl or a stand mixer fitted with a dough hook. Set aside.
- Warm the milk and melt the butter either on the stovetop or in the microwave. Pour the melted butter mixture into the flour mixture, add the egg, and stir until well combined.
- Knead the cinnamon roll dough until it is very soft. Transfer the dough to a clean bowl and let rise until doubled in size.
- Make the filling by combining brown sugar and cinnamon. Roll out the dough into a rectangle, spread with the butter, then sprinkle on the cinnamon sugar mixture.
- Roll up the dough into a tube, then cut into 12 slices. Arrange in baking dish. Cover with plastic wrap and place in the fridge.
- Remove the rolls an hour before baking and place in a warm spot in your kitchen to continue rising until the rolls are nice and puffy. Then bake until the tops are golden brown.
- While the rolls are in the oven, make the frosting of your choice by combining all ingredients. Remove the rolls from the oven, let cool for about five minutes, then slather on the frosting.
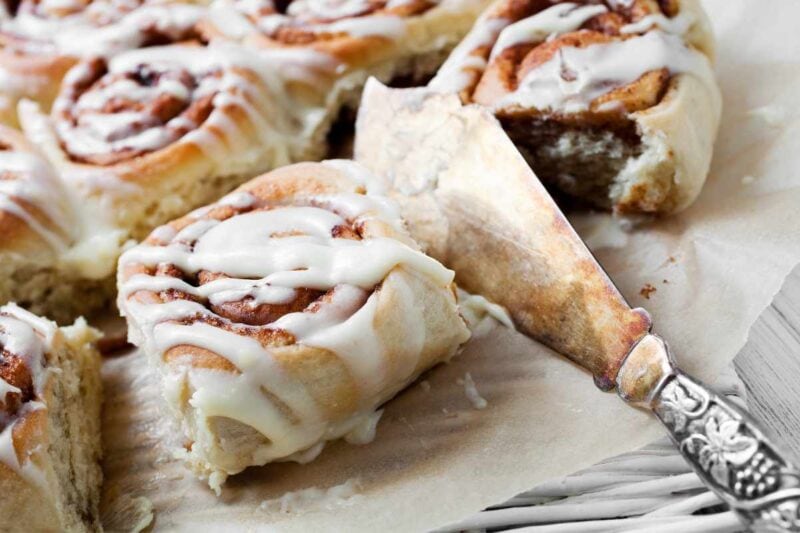
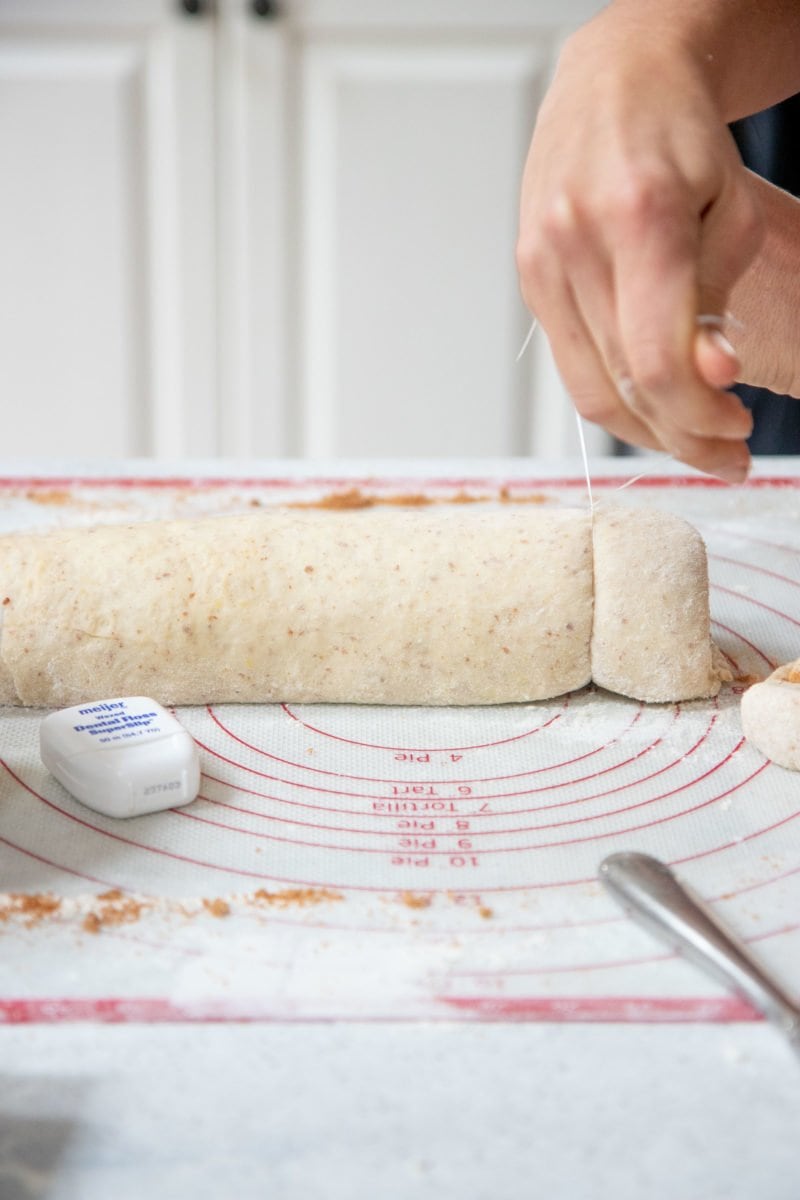
Protip: Make perfect cuts every time!
Want to cut perfect cinnamon rolls? Put down the knife and get a roll of unflavored dental floss! It sounds strange, but this is the smoothest way to cut through the dough log.
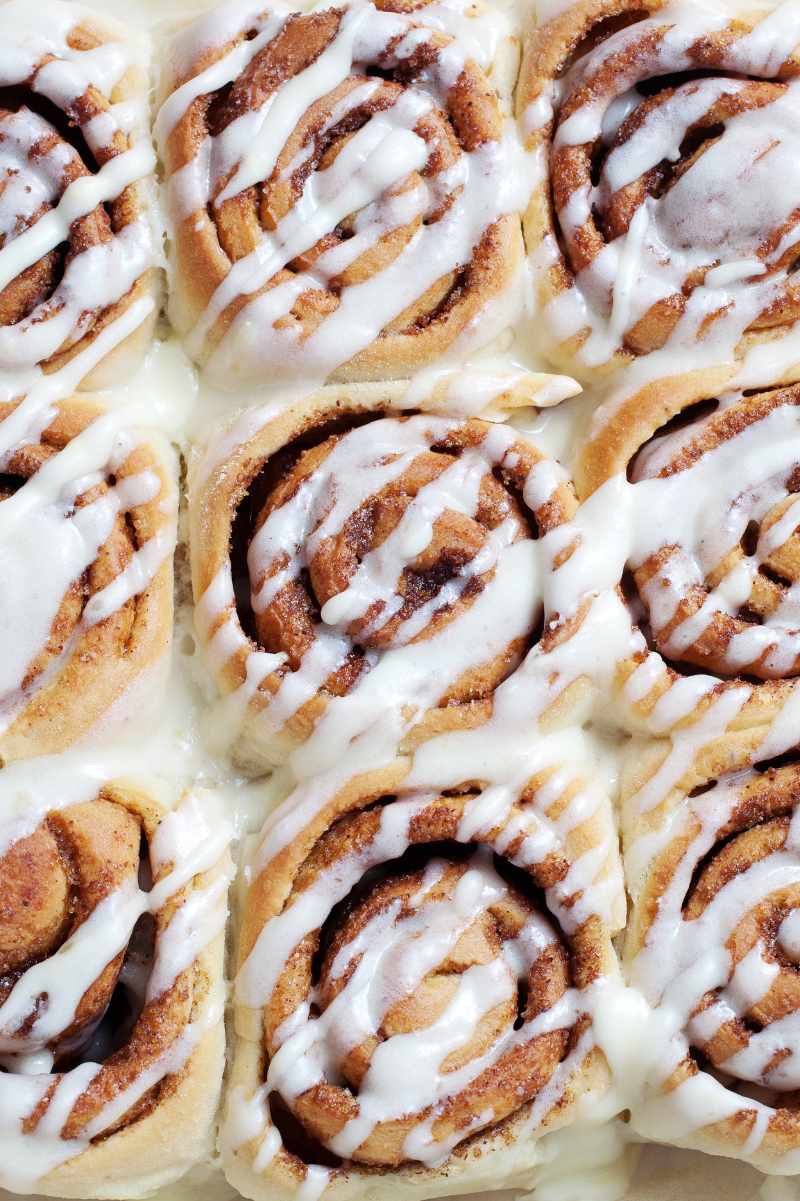
What's the best cinnamon roll icing recipe?
We know most folks use a cream cheese frosting for their cinnamon rolls, but we prefer our super easy-to-mix-up powdered sugar glaze. We've got two stellar cinnamon roll frosting flavors for you! One has a delightfully bright orange flavor, and the other has a rich maple taste. Choose one or both to top your freshly baked cinnamon rolls.
Can I make them dairy-free?
You betcha! We have a wicked good Vegan Cinnamon Roll recipe that is also, of course, completely dairy-free.
How to store homemade cinnamon rolls?
Store leftover cinnamon rolls in an airtight container on the counter for up to three days. Warm them in the microwave for 30 seconds or covered in a 350°F oven for 10 minutes or until warmed through.
How do you freeze cinnamon rolls?
There are two stages where you can freeze the cinnamon rolls: you can freeze them before baking to make them easy to pull out for a quick breakfast. Or you can freeze them once they're baked. Here's how to do both:
How to Freeze Cinnamon Rolls Before Baking:
Prepare the cinnamon rolls completely until they are in the pan, pausing just before the second rise. Securely wrap them in plastic wrap, and if possible, slip the entire pan into a zip-top freezer bag, expelling as much air as possible before sealing. Freeze them flat for up to three months. When it's time to bake, thaw in the fridge overnight or let them sit at room temperature for roughly two hours. Move them to a cozy rising spot, allowing them to puff up for about an hour. Then, follow the baking instructions for a warm and freshly baked batch of delicious cinnamon rolls.
How to Freeze Cinnamon Rolls After Baking:
We prefer to freeze cinnamon rolls individually, so it's easy to portion out exactly what you need. Place each roll onto a parchment or silicone baking mat-covered baking sheet, leaving enough space between each roll so they aren't touching. Stick the entire baking sheet in the freezer until the rolls are frozen solid, about three hours. Then, transfer the rolls into a zip-top freezer bag or other freezer-safe storage container. To reheat, defrost in the fridge overnight or on the counter for an hour, then pop in the microwave for 30 seconds.
Protip: Freeze unfrosted rolls!
The frosting behaves unpredictably in the freezer. It'll still be delicious, but it might look separated. We prefer to freeze unfrosted cinnamon rolls, if possible.
Want more easy holiday breakfast recipes like this one?
- Denver Omelet Breakfast Bake
- Smoked Salmon Eggs Benedict
- White Chocolate Mocha Recipe
- French Toast Breakfast Bake
📖 Recipe
Overnight Cinnamon Rolls
Ingredients
For the Dough
- 4 cups all-purpose flour divided, plus more for kneading and rolling
- ½ cup sugar
- 1 tablespoon active dry yeast or two packets
- 1 teaspoon salt
- 1 cup milk divided
- ⅓ cup butter
- 1 large egg beaten
For the Filling
- 1 cup packed light brown sugar
- 2 tablespoons ground cinnamon
- ½ cup butter very softened, but not melted
For Orange Frosting
- 2 cups powdered sugar
- 2 tablespoons melted butter
- 2 teaspoons vanilla extract
- Zest and juice of one large orange
- 0-2 tablespoons milk to thin as needed
For the Maple Frosting
- 2 cups powdered sugar
- 2 tablespoons melted butter
- ½ teaspoon maple extract/flavoring
- ¼ cup maple syrup
- 0-2 tablespoons milk to thin as needed
Instructions
- To make the dough: In a large bowl, combine 2 cups of the flour with the sugar, yeast, and salt. Set aside.
- In a small saucepan over medium-low heat, combine ½ cup of milk and ⅓ cup of butter. Heat until warm and the butter is melted. Remove from heat and add in the remaining ½ cup of milk.
- Pour the melted butter mixture into the flour mixture, add the egg, and stir until well combined (it should be on the wet side). Stir in an additional 1 cup of the flour.
- Turn out the dough onto a floured surface, and knead in the additional 1 cup of flour. Continue kneading until the dough is very soft and pliable, about five minutes-depending on humidity that day, you might need to add more flour to keep the dough from being too sticky.
- Transfer the dough to a clean, well-oiled bowl, cover, and let rise in a warm spot until doubled in size, about one hour.
- Meanwhile, grease one 9 x 13-inch baking pan, two 8-inch cake pans, or two 10-inch cast iron skillets, set aside.
- In a small bowl, begin making the filling by combining the brown sugar and cinnamon, and set aside.
- On a floured surface, roll out the dough into a rectangle approximately 20" x 16" in size. Spread with the butter for the filling, then sprinkle liberally with the brown sugar and cinnamon mixture.
- Starting with the long end, roll the dough up lengthwise, pinching the seam closed when finished. Use your hands to gently squeeze the tube to even it out, seal it together, and stretch it out a bit.
- Using a bit of unflavored dental floss or a very sharp knife, cut off both ragged ends (you can bake these, but they just aren't as pretty!), and slice the remaining roll into 12 even slices about 1" to 1 ½" thick each. Arrange in prepared baking dish(es).
- Cover with plastic wrap sprayed with cooking spray, then place in the fridge overnight (or up to two days). The rolls will rise slowly in the fridge.
- When it's time to bake, remove the rolls an hour before and place them in a warm spot in your kitchen to continue rising until the rolls are nice and puffy. We like to use the oven off but with the oven light on.
- When the rising time is up, preheat oven to 350°F. Bake rolls, uncovered, for about 20 minutes, or until the tops are golden brown.
- While the rolls are in the oven, make the frosting of your choice by combining all ingredients with a hand mixer or whisk until very smooth and creamy. Cover and set aside.
- Remove the rolls from the oven, let cool for about five minutes, and then slather on the frosting liberally. Serve immediately.
Notes
- Steps 1, 3, and 4 can be done in a stand mixer fitted with a dough hook if you prefer.
Like many families, we make cinnamon rolls every year for Christmas, and this recipe has never disappointed! I love that you can make it all ahead and then just pop them in the oven on Christmas morning. I hope you enjoy them as much as we do!
I love making cinnamon rolls so I need to make these sometime. The icing looks great, do you think I could use regular maple syrup instead of flavoring?
Sure, probably so! But then I'd cut back on how much milk I'd add. You don't want it to be too thin.
"Bonus points for rainbows," I love the way you think! : )