
How to Make Easy Reusable Produce Bags
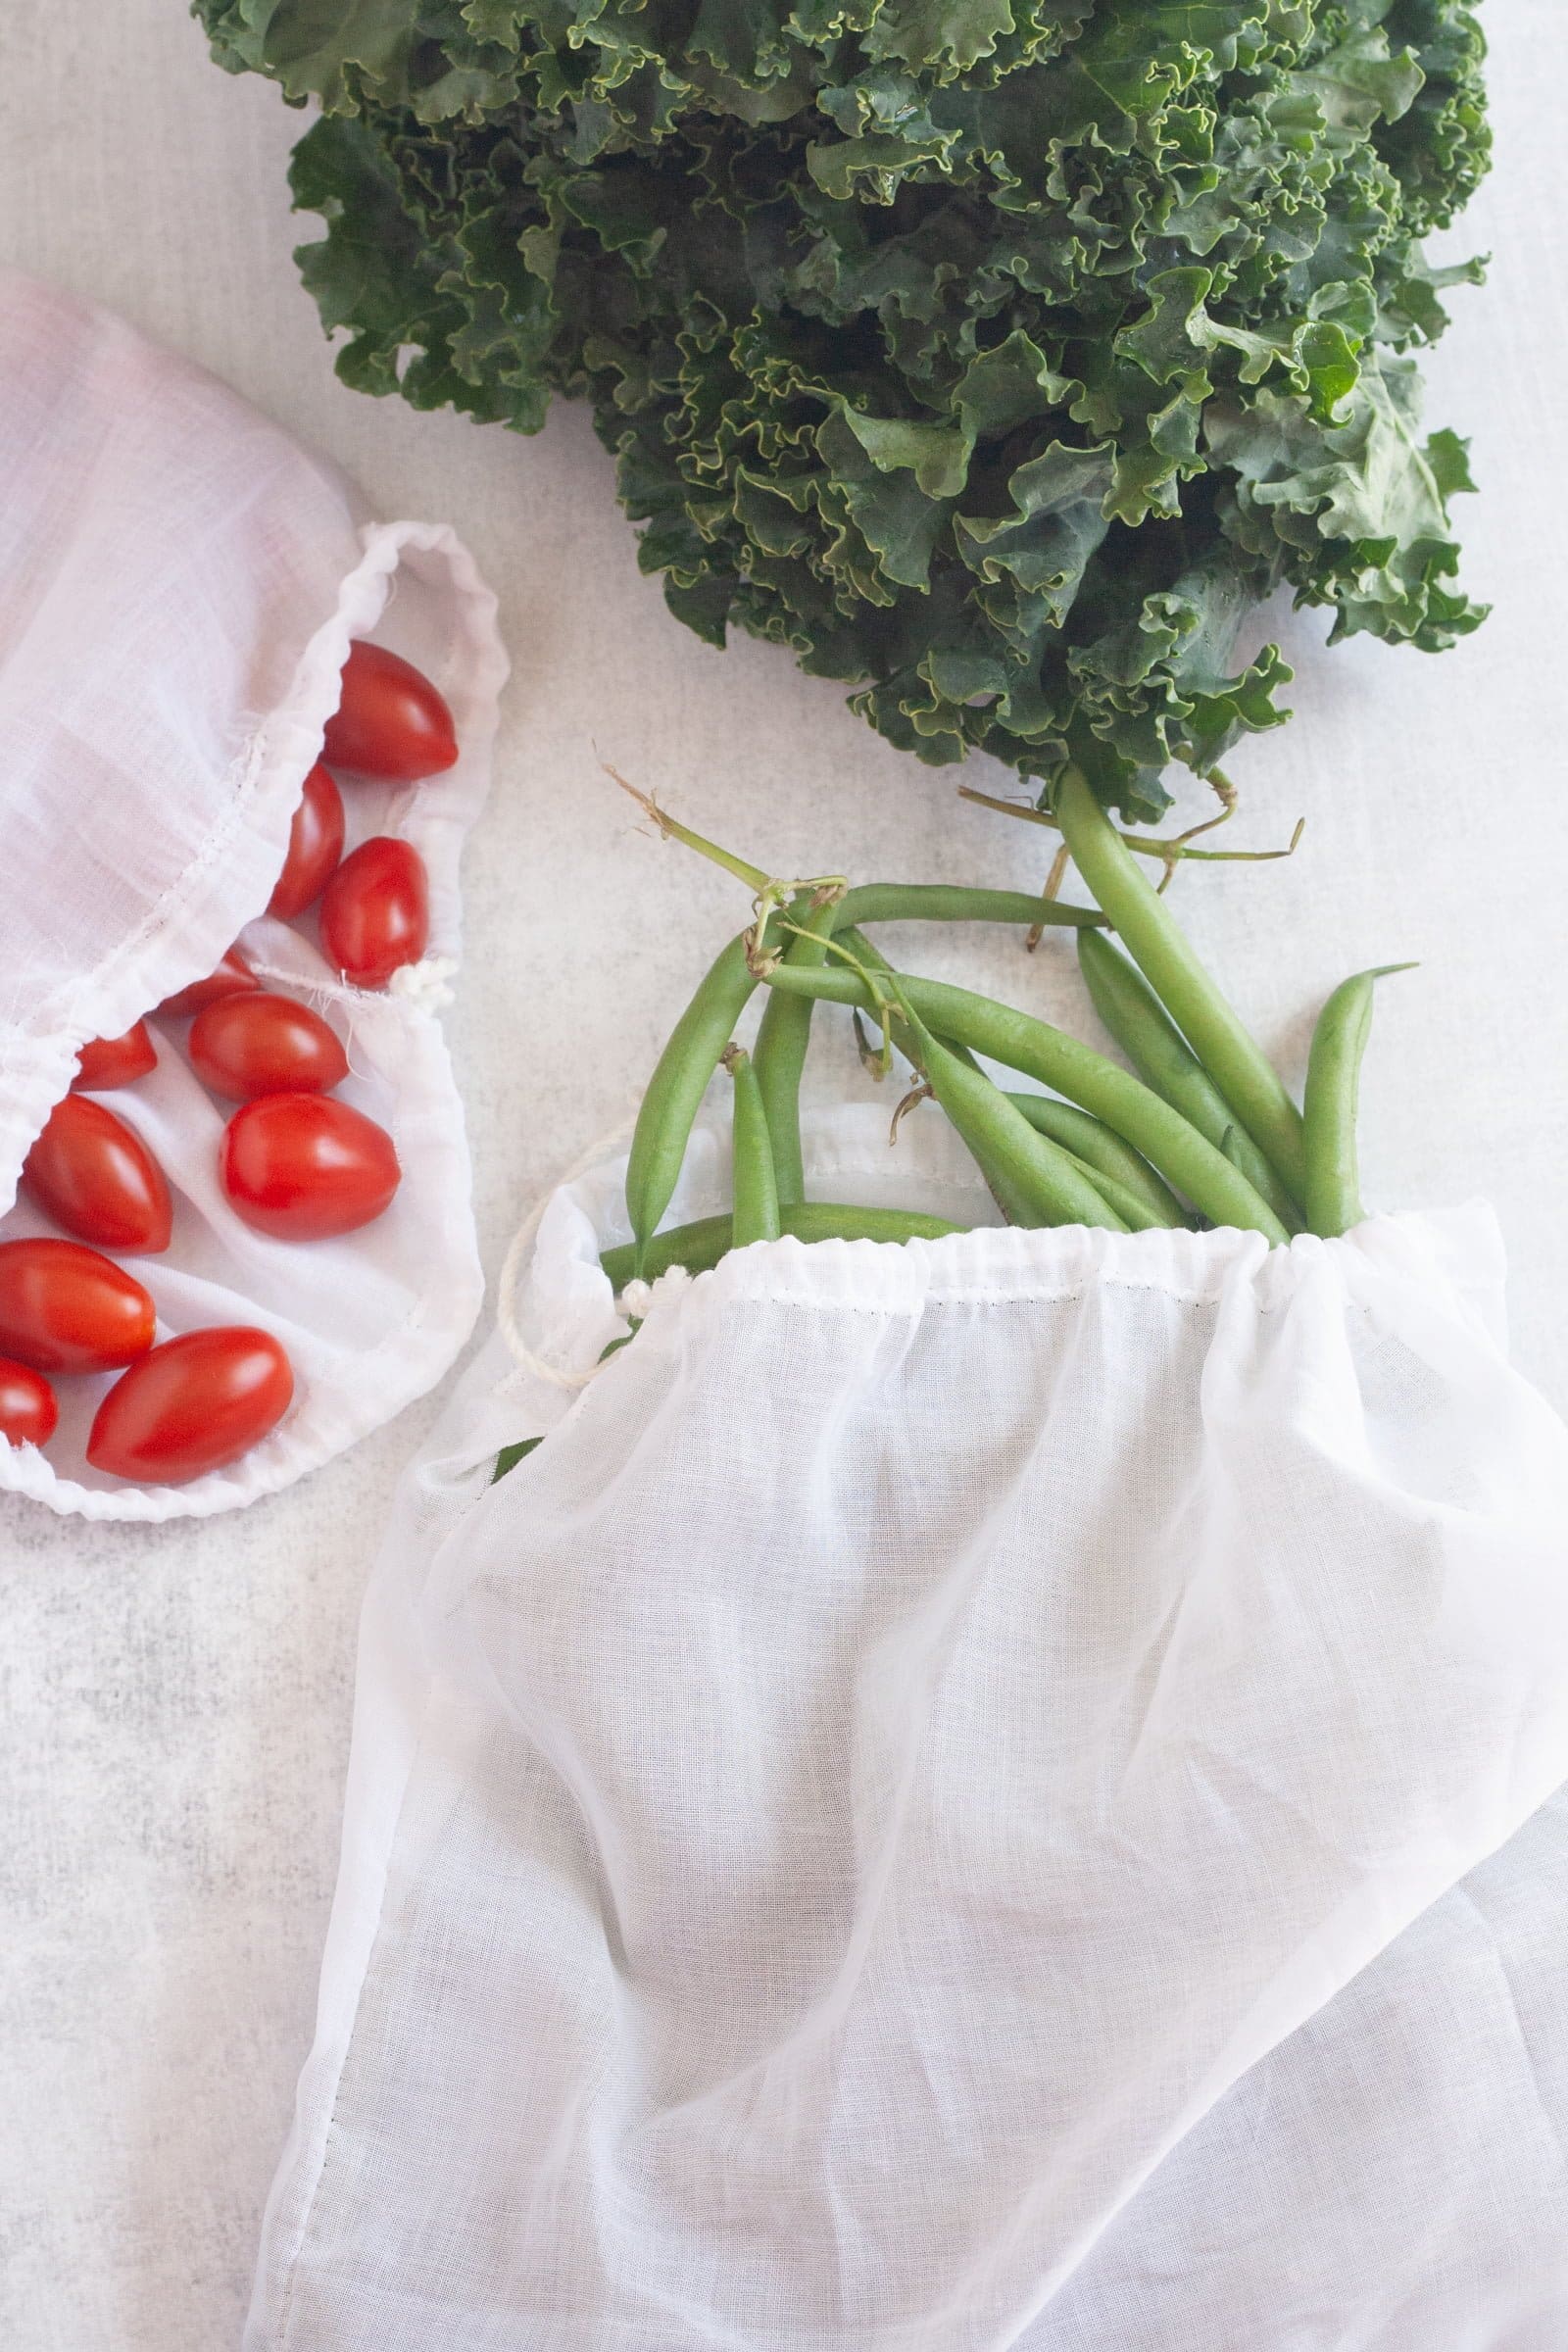

Confession time: I've been totally slacking on my efforts to reduce the amount of plastic I use on a regular basis. And one of the major arenas that could stand to see some improvement? Our groceries. We have plenty of fabric grocery bags to bring the whole haul home in, but oof, does it feel like we've been using way too many of those flimsy plastic produce bags.
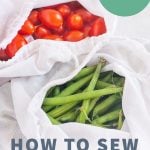
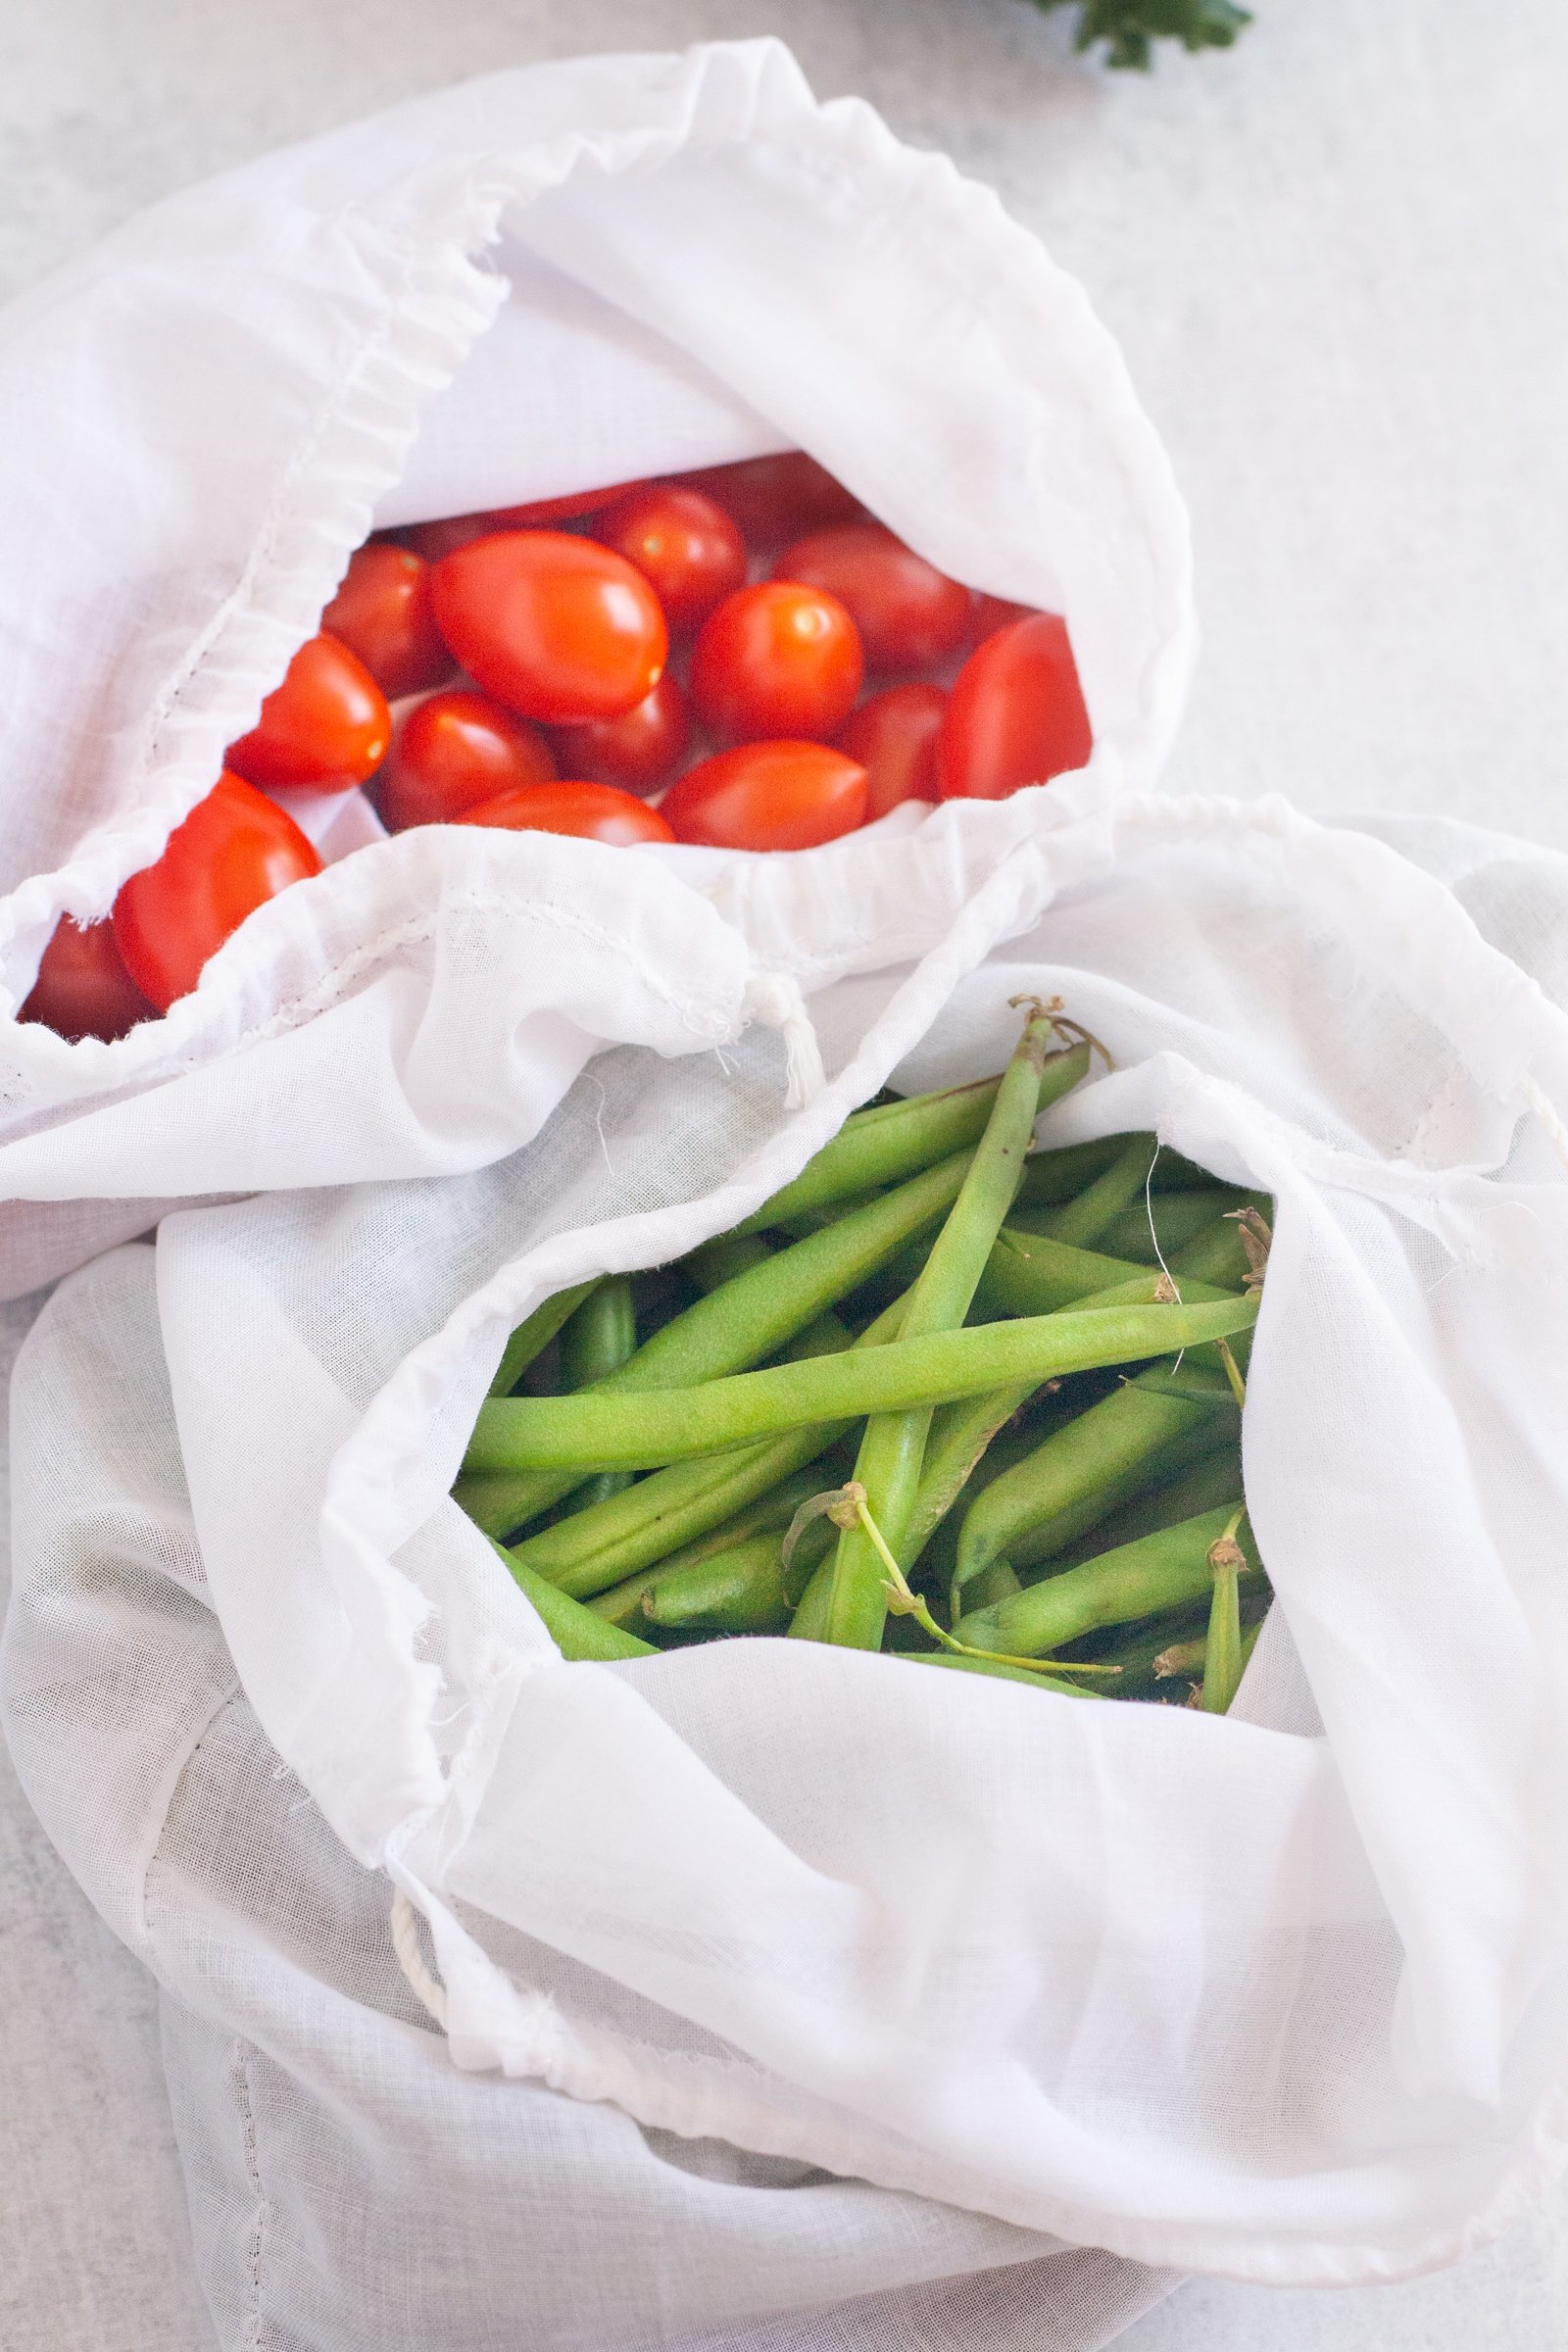
Enter reusable produce bags. Not only do they help you cut down on your plastic consumption, but they are also super easy and super cheap to make. With about $5 of materials and an hour or so, you can easily whip up a good handful of these bags. Plus, they are a great way to store your garden harvests or farmers' market hauls. Let me show you how to make them.
A Note on Fabric:
I chose to use an organic cotton voile. You can really use nearly any fabric you have on hand (I know lots of people use thrifted curtains or undyed cotton muslin), but here's why I went with the voile:
- Super lightweight, so the bags won't contribute much to the weight of the produce when I'm checking out at the store.
- Somewhat sheer, so I can remember what's inside-out of sight, out of mind has burned me too many times with forgotten produce in the back of the fridge.
- Undyed natural fabric, so I can feel safe having it in contact with our food.
You can get organic cotton voile with Amazon Prime shipping, but the minimum is 1-2 yards, depending on the seller-that's a lot of bags! If that's too much fabric for you, you can also buy it by the half yard here.
Okay, let's get started!
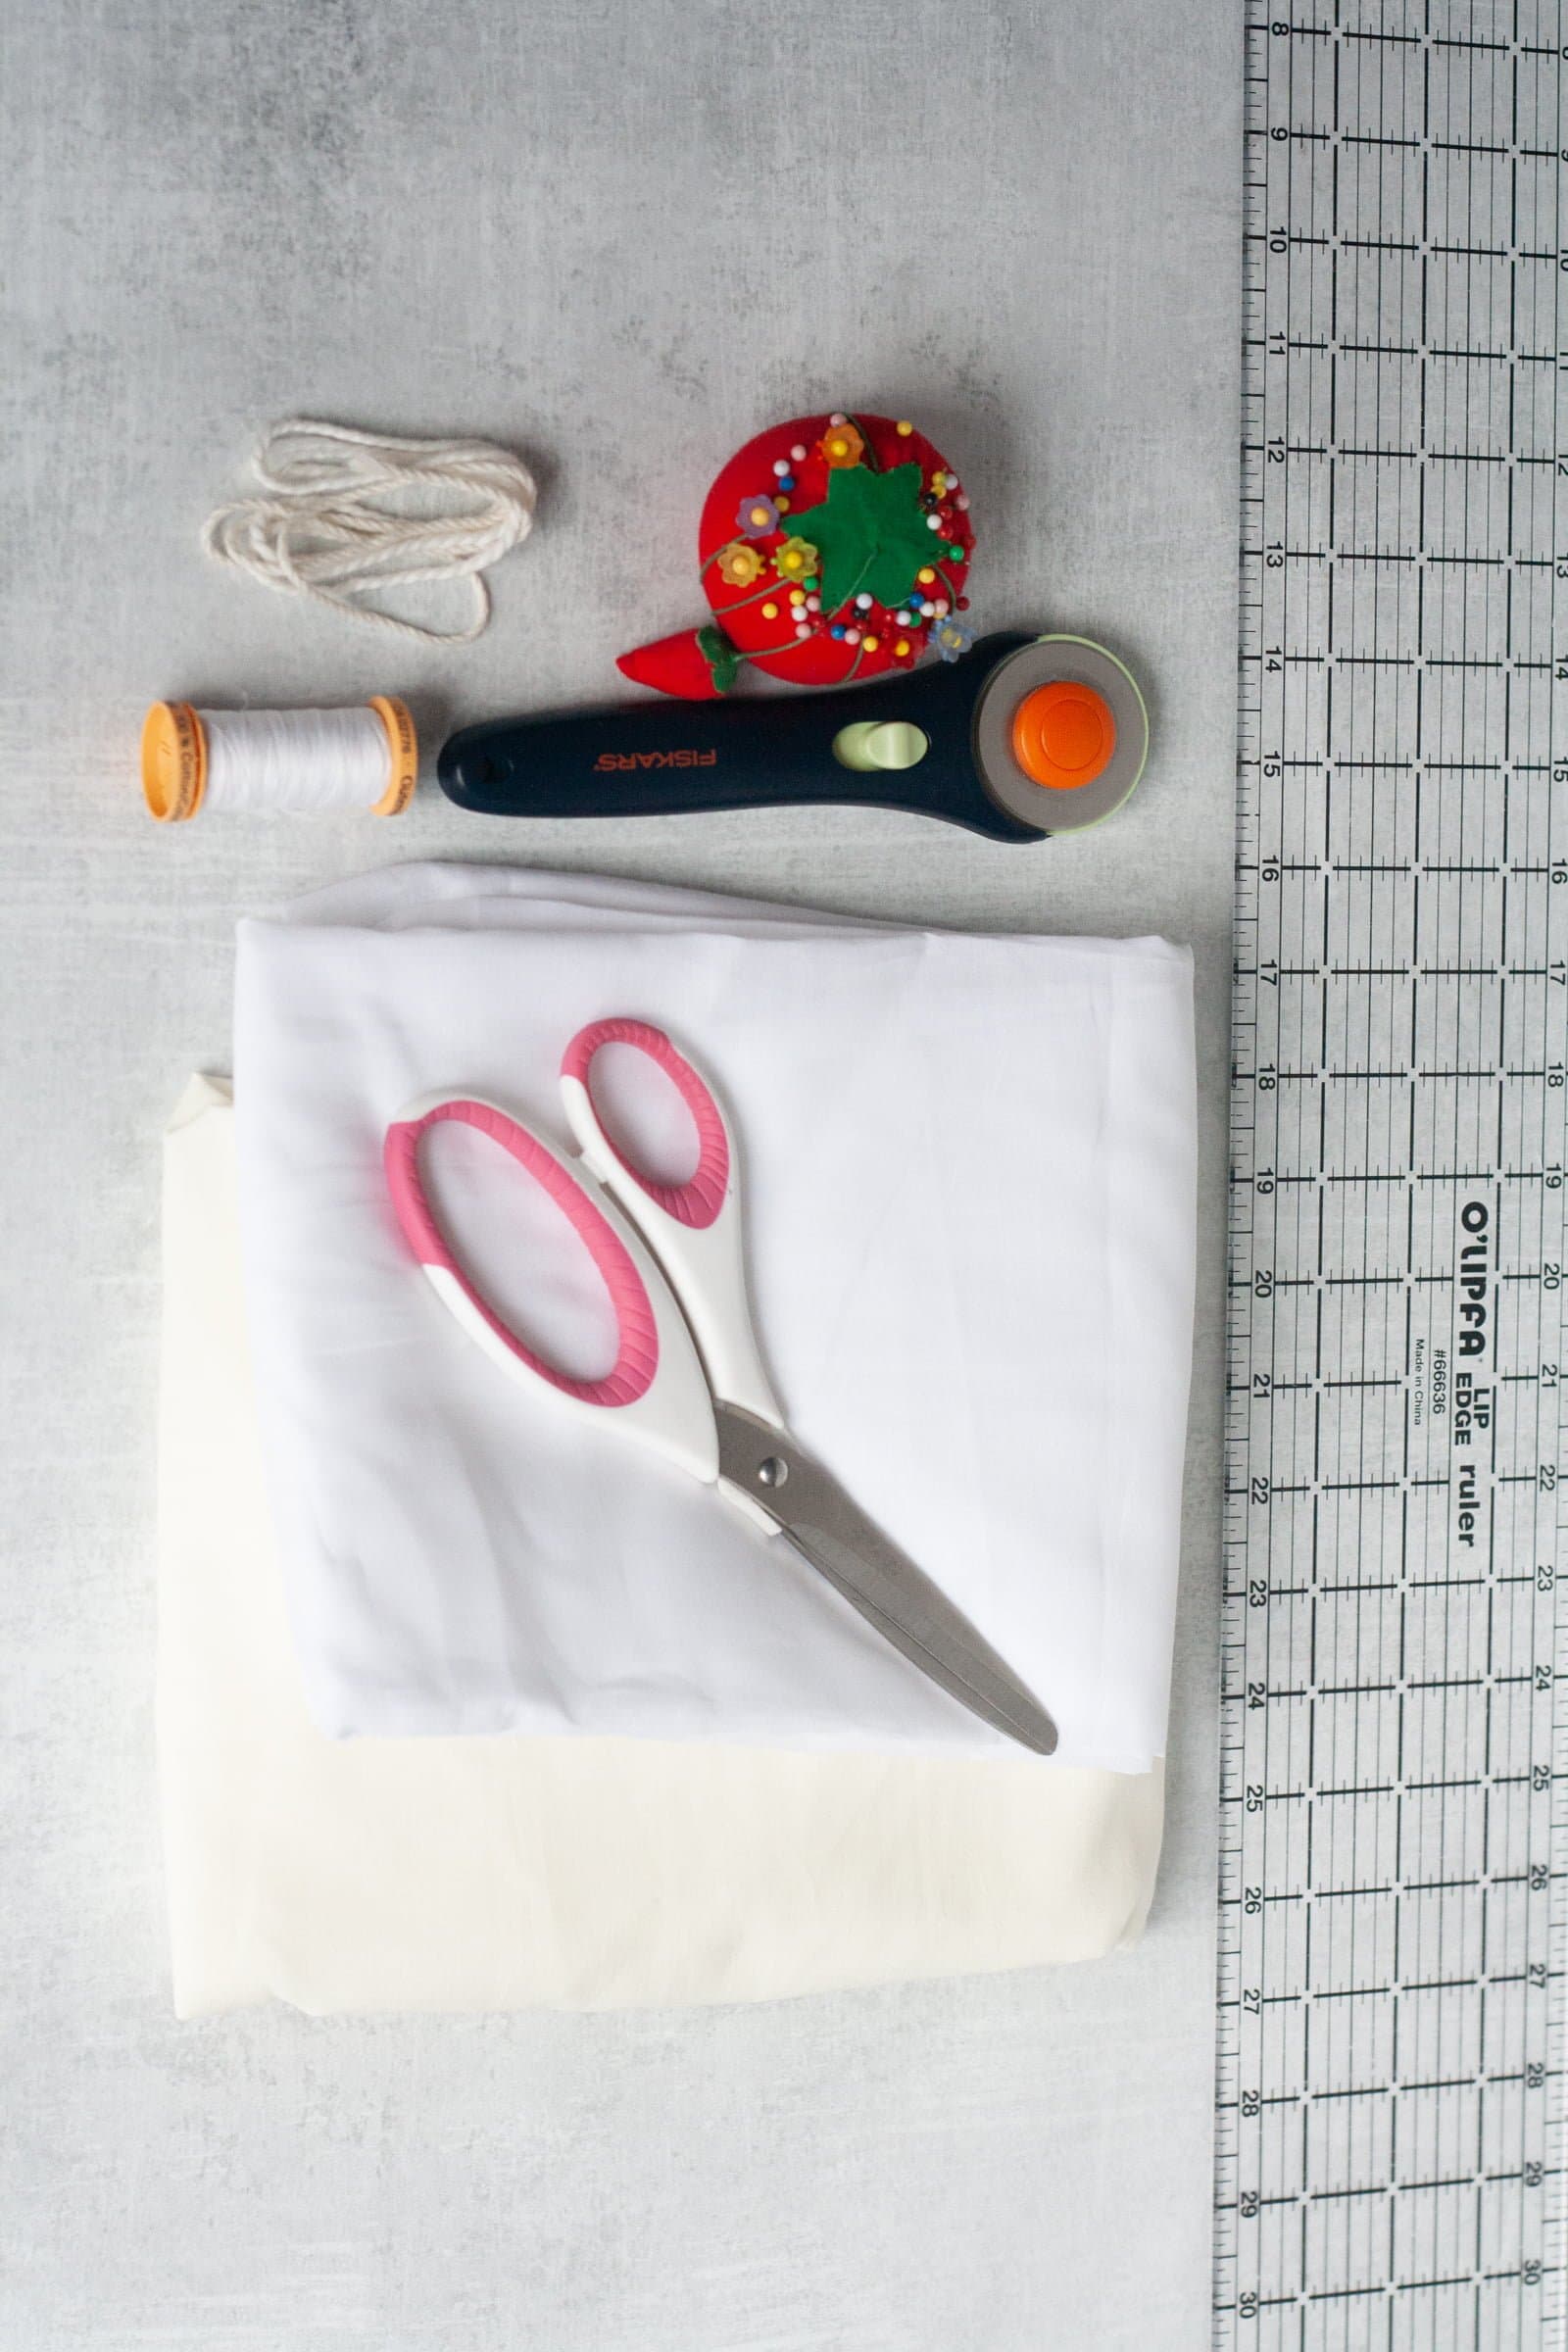
Materials for Reusable Produce Bags
- Organic cotton voile, or other lightweight fabric
- Cording for the drawstring
- Coordinating thread
- Ruler
- Scissors
- Sewing machine (though if you have a serger, this would be a good use for it)
- Straight pins
- Safety pin
- Iron and ironing board (optional)
- Rotary cutter and cutting mat (optional, but makes this a faster project)
- Sewing gauge (optional)
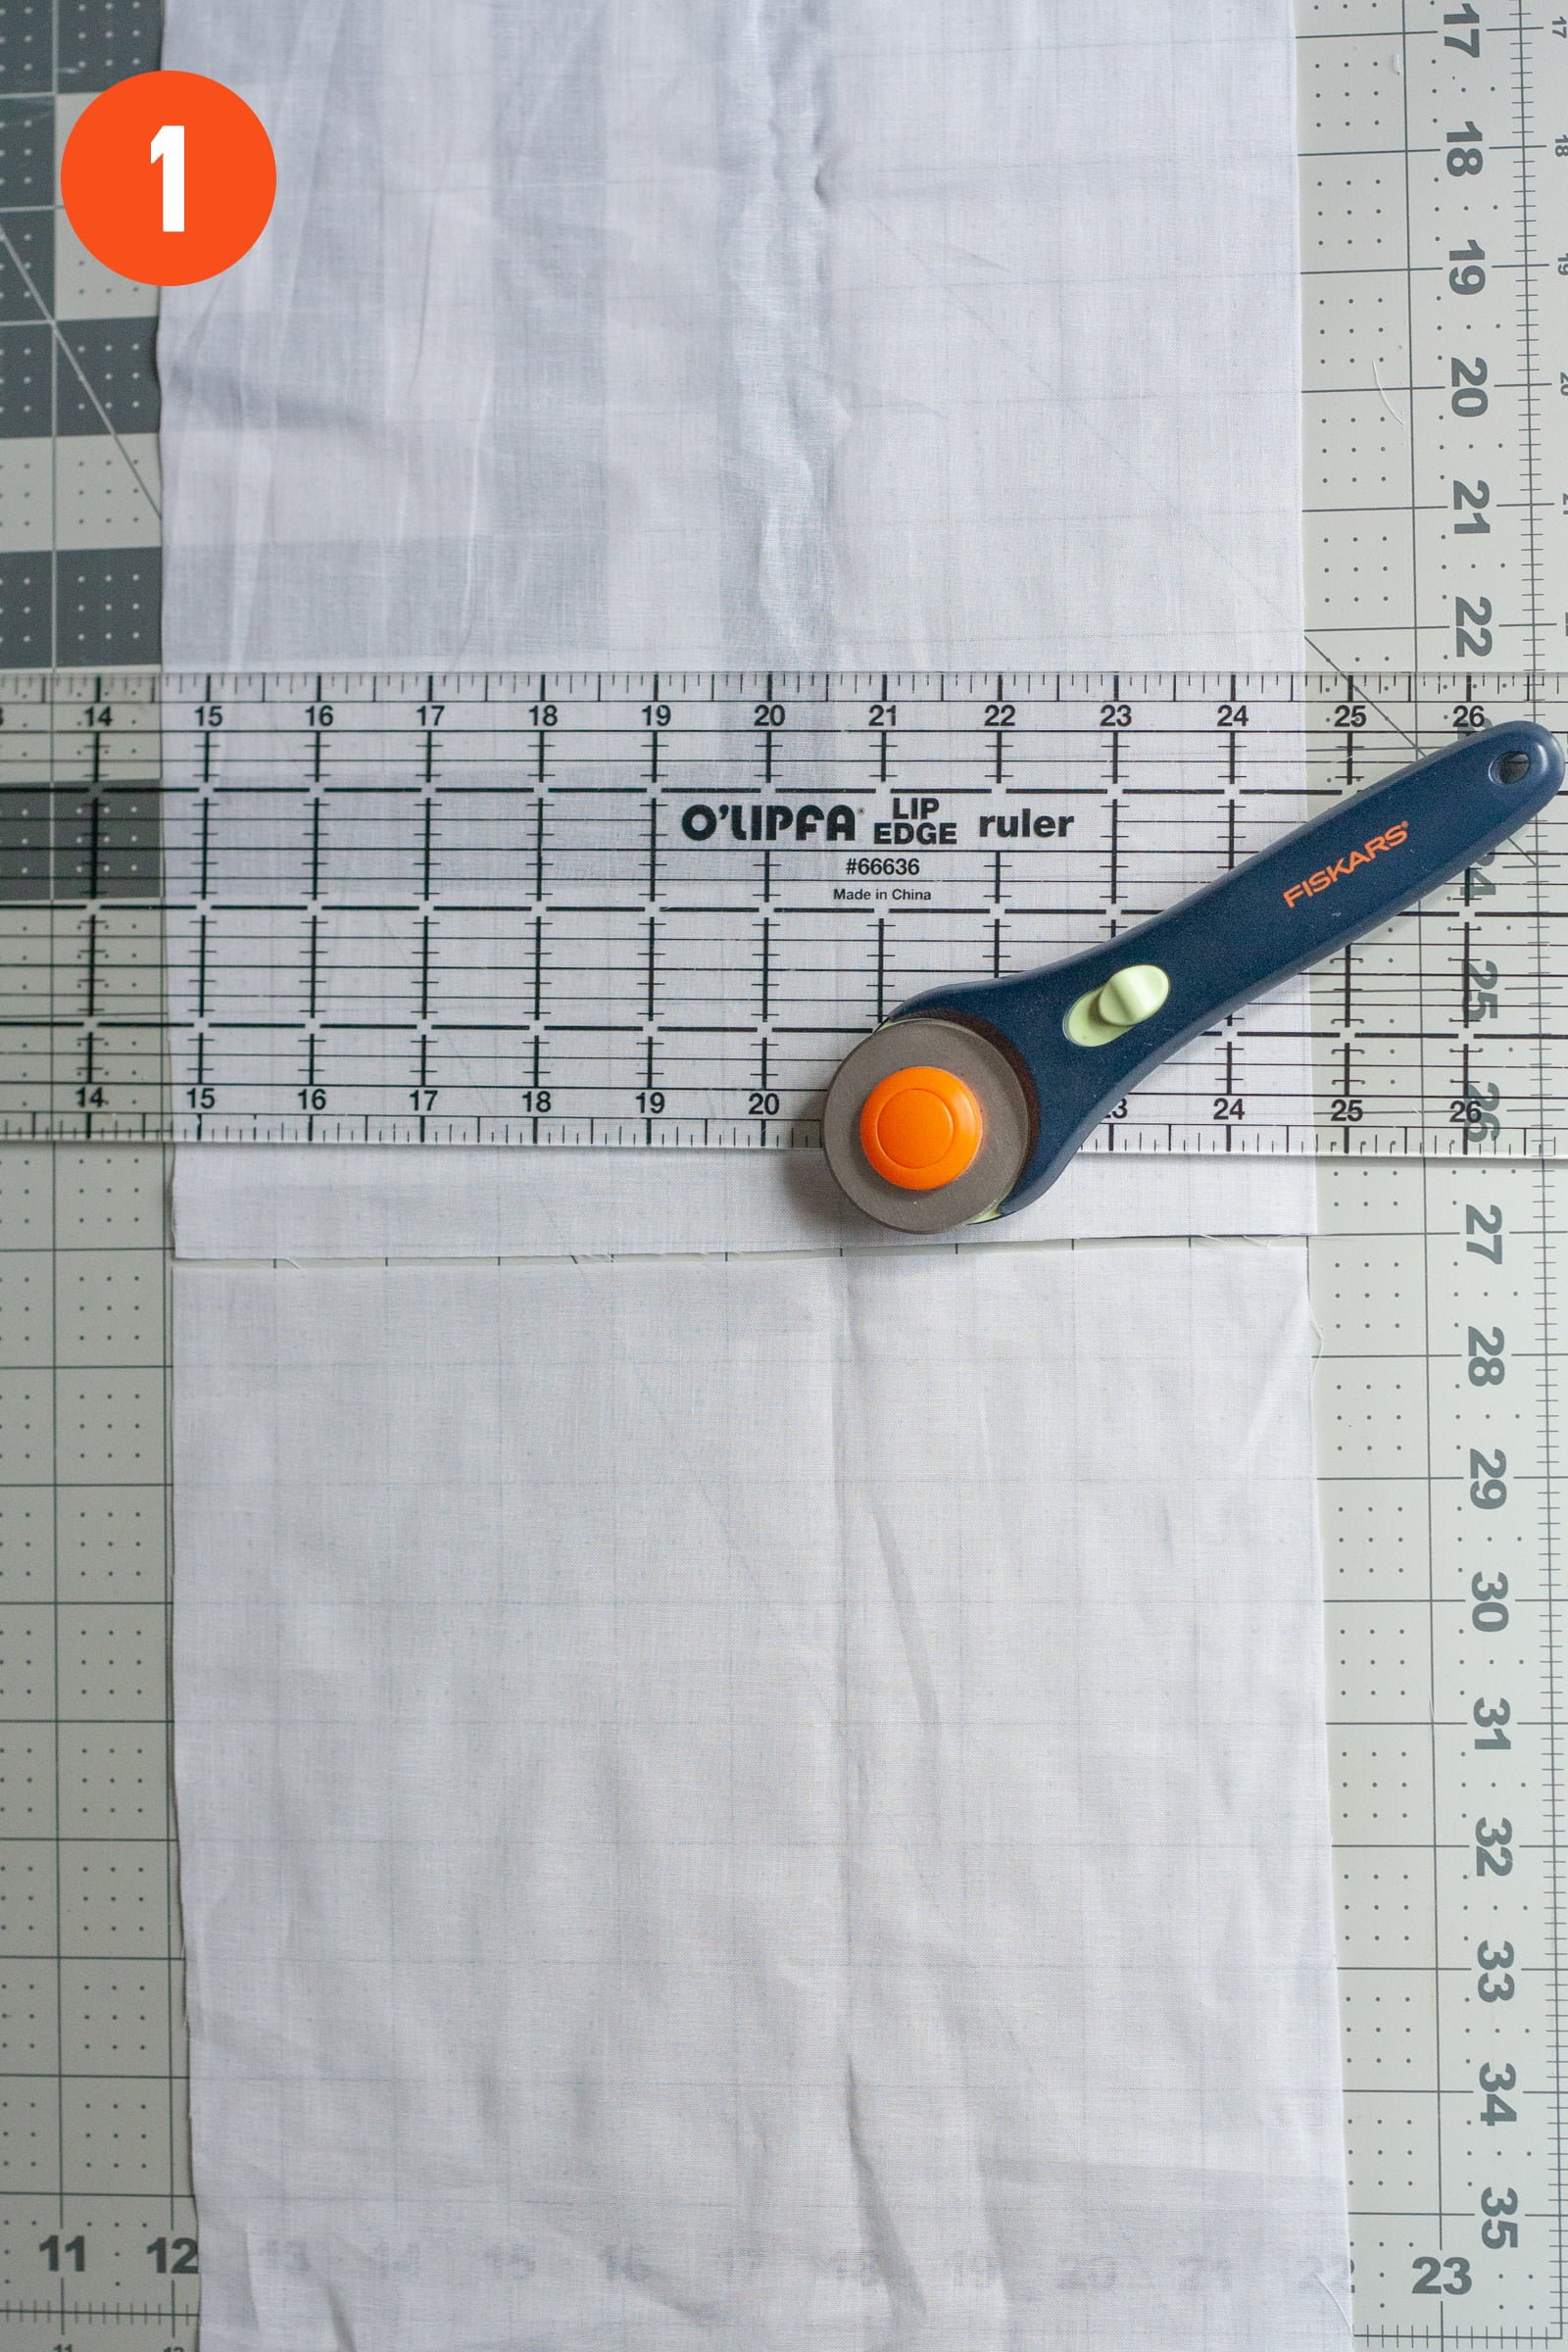
Step 1: Cut the Fabric
You'll notice that I made these reusable produce bags in a few different sizes. Most of them are in the neighborhood of 10"x10" - this is a good size for things like tomatoes, green beans, peas, and herbs. But I also made a few larger bags, about 12"x18", to fit bigger things like leafy greens and carrots.
Cut one rectangle of fabric that meets this criteria:
Finished Width + ½" by Double the Finished Length + 2"
So for the 10"x10" bags, my rectangle was about 10.5" x 22" and for the bigger bags, the rectangle was 12.5" x 38". It doesn't need to be perfect-just an even rectangle!
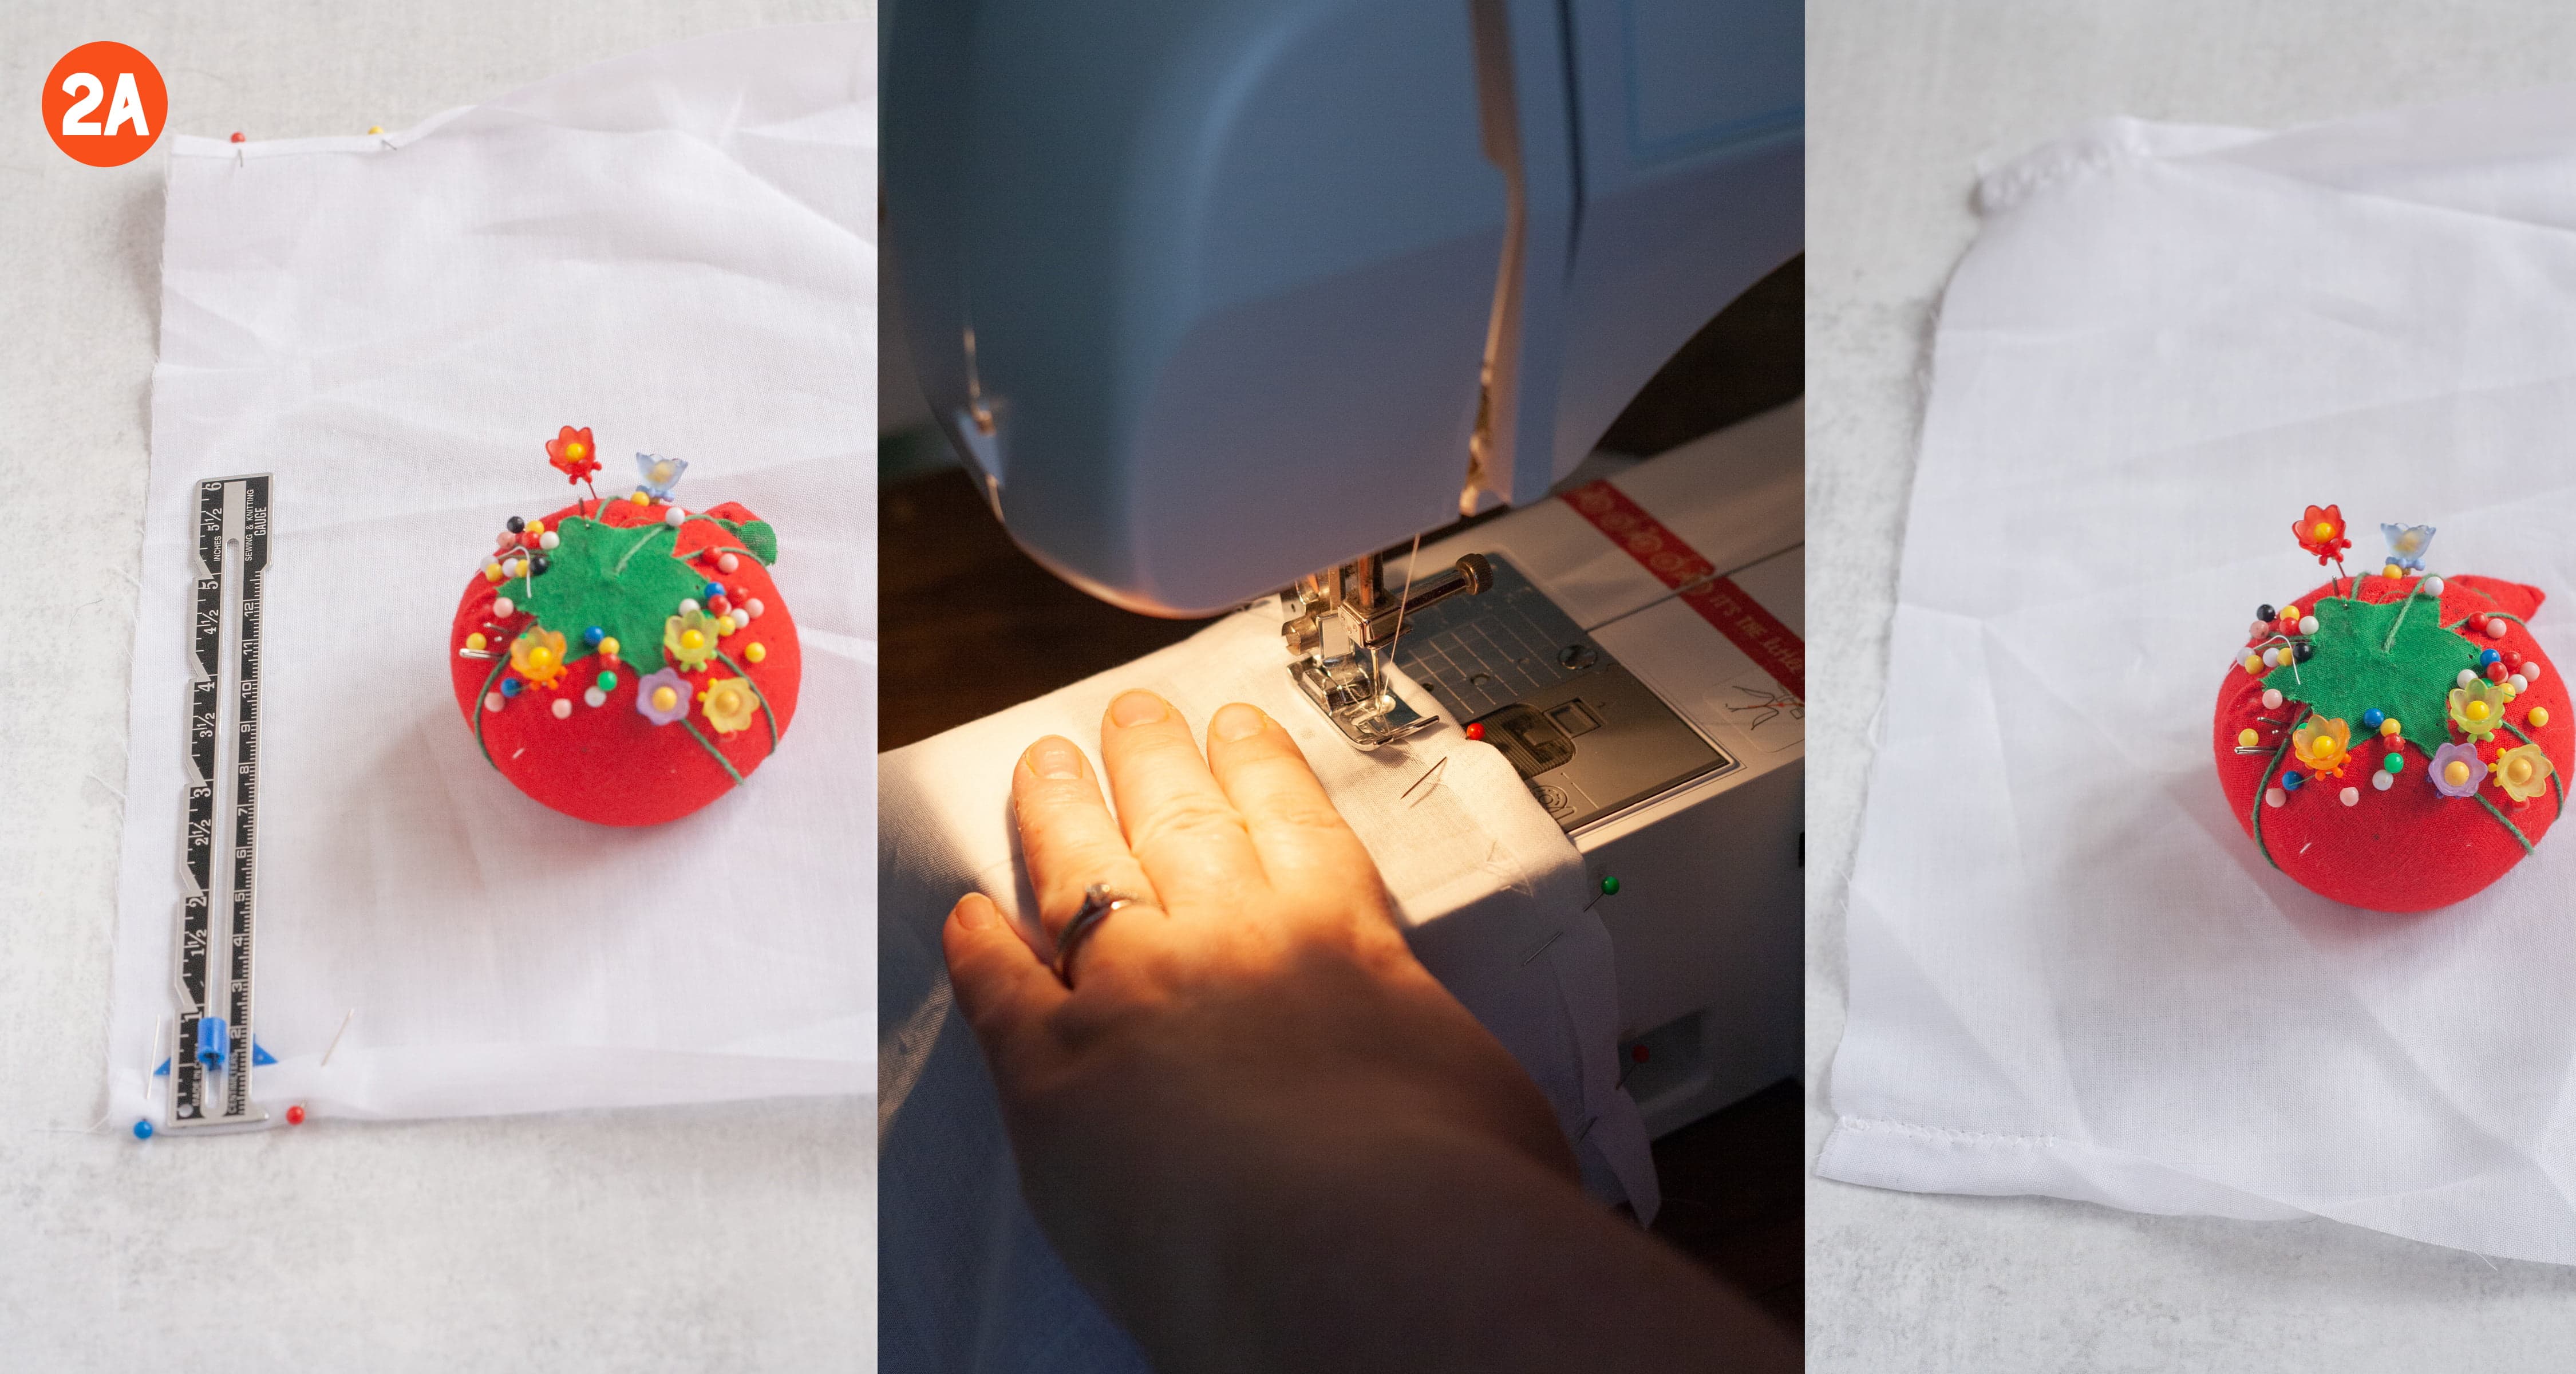
Step 2: Make the Drawstring Casing
On each long edge, turn both ends inwards to create a ½" fold. Use a zigzag stitch to sew down this fold 1 ½" from both ends- this will keep the ends of your casing from fraying (2a).

Now fold each short edge in ½" and pin. Zigzag stitch the length of each short edge to create a channel for the drawstring to go through (2b).
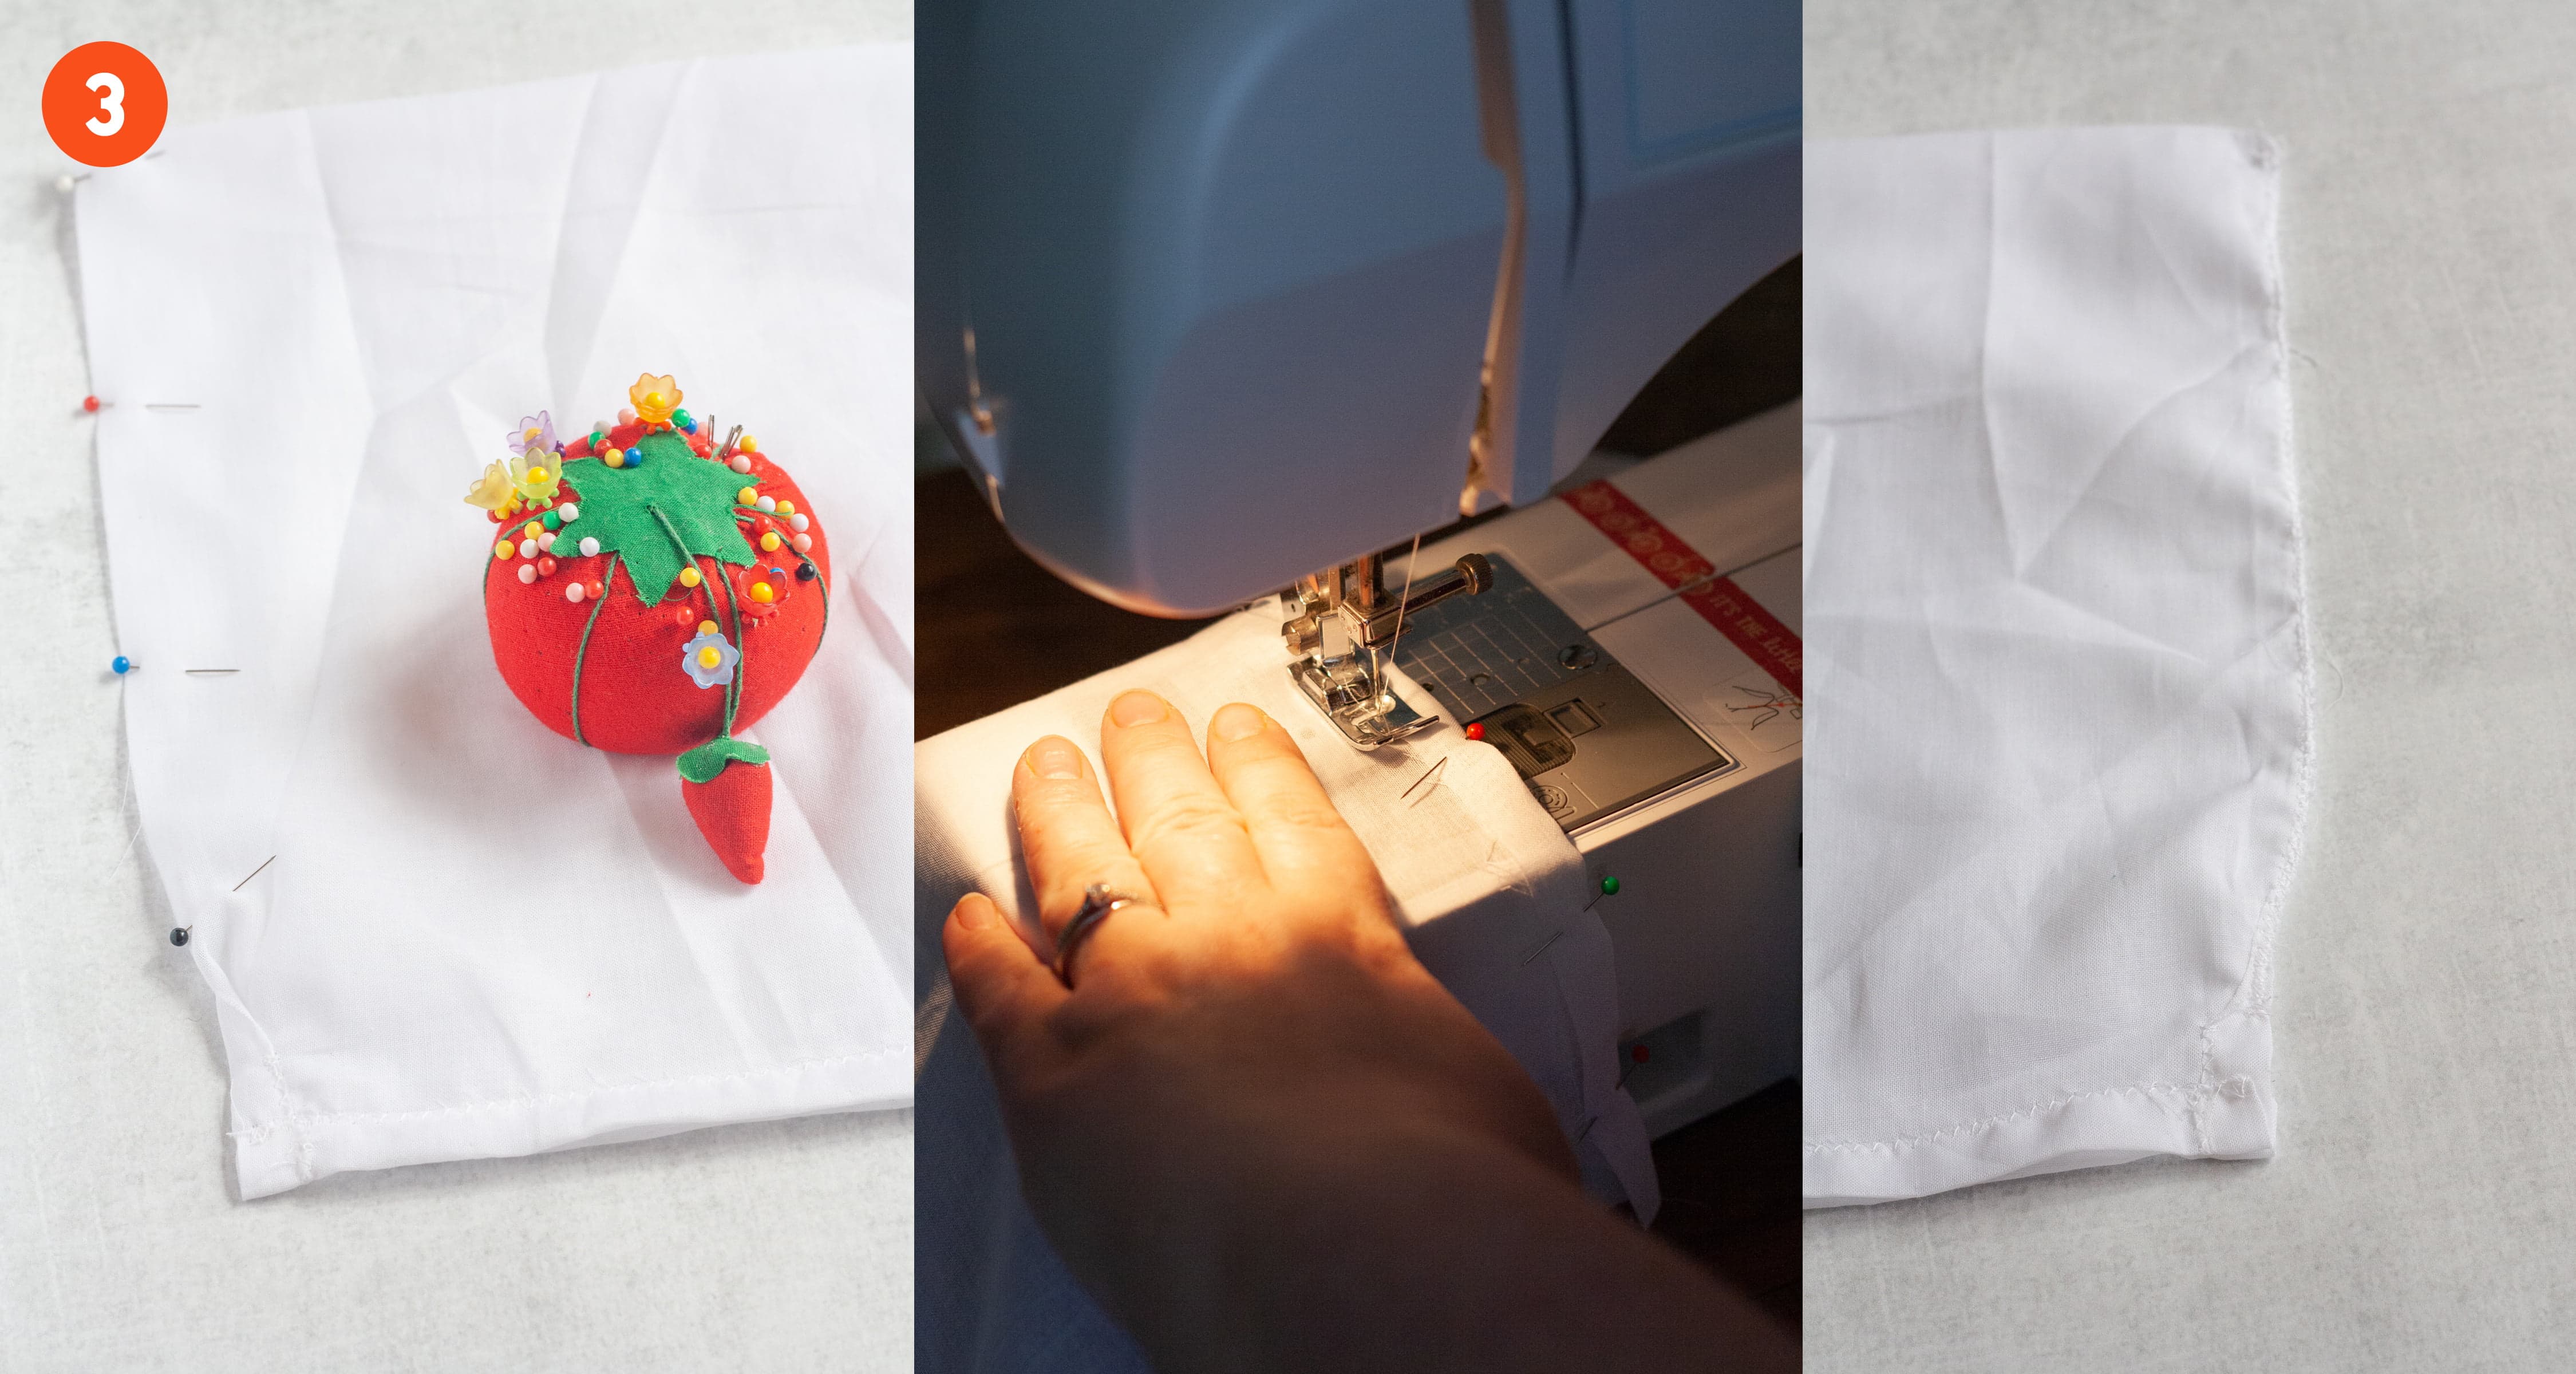
Step 3: Sew It All Together
Fold the bag in half, right sides together-so your drawstring channel seam should be on the outside right now. Pin the edges together.
Starting from just below the casing and backstitching a few stitches, use a zigzag stitch to sew all the way down the sides of the bag with a ¼" seam allowance, ending at the fold. If you are using something thin like voile, the fabric may get bunched into the seams a bit-that's totally fine!
Because voile is so lightweight, I chose to reinforce the stitching down the sides by sewing over the seams a second time. You can skip this if you want, but it only takes an extra minute or two.

Step 4: Add the Drawstring
You're in the home stretch now! Turn your bag right side out. Cut your drawstring to be twice the width of the bag, plus a few extra inches. Depending on the thickness of your cord, either tie it around one arm of the safety pin, or poke through it with the safety pin.
Start feeding the safety pin through one half of the drawstring casing, bunching up the top of the bag as you do so. Pull all the way through, then feed back through the other side. When the drawstring is completely threaded around the bag, remove the safety pin and tie off each end.
Note: After several uses, we pulled the drawstring a little too enthusiastically, and the knot ended up inside the casing. It was an easy fix-I just shimmied it back out. But if you want to avoid that, I'd recommend tying the two ends to each other to create one big drawstring loop. Alternatively, you could try putting a stitch or two at each end of the casing so that the drawstring can still move freely, but the opening is no longer big enough for the knot to fit through.
That's it-your produce bags are ready for action!
But one last thing! These reusable produce bags are bound to get dirty, and will need to be washed from time to time. If you used cotton voile, you probably noticed that the fabric is super lightweight and frays easily (that's why we reinforced the side seams!). So you'll want to be gentle in your washing-turn the bags inside out, and then either hand wash them or put them into a mesh laundry bag to machine wash.
Now go forth, and start reducing your plastic consumption, one bag of produce at a time.
Thanks for the nice post. I would like to try your tips in my home. And will reduce plastic usage.