
How to Make Buttery Movie Theater Popcorn at Home


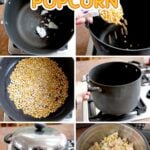


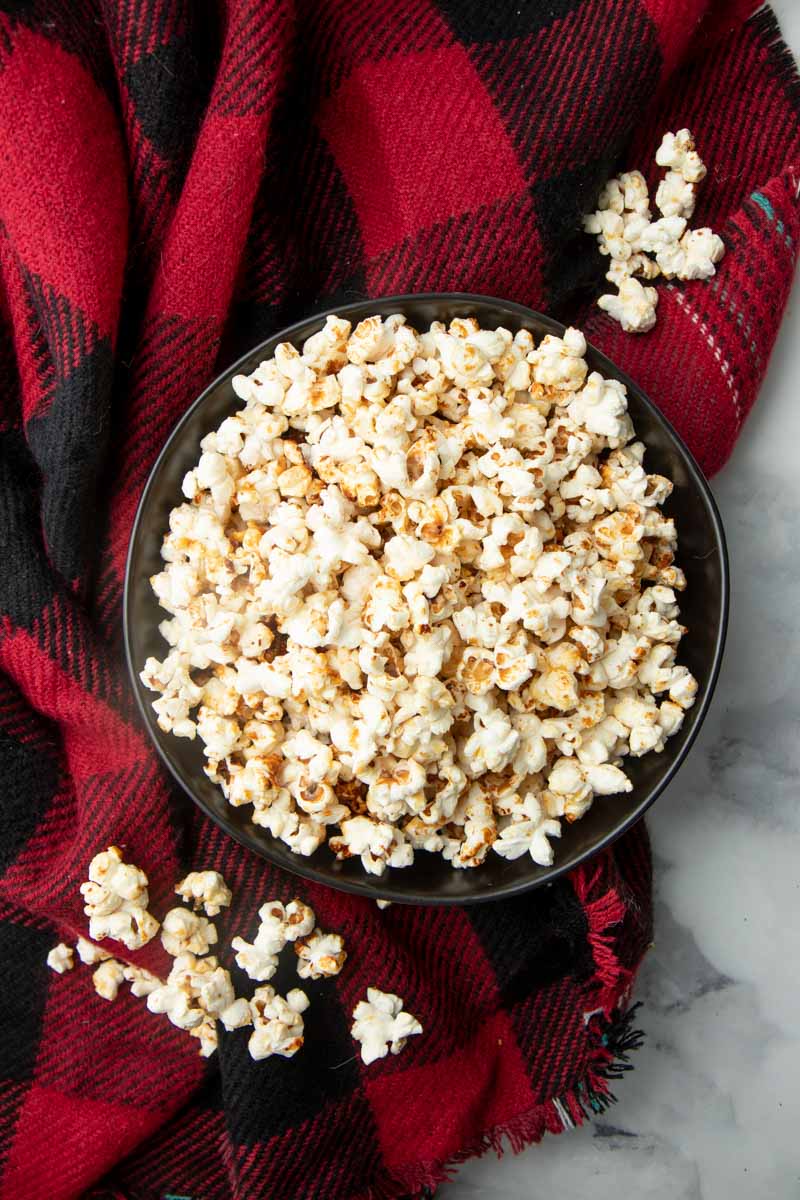
Movie theater popcorn at home comes together in just 7 minutes on the stovetop with staples you already have in your pantry. The secret ingredients: coconut oil for that classic concession-stand flavor and clarified butter so every kernel stays crunchy instead of soggy.

FEATURED COMMENT
"Finally! I could never put my finger on why my popcorn never really came out right. The coconut oil was the key. The tips on the clarified butter and venting the popcorn was the cherry on top. My popcorn finally tasted as good as.....no make that better than...movie theater popcorn. Thank you so much."
- Michelle
Recipe at a glance
Why I Love This Recipe
After decades of eating popcorn everywhere from movie theaters to college dorm rooms, this is the only method I make anymore.
I am a bonafide, certified, card-carrying popcorn lover, and I have been since I was a kid, when my parents would hand me a little red plastic cup of crunchy popcorn to enjoy while we snuggled up to watch movies almost every night. That love carried me through buckets of movie theater popcorn on date nights as a teenager, shared bags of microwave popcorn with my dorm mates in college, and finally into my own kitchen with my own family, where I've absolutely perfected the best method for buttery, crunchy, salty movie theater-style popcorn right at home.
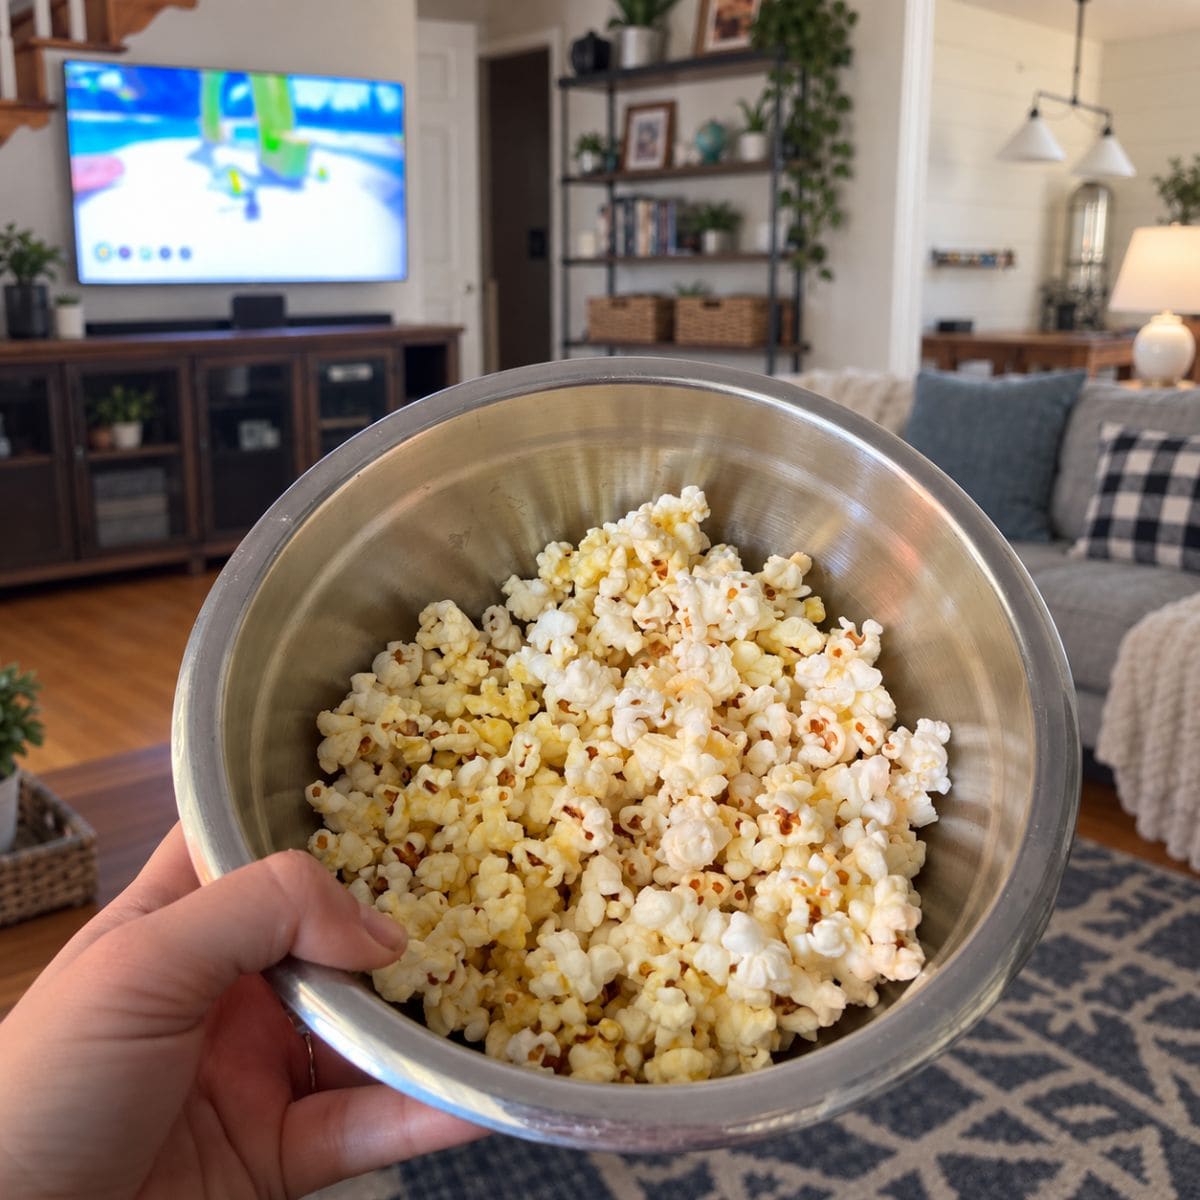
Here's why I adore this recipe:
- A lifetime in the making. I've literally been tweaking this method for decades to get it down right using "normal" ingredients (no need to special order Flavocol, popcorn salt, or special popcorn oil). It tastes like movie theater popcorn. It smells like movie theater popcorn. It is perfection.
- Cheaper than the box stuff. Stovetop popcorn is way more affordable than microwave bags. For the cost of one box of microwave popcorn, you get about four times as much popping corn.
- You know what's in it. Four ingredients: coconut oil, popcorn, butter, and salt. Exactly what you need to make it taste great and nothing more.
- Ready for flavoring. It's amazing as is, but it's also a great base for my homemade popcorn seasoning recipes.
- Super easy. My kiddo learned how to make this as soon as she learned how to operate a stove safely. It's so easy once you get my tricks.
Bottom line: this is the popcorn I make when I want the real thing, not a compromise, not a substitute. Grab your pot and let's get popping.
Ingredients
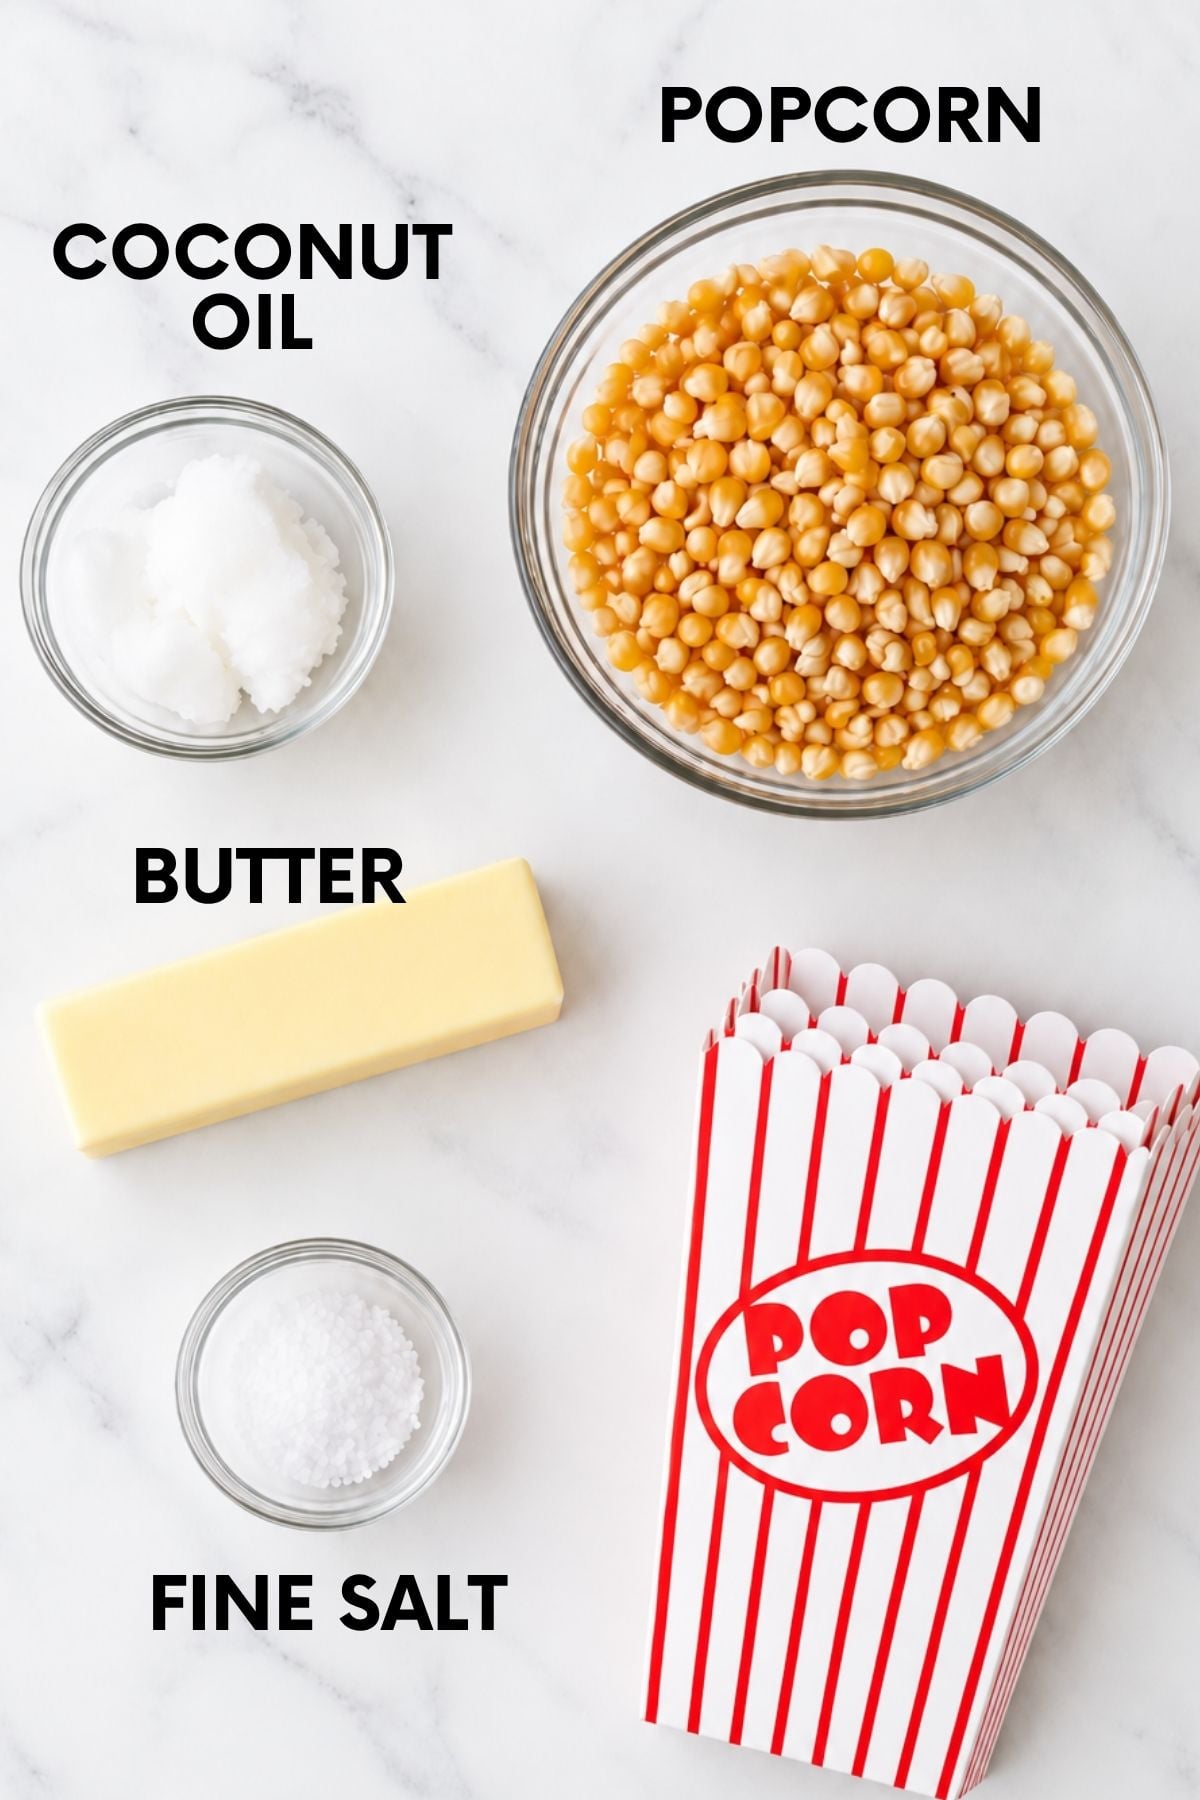
- Popcorn kernels. Any store-bought popcorn kernels will pop up a satisfying bowl, but if you're after those huge, fluffy "mushroom" pieces instead of the standard butterfly shape, you need kernels bred for it, look for bags labeled "mushroom popcorn." I've had good luck with Amish Country mushroom popcorn and their extra-large caramel-type kernels, both pop up big, fluffy pieces consistently for me.
- Coconut oil. I know coconut-flavored popcorn doesn't sound like the path to movie theater deliciousness, but I promise it is. Once you smell it popping in the coconut oil, you'll be transported straight back to your favorite movie experience. Look for virgin (unrefined) coconut oil for the most authentic flavor, that's what I use myself, usually just the giant tub from Costco. If you loathe coconut flavor, refined coconut oil works too, though I'd argue it loses some of the movie theater magic. There's also butter-flavored coconut oil if you want an extra layer of buttery flavor, but it's not necessary.
- Butter or ghee. We gotta make this popcorn butter-y! Real butter needs to be clarified first (instructions below) to keep your popcorn from going soggy. If you'd rather skip that step, ghee is shelf-stable clarified butter and works perfectly straight out of the jar. I have yet to nail down how to get vegan/plant-based butters to work without making the popcorn soggy. To make dairy-free popcorn, I usually use butter-flavored coconut oil and then skip the added butter.
- Salt. No special popcorn salt or seasoning, aka Flavacol, is required here, plain fine salt does the job. In fact, many popcorn salts-Flavacol included-are just regular salt ground extra fine maybe with some artificial coloring added in. If you want to get fancy, you can grind your own in a coffee grinder, but I've found regular fine salt from the store sticks just fine to freshly buttered popcorn. I do really like the jar from this popcorn seasoning! I got it years ago and refill it with finely ground plain salt for sprinkling on my popcorn.
How to Clarify Butter for Movie Theater Popcorn
Regular melted butter turns popcorn soggy, and that's the whole reason why before you even pop a single kernel you need to clarify the butter.
Butter has a high water content, and when you pour it straight over popcorn, that water gets the kernels wet instead of just coating them in fat. Clarifying the butter first removes most of that water, so you're left with pure, golden buttery flavor and popcorn that stays crunchy. It sounds fussy, but it's super not: it's a two-minute process in the microwave.
If you'd rather skip it entirely, ghee is already clarified butter, shelf-stable and ready to melt and pour straight over your popcorn. It's available at most major supermarkets and natural foods stores. It's the shortcut version of exactly what these steps below accomplish.
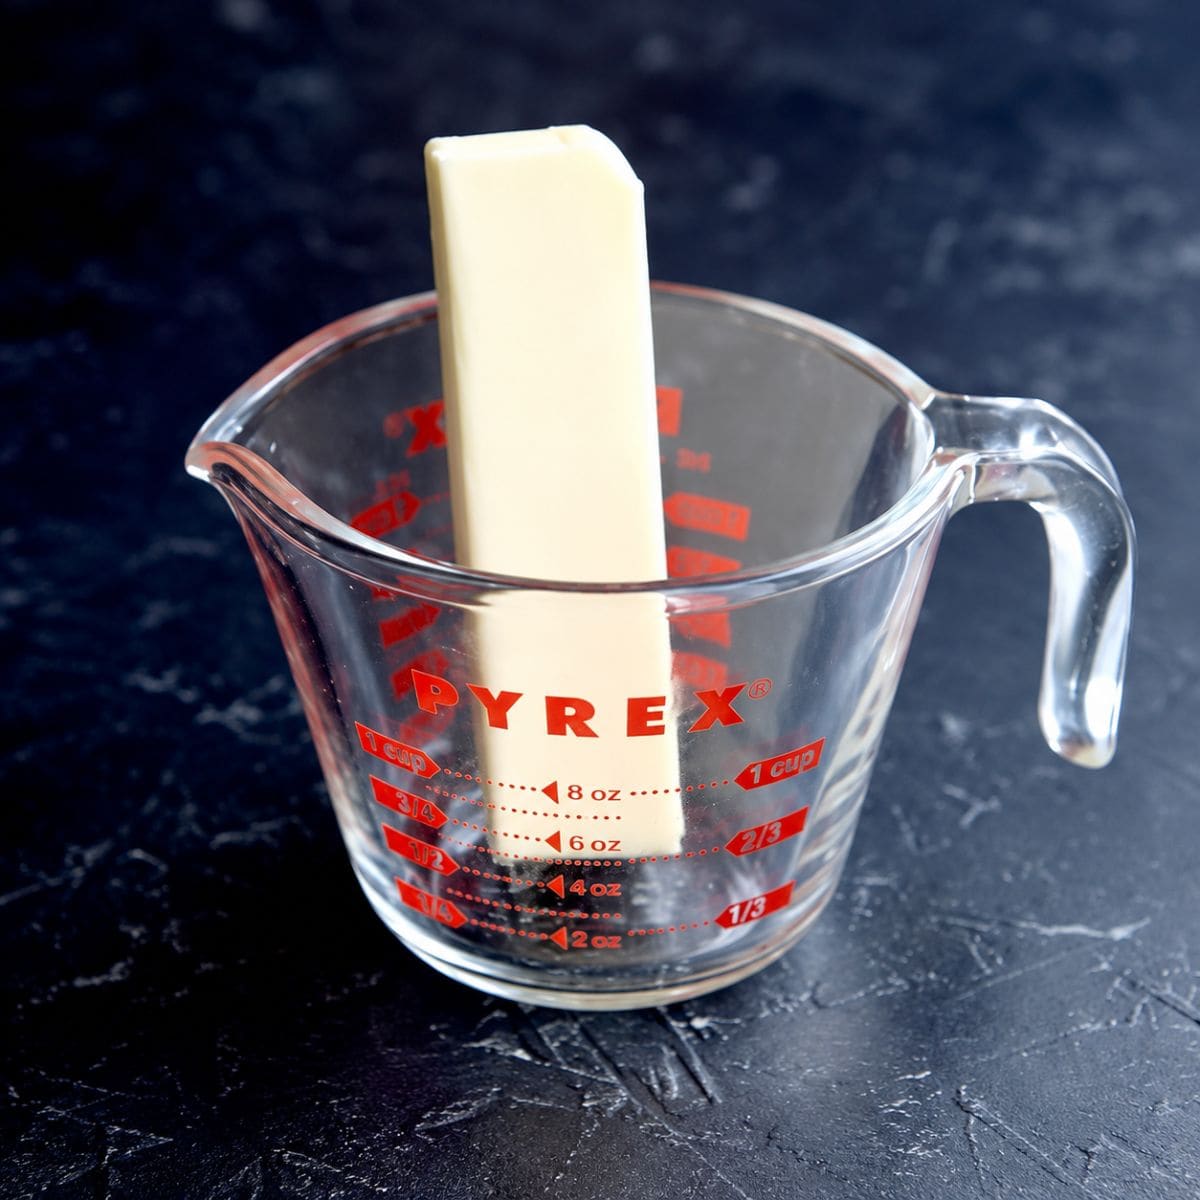
Step 1: Add the butter to a glass measuring cup. Put your stick of butter in a glass measuring cup with a spout. You'll need that spout later to pour off the clarified butter.
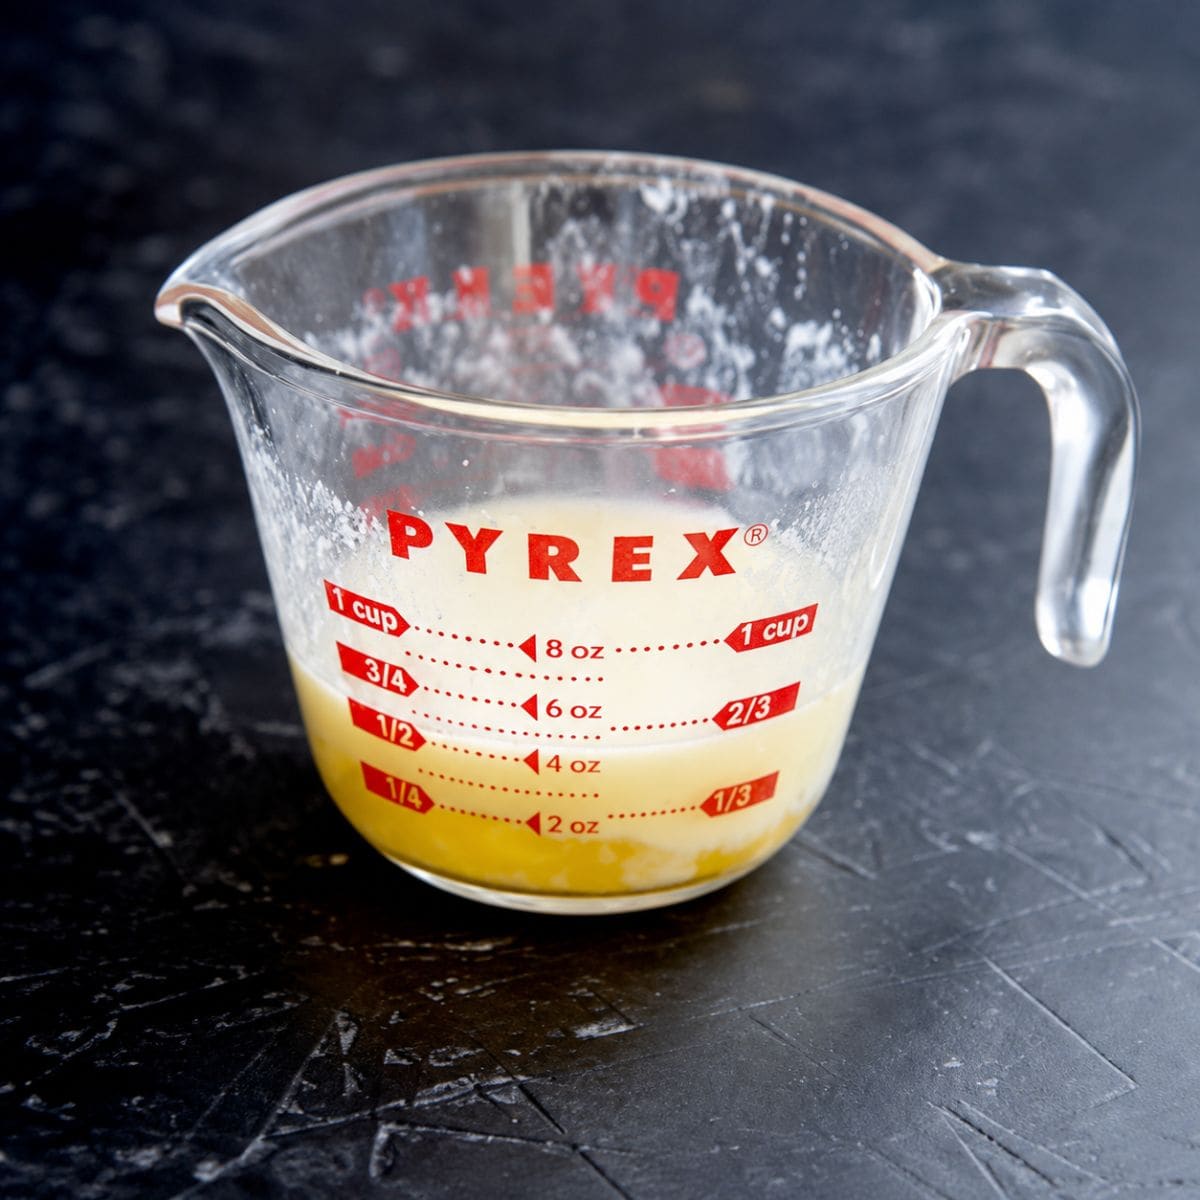
Step 2: Microwave until melted and foamy. Microwave on high for 30-40 seconds, or until the butter is completely melted and foamy on top. Microwaves vary a lot, so keep an eye on it, butter can start to bubble over quickly. Pull it as soon as it's melted, even a few seconds early is fine.
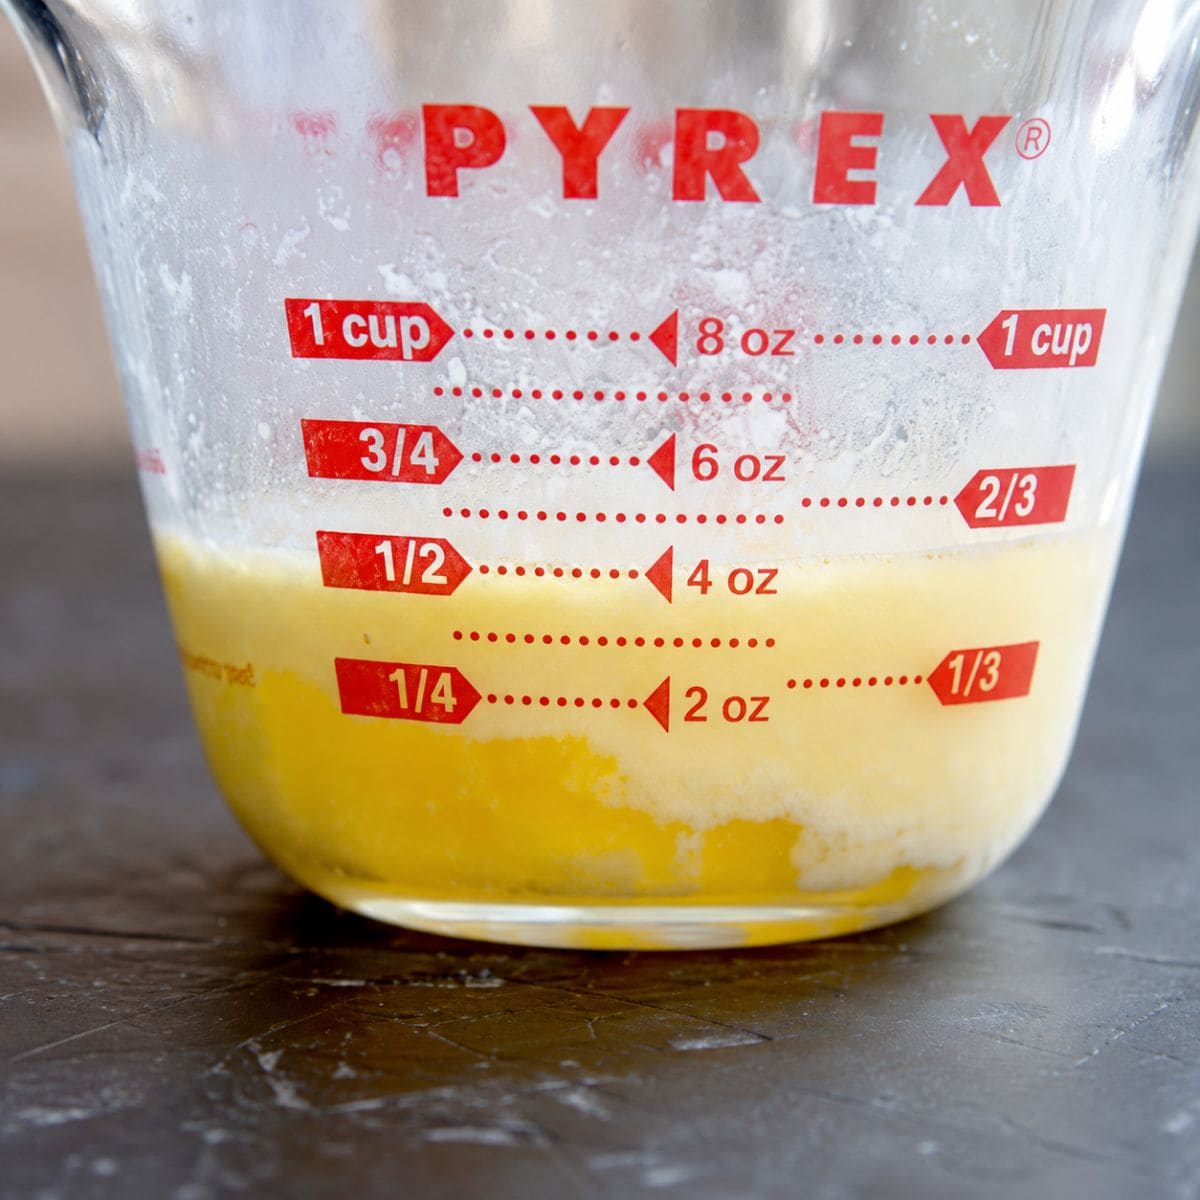
Step 3: Let it rest and separate. Let the butter cool for 1-2 minutes. You'll start to see it separate into three layers: foam on top, clarified butter in the middle, and milk solids on the bottom. The layers don't need to be perfectly distinct, you're just removing enough water to keep your popcorn crunchy.
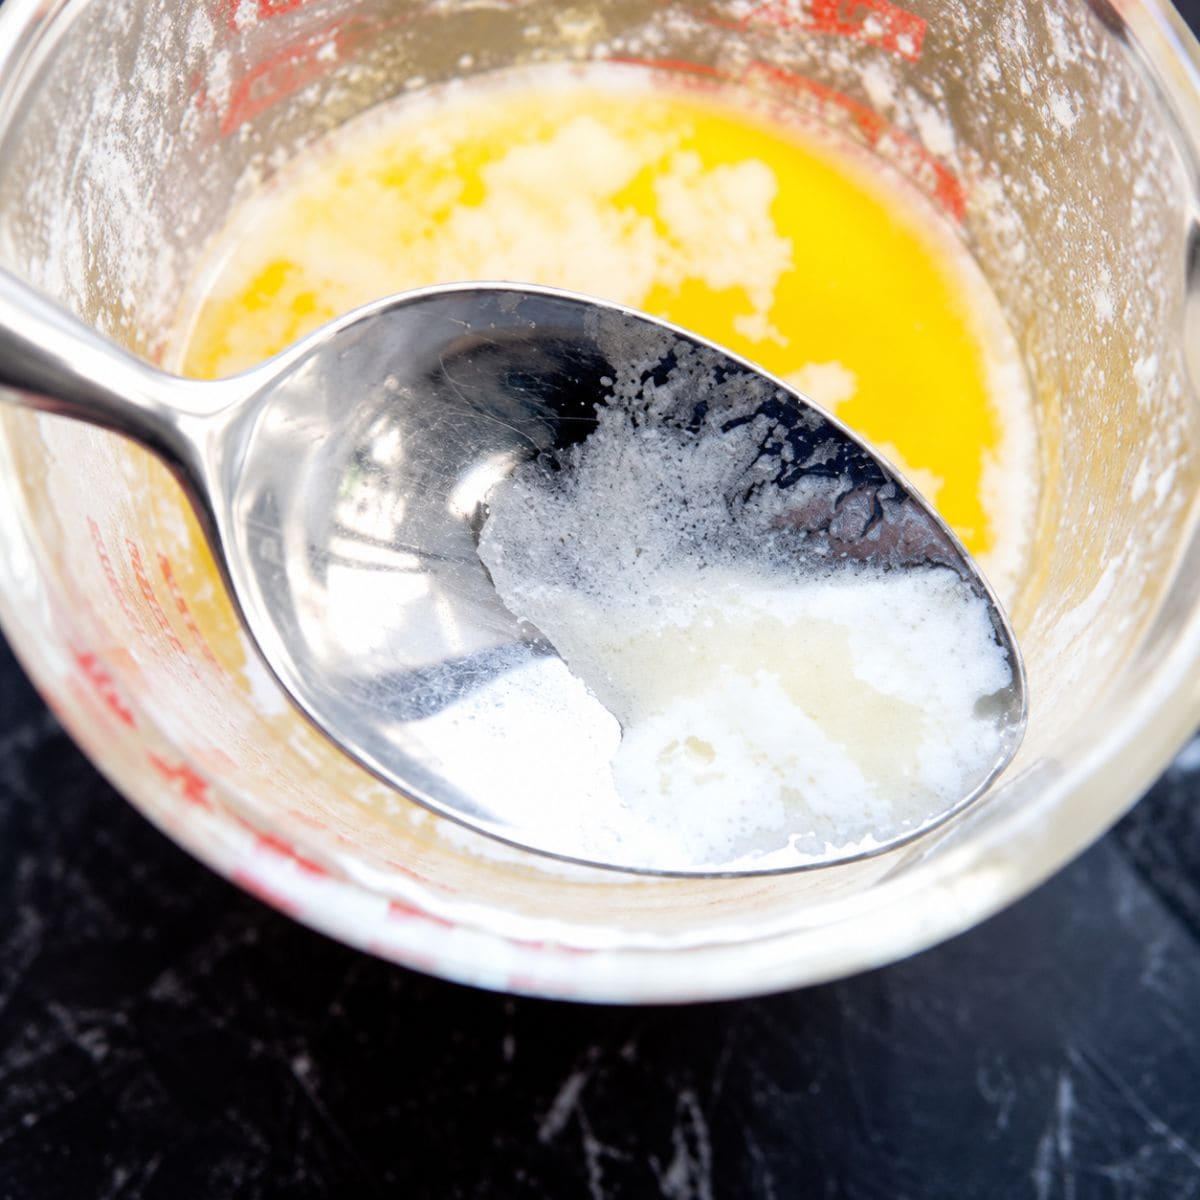
Step 4: Skim off the foam. Using a spoon, skim off as much of the foamy top layer as you can. No need to be perfect here either.
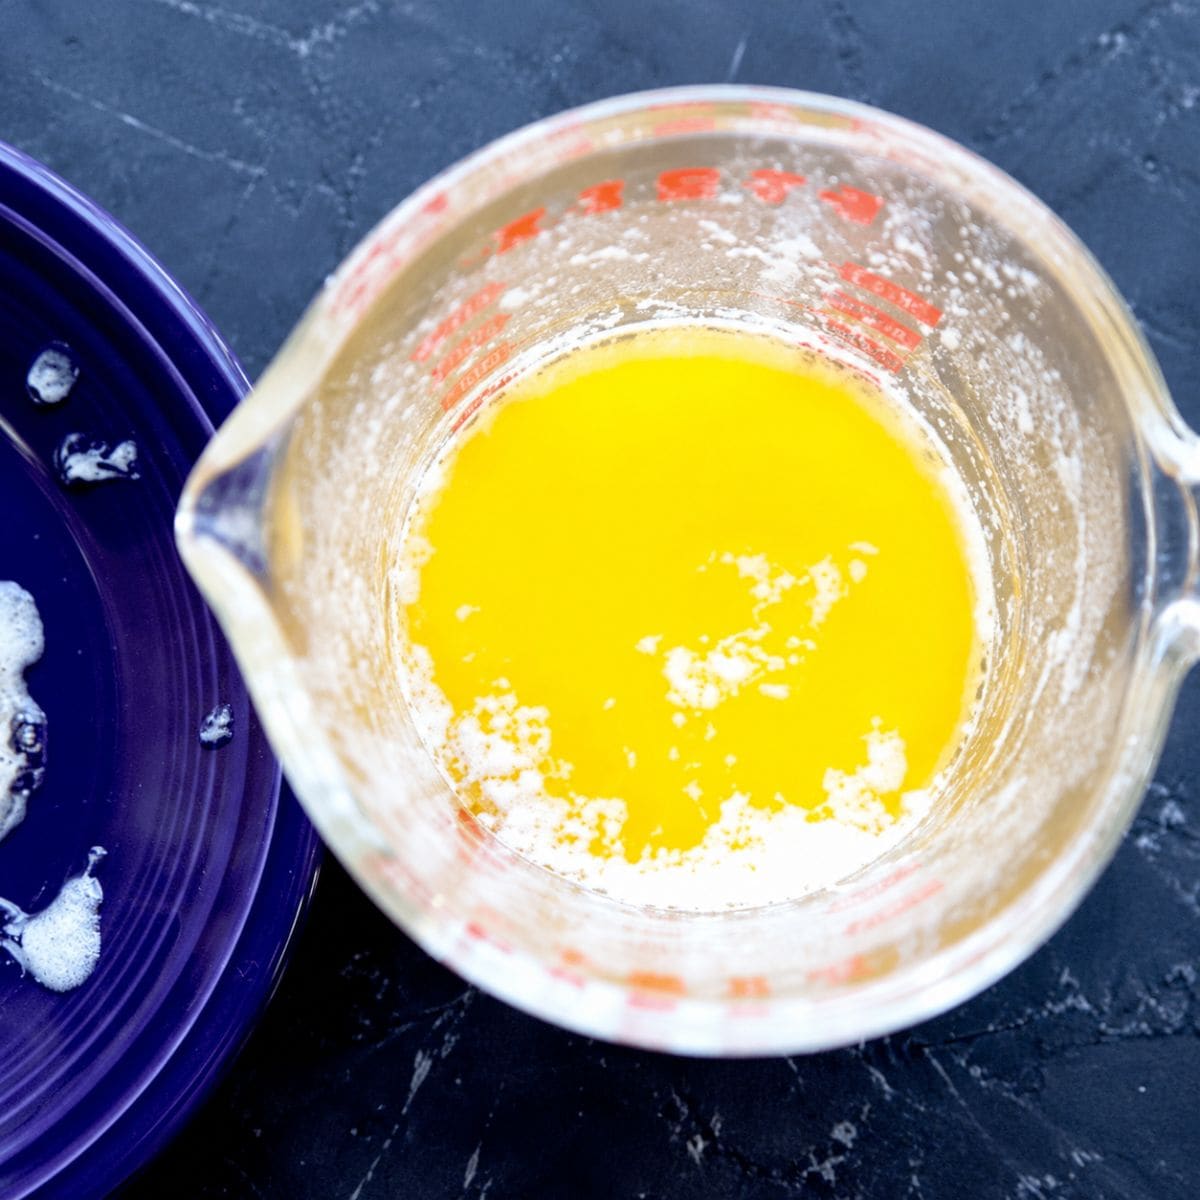
Step 5: Check your layers. You should be left with a clear, bright yellow layer of clarified butter sitting on top of a layer of milk solids.
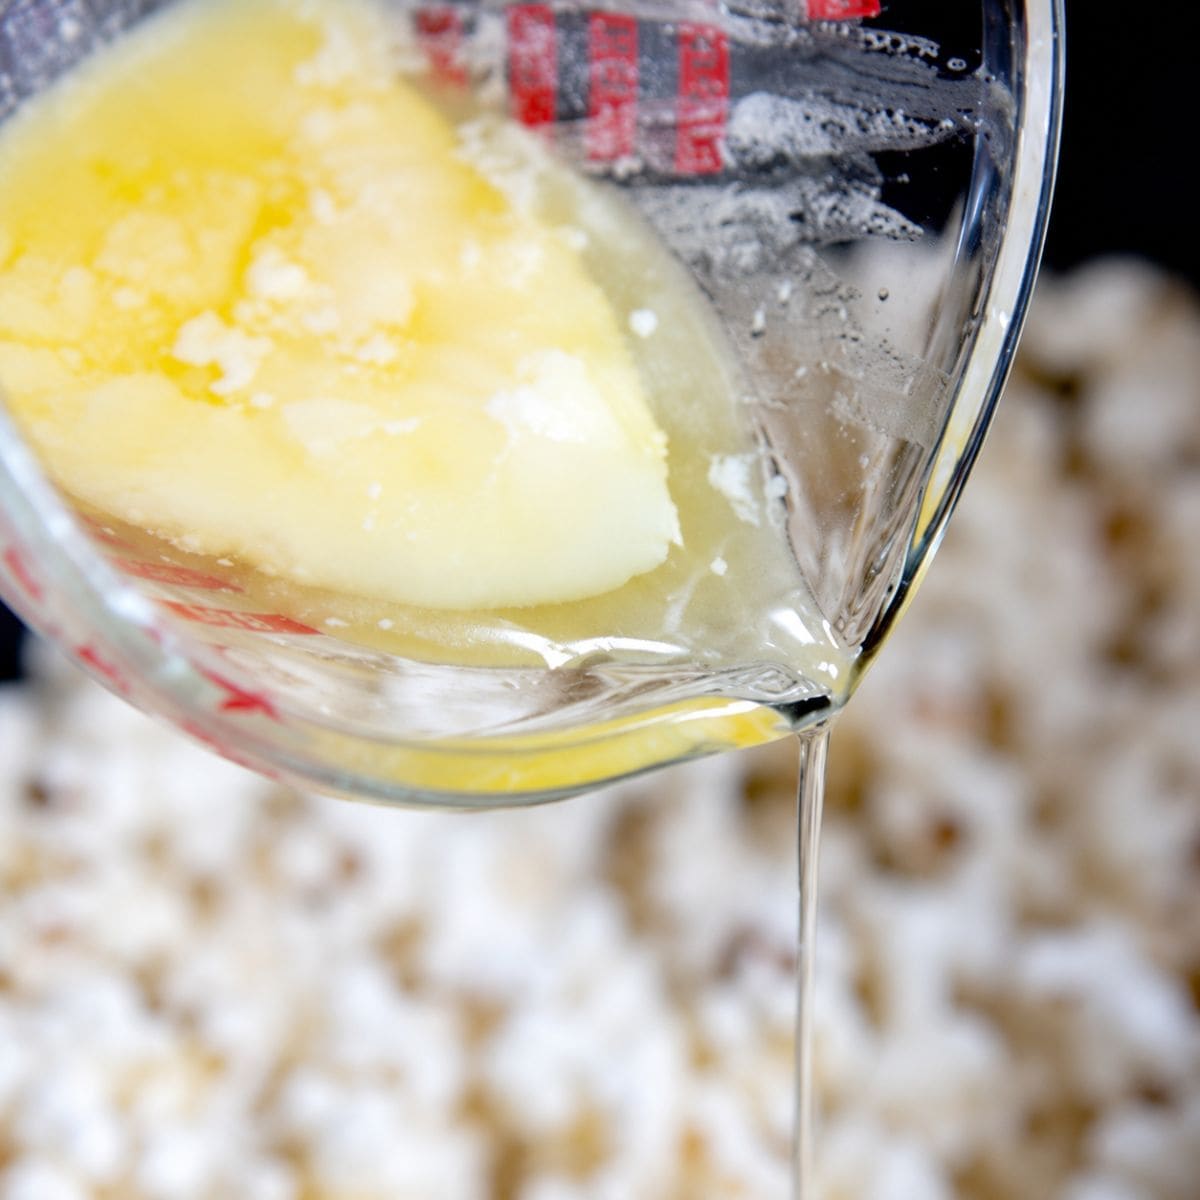
Step 6: Pour off the clarified butter. When it's time to dress your popcorn, slowly pour just the clear, yellow clarified butter over it, stopping before you reach the milk solids underneath.
No microwave? This works just as well in a saucepan on the stovetop. Heat the butter until foamy, then pick up at Step 3.
How to Pop Movie Theater Popcorn on the Stove
You'll want a big pot with a lid for this, popcorn expands a lot as it pops, so give it room. I don't recommend a heavy pot like a Dutch oven, since you'll need to shake it constantly while it pops, and cast iron gets tough to shake around for several minutes straight. A large, lightweight soup pot works great.
If you find yourself making stovetop popcorn often and want to make life even easier, I love my Whirley Pop, it's a stovetop popper with a built-in crank that stirs the kernels for you. It's absolutely not necessary though, a regular pot and a little elbow grease gets you the exact same result.
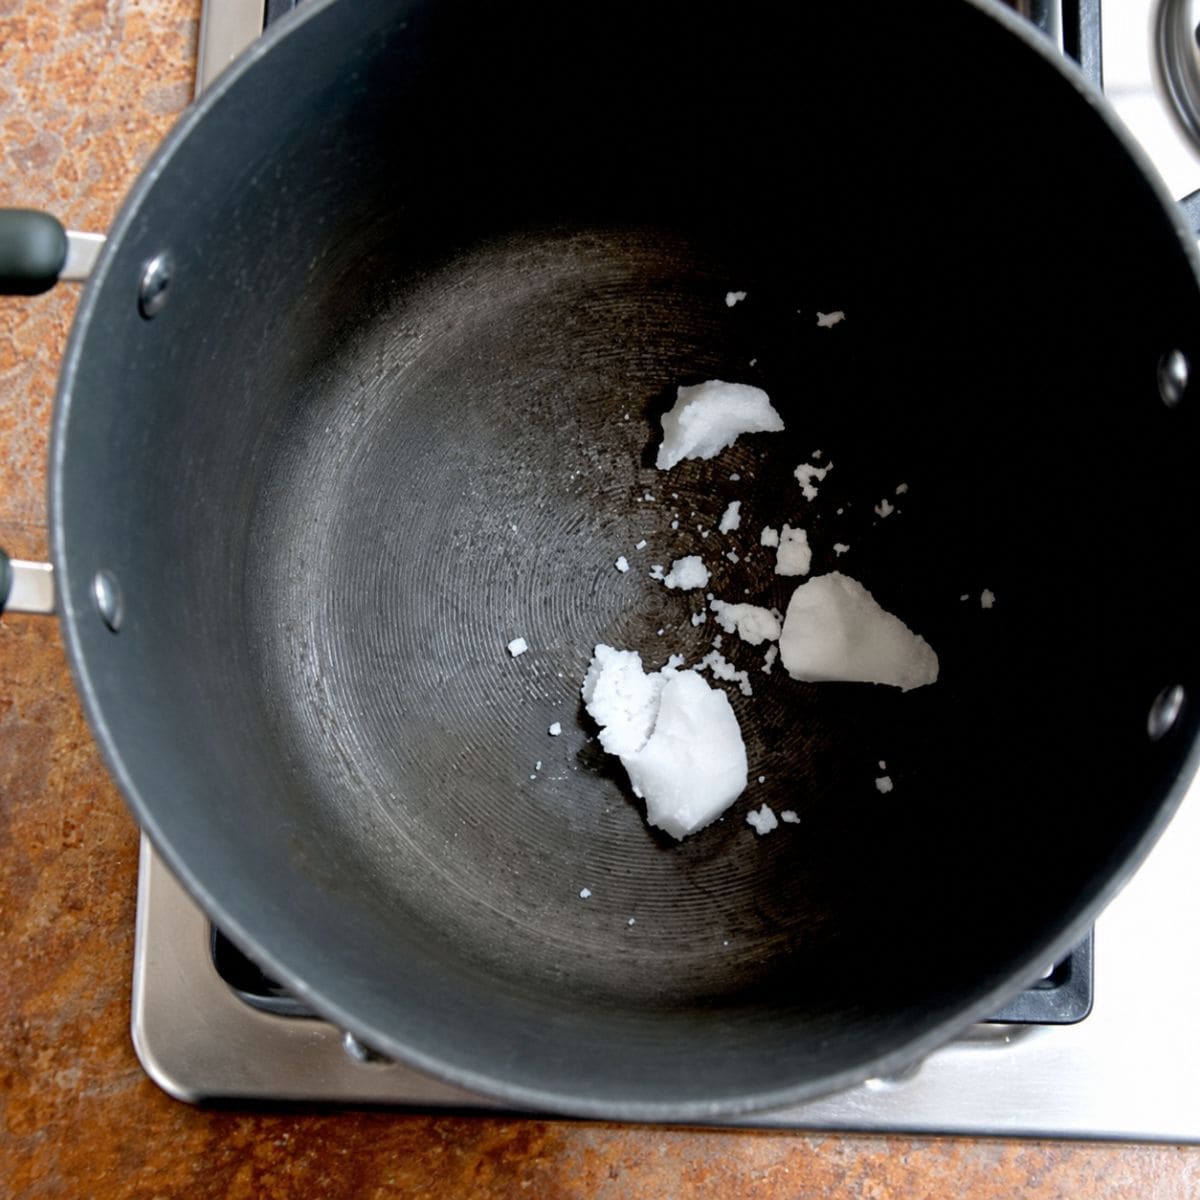
Step 1: Melt the coconut oil. Put your pot over high heat and add the coconut oil, letting it melt completely.
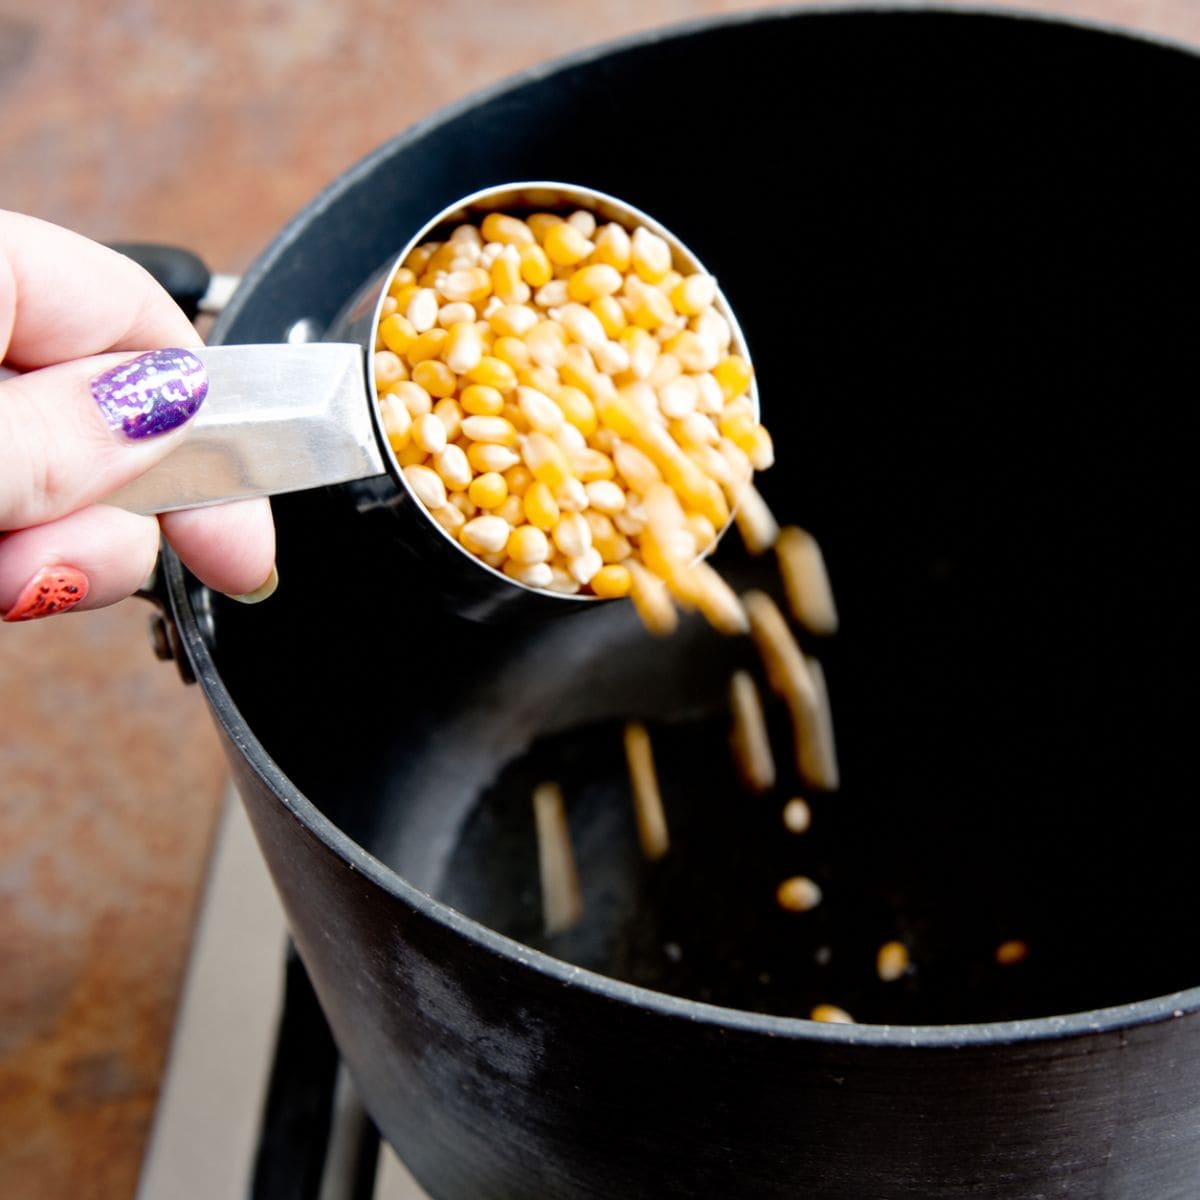
Step 2: Add the kernels. Once the oil is fully melted, pour in your popcorn kernels.
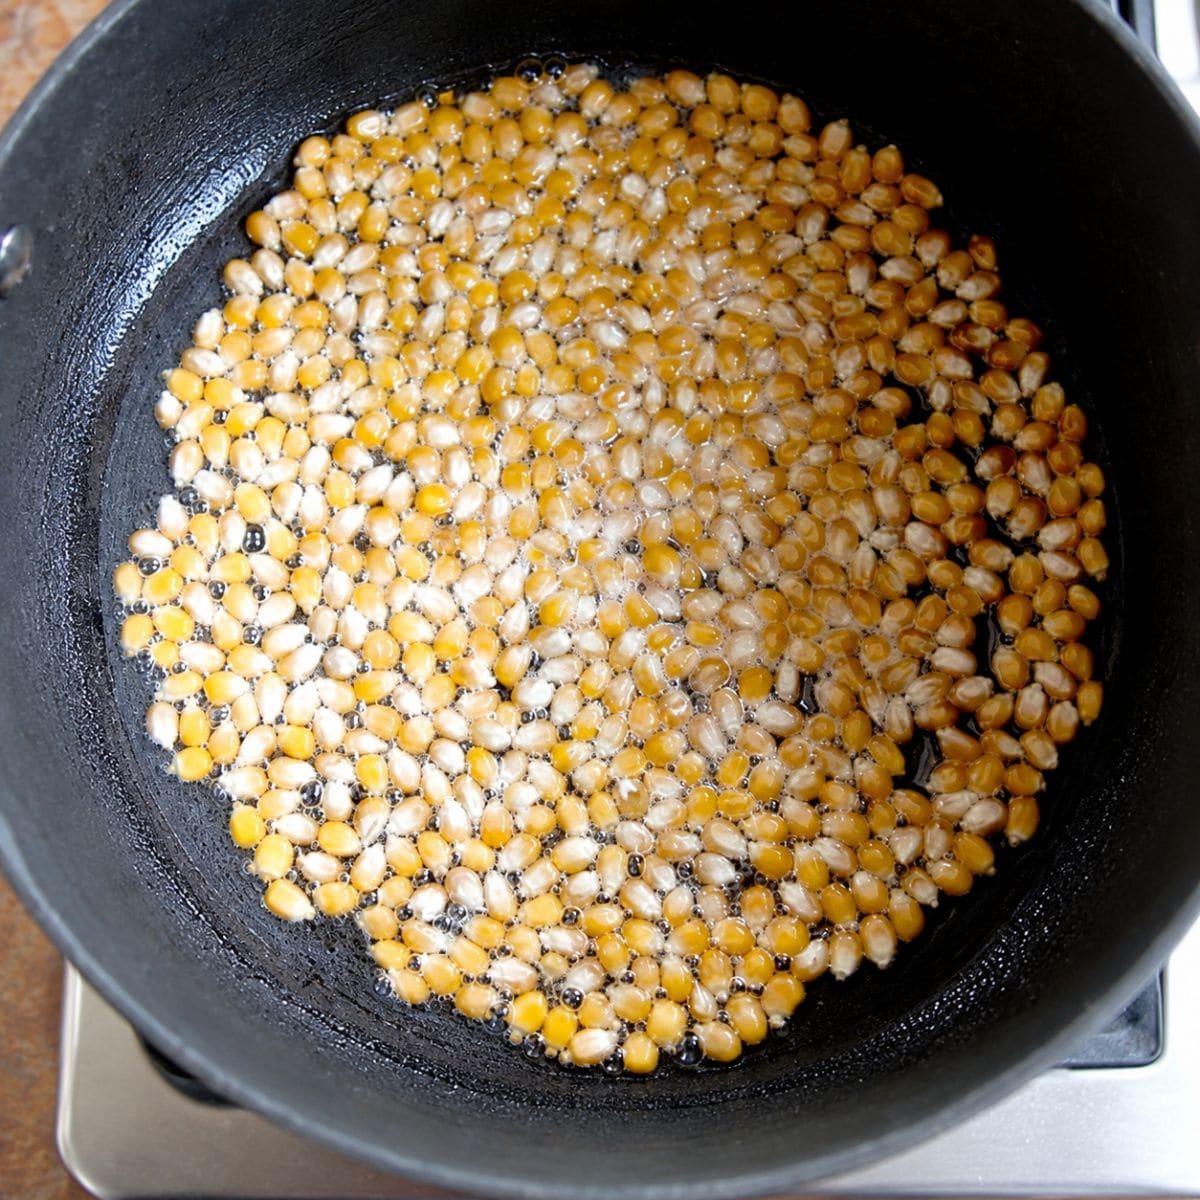
Step 3: Swirl to coat. Swirl the pot so every kernel gets coated in oil and settles into roughly a single layer.
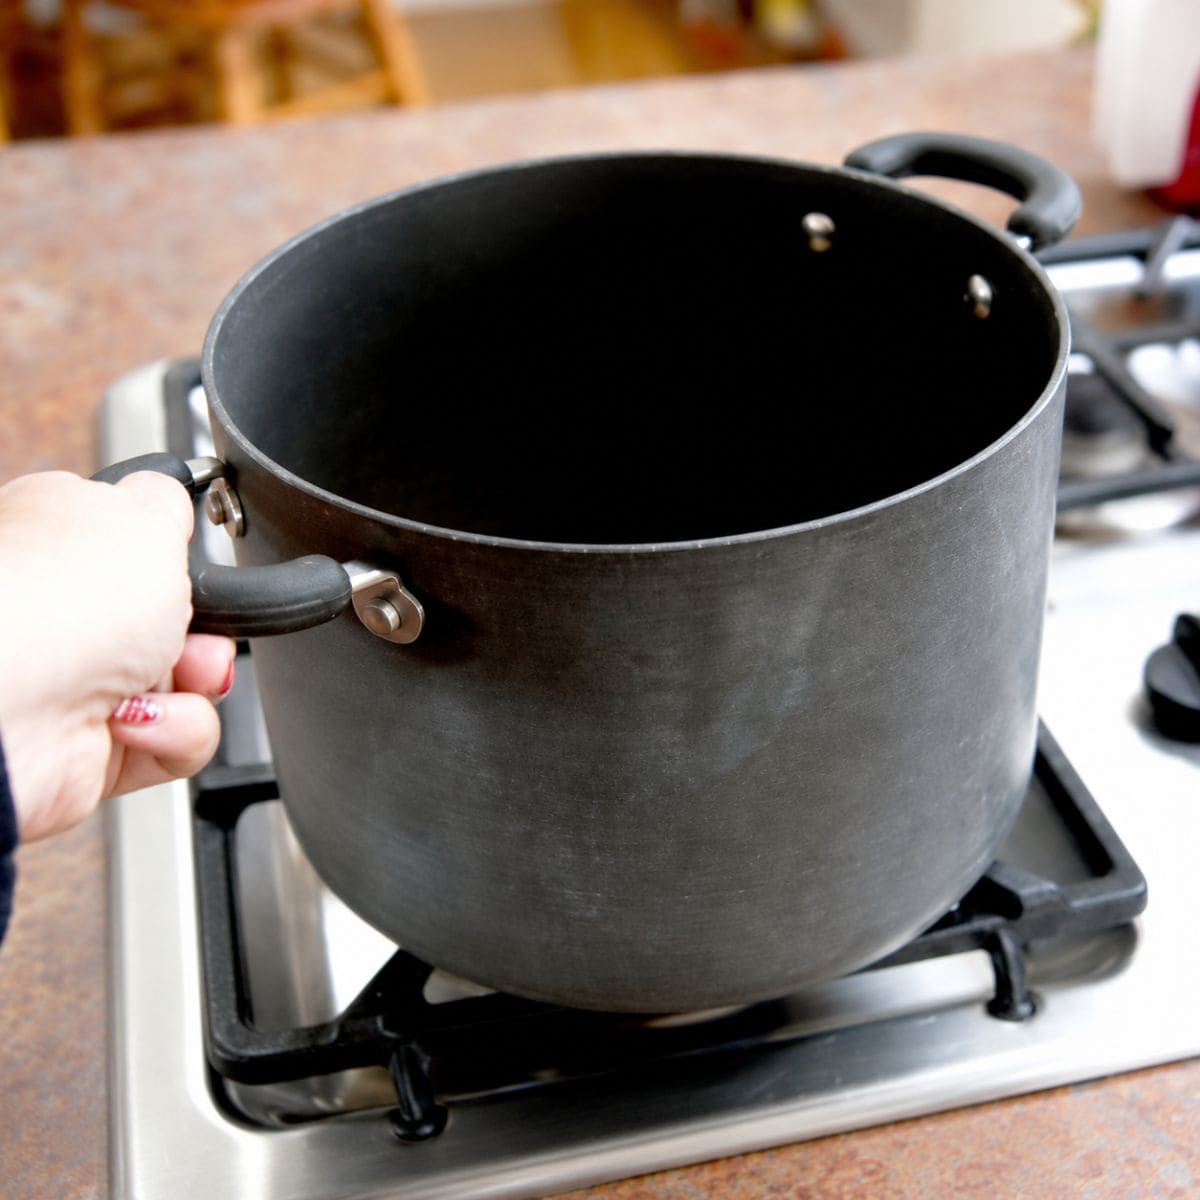
Step 4: Shake to prevent burning. Give the pot a good shake every so often to redistribute the kernels and keep them from scorching on the bottom.
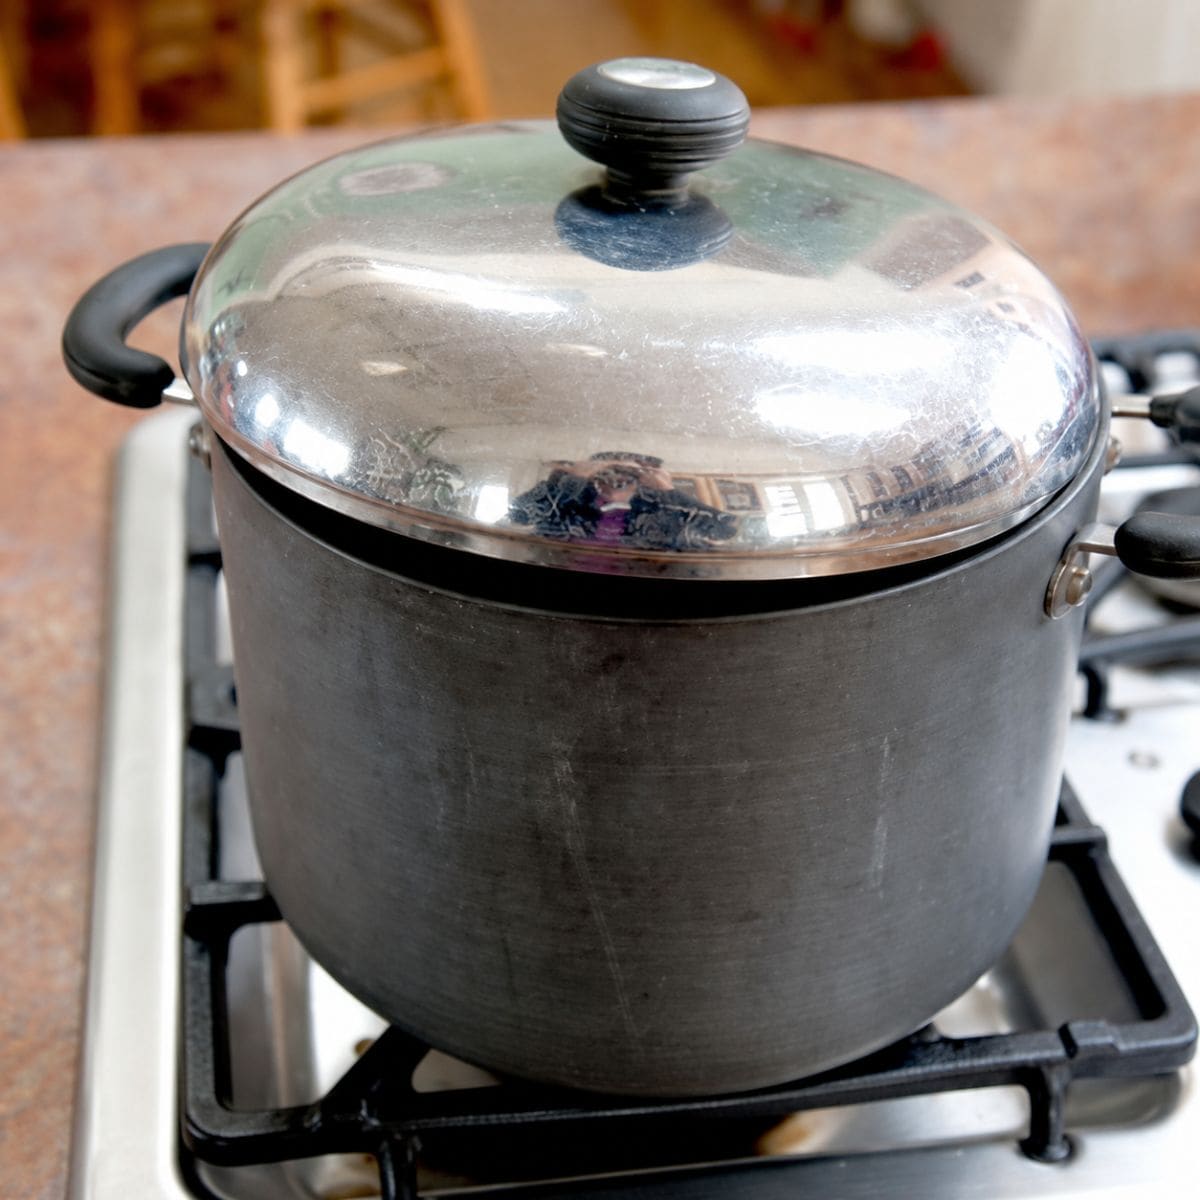
Step 5: Vent the lid once popping starts. After your first kernel pops, put the lid on, but leave it slightly ajar so steam can escape. Skip this and you'll have popcorn flying across your kitchen.
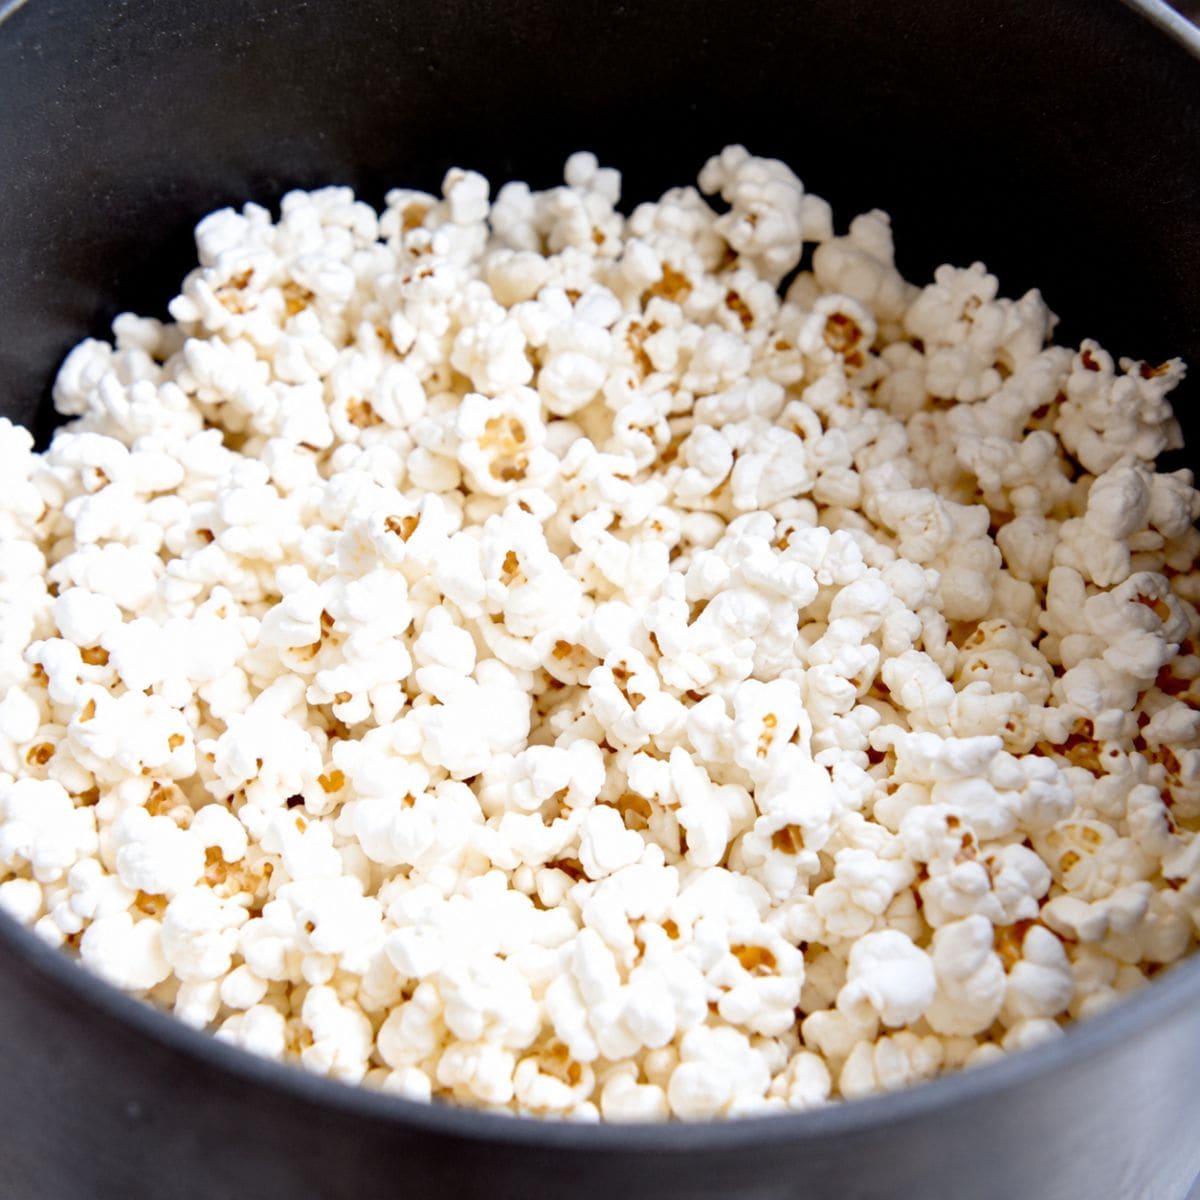
Step 6: Shake until popping slows. While the popcorn is popping, keep shaking the pot frequently to prevent burning. Within a few minutes, you'll hear the popping slow down. Turn off the burner and just let it sit for a few minutes.
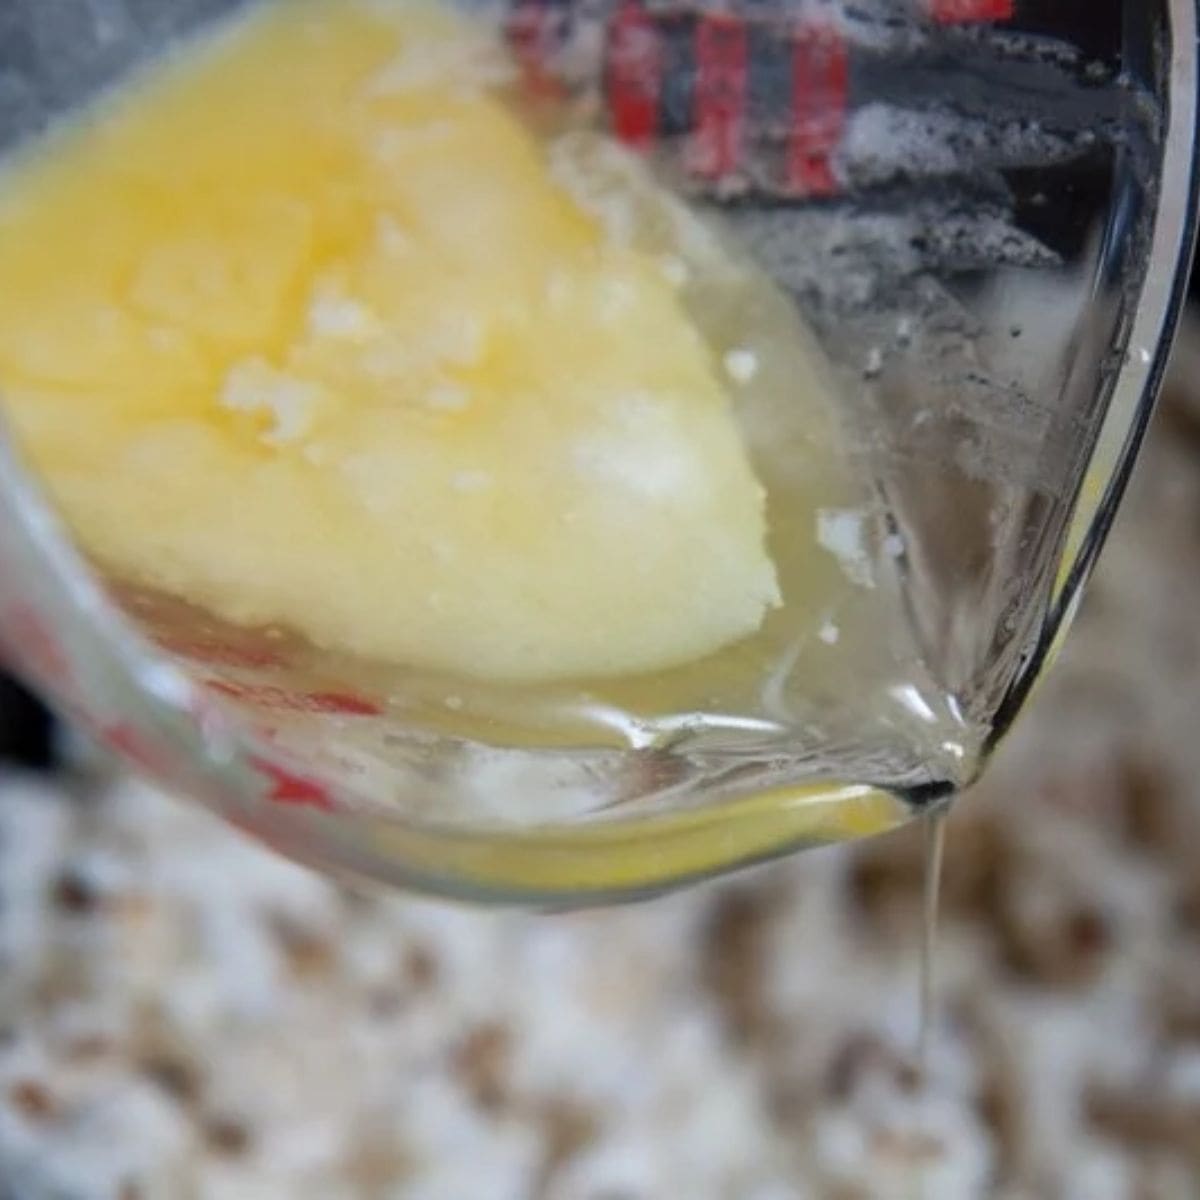
Step 7: Butter it. Slowly stream the clear, yellow layer of clarified butter over the popcorn, stopping once you hit the opaque milk-solid layer at the bottom of the cup, that part stays behind.
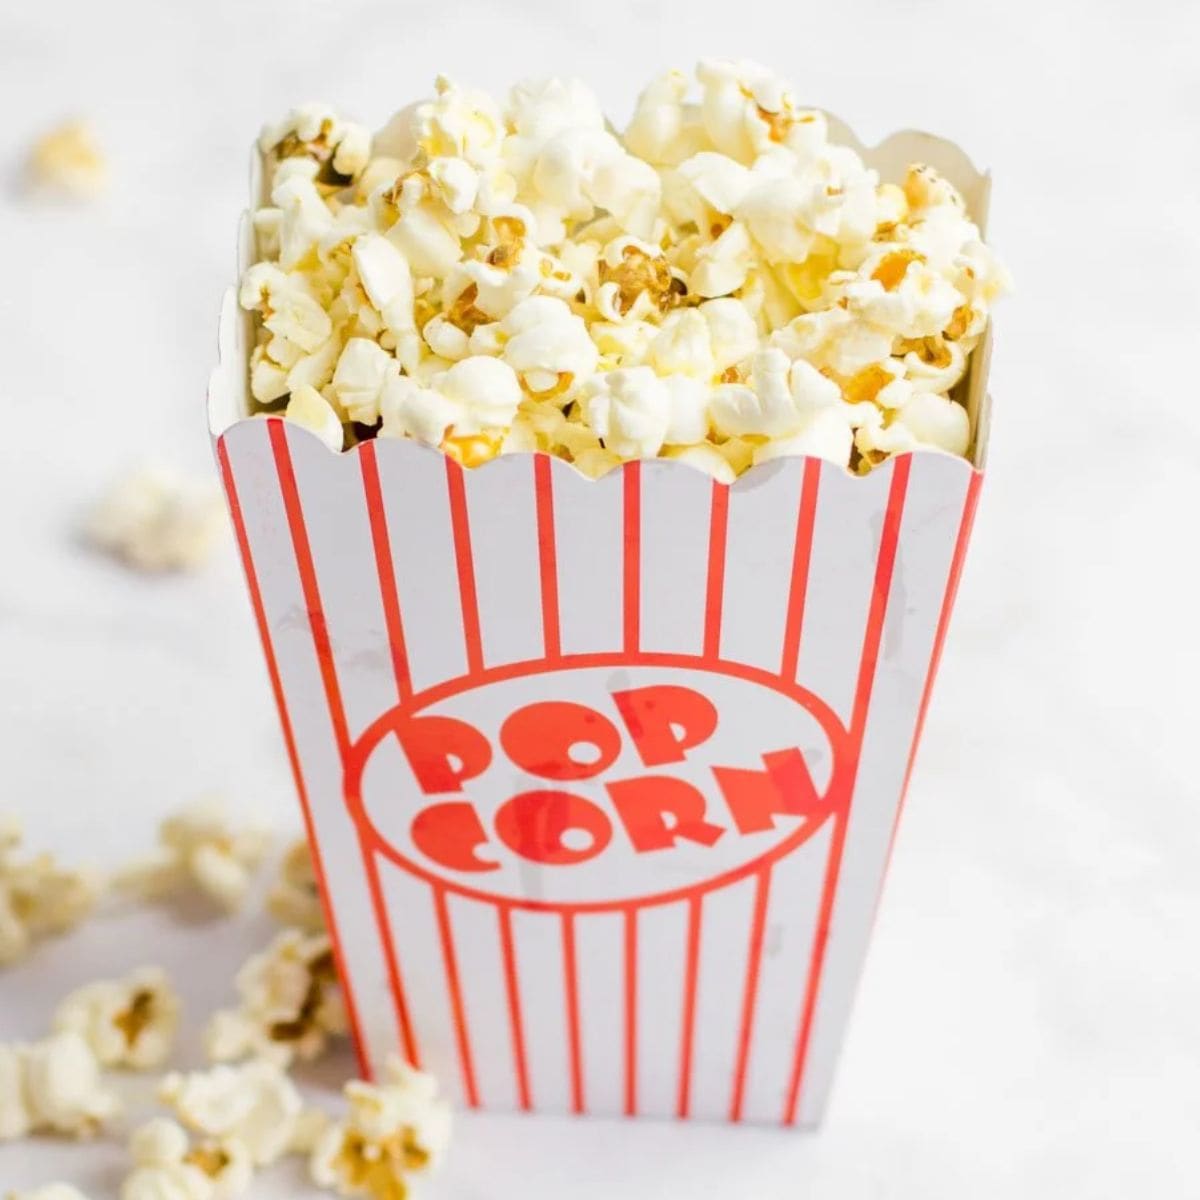
Step 8: Season and toss. Stir well so every kernel gets a touch of butter, then salt to taste. If you used salted butter, go lighter on the salt at first. This is also your moment to add any other flavoring you want, though I'm usually a purist and stick with just salt.
👩🏻🍳 Cassie's Tips
- Batch your clarified butter ahead. Make a big batch at once and keep it in a jar in the fridge for months. Because most of the water is removed, it lasts far longer than regular butter.
- Don't waste the milk solids. Left over from clarifying your butter, they add a nice bit of creaminess stirred into pasta sauce, omelets, or baked goods, don't just toss them.
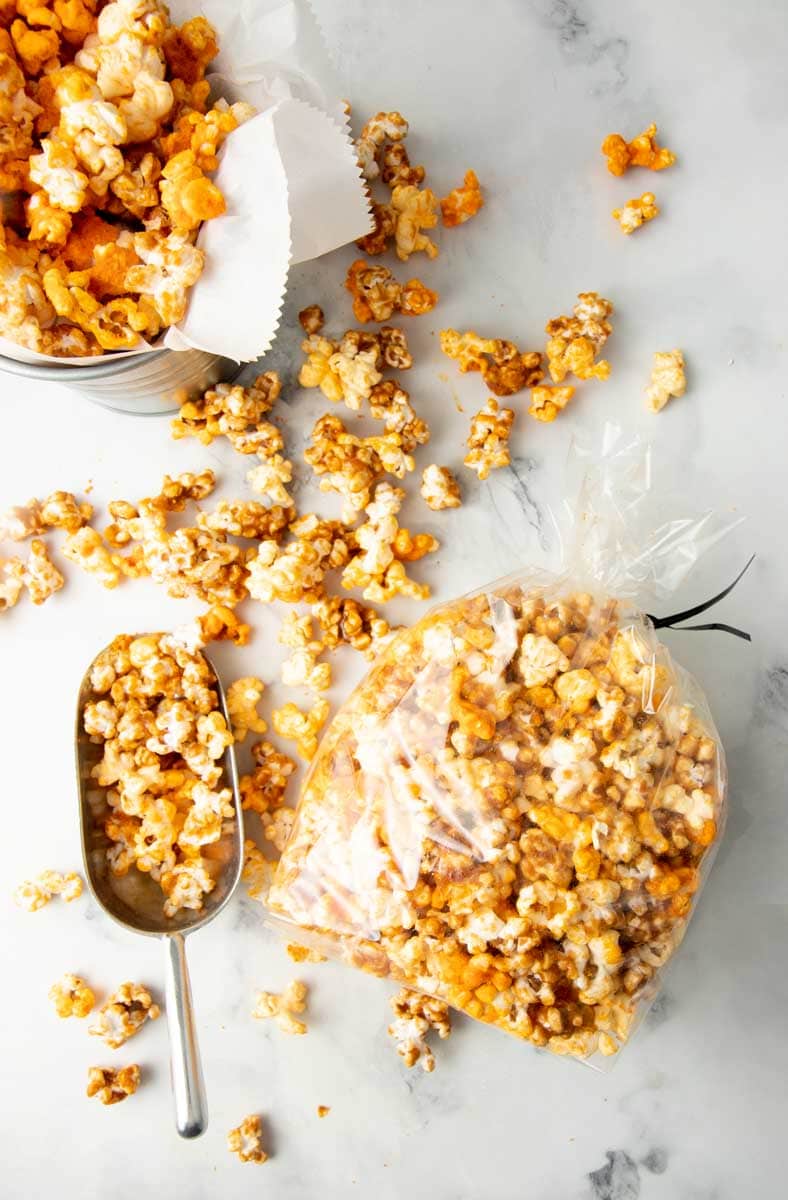
- Use this method elsewhere. This popping method works great for the base of homemade caramel popcorn, Halloween popcorn mix, and Chicago mix popcorn.
- Use a big, lightweight pot. Popcorn expands a lot, and cast iron gets exhausting to shake for several minutes straight. A large soup pot is easier on your arm.
- Vent that lid. Leave it slightly ajar once popping starts. Skip this step and you'll be finding popcorn in your kitchen for days.
- Trying cheese popcorn? Someone on our team has found that cheese powder sticks far better than shredded cheese, which tends to make the popcorn soggy.
- One reader trick worth trying: commenter Jake swears by popping in a large stainless mixing bowl covered with tinfoil instead of a pot, he says the unpopped kernels slide to the bottom where the oil is hottest, so you end up with far fewer duds. I haven't tested this one myself, so I can't personally vouch for it, but it's a clever enough idea that it's worth a try if you're tired of a bowl full of old maids.
FAQs
Most theaters pop with mushroom-style kernels, the big, fluffy pieces, not the smaller butterfly shape you'll find in most microwave bags, using a coconut oil blend and finishing with a fine popcorn salt. That's the exact combination this recipe recreates at home. Grab mushroom kernels if you want to go all the way, or use whatever you've got on hand, either works.
I wouldn't recommend it. Using butter to pop the kernels sounds like it would add extra buttery flavor, but butter has a much lower smoke point than coconut oil, so you're more likely to end up with burnt popcorn than golden, crunchy popcorn.
We love our air popper for everyday snacking, but for true, authentic movie theater taste, you need the coconut oil and a pot on your stovetop. If you're not willing to give up your air popper or microwave, air-popped popcorn with clarified butter and salt is still genuinely delicious, just don't expect the exact same flavor you get from popping in coconut oil.
No. Flavacol and many other popcorn salts are just regular salt ground extra fine, not some special ingredient. Regular fine sea salt or table salt from your pantry sticks to freshly buttered popcorn just as well.

This is still the same popcorn I've been chasing since I was a kid with a red plastic cup, buttery, crunchy, and unmistakably movie theater, just made on your own stovetop for a fraction of what a box of microwave bags costs. Grab your pot, your coconut oil, and get popping.
More Popcorn Creations


If you tried this Movie Theater Popcorn Recipe or any other recipe on my blog, please leave a 🌟 star rating and let me know how it went in the comments!
📖 Recipe
Buttery Movie Theater Popcorn Recipe
Ingredients
- ½ cup unsalted or salted butter (1 stick)
- 2 tablespoons coconut oil
- ½ cup popcorn kernels
- Salt to taste
Instructions
- Place the butter in a glass measuring cup with a spout. Microwave on high for 30-40 seconds until foamy. Let cool for 1-2 minutes, to allow the layers to separate.
- Using a spoon, gently scoop off the foamy top on the butter and discard (no need to be perfect, just get as much as you can). Set the butter aside while you make your popcorn.
- In a large soup pot with a lid, melt the coconut oil over high heat. Add in the popcorn kernels, and swirl to coat all the kernels.
- Shake the pot frequently to avoid burning. Once the first kernel pops (about a minute or two), immediately place the lid on the pot, but leave it ajar so steam can escape.
- Continue shaking the pot frequently until the popping slows down. Once it does slow down, remove the pot from the heat and let sit for a few minutes while the final kernels pop.
- Once all the kernels are done popping, slowly stream the butter over the popcorn, stopping when you reach the opaque part of the melted butter (see photo in post). Discard the remaining butter or save for another use.
- Stir the popcorn, and then season with the desired amount of salt.
Video

Notes
- Coconut oil matters. Use virgin (unrefined) coconut oil for real movie theater flavor. Refined works too but loses some of that authenticity.
- No flavacol needed. Regular fine salt does the job, flavacol is just extra-fine salt anyway. Or use my homemade popcorn seasonings for even more flavor!
- Skip clarifying with ghee. Ghee is already clarified butter, melt and pour straight over the popcorn.
- Want bigger, fluffier pieces? Use mushroom-style popcorn kernels instead of standard ones.
- Use a big, light pot. Popcorn expands a lot, and cast iron is a pain to shake for several minutes straight.
- Vent the lid. Leave it slightly ajar once popping starts, or you'll have popcorn everywhere.
- Batch your clarified butter. Make a large batch ahead and store it in the fridge for months.
- Don't toss the milk solids. Save them for pasta sauce, omelets, or baked goods.

Coconut oil in Coffee, C chip cookies or for cooking or sauteing other high temp foods is a good option. But, be sure to use virgin coconut oil (Extra virgin is not a recognized version -- whatever that is). Do not buy "processed" coconut oil, per nutritionists.
Also, coconut oil is touted to delay dementia, what ever that is.
Great lost!! I, too, avoid the nuker corn and always pop on stovetop in my old stockpot. However, about 2yrs ago I bought a WhirlyPop at Target for about $20. It's awesome! I also clarify butter, but I take it a step further and brown it a bit. The aroma and flavor can't be beat! (If clarified butter isn't an option that night, I - wait for it ... - dip my popcorn in a bit of yellow mustard. I saw a young gal do this 20yrs ago and became hooked. No knocking until you try it!). Yes, we love our popcorn on movie nights...or when Mommy needs a little movie time after kiddos are fast asleep. Enjoy!!!!
Finally! I could never put my finger on why my popcorn never really came out right. The coconut oil was the key. The tips on the clarified butter and venting the popcorn was the cherry on top. My popcorn finally tasted as good as.....no make that better than movie theater popcorn. Thank you so much.
This looks awesome!!! Shared on my blog!
http://couponcravings.com/one-ridiculously-easy-tip-to-buy-cheap-movie-tickets/
I use a pot with a strainer lid.. The holes in the lid let the steam out when the lid is secured. Don't have to tilt it anymore 8-). One of our favorite flavoring is McCormicks Montreal steak seasoning...garlic salty pepper goodness!
Can't wait to try it with the clarified butter.
That is genius! And I LOVE Montreal Steak Seasoning—we call it our "house" seasoning. It goes on everything!
I like your humorous style of writing. Very entertaining. I don't often smile while I'm reading a recipe. ?
My popcorn always has to be stove top. Never tried the clarified butter, but will be
I do have to say using a whilry popper it a tad easier.
Thanks for the great tips.
No matter what you do to the popcorn it still doesn't taste like what you get at at the movies. The popcorn at home is hard on some parts and soft on others. Popcorn at the movies is crunchy. They kernels after being popped are not even shaped the same.. The color is not the same.. Home popcorn is white. Movie popcorn is light yellow.
This looks so good. It was a massive sale on popcorn down at my local store, and i was looking for ways to spice the popcorn up. This looks so good. Thanks for sharing!
Thank you Cassie, worked well for me and my dogs loves it too! Thank you also for a great blog 🙂
This looks delicious - and it is! I don't have a microwave, and don't really want to invest in one, so this is a great find for my family. I found this @ http://affimity.com/#/sharedPost/1/9160, and just - just thank you! My husband and I cooked up some last night and it was so tasty! Thanks!
Wow thanks for the recipe. I love air popped popcorn but did not know it was clarified butter that kept popcorn from getting too soggy! I made this before we went to the movies and sneaked it in...sshhhhh. lol
I am going to surprise my wife this weekend by making them. 🙂 Thanks a lot for explaining all the details
I like just adding veggie oil and then sprinkling my popcorn with chili powder and salt. Yum! Oil and black pepper do in a pinch but chili powder is best. I've found its cheapest to get your coconut oil at an asian market.
I made two different kinds of popcorn last night: Buttery Cajun (with homemade cajun seasoning) and Butter Maple (with real NY maple syrup). It was cool eating them side by side like that because you'd could take a break from the salty/spicy by eating the sweet and maple-y. Super yummy!!
Pregnancy craving fulfilled - thank you! I usually make popcorn sprinkled with parm and seasoned salt, but was dying for some buttered popcorn and didn't want to break down and get a box of the microwave kind. I will be making this again soon!
Thank you for the idea on the clarified butter. I don't believe in using a microwave and therefore do not have one. I agree on the bag of kernels as apposed to the other selections out there. I actually found Jolly Time Organic. Worked like a charm. Thanks again.
LOVE THIS! I adore using coconut oil to pop my popcorn but I would have never thought to clarify my butter. And now I want some popcorn for breakfast.
Great tutorial! I love the flavor of movie popcorn, even though I know it's chemically based. It's probably MSG. 🙂 Great idea to clarify thee butter. Will try that next time.
A great way to tell if the oil is hot enough it to put in 3 popcorn kernels in with the oil - when they pop, you're good to go!
This is so helpful. I love popcorn and it seems so easy to make yourself!