The Best Homemade Dill Pickles
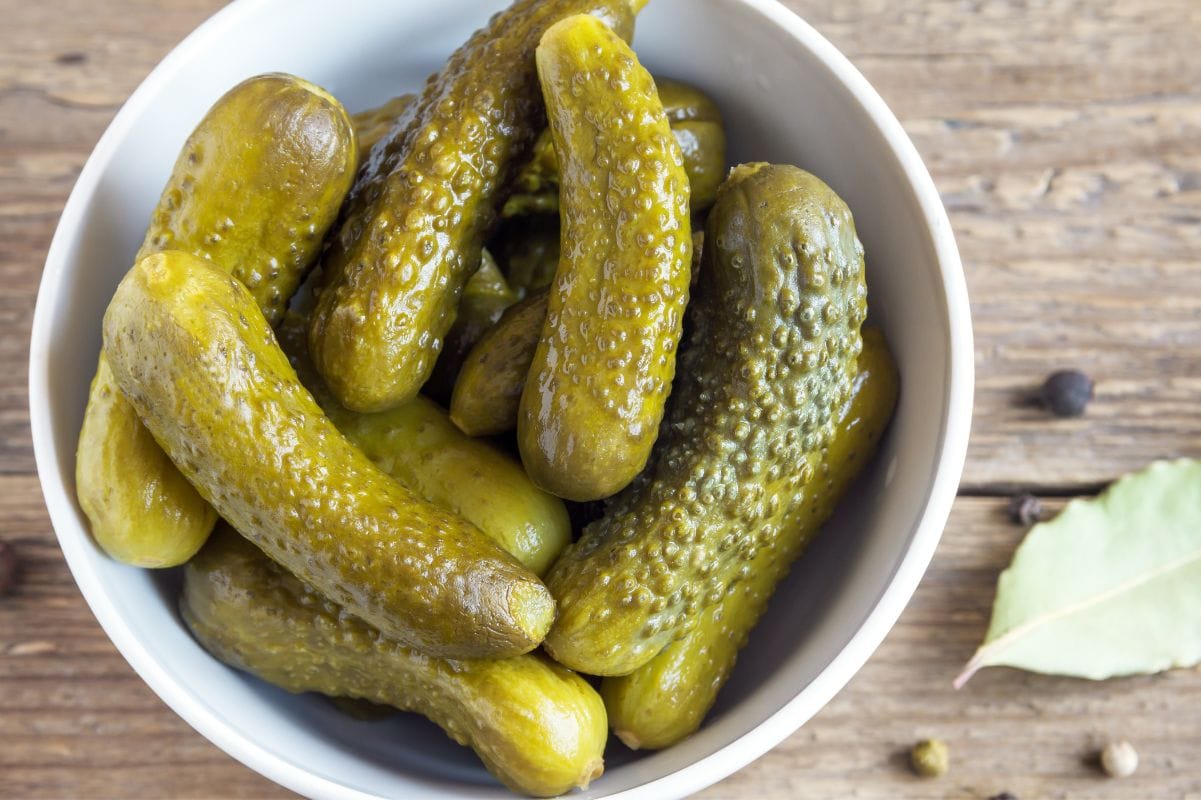
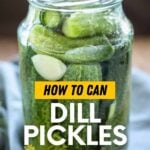
Whether it's in crunchy slices on top of burgers or as a tangy spear on the plate next to your sandwich-it's hard to beat a great dill pickle! Homemade pickles are shockingly easy to make, and this dill pickle recipe is the perfect pickle for newbies to kick-off their canning journey.
Dill pickles are packed with complex, crunchy, tangy flavor, but they are deceptively simple to make! You'll just need a handful of ingredients and some basic canning tools to get started. Fear not, we'll guide you through every step-from selecting the perfect cucumbers to crafting the ideal brine. So roll up your sleeves, grab your jars, and let's get pickling.
Refrigerator Pickles vs. Canned Pickles vs Fermented Pickles
Before we dive into this dill pickle recipe, let's talk about the three different kinds of pickles:
- Refrigerator pickles: Like their name suggests, these pickles are stored in the refrigerator-they aren't processed to make them shelf stable.
- Canned pickles: Canned pickles like we are making here are almost exactly the same as refrigerator pickles, except at the end we'll process the pickles in a water bath canner to make the jars shelf-stable for long-term storage.
- Fermented pickles: A third way to make pickles is to ferment them (just like you do when making homemade sauerkraut).
Protip: Make them sour or sweet!
Prefer a sweeter pickle? We've got you covered with our well-loved Bread and Butter Pickles recipe!
How do you make canned dill pickles?
You'll be amazed at how simple making pickles at home is. Here are the basic steps:
- Prepare canner, jars, and lids for canning. Our Canning 101 article has a lot more information to get you started with waterbath canning.
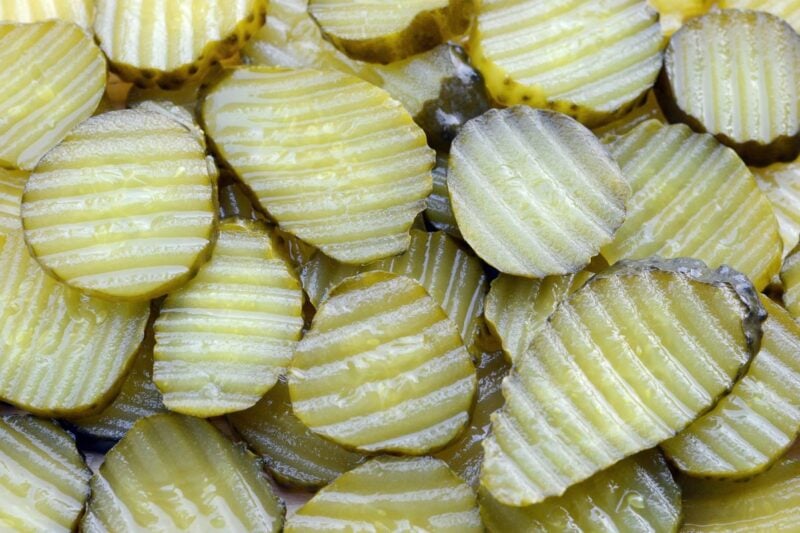
- Slice the cucumber into your desired form-spears, slices, or leave whole.
- In a saucepan, make the pickling brine by combining sugar, pickling salt, vinegar, water, and pickling spice. Bring mixture to a boil, then simmer.
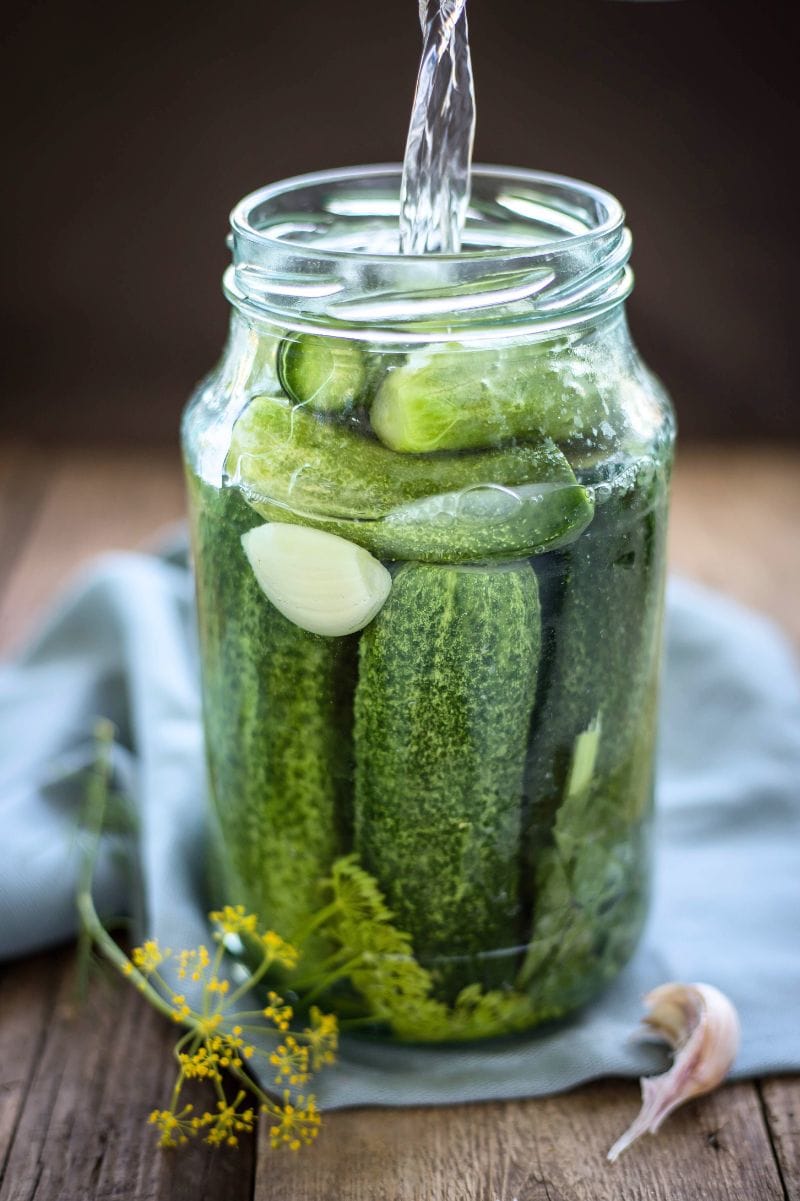
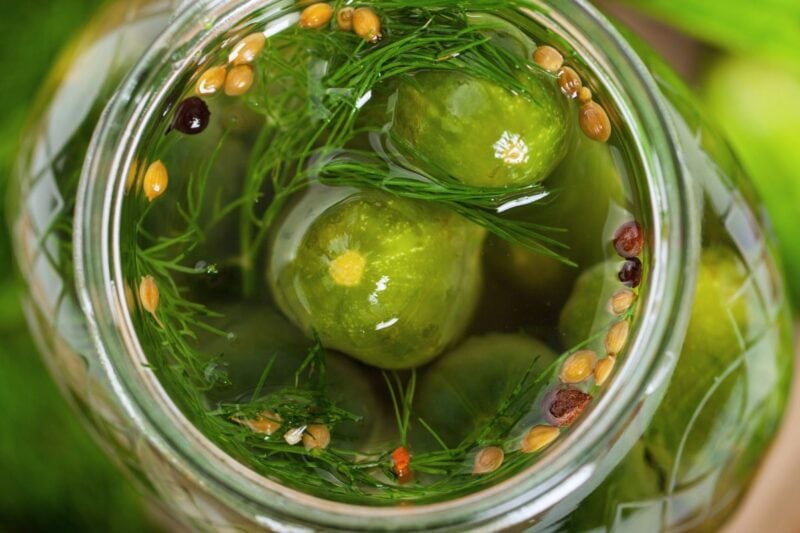
- Pack cucumbers into the jars, and add one head of dill on top of the cucumbers.
- Ladle the pickle brine over the cucumbers.
- Screw on the lid, and process jars in a boiling water bath canner.
Protip: Temperature matters!
If you store your cucumbers in the refrigerator, let them come to room temperature before packing them into your hot jars to avoid temperature shock jar breakage.
What is the best cucumber for pickles?
Pickling cucumbers (sometimes just sold as "pickles" at farm stands) are fresh cucumbers that are smaller in size-typically 4-6 inches in length-and are perfect for making pickles. The smaller size ensures the seeds inside the cucumbers are small and that the pickles are small enough to fit in standard-size canning jars.
Protip: Size matters!
If you're shopping at the grocery store, Kirby Cucumbers (AKA: Baby Cucumbers) or Mini Cucumbers (AKA: salad cucumbers) are a good option for homemade dill pickles!
Which vinegar is best for this dill pickle recipe?
We prefer distilled vinegar (AKA: white vinegar) for dill pickles, but you can use any vinegar with a 5% acidity, including apple cider vinegar.
Want to save this recipe?
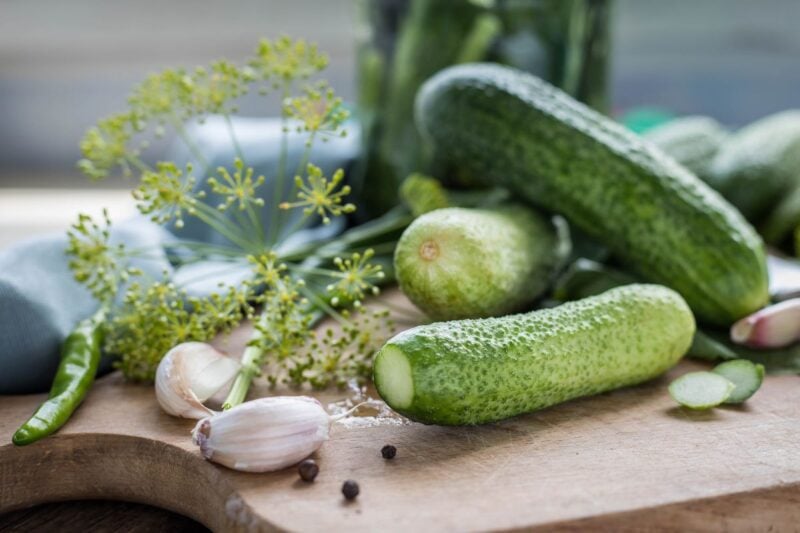
Do you use fresh or dried dill for pickling?
We highly recommend using fresh dill for this dill pickle recipe. In fact, we recommend using the dill flower head if you can get your hands on some because they are packed with tremendous dill flavor. If you plan on regularly making dill pickles, we recommend growing your own dill so you have a constant supply of the dill flower heads.
If you can't get your hands on the flower heads, then the next best thing are fresh dill sprigs, followed by dried dill weed.
What is the secret to crisp dill pickles?
Nobody wants a floppy pickle. Here's how to make sure you have crisp and crunchy pickles every time:
- Cut off the blossom end of each cuke. The blossom end has enzymes that will soften the cucumbers while they are in the jar of pickles. Just slice off at least 1/16" from the blossom end to avoid this.
- Add calcium chloride (AKA: Pickle Crisp) to the jar. This is a natural additive that you can find where canning supplies are sold, and it will take all the guesswork out of crisp pickles. A more rustic way to achieve the same thing is by using clean oak leaves! Oak leaves have natural tannins that help keep pickles crisp. Just add one leaf per jar.

What is pickling spice? And can I make my own?
Pickling spice adds a lot of flavor to the dill pickles. You can buy premade pickling spice anywhere you can buy canning supplies, but if you want to make your own, combine the following into a bowl until well combined:
- 1 broken cinnamon stick
- 5 crushed bay leaves
- 2 tablespoons mustard seeds
- 1 tablespoon whole allspice
- 1 tablespoon whole coriander seeds
- 1 tablespoon whole peppercorns
- 1 tablespoon ground ginger
- 1 tablespoon dill seeds
- 2 teaspoons cardamom seeds
- 0-2 teaspoons red pepper flakes (to taste)
- 1 teaspoon whole cloves
How do you make kosher dill pickles?
Turning these pickles into Kosher Dills is easy-just drop a peeled garlic clove and a hot pepper into each jar when you add the dill to the jar! In place of the red pepper, you can also use a pinch of red pepper flakes. Just be aware that spicy things tend to get more intense as the canned goods sit on the shelf-so start off slowly!
Our pro tips for the best pickles (that stay crunchy)
- Cut off the blossom end of each cuke: This will help prevent the cukes from softening.
- Use calcium chloride: As a failsafe to make sure you get crunchy pickles.
- Check your headspace: Using the right headspace is important to get a good seal.
- Use dill heads, if possible: These little flower heads are packed with dill flavor.
- Be patient: The best pickle flavor comes at least a month after resting on the shelf.
📖 Recipe
Dill Pickle Recipe
Ingredients
- 8 pounds room temperature pickling cucumbers see notes
- ¾ cup sugar
- ½ cup pickling salt
- 4 cups white vinegar
- 4 cups water
- 3 tablespoons pickling spice see notes
- Fresh dill flower/seed head one per jar
- Calcium chloride granules AKA: Pickle Crisp, optional (see notes)
Instructions
- Prepare canner, jars, and lids for canning.
- Wash 8 pounds room temperature pickling cucumbers well, and then trim off at least 1/16" from each end of the cucumber. Slice the cucumber into your desired form-spears, slices, or leave whole.
- In a large saucepan, combine the ¾ cup sugar, ½ cup pickling salt, 4 cups white vinegar, 4 cups water, and 3 tablespoons pickling spice. Bring mixture to a boil, stirring until the sugar dissolves. Reduce heat to a simmer, and simmer for 15 minutes.
- Pack cucumbers into a hot jar, leaving ½-inch headspace. Put one Fresh dill flower/seed head on top of the cucumbers, followed by ⅛ teaspoon of Calcium chloride granules(for pints) or ¼ teaspoon (for quarts), if using.
- Ladle the hot pickling liquid over the cucumbers, leaving ½-inch headspace.
- Remove air bubbles, clean jar rim, and attach lid until fingertip tight. Repeat with remaining jars.
- Process pint or quart jars in a boiling water bath canner for 15 minutes. Turn off heat, remove cover, and let jars cool in the water for 5 minutes. Then remove jars from the canner, and allow to cool for 12 hours before checking the seal-do not retighten any loose rings. Check for proper seal, then label and store the jars.
Notes
- Pickling cucumbers (sometimes just sold as "pickles" at farm stands) are fresh cucumbers that are smaller in size-typically 4-6 inches in length. The smaller size ensures the seeds inside the cucumbers are small and that the pickles are small enough to fit in standard-size canning jars.
- If you store your cucumbers in the fridge, make sure to bring them up to room temperature before packing them into the hot jars to avoid jar breakage.
- You can buy premade pickling spice anywhere you can buy canning supplies, but if you want to make your own here's how: combine 1 broken cinnamon stick, 5 crushed bay leaves, 2 tablespoons mustard seeds, 1 tablespoon whole allspice, 1 tablespoon whole coriander seeds, 1 tablespoon whole peppercorns, 1 tablespoon ground ginger, 1 tablespoon dill seeds, 2 teaspoons cardamom seeds, 0-2 teaspoons red pepper flakes (to taste), and 1 teaspoon whole cloves in a bowl, and mix until well combined.
- Calcium chloride (AKA Pickle Crisp) is an additive to ensure pickles stay crisp during the preserving process. It's not absolutely necessary, but it is an easy failsafe to make sure you get good pickles. You can buy it anywhere you get canning supplies.
- To make Kosher Dills: add 1 peeled clove of garlic and 1 hot red pepper to each jar when you add the dill head.

This recipe was definitely beginner friendly. Thanks!
Enjoy your pickles!
This looks like a great recipe, thank you. My question is whether I can omit the sugar.
Hi Cheryl! We don't recommend making any changes to a tested canning recipe for safety reasons. If you'd like to can your pickles without sugar, we recommend seeking out a tested recipe from a trusted source that doesn't use sugar. Unfortunately, that's not this one!