Canning Salsa

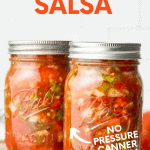
Grab some chips, because canning salsa is a breeze with this step-by-step photo tutorial and beginner-friendly, professionally tested, and absolutely delicious recipe!
Why You’ll Love This Recipe
I’ve been canning this exact salsa recipe in my home kitchen for decades! I’ve made literally hundreds of jars of this beautiful, zesty, tangy salsa. Here’s why I know you’ll love this recipe:
- The acidified salsa recipe makes it foolproof for beginning canners—follow the directions, and you don’t have to worry a lick about food safety.
- Speaking of food safety, this is a professionally tested canning recipe, so you can feel good that it’s the correct pH and density to safely can at home.
- You can customize the heat level to your liking. Want a no-heat salsa? No problem. Want to scorch your mouth? Go right ahead! Make it your own.
- This salsa is incredibly versatile! Use it to flavor chili, spoon it onto chicken fajitas, use it as a dressing on your favorite taco salad, and, of course, dig into it with your favorite tortillas chips!
What You’ll Need
Mid-to-late summer is the perfect time to can salsa since farmer’s markets and home gardens are overflowing with all the ingredients needed. Here’s what to grab:
- Tomatoes: Obviously! Traditionally, Roma or paste tomatoes are your best bet because of their low amount of seeds and thick flesh, but we have a different philosophy—the best tomatoes to use for canning salsa are the tomatoes you have! I’ve mixed cherry tomatoes, Romas, heirlooms, and beefsteaks into salsa with great results.
- Green Bell Peppers: These beauties add flavor without any heat.
- Onions: I like using sweet white onions here, but any onion will do the trick.
- Spicy Peppers (or not): This is where you can get creative! I like to use jalapenos for a small, but still kid-friendly kick. But you can go as spicy as you like! Want absolutely no heat? Just sub in more green bell peppers.
- Apple Cider Vinegar: The key ingredient to acidifying this recipe and making it safe for home canning. It also adds an awesome tang!
- Garlic: A little bit of garlic goes a long way to add some extra rich flavor.
- Cilantro: If you’re one of those folks who has the cilantro/soap gene, feel free to leave this out.
- Salt: Don’t forget to season your salsa!
If this is your first time waterbath canning, you’ll also need a few speciality tools. I highly recommend reading through our Waterbath Canning 101 article to get a full overview, but for now, here are the tools you’ll need for canning this specific salsa recipe:
- Pint canning jars, lids, and rings
- Large canner (or large stock pot with lid)
- Canning trivet or rack that can fit in the canner/stock pot
- Jar grabber
- Wide mouth funnel
- Headspace checker or clear plastic ruler
- Or buy almost all of this stuff in a canning starter kit!
Watch The Video
How to Can Salsa
Follow along with my numbered instructions and step-by-step photos to see exactly how to can salsa. Here’s how to do it:
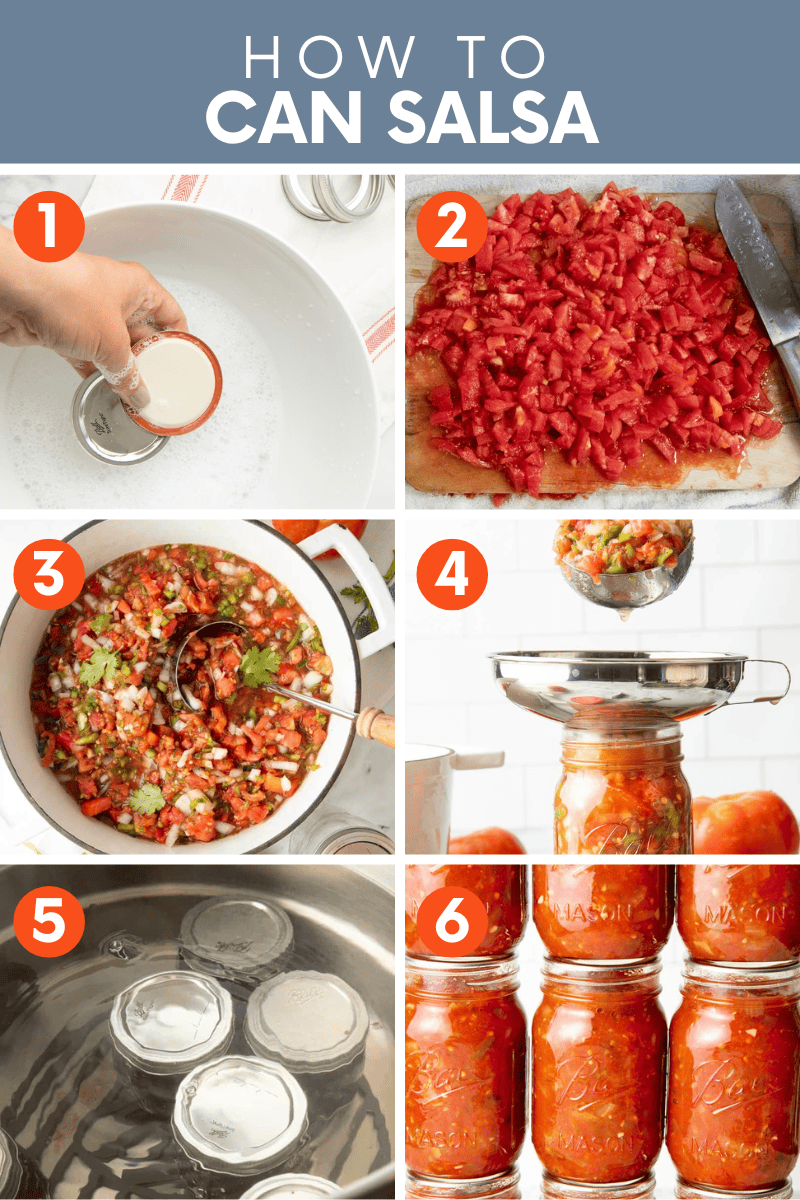
- Prepare your canner, jars, and lids, as we talk about in our intro to canning post.
- Blanch and peel your tomatoes. We cover how to do this extensively in our post on canning diced tomatoes. Dice the peeled tomatoes, peppers, onions, and garlic.
- Combine tomatoes, peppers, onions, garlic, vinegar, cilantro, and salt in a soup pot or Dutch oven. Bring to a boil, reduce heat, and cook, stirring frequently for about 10 minutes, or until thickened slightly.
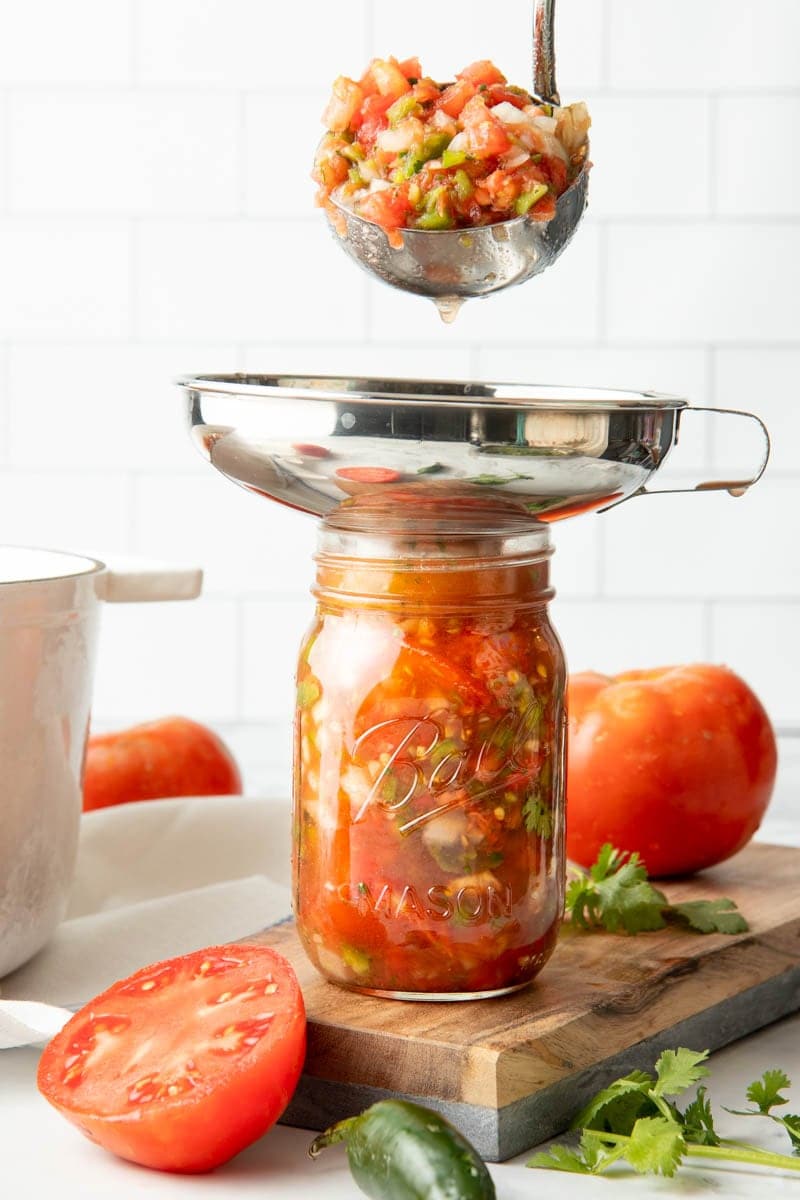
- Ladle into prepared jars, remove air bubbles, wipe the rims of the jars, and then fit with lids and rings.
- Process in a boiling water bath canner for 15 minutes (adjusting time for altitude). Turn off the canner, remove the lid, and let the jars sit in the canner for 5 minutes.
- Transfer the jars to a spot to cool and seal. Check seals after 12-24 hours.
Variations and Substitutions
You have to be very careful when it comes to swapping ingredients or amounts in a canning recipe. This recipe is specifically formulated and tested to ensure it is safe for home canning as written. But there are a few places where you can make tweaks:
- Change the spice level: you can safely change the ratio of hot to sweet peppers as long as you keep the same total volume of peppers
- Swap (some) of the vinegar: you can safely swap out half of the vinegar for an equal amount of bottled (not fresh squeezed!) lemon or lime juice
- Add dried herbs and spices: you can safely add dried herbs and spices (I like cumin!) to this recipe, you cannot add more fresh herbs safely
- Make a smoother or blended salsa: home canned salsa recipes will be on the chunkier side because the density of the food is important when it comes to canning safety. So while I can’t recommend you blend this salsa before canning, you can blend this salsa right before eating—most immersion blenders fit perfectly in wide-mouth canning jars!
Storage Directions
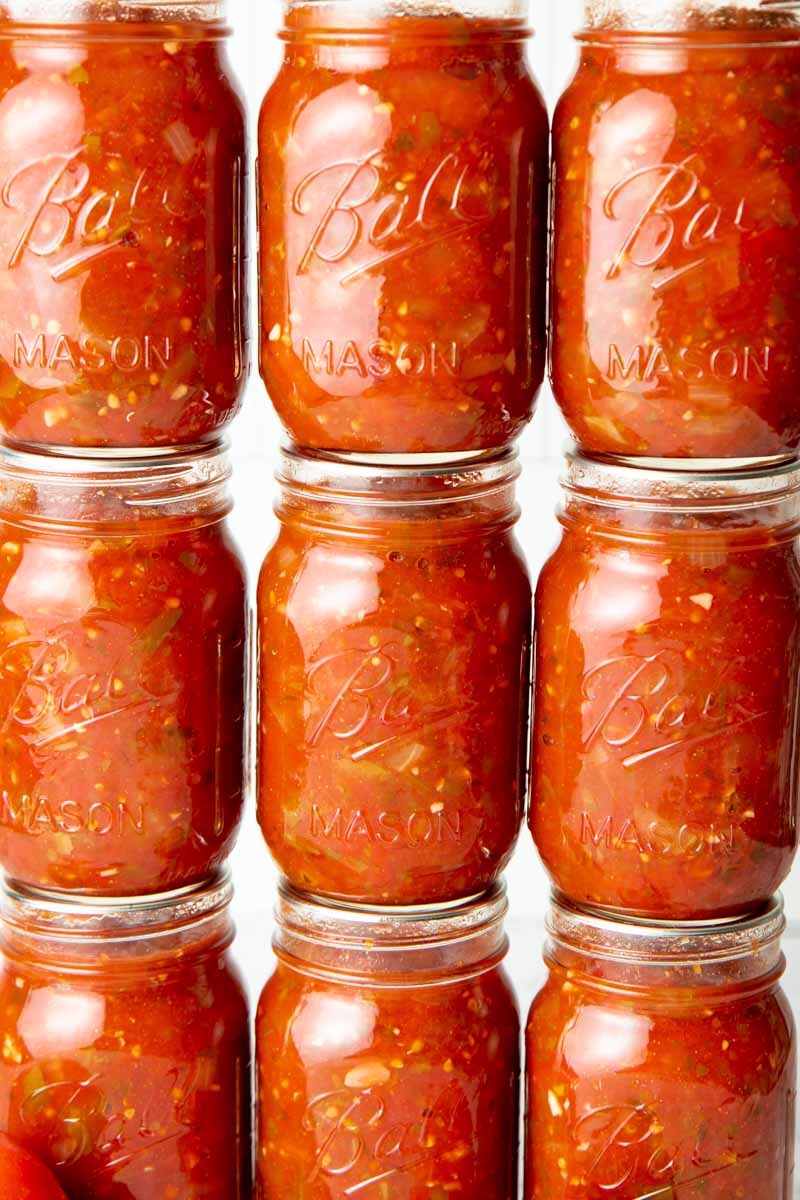
Properly canned and sealed salsa has a shelf life of 18 months in a cool and dark spot. After that time, you might see a slight degradation of quality (taste, color, or texture), but as long as it is sealed well, it’s still perfectly safe to eat.

Want to save this recipe?
Canning Salsa Tips and Tricks
Frequently Asked Questions
Do you have to cook salsa before canning?
I highly recommend it! Cooking tomato salsa before canning helps improve the quality of the final product in a few ways:
- It melds the flavors of tomatoes, peppers, onions, garlic, and other aromatics together to create a more refined flavor.
- It helps to reduce and thicken the salsa, making for a more intensified flavor and less liquidy texture.
- It helps break down the structure of the tomatoes so you get less separation between the juice and solids during canning.
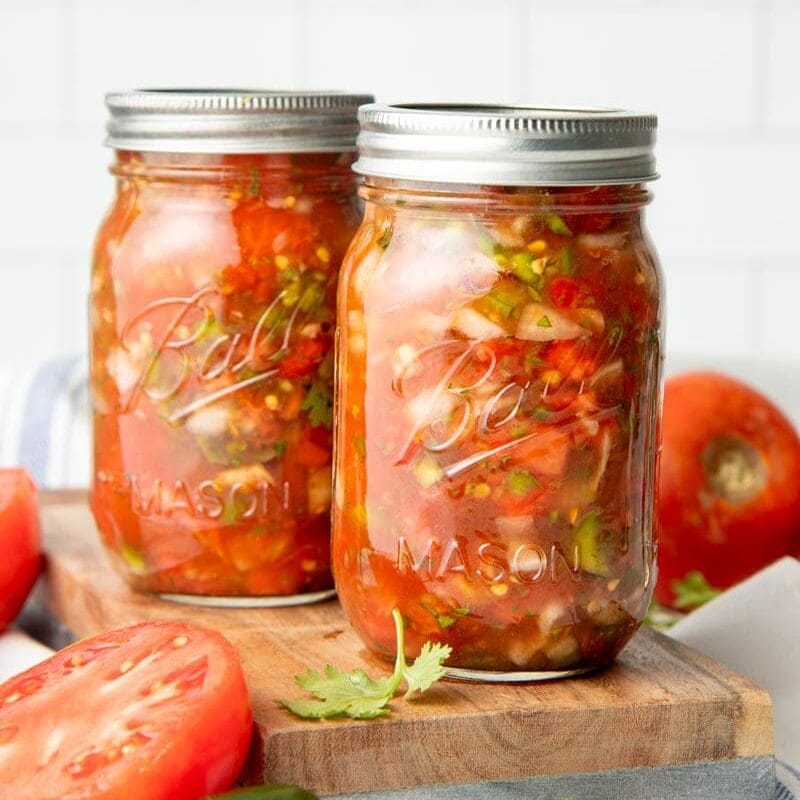
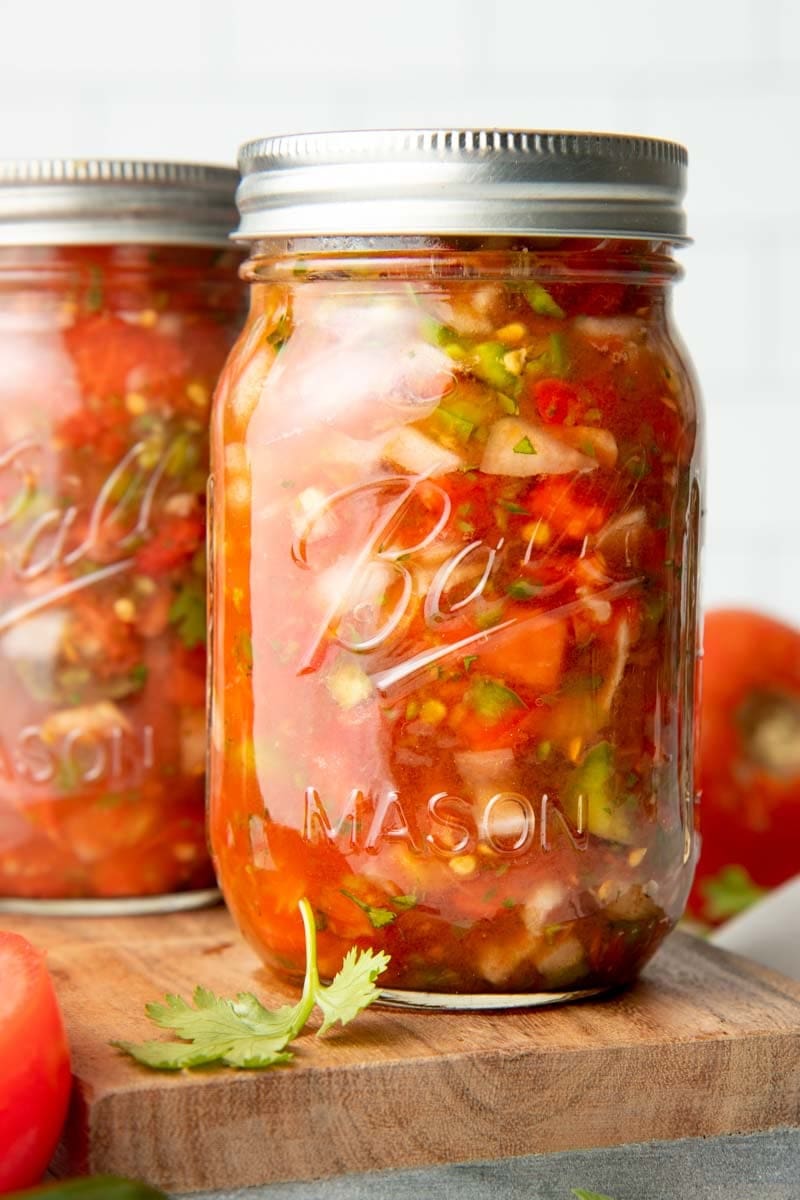
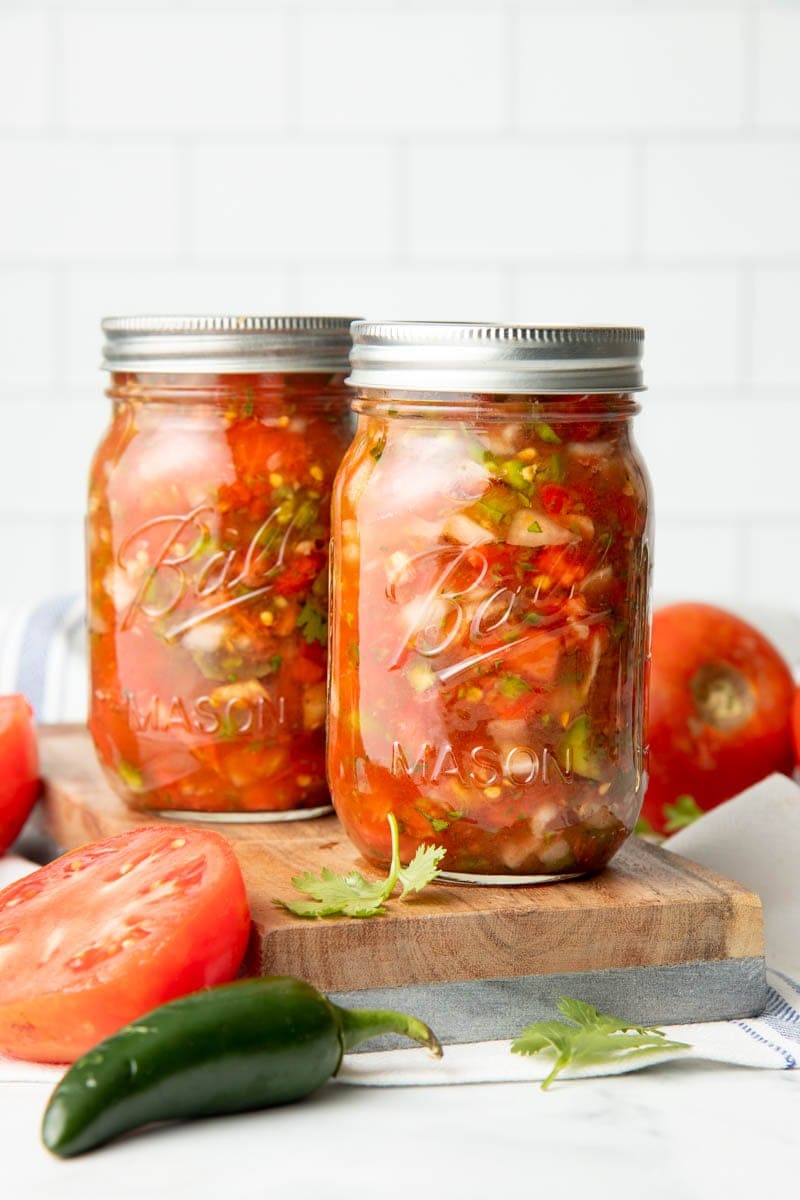
What are the best jars to can salsa in?
Salsa is pretty flexible on what jar it wants to live in! Here, I’m canning in Ball® Regular Mouth Pint Canning Jars. I find that the pint size is really good for salsa—it’s enough to have for a family snack or two without having so much that it gets lost in the back of the fridge. It’s also similar to the size of store-bought salsa jars, which make it easy to swap in for recipes.
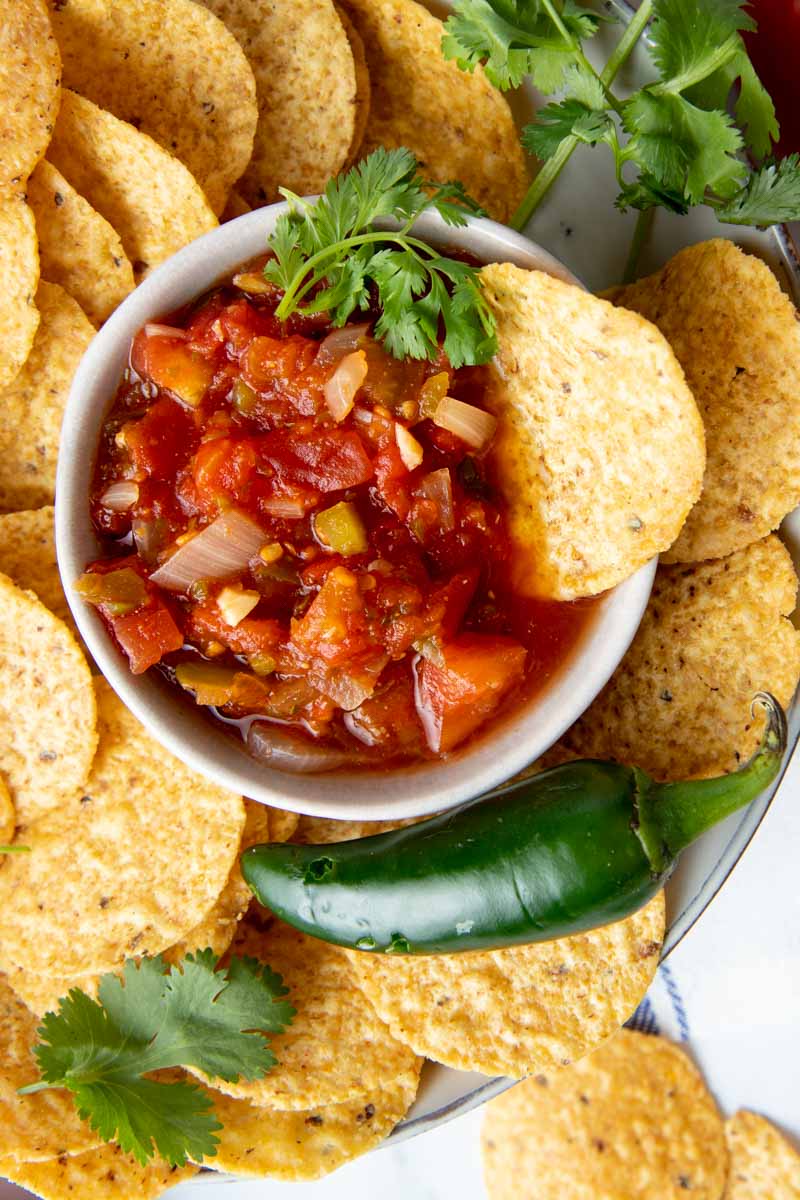
How to Use This Salsa
Salsa is so much more than just a dip for chips! Here’s some of my favorite ways to use up my canned salsa:
- to season turkey taco chili
- as a condiment for crockpot chicken fajitas or black bean burrito bowls
- as a dressing for chicken taco salad
- as a dip for chicken quesadillas
Love this recipe? Leave a review!
If you love this recipe as much as I do, make sure to leave a 5-star review below to help others.
Canning Salsa: Recipe & Guide
Ingredients
- 10 cups chopped cored peeled tomatoes about 25 medium
- 5 cups chopped seeded green bell peppers about 4 large
- 5 cups chopped onions about 6 to 8 medium
- 2 ½ cups chopped seeded chili peppers such as hot banana, Hungarian wax, serrano or jalapeño about 13 medium
- 1 ¼ cups apple cider vinegar
- 3 cloves garlic finely chopped
- 2 tablespoons finely chopped cilantro
- 1 tablespoon salt
- 1 teaspoon hot pepper sauce optional
Instructions
- Prepare boiling water canner. Heat jars in simmering water until ready for use. Do not boil. Wash lids in warm soapy water and set aside with bands
- Combine tomatoes, green peppers, onions, chili peppers, vinegar, garlic, cilantro, salt and hot pepper sauce, if using, in a large stainless steel saucepan. Bring to a boil over medium-high heat, stirring constantly. Reduce heat and boil gently, stirring frequently, until slightly thickened, about 10 minutes.
- Ladle hot salsa into hot jars, leaving 1/2 inch headspace. Remove air bubbles. Wipe jar rim. Center lid on jar and apply band, adjust to fingertip tight. Place jar in boiling water canner. Repeat until all jars are filled.
- Process both pint and half pint jars for 15 minutes, adjusting for altitude. Turn off heat, remove lid, let jars stand 5 minutes. Remove jars and cool 12-24 hours. Check lids for seal, they should not flex when center is pressed.
Video
Notes
- Change the spice level: you can safely change the ratio of hot to sweet peppers as long as you keep the same total volume of peppers
- Swap (some) of the vinegar: you can safely swap out half of the vinegar for an equal amount of bottled (not fresh squeezed!) lemon or lime juice
- Add dried herbs and spices: you can safely add dried herbs and spices (I like cumin!) to this recipe, you cannot add more fresh herbs safely
- Make a smoother or blended salsa: home canned salsa recipes will be on the chunkier side because the density of the food is important when it comes to canning safety. So while I can’t recommend you blend this salsa before canning, you can blend this salsa right before eating—most immersion blenders fit perfectly in wide-mouth canning jars!
Nutrition
Looking for more beginner canning recipes?
- Strawberry Jam. Put those sweet summer berries to good use with this classic strawberry jam.
- Tomato Sauce. When it comes to putting up tomatoes, we never skip tomato sauce. It’s just so versatile!
- Bread and Butter Pickles. Only four ingredients? Yup! This beginner pickle recipe is as simple as can be.
- Diced Tomatoes. Canning diced tomatoes is a regular part of late summer in our house. Learn how to make this pantry staple!
Many links on this site are affiliate links. As an Amazon Associate, we earn from your qualifying purchases at no extra cost to you.