
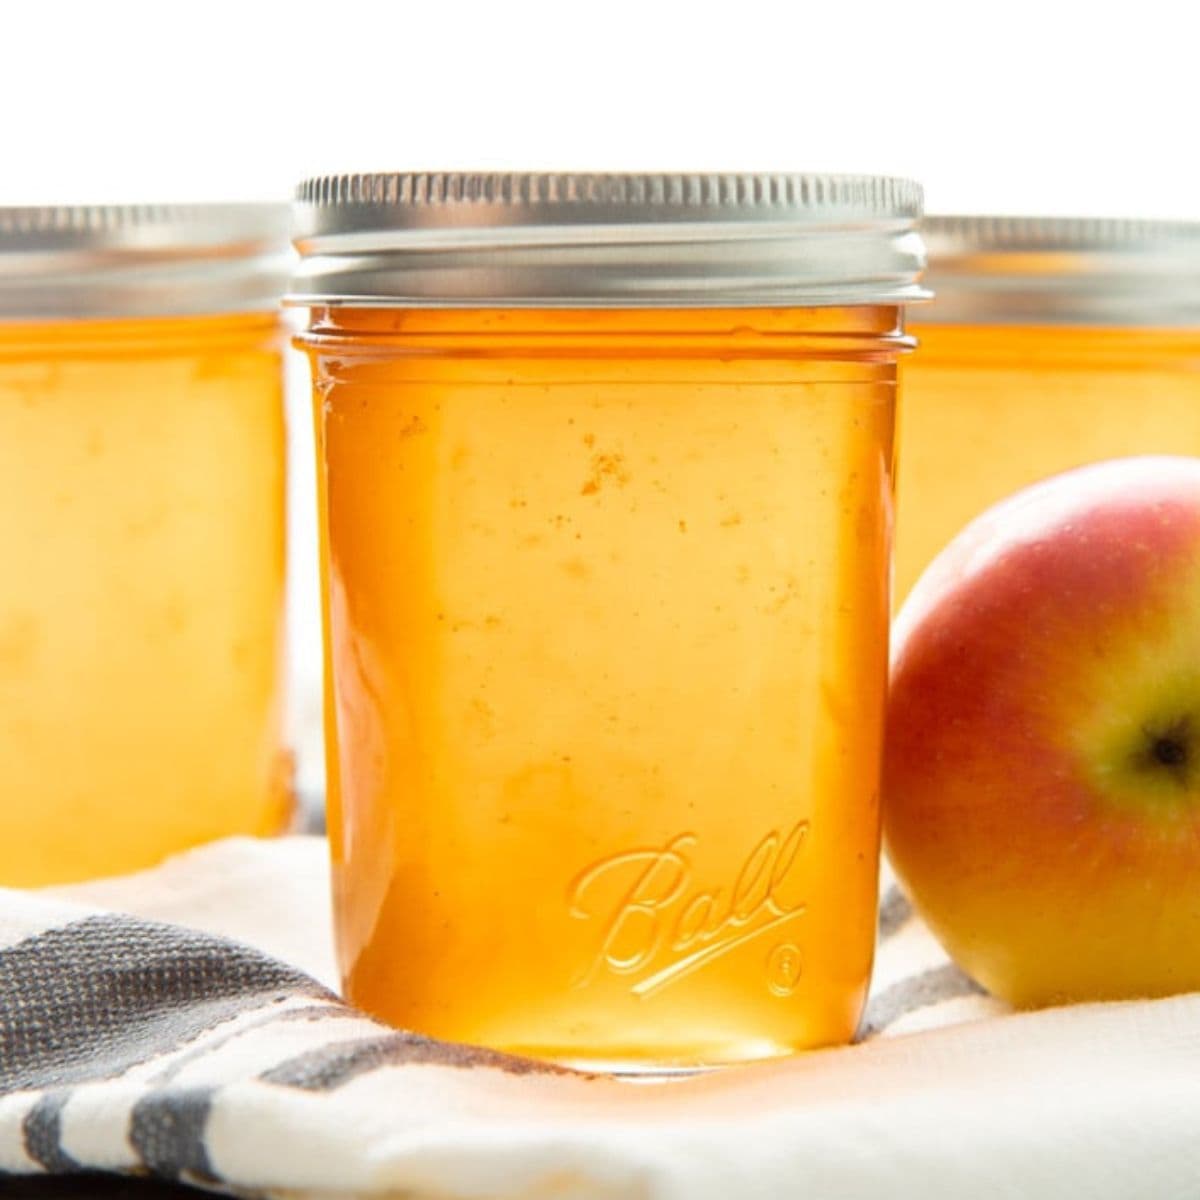
Apple Jelly Recipe
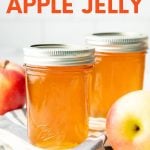
This 4-ingredient apple jelly recipe is maybe the easiest beginner canning recipe on the planet! If you can boil water, I promise you can make this sweet, tart apple jelly that is perfect on toast or English muffins.
🔍 Recipe At-A-Glance: Apple Jelly
- ⏰ Prep Time: 10 minutes
- ⏲️ Cook & Processing Time: 20 minutes
- 🍎 Flavor Profile: Sweet, apple-y, and tart
- 🍞 Good For: Slathering on toast or English muffins. Nestled into a charcuterie board (learn how to make a cheese board). As a topping for waffles (it's so good on my pumpkin waffles), pancakes, or oatmeal (try it on my slow cooker steel cut oats). As a glaze for meatballs (swap it for the grape jelly in my cocktail meatballs with grape jelly). Spooned into my thumbprint cookies with jam. The possibilities are endless!
- 👩🏻🔬 Safety: Tested safe and approved canning recipe directly from the makers of Ball Mason Jars
- 🧡 Difficulty: Super easy. Perfect beginner canning project!
Summarize and Save this Recipe Using:
Jump To
🧡 Why You'll Love This Recipe
Hiya friend: Fancy jelly doesn't have to be hard! This beautiful, golden apple jelly comes together in less than an hour using just four ingredients.
Here's why you'll love this recipe:
- Only 4 ingredients: Easy ingredients you can grab at any supermarket
- Done in under an hour: Go from no-jelly to jelly in less time that it takes you to get through an episode of your favorite show!
- Great apple flavor: Crisp, sweet, tangy apple flavor that is so good in so many places (promise me you'll try it in my baked brie with jam recipe).
- A killer homemade gift: No one needs to know it only took you a few minutes to make their gifts!
🍎 The Ingredients You Need
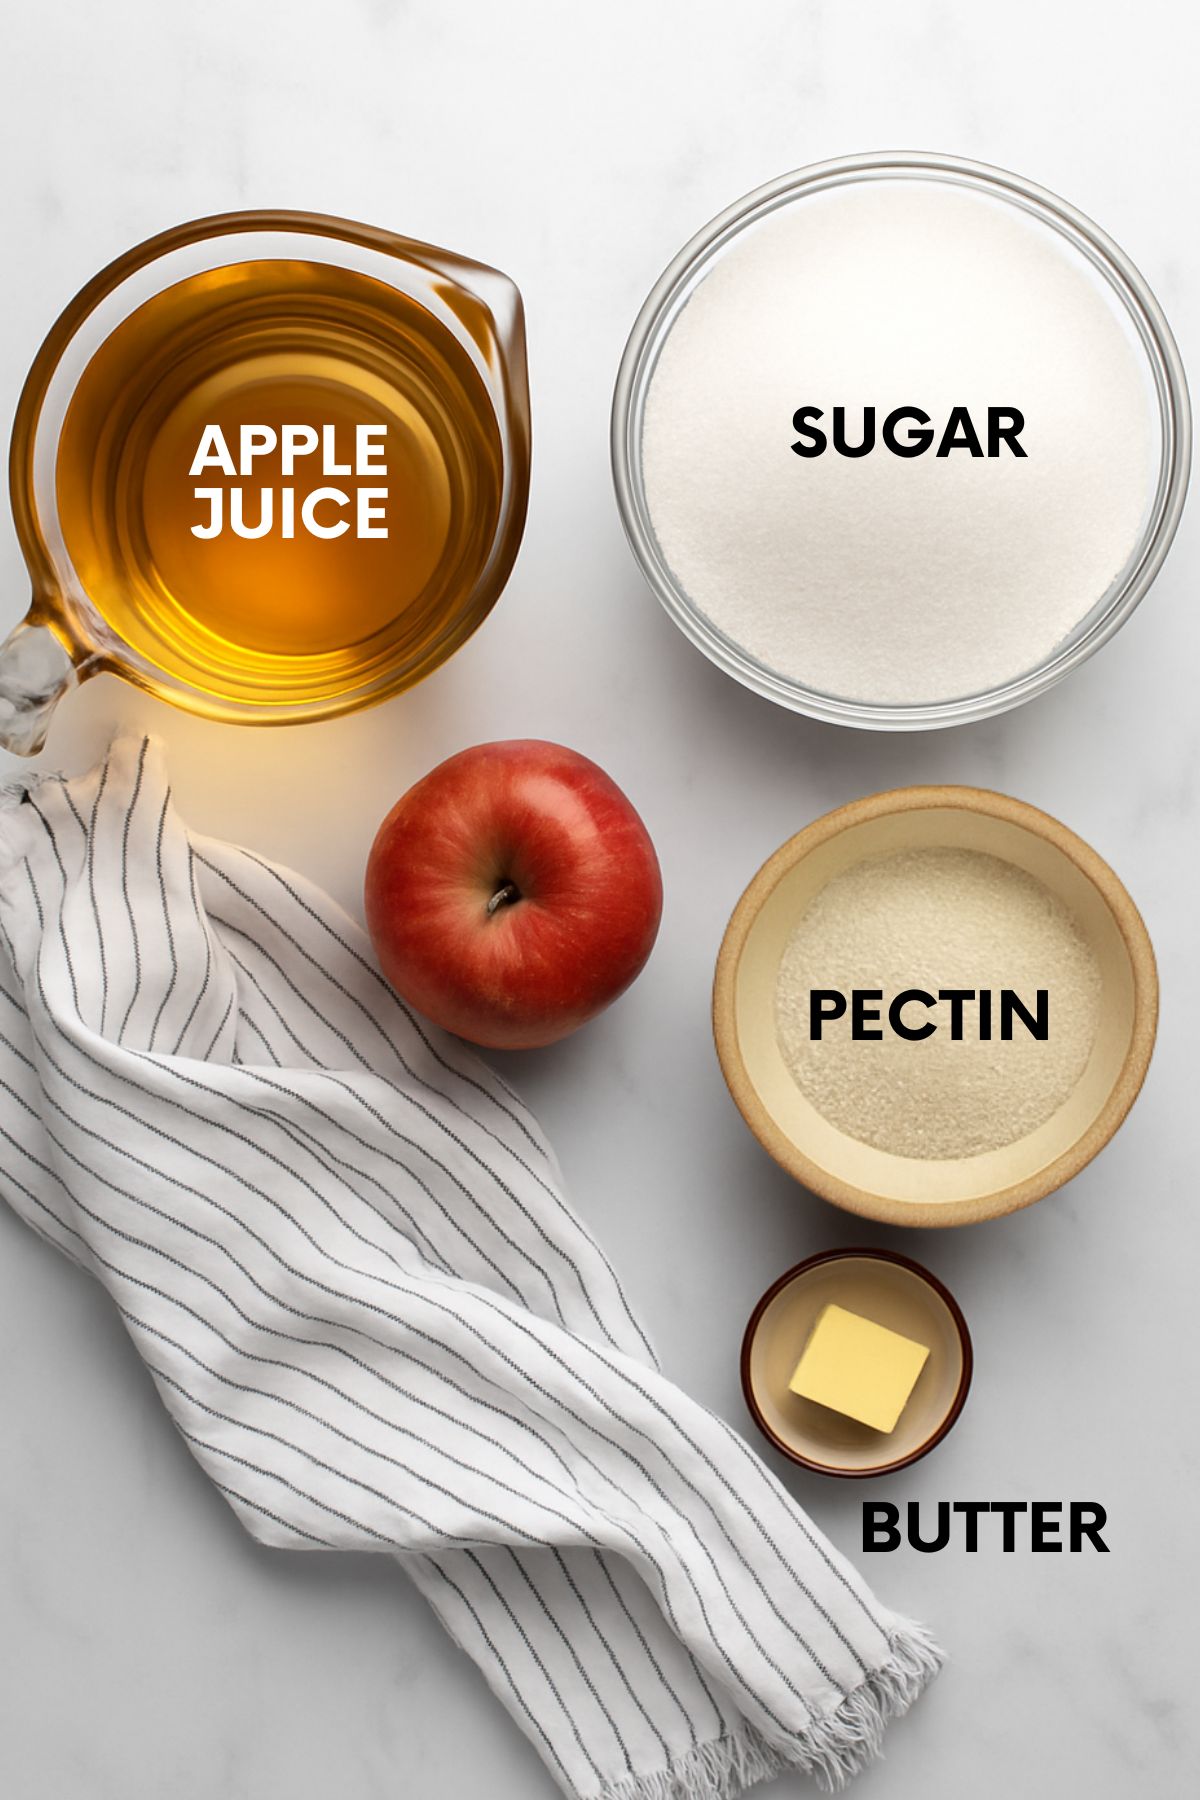
- Apple juice: Yup. Just regular apple juice from the store!
- Powdered pectin: Apples contain pectin (the compound that helps jelly "gel" after cooking), but most of it is found in the peels, and apple juice doesn't have any peels! So we'll add in powdered pectin to make sure to get a good set.
- Granulated sugar: Yes, this uses a lot of sugar, but it's jelly! It's supposed to be sweet.
- Butter: I know it sounds weird to add butter to your jelly, but it's an old canner's trick! The fat helps keep the jelly from foaming while cooking.
Make sure to check the recipe card below for the full ingredients list, along with quantities and my expert tips and tricks.
🔁 Variations
- Make jelly from fresh apples: Follow these instructions for how to extract juice from fresh apples. Measure out your final amount of juice and then proceed with the recipe as written.
- Make apple butter instead: Apple jelly and apple butter are two different animals, but don't worry, I have an Instant Pot apple butter recipe that'll knock your socks off.
🫙 The Equipment You Need
Most of what you need for canning this jelly, you'll already have on hand. But waterbath canning does require a few specialty tools:
- Canner: This is just a large pot to process (AKA: boil) your jars.
- Canning Rack or Trivet: To hold the jars in the pot.
- Jar Lifter: Speciality tool that makes grabbing hot jars easy.
- Jars and Lids: I recommend canning this apple jelly in 8-ounce jelly jars.
- Canning Funnel: A wide spout funnel made to fit in canning jars.
- Headspace checker or clear plastic ruler: to make sure you have the right amount of space at the top of your jars.
📷 How to Can Apple Jelly
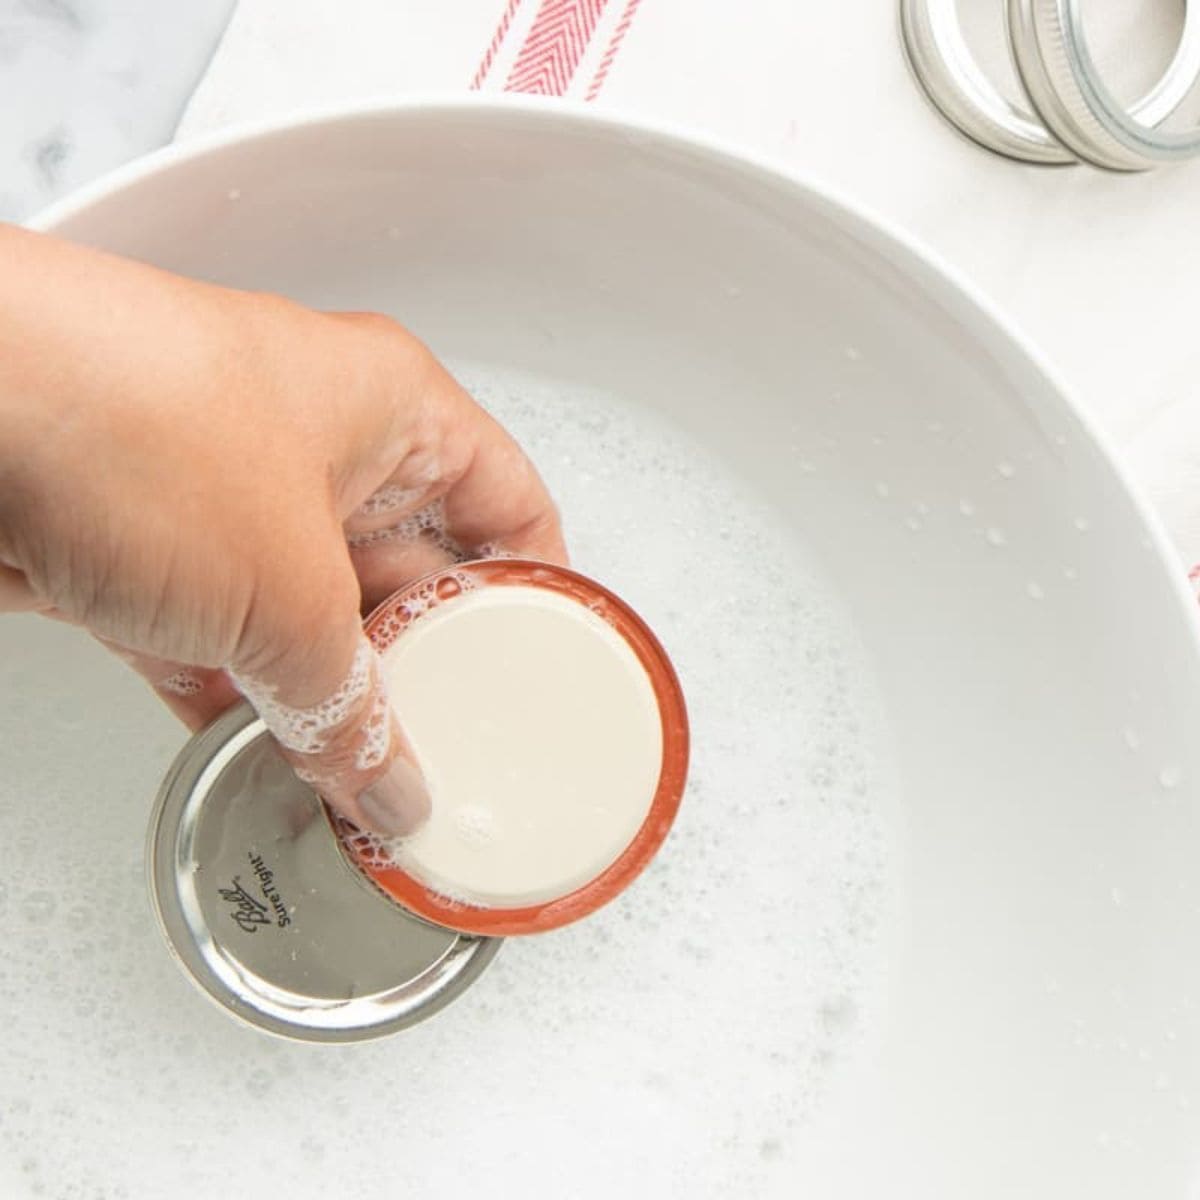
Step 1: Prep your jars by washing them and then placing them in water in your canner pot and turning it on. Wash your lids and rings in warm, soapy water.
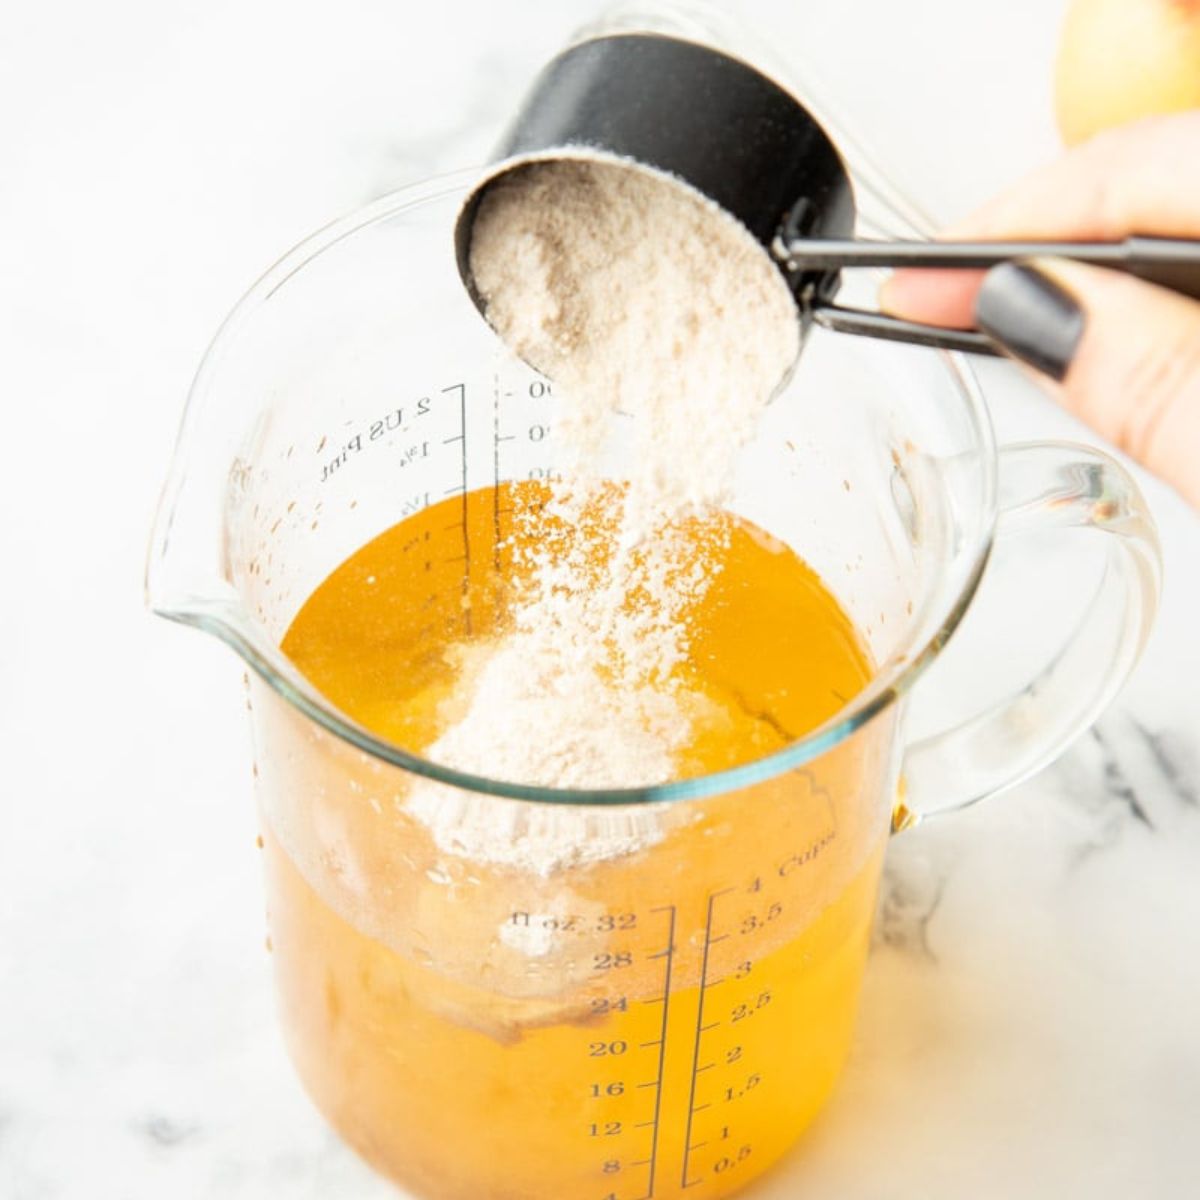
Step 2: Whisk together apple juice and pectin until mostly combined (it won't dissolve, but you want it to be evenly distributed).
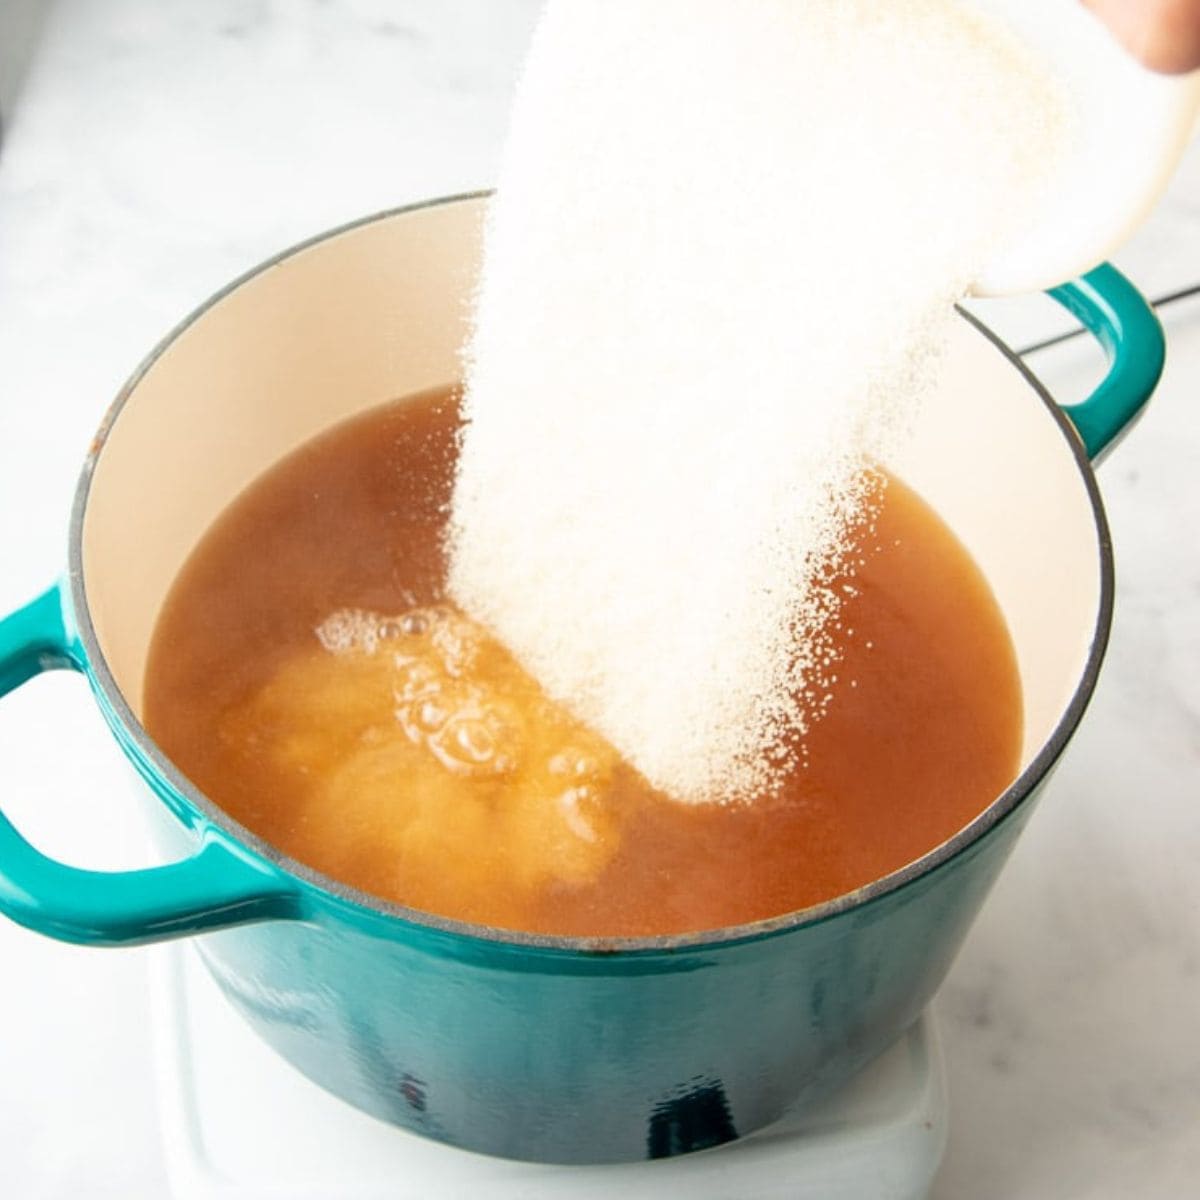
Step 3: Pour the mixture into a saucepan or Dutch oven. Add in butter. Heat over medium-high heat until it comes to a rolling boil. Add in the sugar in one addition.

Step 4: Stirring constantly, bring to a rolling boil that cannot be stirred down, and boil hard for one minute. Skim off any foam and remove from heat.

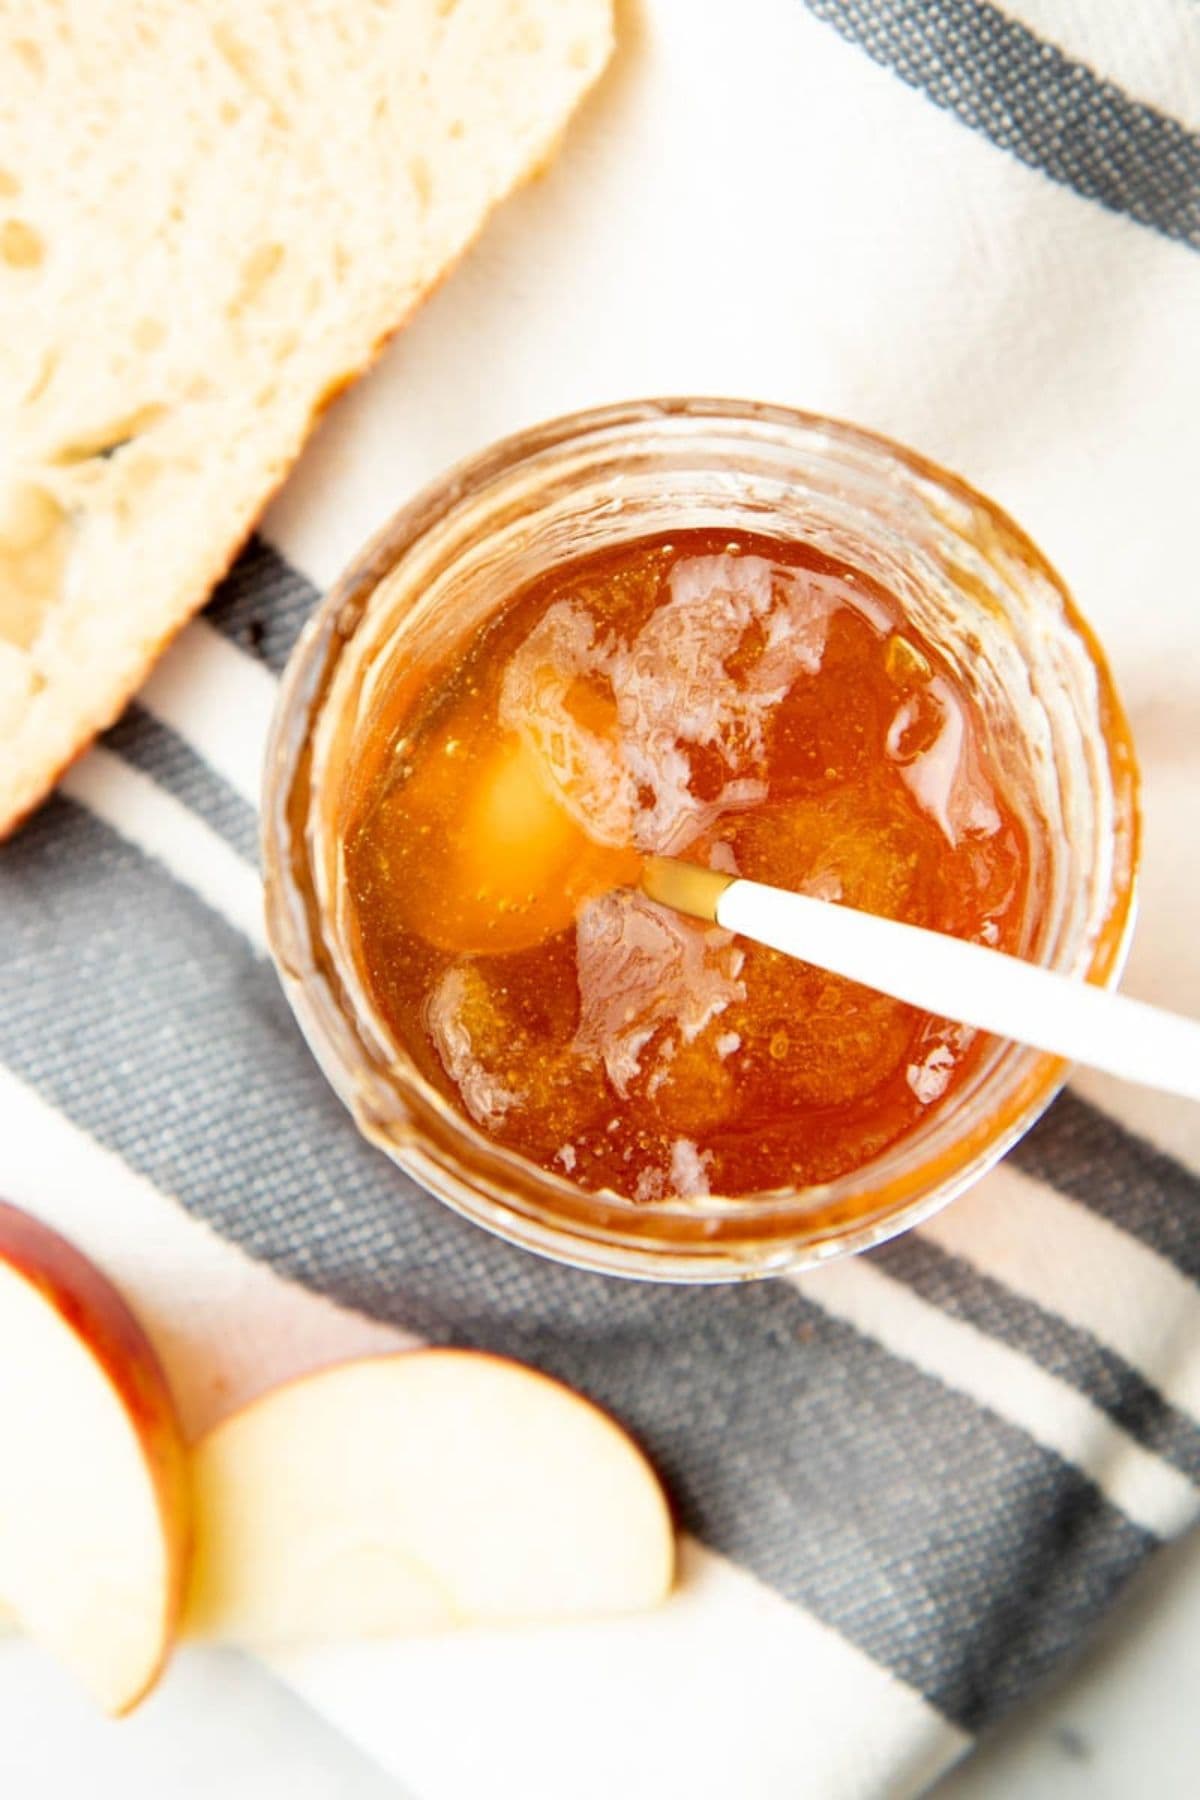
Step 5: Test for gel by placing a small spoonful of jelly on a saucer that has been placed in the freezer. Let the jelly cool, then run your finger through the puddle-if it is the texture of jelly, you are ready to can! If it is still too thin, continue to boil hard, testing every minute until it's the right consistency.
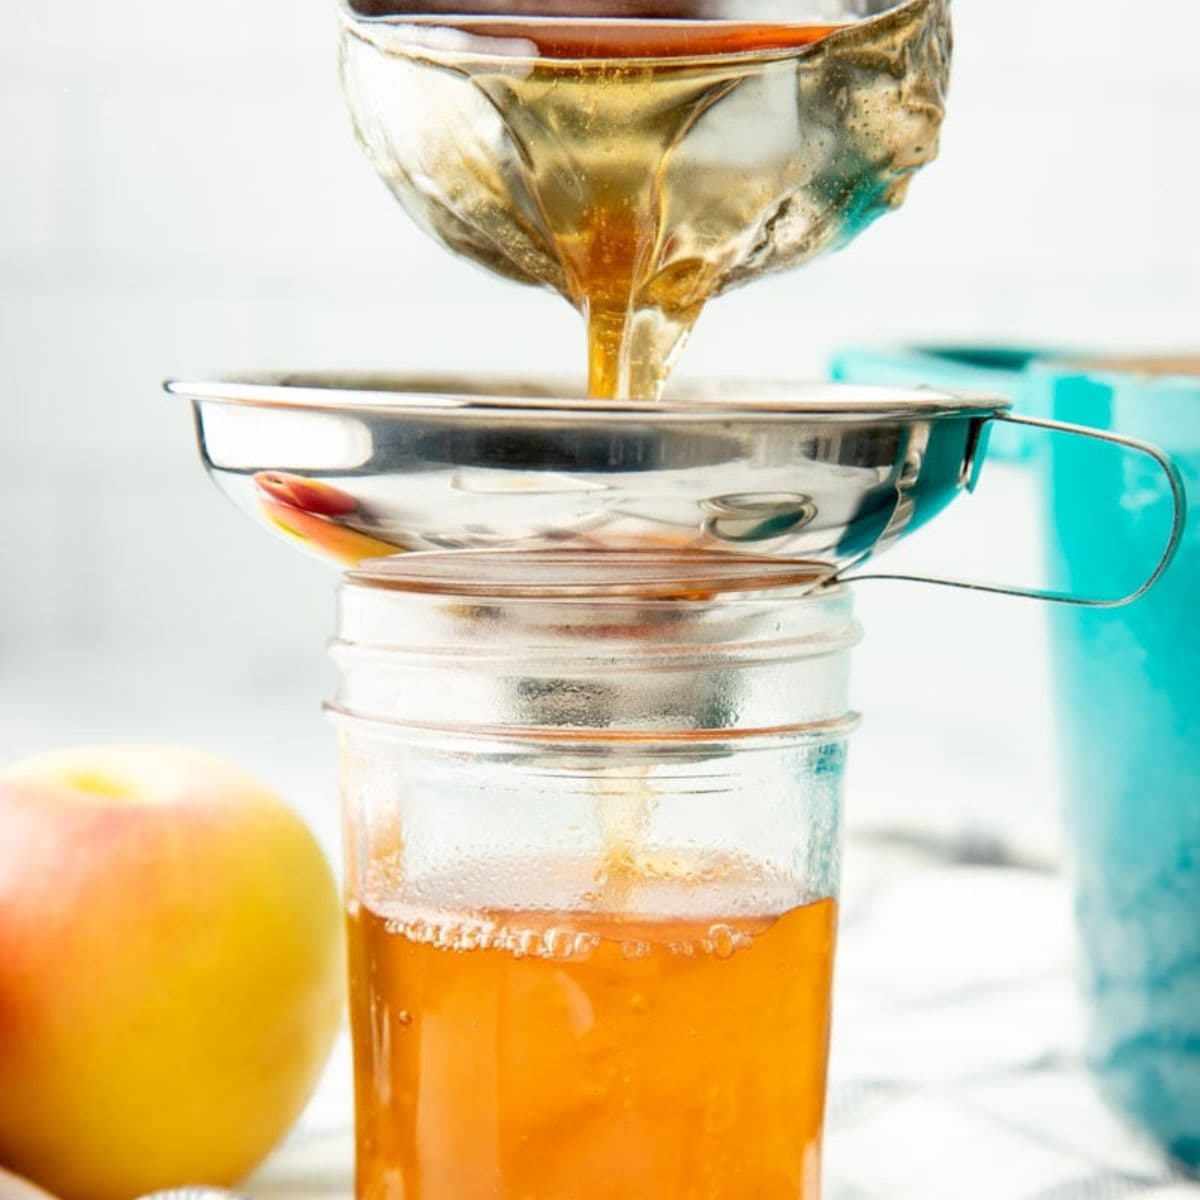
Step 6: Fill clean and hot jars with the hot jelly. Check the headspace-you're looking for ¼" with jelly-adjusting if necessary.
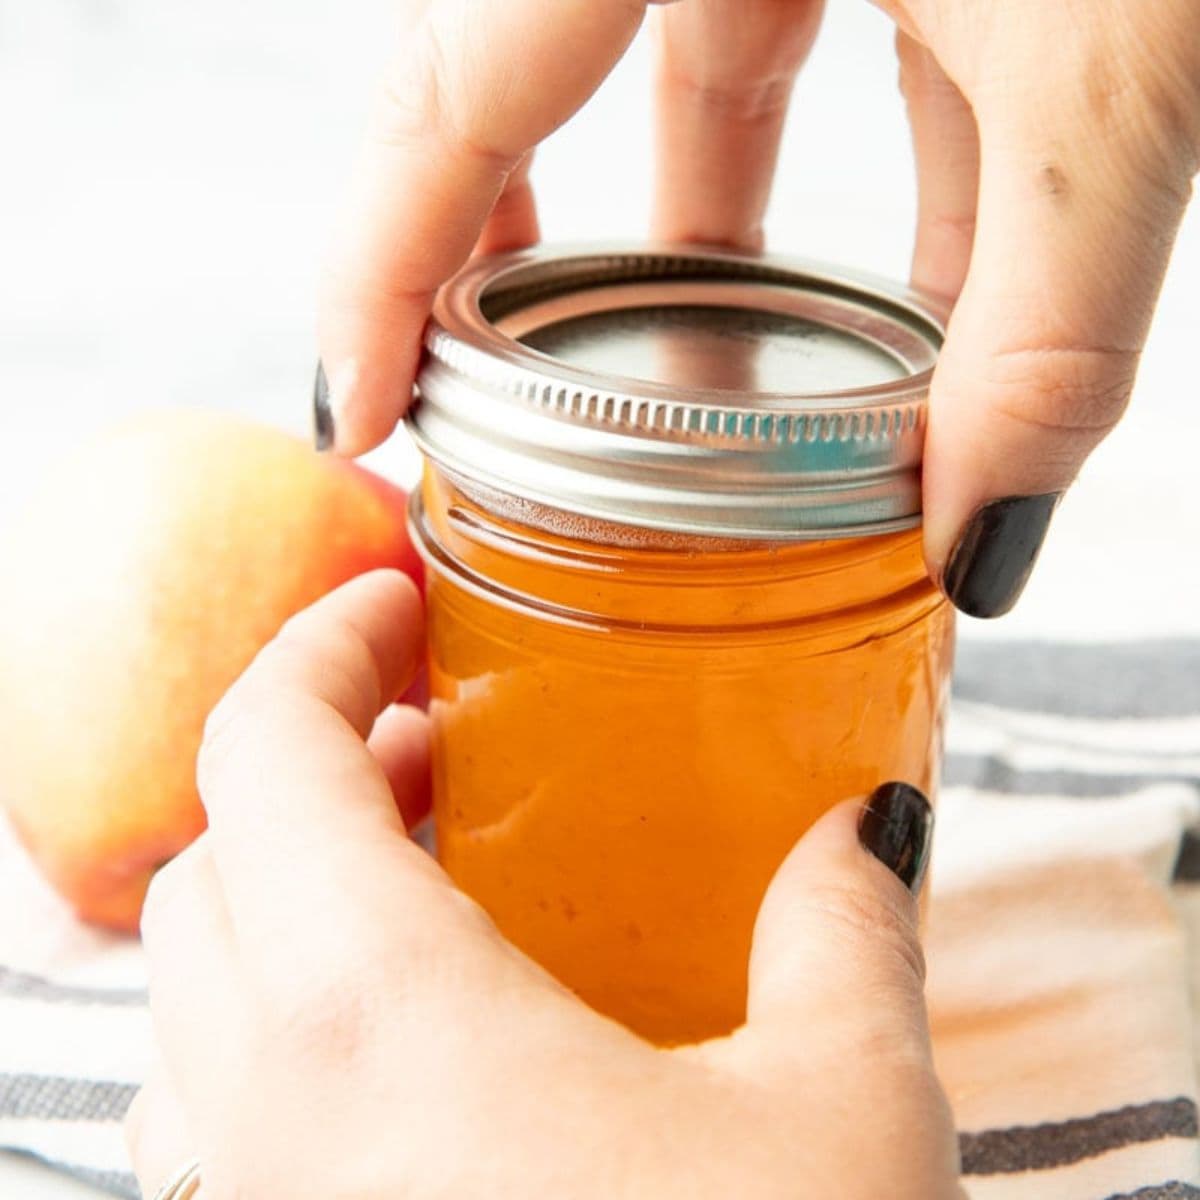
Step 7: Wipe the rim of the jar with a wet cloth, then fit on the lid and ring until it's just fingertip tight. Do not overtighten.
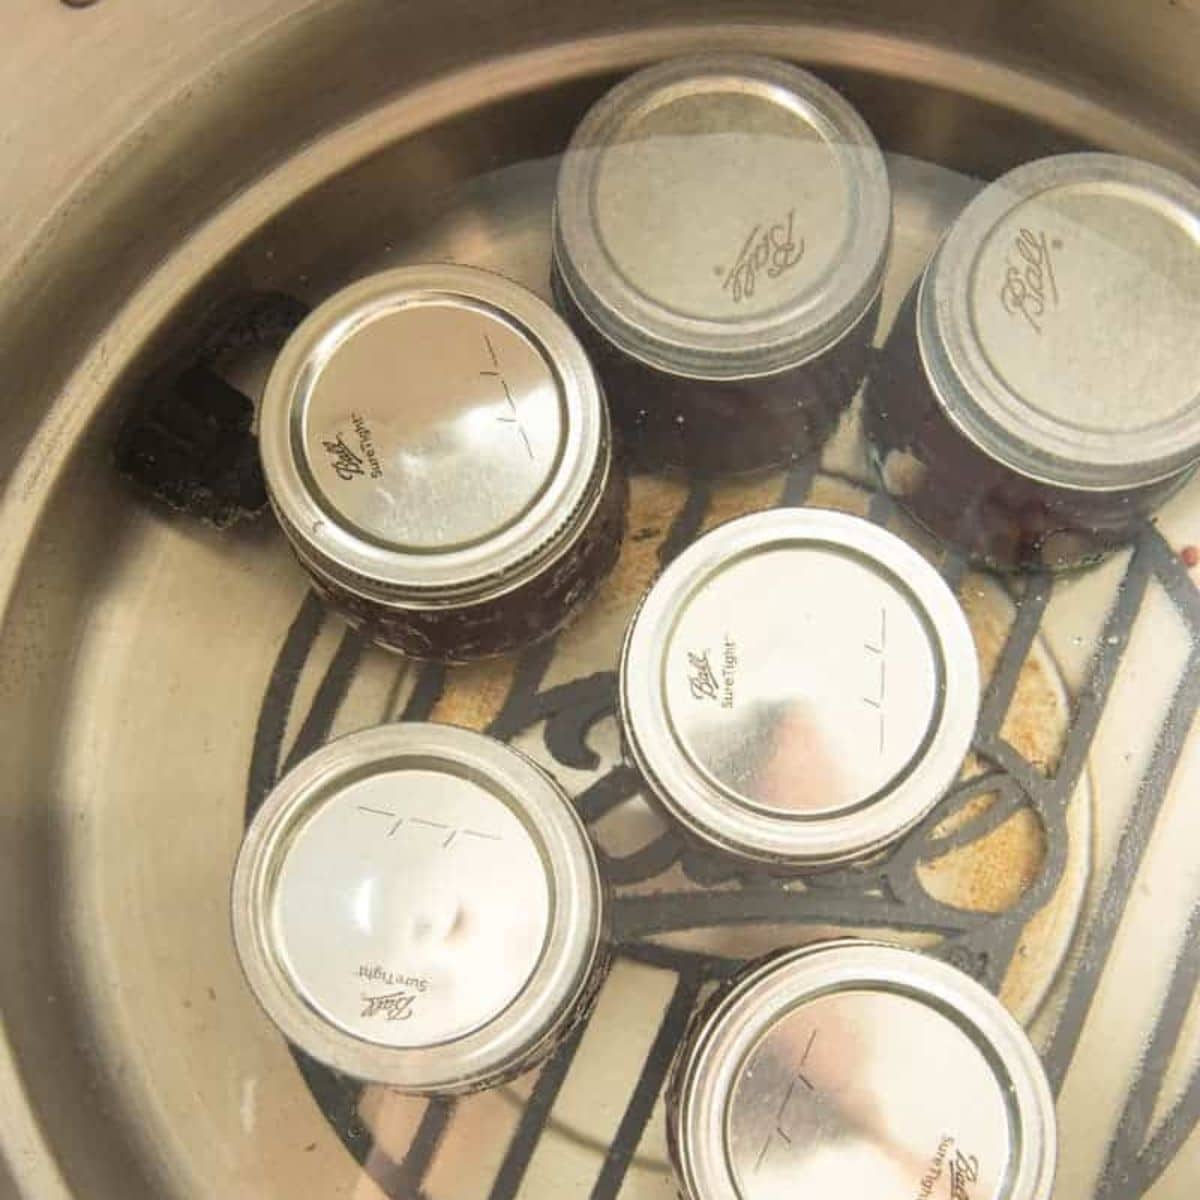
Step 8: Place jars in the hot water bath canner. Bring to a rolling boil, and process the jars for 10 minutes.

Step 9: Remove the canner lid and let the jars cool for five minutes in the canner before removing and placing somewhere to cool for 24 hours
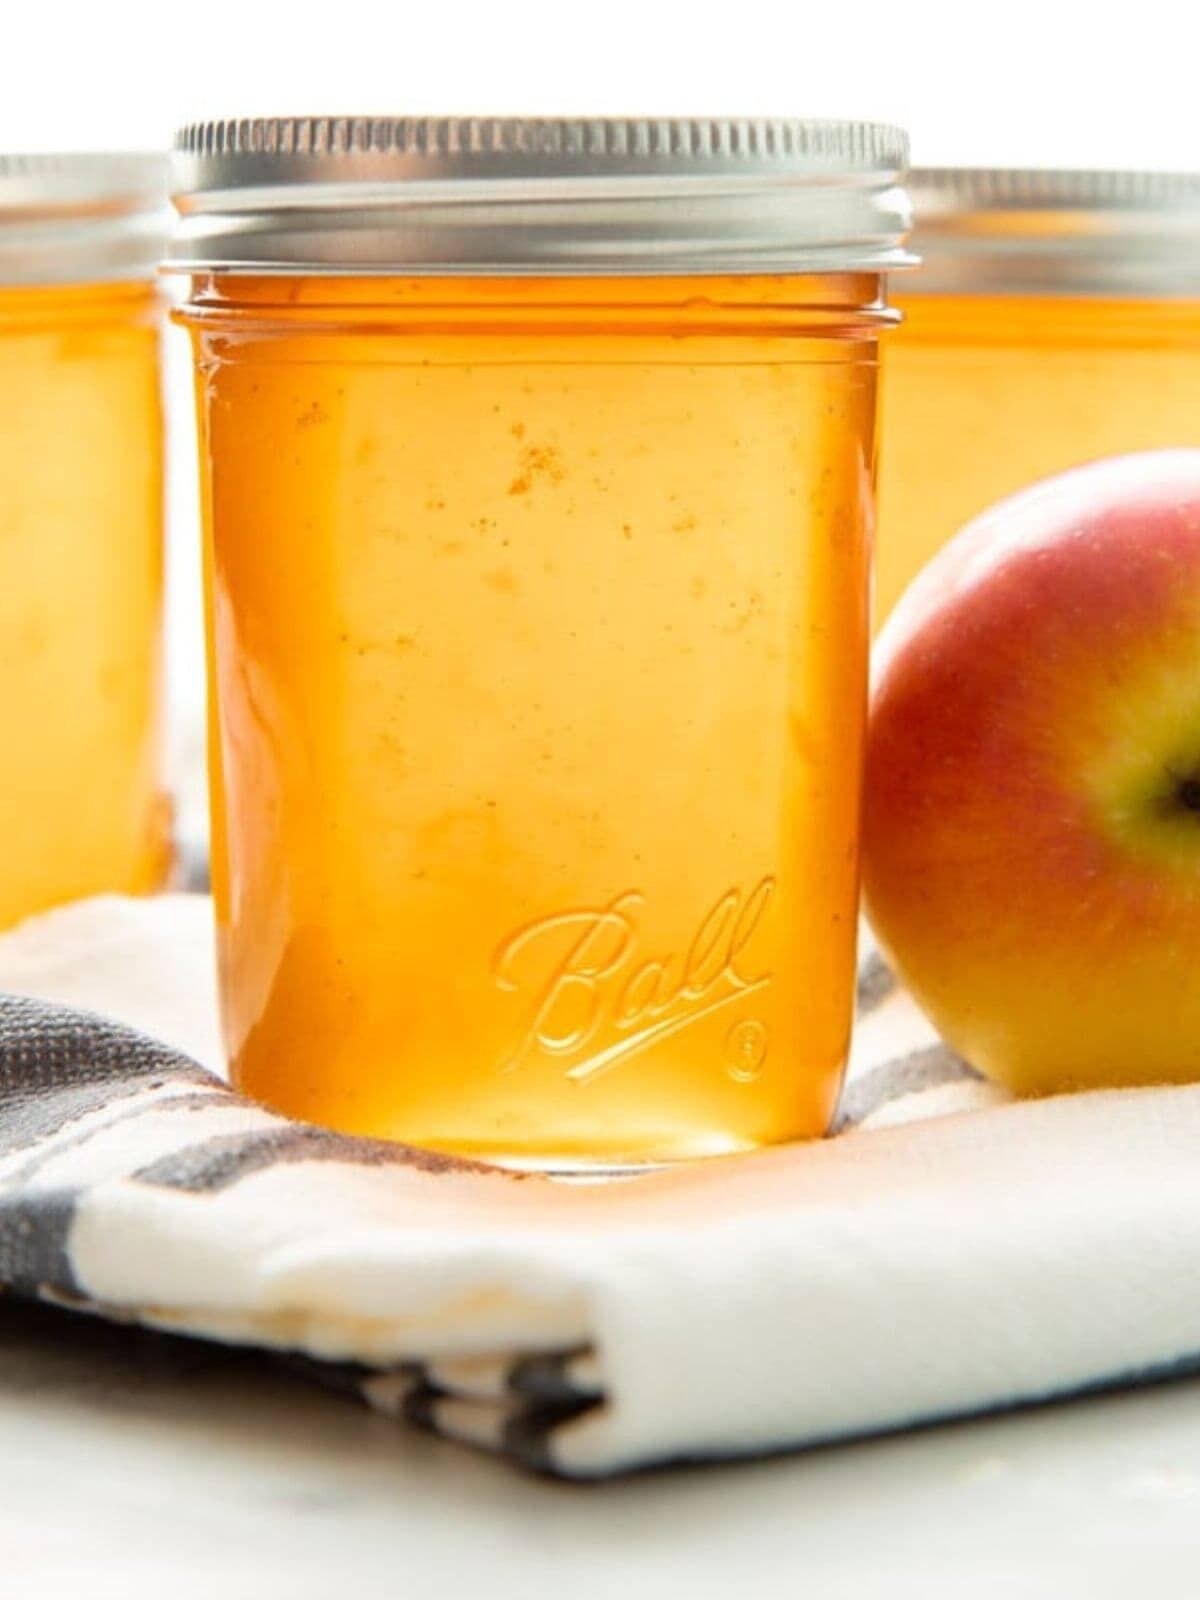
🍏 Storage Info
- Check the seal: You can check if you got a good seal by pressing in the middle of your canning lid after the jelly has completely cooled. If it doesn't flex, your jar is shelf-stable and ready to store.
- It's preserved indefinitely: If you got a good seal, your apple jelly will last with peak quality in a cool, dark spot for at least 18 months. After that, you might start to see some degradation of color, flavor, or texture, but as long as the lid is still sealed properly, it is perfectly safe to eat indefinitely.
🙋🏻♀️ Canning Apple Jelly FAQs
If you're making juice from scratch for apple jelly, use whatever apples you like eating! The flavor will come through quite strongly in the final jelly. I recommend following this apple jelly recipe without pectin.
Could be a few different reasons. First up, maybe you are trying to make too much jelly at once. It is recommended to not exceed 10 half-pint jars per batch of jelly when making a pectin-based recipe (that would be three times the recipe below). If you do want to make larger batches, do it in two separate pots. Or maybe you didn't bring the jelly to a full rolling boil. After you add the sugar while cooking your jelly, it needs to come to a full rolling boil that cannot be stirred down. Or, finally, maybe you didn't boil the jelly long enough to activate the pectin. I recommend doing the gel stage test I describe above to make sure your jelly is done cooking.
If you make your own apple juice from fresh apples, it will be rich in pectin, and you will not need to add any. I recommend following this apple jelly recipe without pectin. If you make apple jelly from store-bought apple juice, it's best to add powdered pectin to ensure gel.
👩🏻🍳 My Expert Tips & Tricks
- Yes, butter! A small amount of butter (or margarine) helps keep the jelly from foaming when it's boiling.
- Test your gel: The best way to make sure your jelly sets is to test it! Place a small spoonful of jelly on a saucer that has been placed in the freezer. Let the jelly cool, then run your finger through the puddle-if it is the texture of jelly, you are ready to can! If it is still too thin, continue to boil hard, testing every minute until it's the right consistency.
- Wipe your rims! It is important to wipe the upper rim of the jar before placing the lid on, because any jelly residue between the jar rim and the lid can cause it not to seal properly.
🥪 Ways to Use This Apple Jelly
With its mild flavor, apple jelly is one of the more versatile jams or jellies you can have stashed in your kitchen! Here are some of my favorite ways to use it:
- On toast, biscuits, and English muffins. Of course!
- Spread onto pancakes (it's particularly good spread on my Dutch style pancakes and rolled up for a grab-and-go snack)
- Swirled into a bowl of homemade yogurt or oatmeal (my slow cooker steel cut oats are great with this jelly)
- Mixed into a cocktail to add flavor and sweetness.
- As a condiment for my slow cooker honey glazed ham or my bourbon glazed ham.
- In the best ever PB&J using my soft sandwich bread recipe!
- As a glaze for pork chops or chicken.
- As a filling in cakes or cupcakes.
- On a cheese board. I cover how to use jams and jellies in my deep dive on how to make a cheese board. I especially love it on my Thanksgiving charcuterie board.
- As a filling for shortbread thumbprint cookies.
- And so, so much more!
🍓More Jam and Jelly Recipes

If you tried this Apple Jelly or any other recipe on my blog, please leave a 🌟 star rating and let me know how it went in the comments!
📖 Recipe
4-Ingredient Apple Jelly Recipe
Ingredients
- 3 cups unsweetened apple juice
- 4 tablespoons Ball® RealFruit™ Classic Pectin
- ½ teaspoon butter
- 3 ⅓ cups granulated sugar
Instructions
- Prepare canner, jars, and lids.
- In a large, deep stainless steel saucepan, place apple juice. Whisk in pectin until dissolved. Stir in the butter.
- Bring to a boil over high heat, stirring frequently. Add sugar all at once and return to a full rolling boil, stirring constantly. Boil hard, stirring constantly, for 1 minute. Remove from heat and quickly skim off foam.
- Quickly pour hot jelly into hot jars, leaving ¼" (0.5cm) headspace. Wipe rims. Center lid on jar. Screw band down until resistance is met, then increase to fingertip-tight.
- Place jars in canner, ensuring they are completely covered with water. Bring to a boil and process for 10 minutes. Remove canner lid. Wait 5 minutes, then remove jars, cool, and store.
Video

Notes
- Don't skip the butter! The fat in a small amount of butter (or margarine) helps keep the jelly from foaming.
- Test your gel: Place a small spoonful of jelly on a saucer that has been placed in the freezer. Let the jelly cool, then run your finger through the puddle-if it is the texture of jelly, you are ready to can! If it is still too thin, continue to boil hard, testing every minute until it's the right consistency.
- Wipe your rims! It is important to wipe the upper rim of the jar before placing the lid on, because any jelly residue between the jar rim and the lid can cause it not to seal properly.
Many links on this site are affiliate links. As an Amazon Associate, we earn from your qualifying purchases at no extra cost to you.