How to Freeze Green Beans
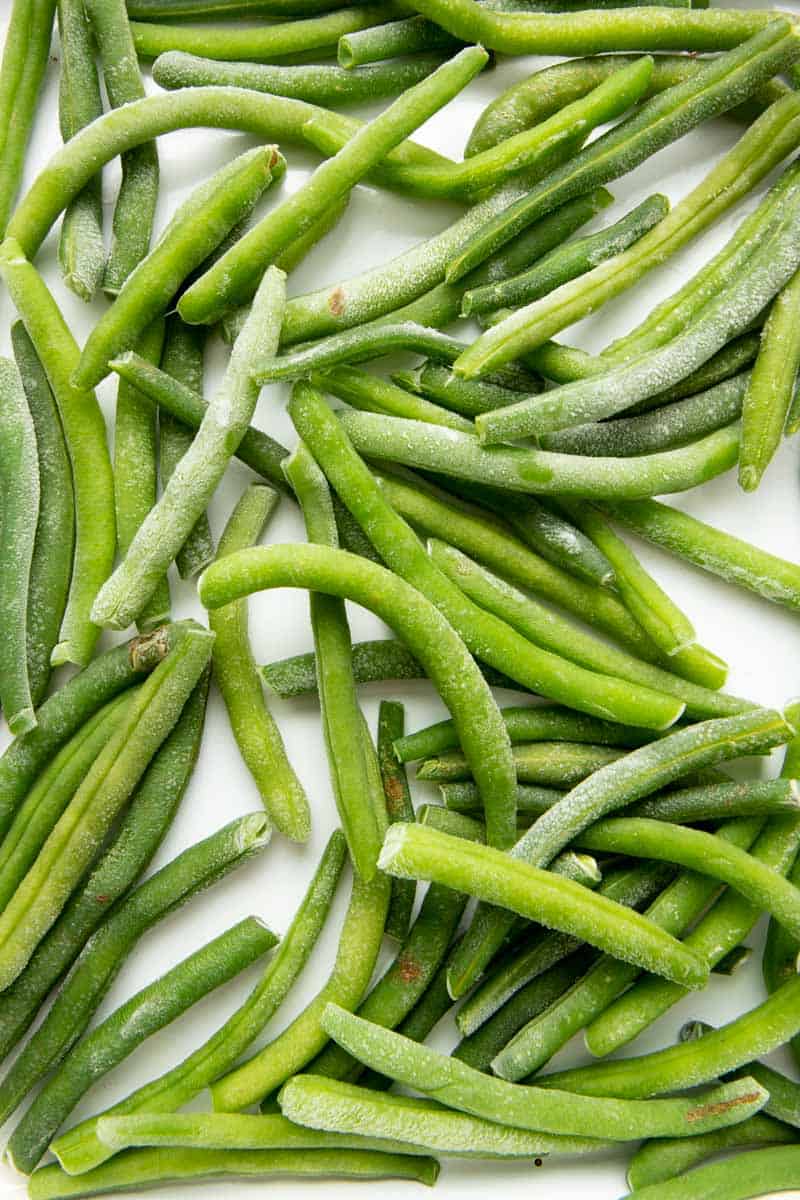

There are some veggies that aren’t the greatest out of the freezer, but green beans aren’t one of them! Green beans are one of our favorite veggies to freeze because they retain their texture and flavor while frozen, making them a great way to bring some summer flavor to your plate all year long.
Each summer, we load up our garden with green bean plants and stock as much as we can away in the freezer. We use the beans all year long for side dishes, soups, and casseroles. The key to the great flavor and texture? You have to freeze them the right way! Let us show you how.
How do you prepare green beans for freezing?
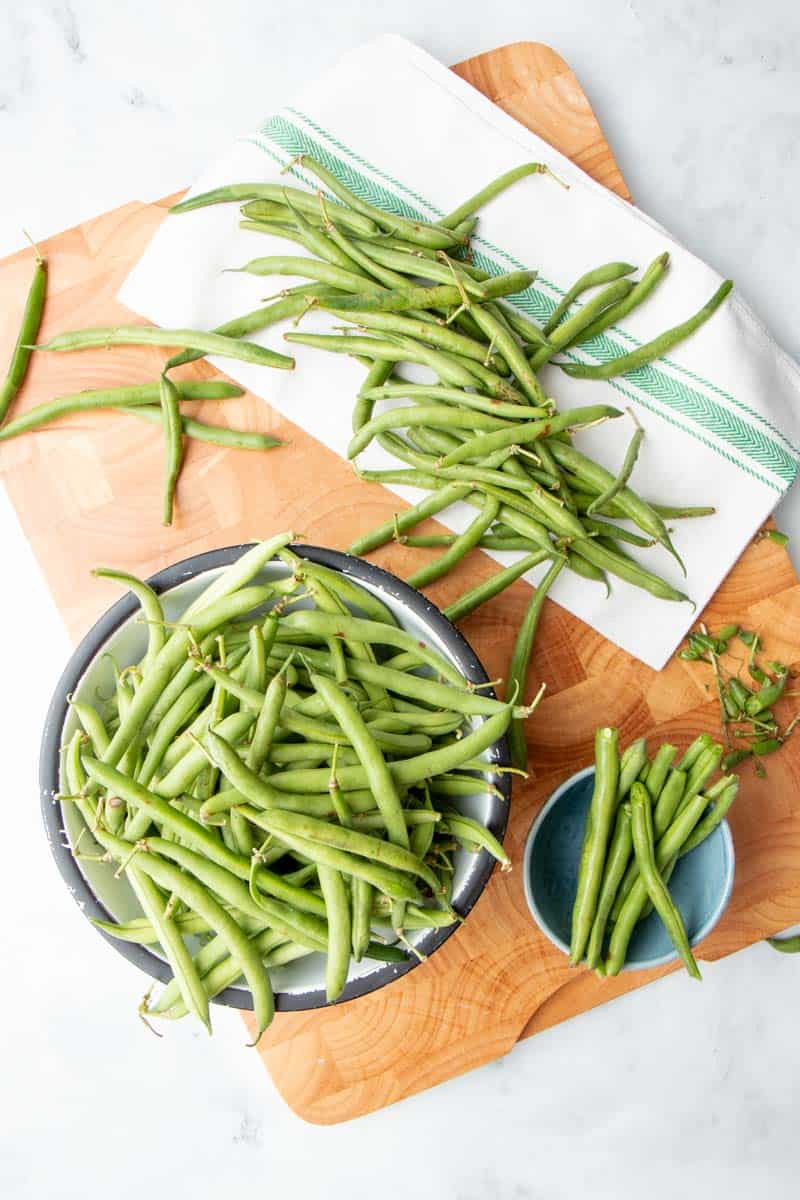
Give the green beans a good wash in cool water, then trim/snap the ends off. You’ll want to snap or trim off both the stem end and probably the pointed end as well. The vast majority of green beans grown now-a-days are “stringless,” meaning they don’t have a tough stem running down the back of the bean that you have to remove. Some heirloom varieties do still have strings (hence the green bean’s other name: string beans).
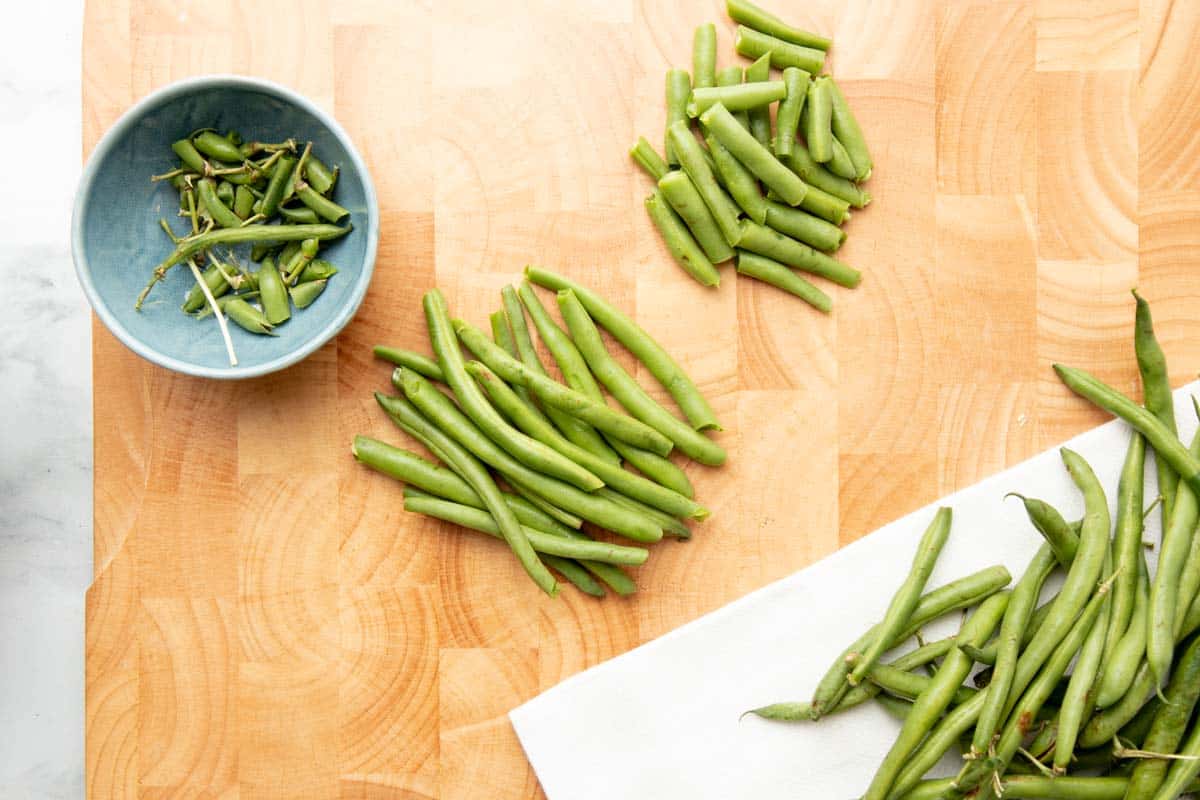
You can leave your green beans whole, or you can cut them into bite-sized pieces—it depends on how you plan to use them later! We usually do about half and half—the snapped ones are great for adding into soups and stews, and we leave them whole to eat as a side dish.
And then it is time for blanching!
What is blanching?
Blanching is a food preserving technique you’ll use for lots of frozen vegetables. It helps preserve the flavor, color, and texture of your produce, making for more appetizing dishes later!
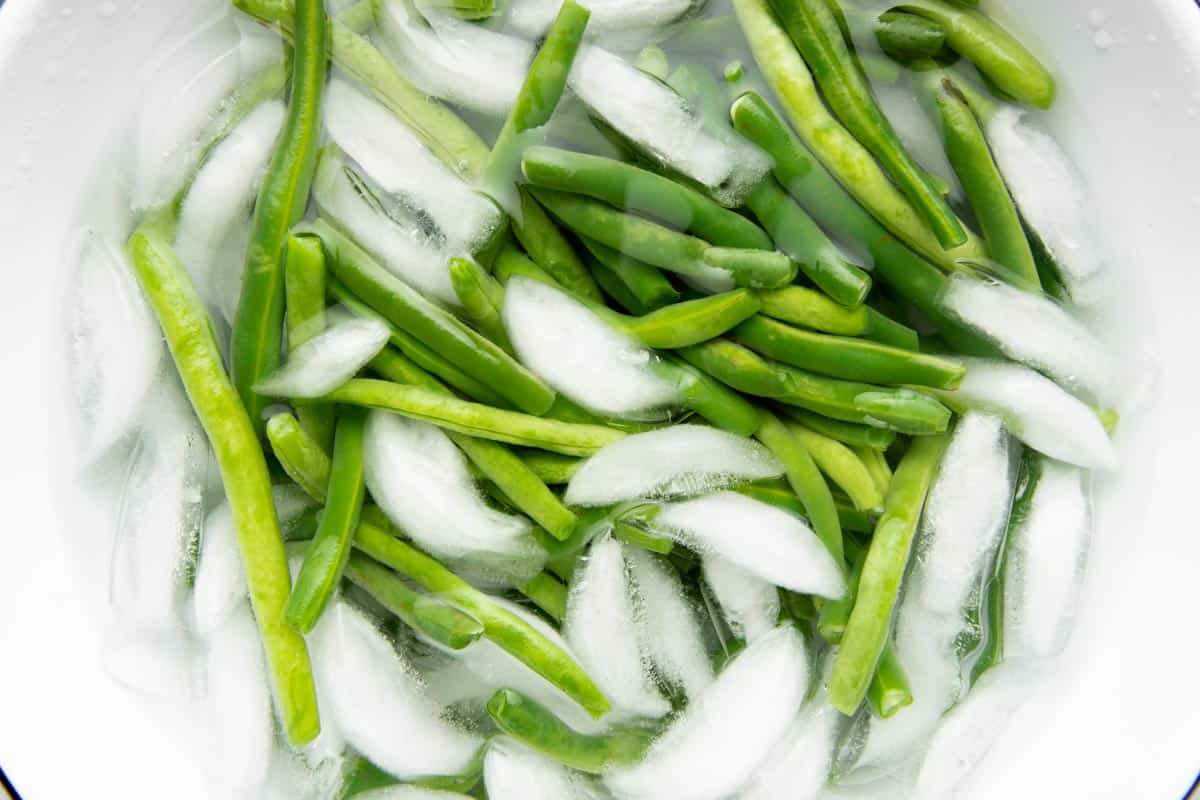
To blanch fruit or vegetables, you plunge them into boiling water for a short amount of time (usually just a couple of minutes or less!), and then move them to an ice bath to stop the cooking process. Once they are cool enough to handle, you can continue on with freezing your produce.
How do you blanch green beans to freeze them?
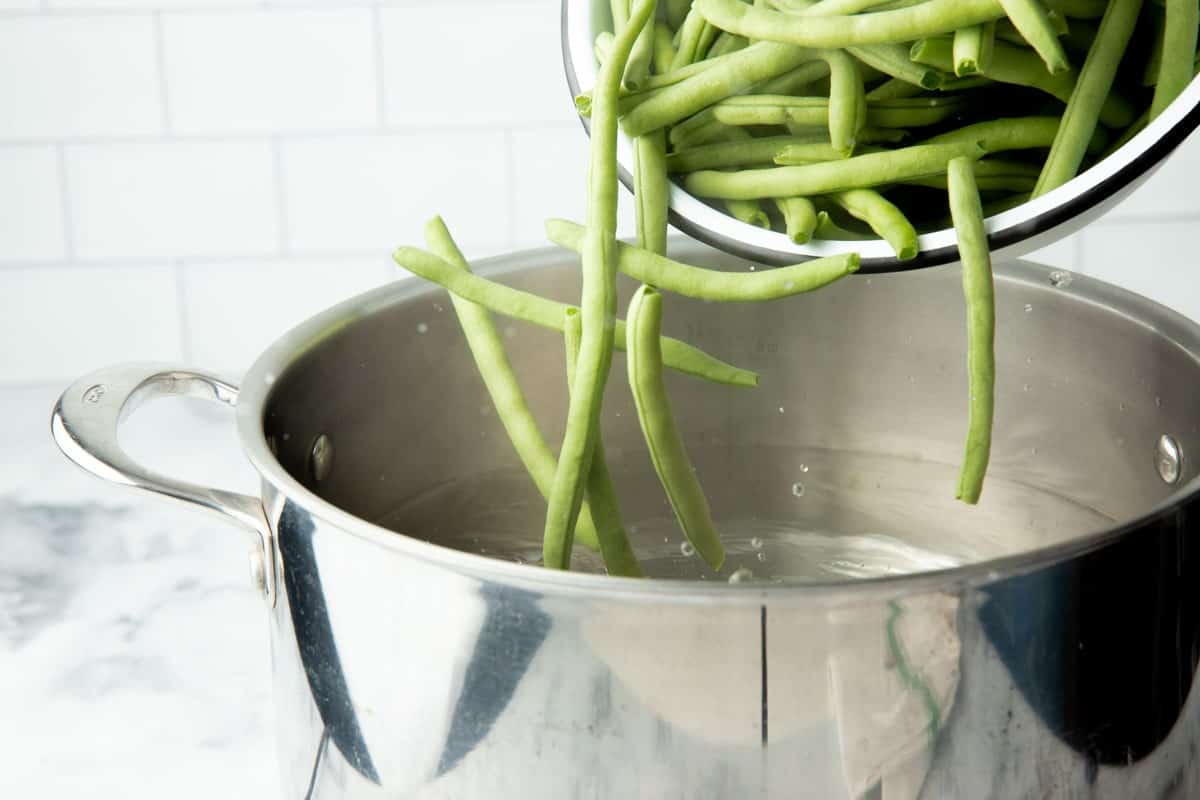
- Bring a big pot of water to a boil, and fill a large bowl with ice and water.
- Carefully drop the green beans into the boiling water (watch out for splashing!), and return the water to a boil.
- Leave the green beans in the boiling water for 3 minutes, and then scoop them out with a slotted spoon.
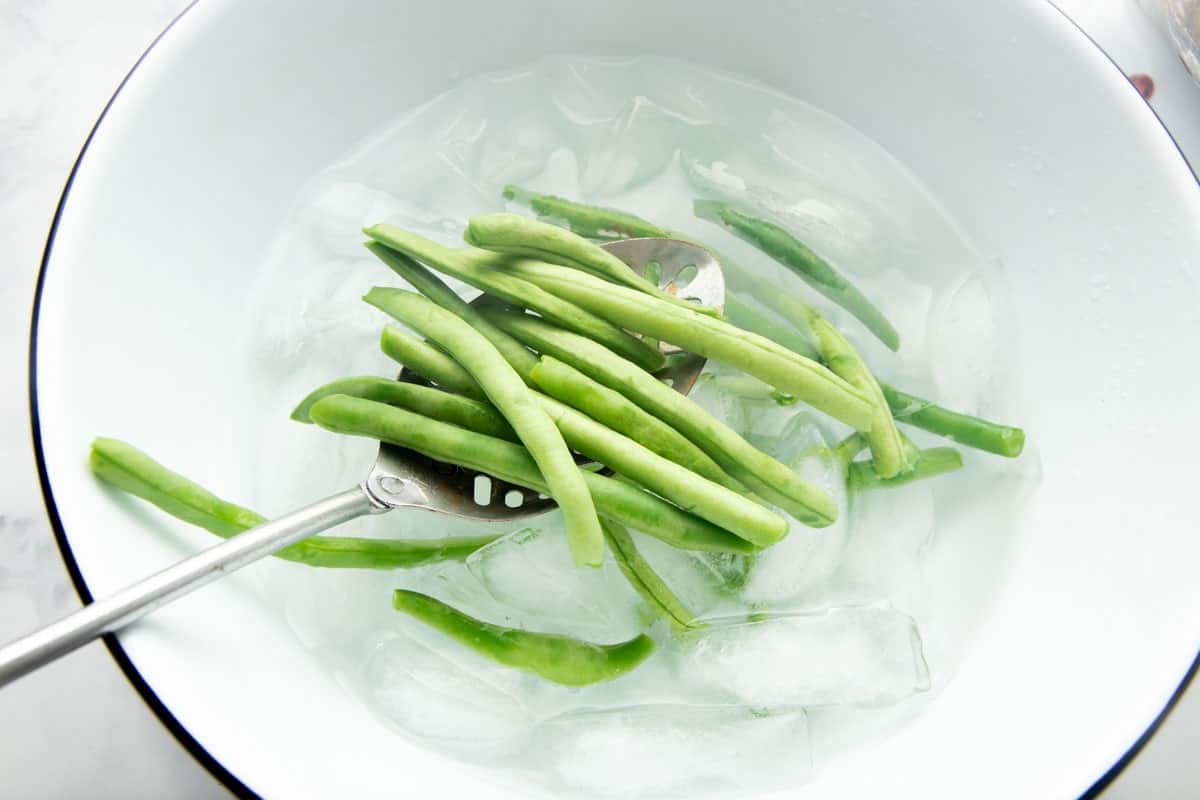
- Plunge the beans into the ice water. You may need to add more cold water or ice as you go.
Can you freeze green beans without blanching them first?
You definitely can, and I have done it both ways over the years. I will say that blanching them first results in green beans that retain their color and texture a lot better in the freezer. Unblanched green beans tend to turn grayish-green and get slightly tougher while in the freezer. If you’d like to test it out, go for it, but I’ll always blanch first!
Wholefully Protip
Make sure your green beans are dry before freezing. Any extra water will increase chances of freezer burn (and keep your vacuum sealers from sealing properly if that’s how you choose to store them).
Want to save this recipe?
Okay, teach me how to freeze green beans!
We’ve gone over most of the process already, but let’s talk through it one more time, so you have everything in one place:
- Wash and trim the green beans.
- Cut your green beans into bite-sized pieces if you want (this step is completely optional!).
- Blanch the beans for 3 minutes, and then plunge them into ice water.
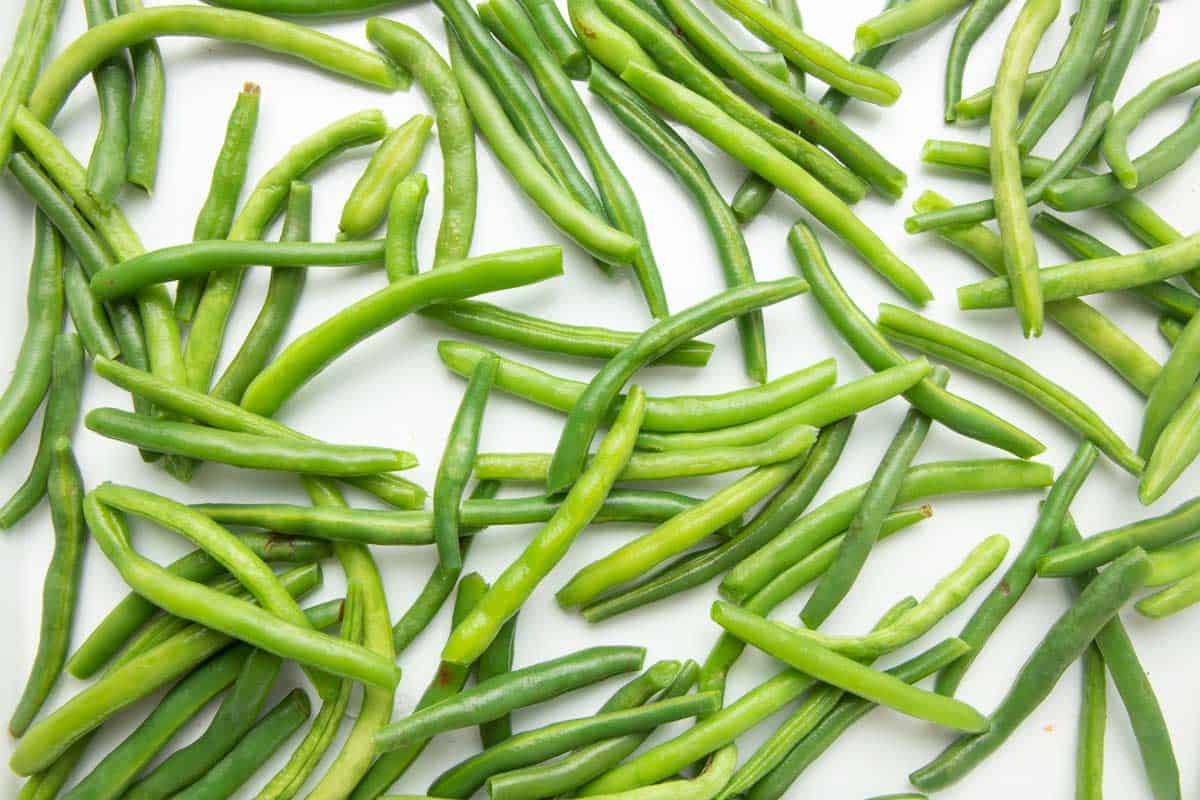
- Drain your green beans, pat them dry, and spread them out in a single layer on a baking sheet. Freeze until solid.
- Transfer frozen beans to your containers of choice (more on that next!), and freeze until use.
Wholefully Protip
Freezing the green beans in a single layer on a baking sheet first will make them easier to portion out later.

What containers should I use to freeze fresh green beans?
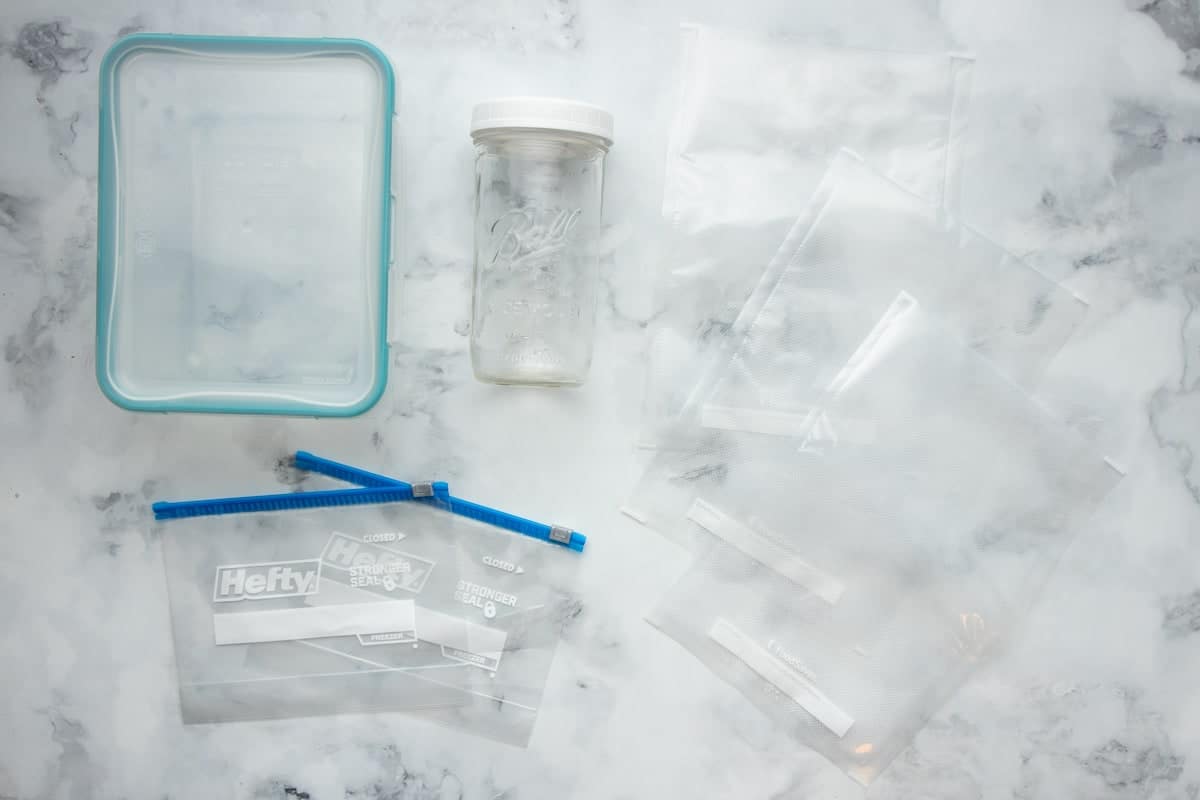
There are tons of options for storing your fresh green beans, and which you choose depends on how much freezer space you have, how you plan to use your frozen green beans, and how you feel about glass versus plastic. Here are our favorite options:
- Glass Food Storage Containers—If you have a chest or upright freezer, glass containers are a great choice because they stack so nicely. I also like that you can see what is in the containers—there is something really satisfying in seeing glass containers packed with beautiful food, all lined up in your freezer. While these are reusable, they also take up more space. So if your freezer space is limited, these containers may not be the right choice for you.
- Glass Canning Jars—Mason jars are an affordable, reusable option that can fit more easily into tight spots than the storage containers above. Do be sure to choose straight side jars (the ones without curved shoulders at the top), as they are safer for freezing.
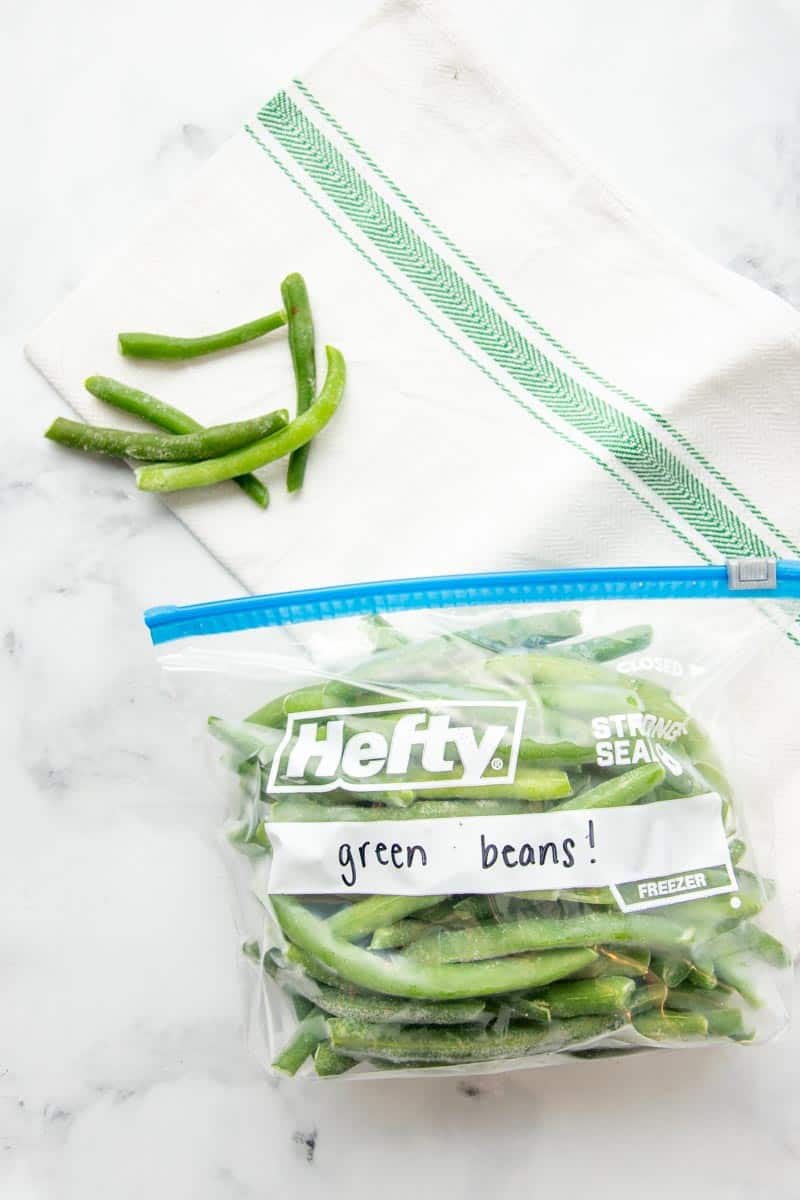
- Zip-top Freezer Bags—Pros: These are the most affordable option, and take up less space than either of the glass options. Cons: They are single-use plastic and your frozen food won’t last quite as long as they would in some of the other options.
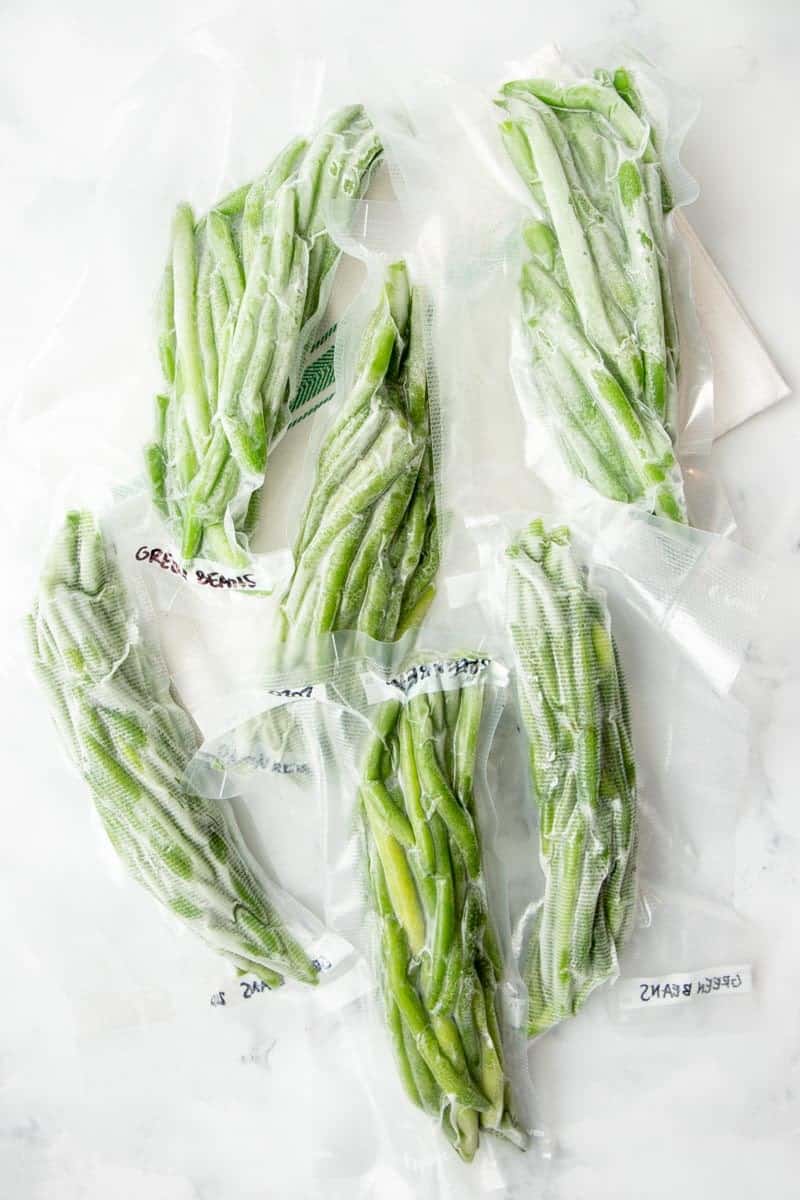
- Vacuum Sealing Bags—These bags take up less space than any other storage solution on this list, and will give you the longest freezer life. To use these, you’ll need to purchase a special piece of equipment, so you’ll have to decide if you want to make that investment. Skip the vacuum sealing bags if you plan to use small amounts of green beans at a time—it is hard to reseal the bags once they are cut open!
For green beans, I tend to use vacuum sealing bags almost exclusively. I freeze green beans in the exact portion that we need to make a side dish for dinner. I also usually do one larger zip-top freezer bag so I can just grab handfuls to throw into soups and stews throughout the winter.

Wholefully Protip
If you use zip-top freezer bags, close the bag with a straw inserted into one end of the zipper. Suck out as much of the air as possible, and then quickly remove the straw and seal the bag.
How long do frozen green beans last?
How long green beans last in the freezer will depend on the container you froze them in. For non-vacuum sealed containers, you’ll want to use your green beans within 6-8 months. If you use a vacuum sealer, you can easily get a year or more.
Tell me how to cook frozen green beans!
Blanching helps to parcook your green beans—meaning they are already on their way to being cooked when they head into the freezer. Toss them by the handful into hot soups or stews. For a side dish, put a little boiling water in a pot and add the frozen beans to steam them. Once they are heated through, they are ready to enjoy!

Once you have your frozen green beans stashed in your freezer, you can make all kinds of delicious recipes using them. Here are some ideas:
- Healthy Green Bean Casserole. Use your frozen green beans to make up our healthy version of this classic Thanksgiving dish.
- Easy Lentil Vegetable Soup. This soup uses exclusively pantry staples, and is great for a weeknight!
- Turkey Vegetable Soup. Use up your Thanksgiving leftovers or make this with a turkey breast!
- Southern Style Green Beans and Potatoes. This is a classic side dish that works as well for summer picnics as it does for a weeknight winter dinner.
- Easy Vegetable Beef Soup. Toss a handful or two of frozen green beans into this hearty soup.
How to Freeze Green Beans
Ingredients
- 1 pound green beans
- Water
- Ice
Instructions
- Bring a large pot of water to a boil. Fill a large bowl or sink with ice water.
- Wash and trim the green beans. Cut into bite-sized pieces if desired.
- Drop the beans into the hot water, return to a boil, and cook for 3 minutes.
- Use a slotted spoon to move the green beans to the ice water and allow to cool.
- Drain the beans, pat them dry, and spread them out in a single layer on a baking sheet. Freeze until solid.
- Transfer frozen beans to freezer bags or containers.
Many links on this site are affiliate links. As an Amazon Associate, we earn from your qualifying purchases at no extra cost to you.