
How to Sew a Custom Dog Coat (Free Pattern)

This dog coat pattern all started because store-bought coat patterns never stayed on my pupper, Ivy! My frustration is your gain, because here's a free printable pattern you can size to your own dog. The best news: the coat sews up in about an hour (maybe a bit longer if your dog has the wiggles).
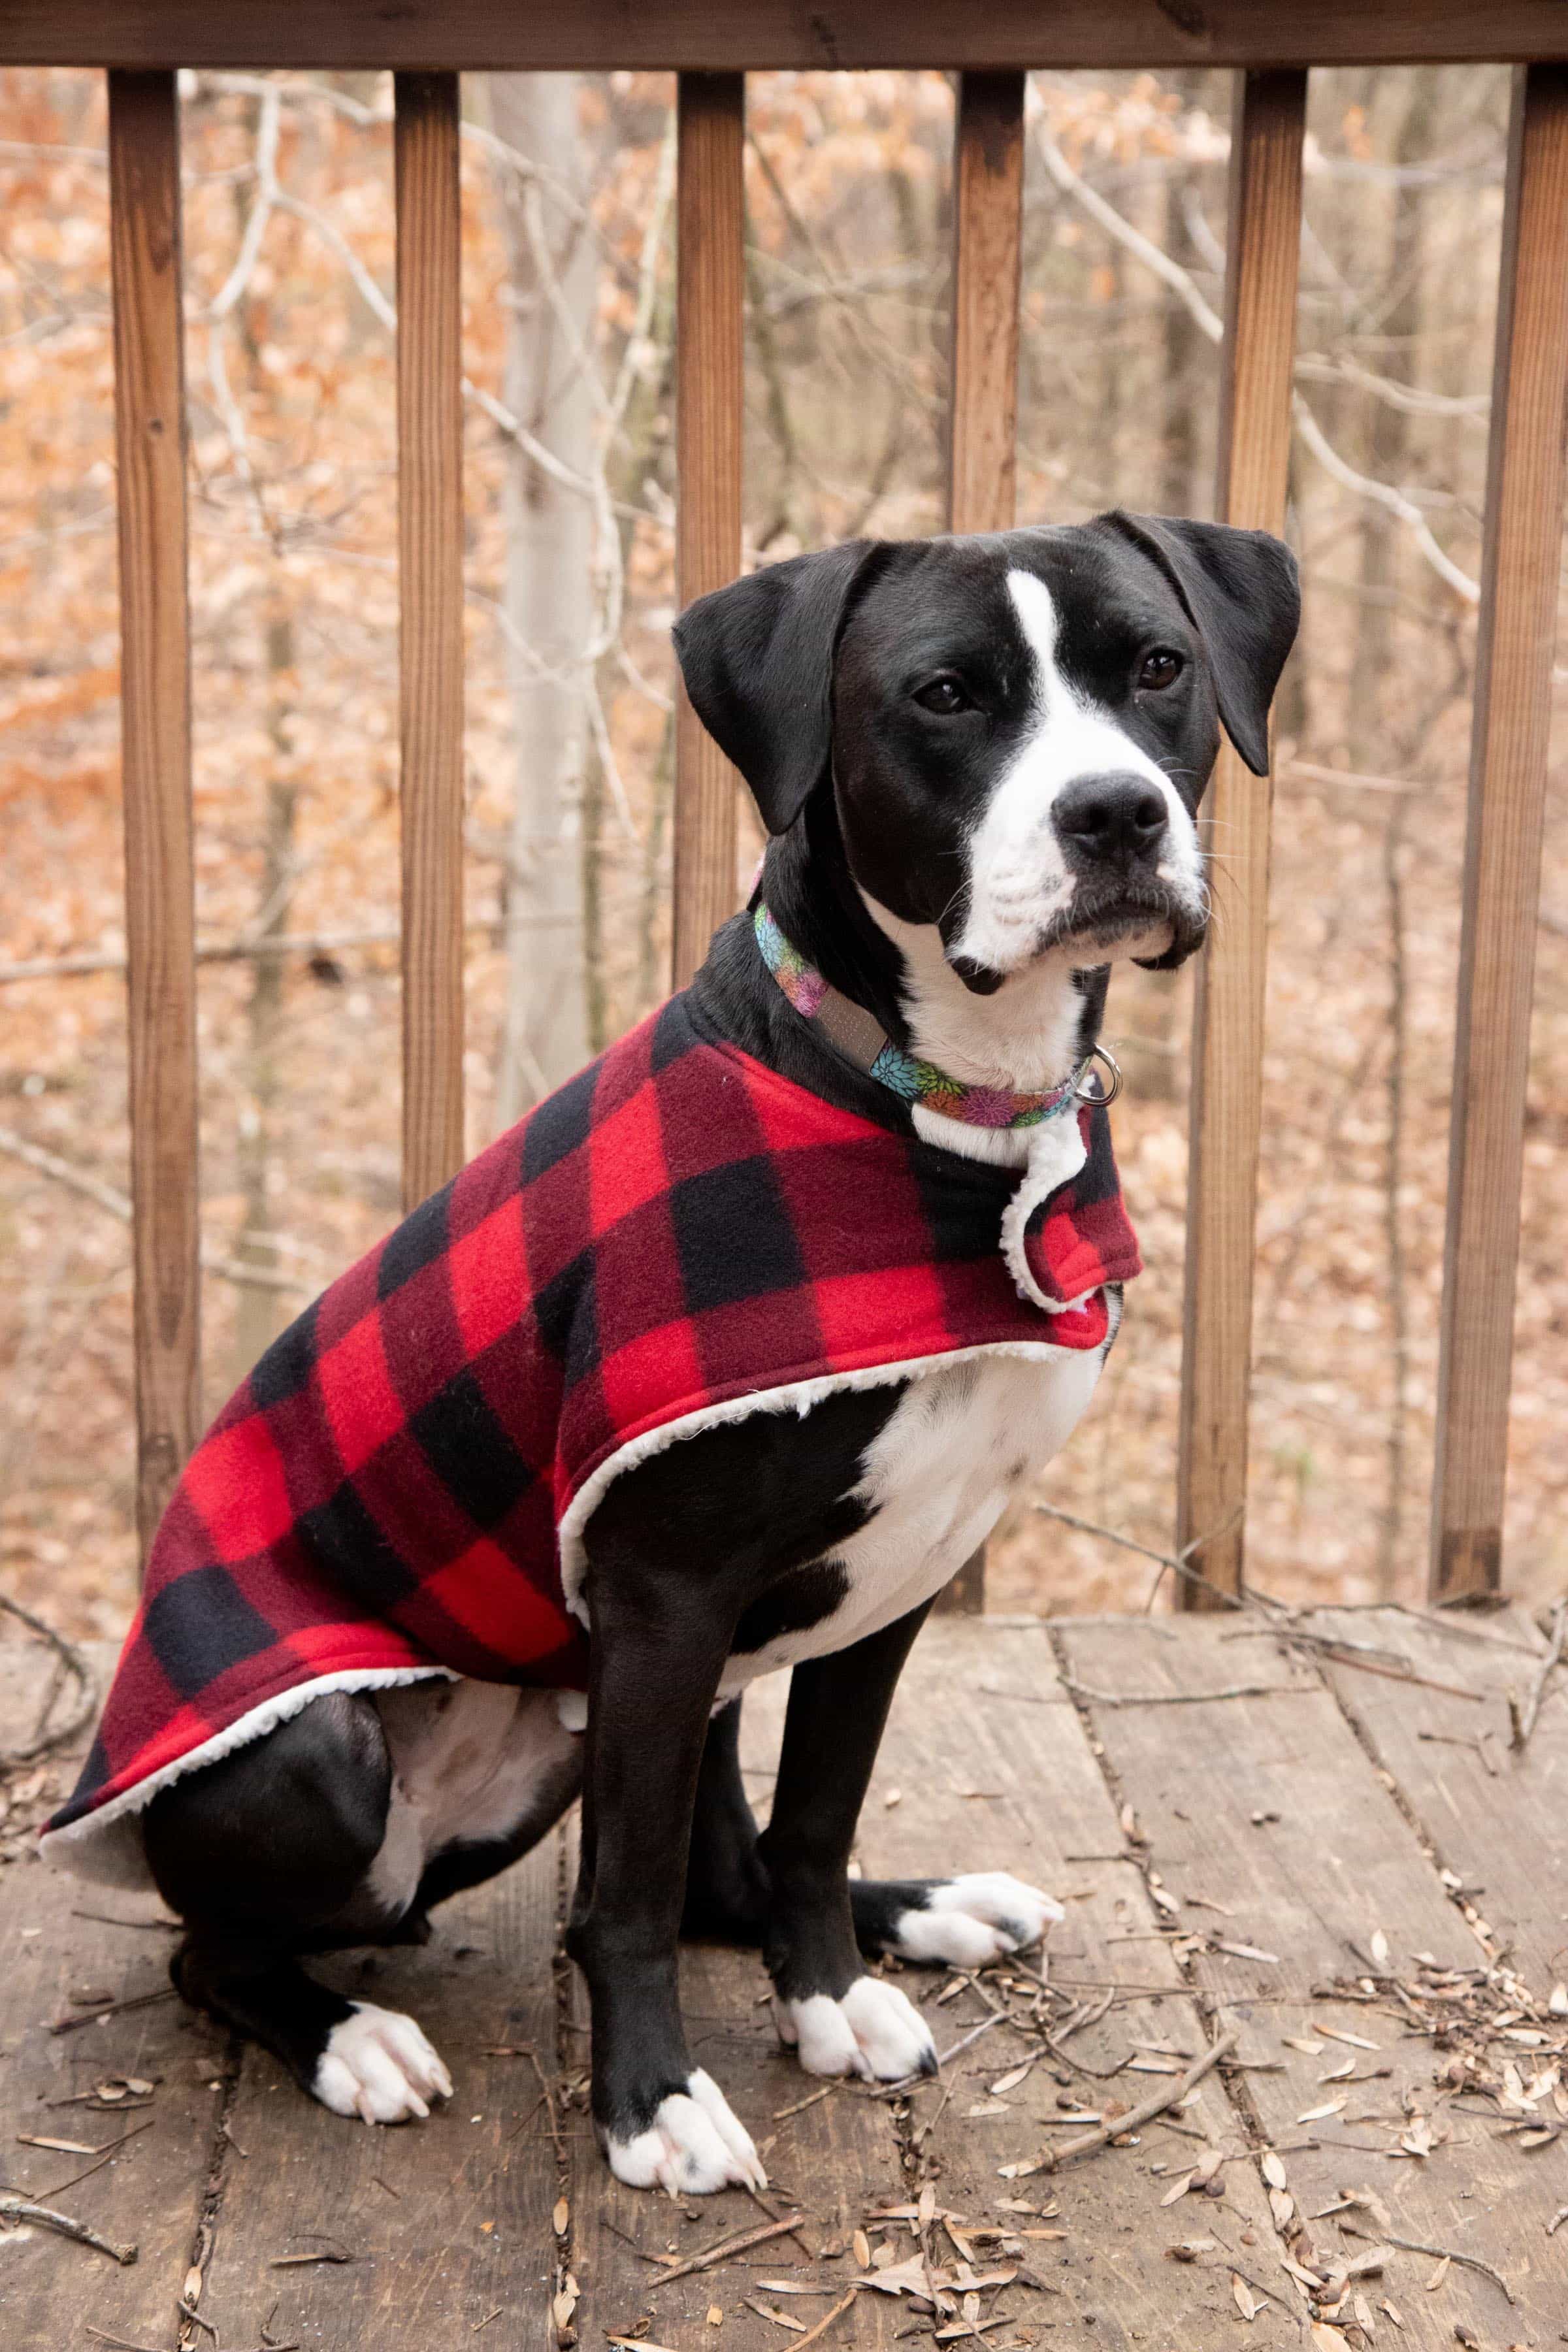
The short story: with this free dog coat pattern, you measure your dog, fill in the printable, and draw the shape on paper. Then you cut fleece and sherpa, sew the layers together, turn and topstitch, and add hook-and-loop straps. Most dogs need about a yard of each fabric.
Jump To
Do you include your pets in your holiday celebrations? We do! We have ever since our only "kid" was a furry terrier mutt. Now us humans are outnumbered by animals by a six-to-one ratio (literally), and we still make sure all of our animal friends have gifts on Christmas morning!
The star of the Christmas morning show for the puppies and kitties are our holiday stockings! We fill them up with new toys, treats (usually home-baked using either my healthy homemade dog treats or grain-free pumpkin coconut dog treats recipes), and usually one big, special present each year, too-like this custom homemade dog coat!
Ivy is our first ever short-haired dog, and she does not tolerate the cold Midwestern winters well. The first time I saw her shivering by our patio door, I knew it was time to make her a coat.
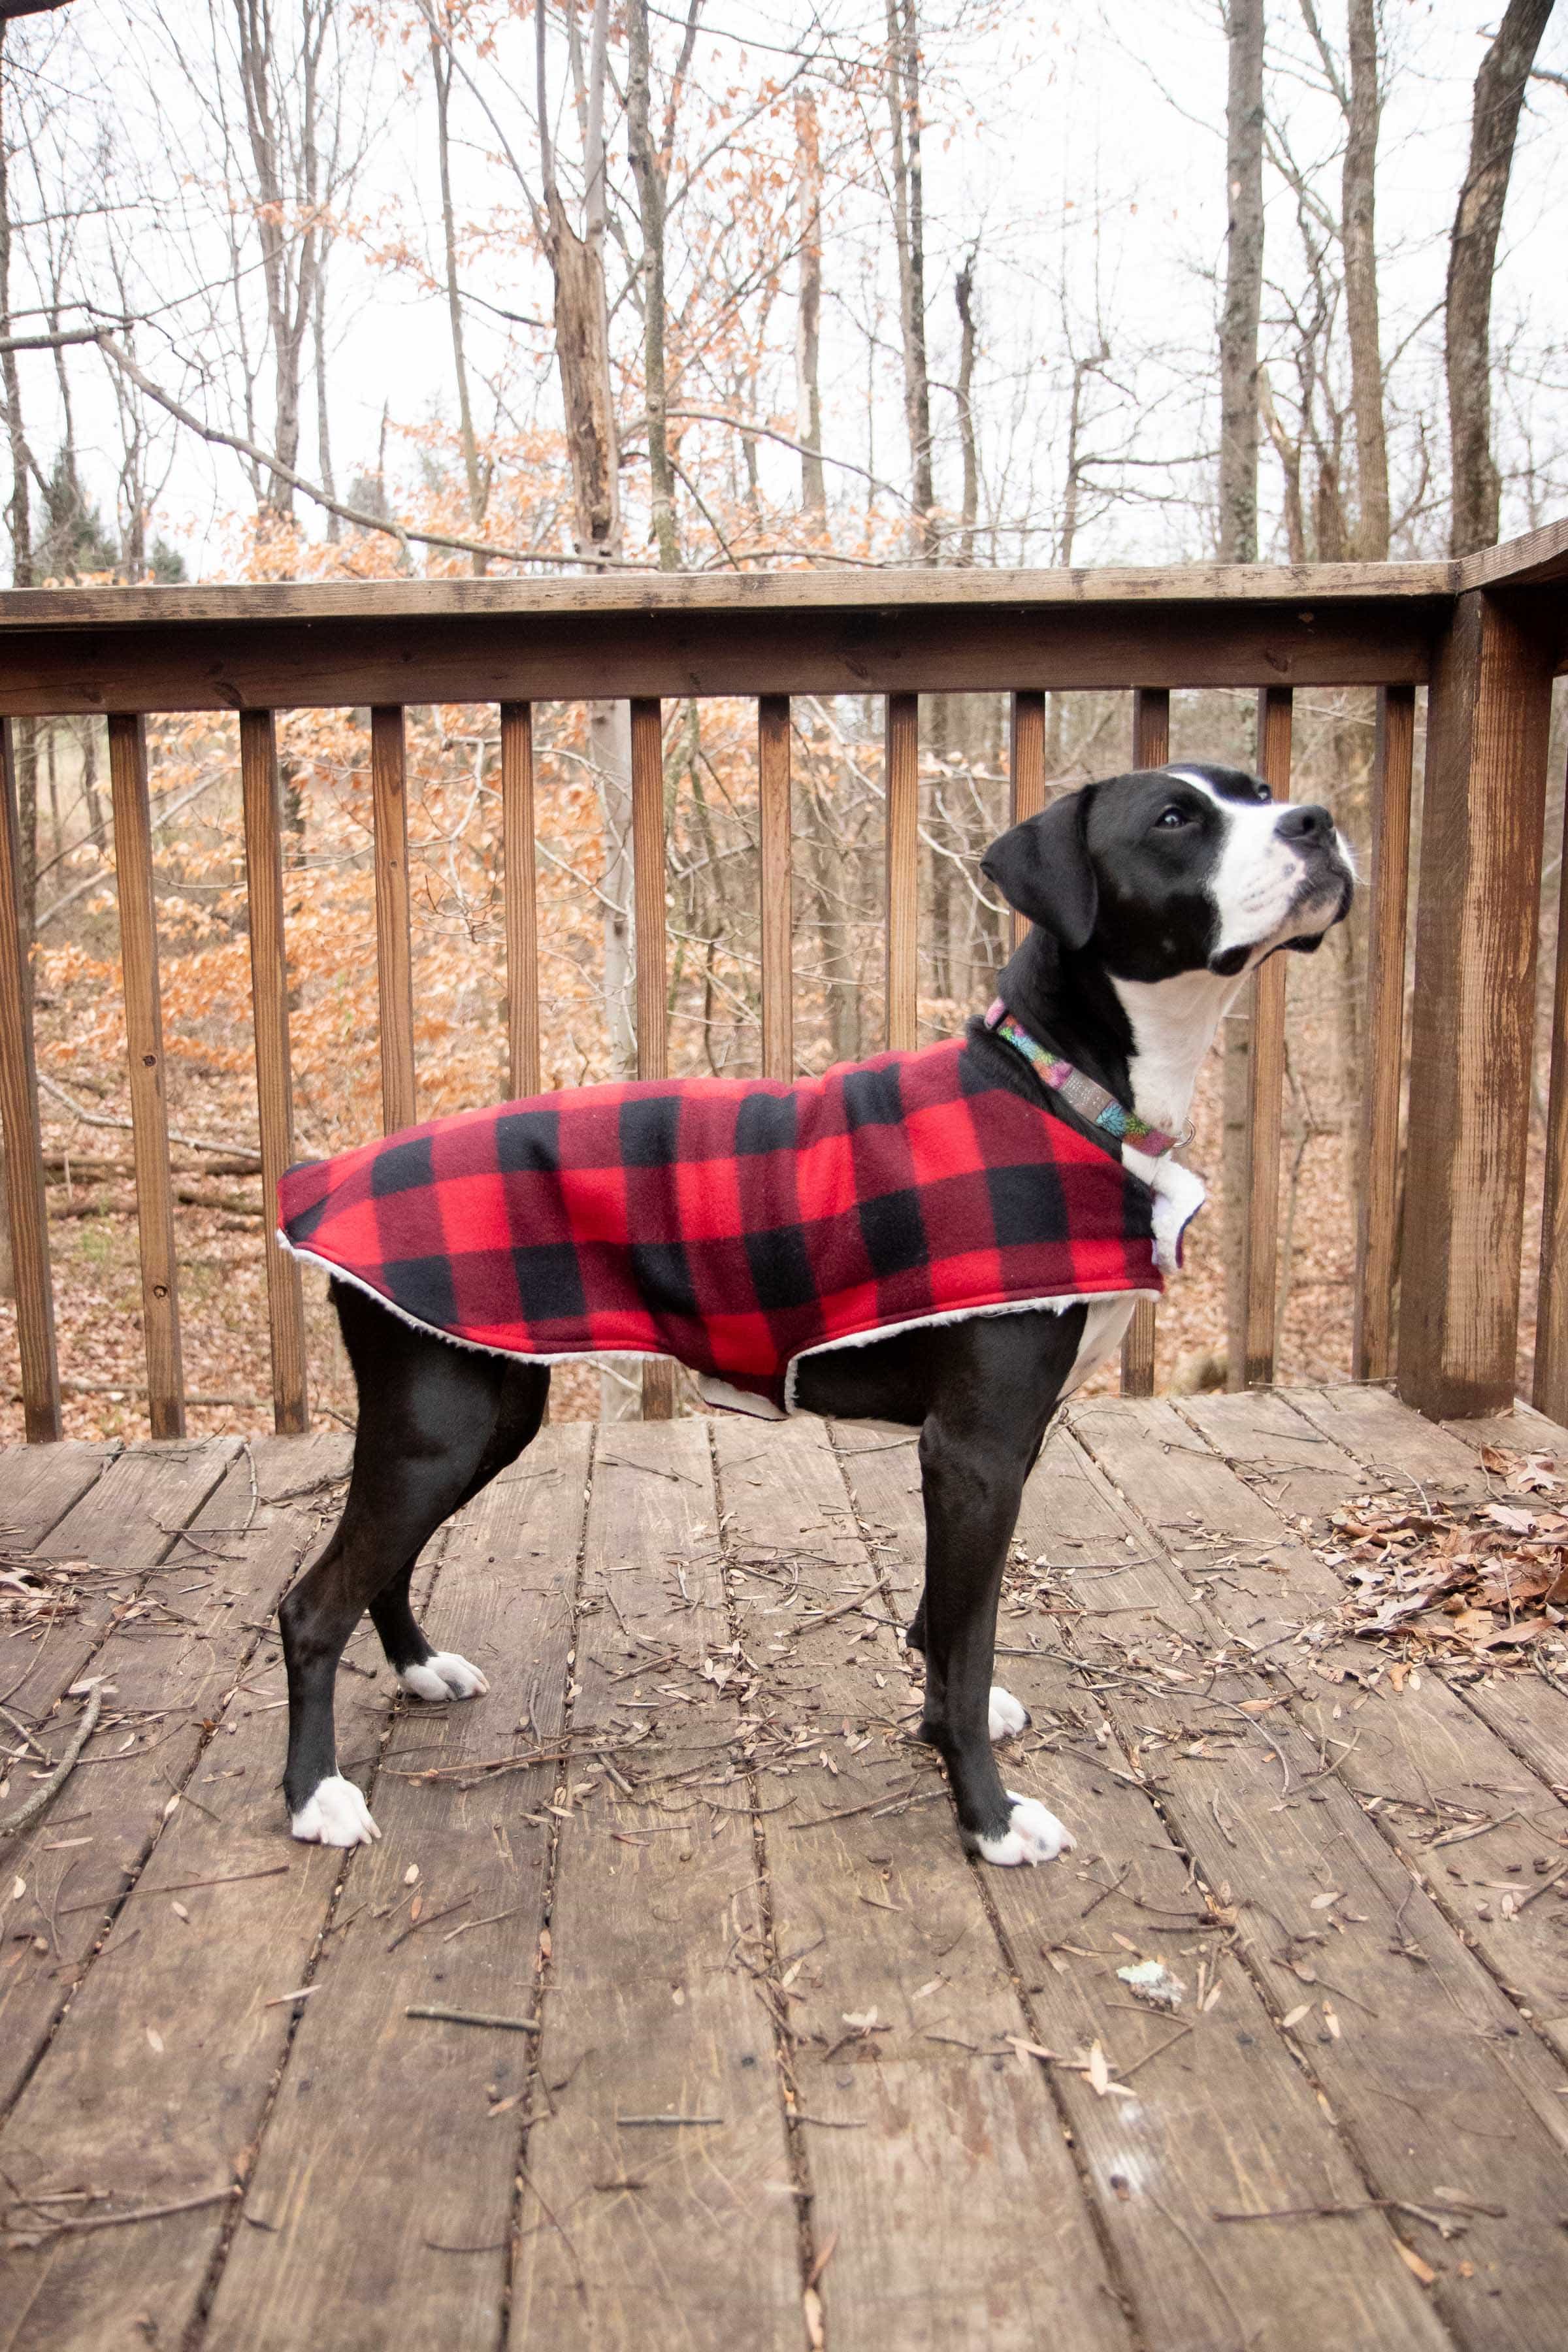
I made one coat a few months back from a pattern I found at a local sewing shop, but the sizing was all off-it never stayed on Ivy. For a coat to keep my dog warm it has to actually, you know, stay on her!
So I went back to the drawing board and worked on a pattern for a dog coat that you can customize for the size of your dog right at home. This version fits Ivy SO much better, and the best part? It is a super easy beginner sewing project that you can finish in less than an hour, start-to-finish.
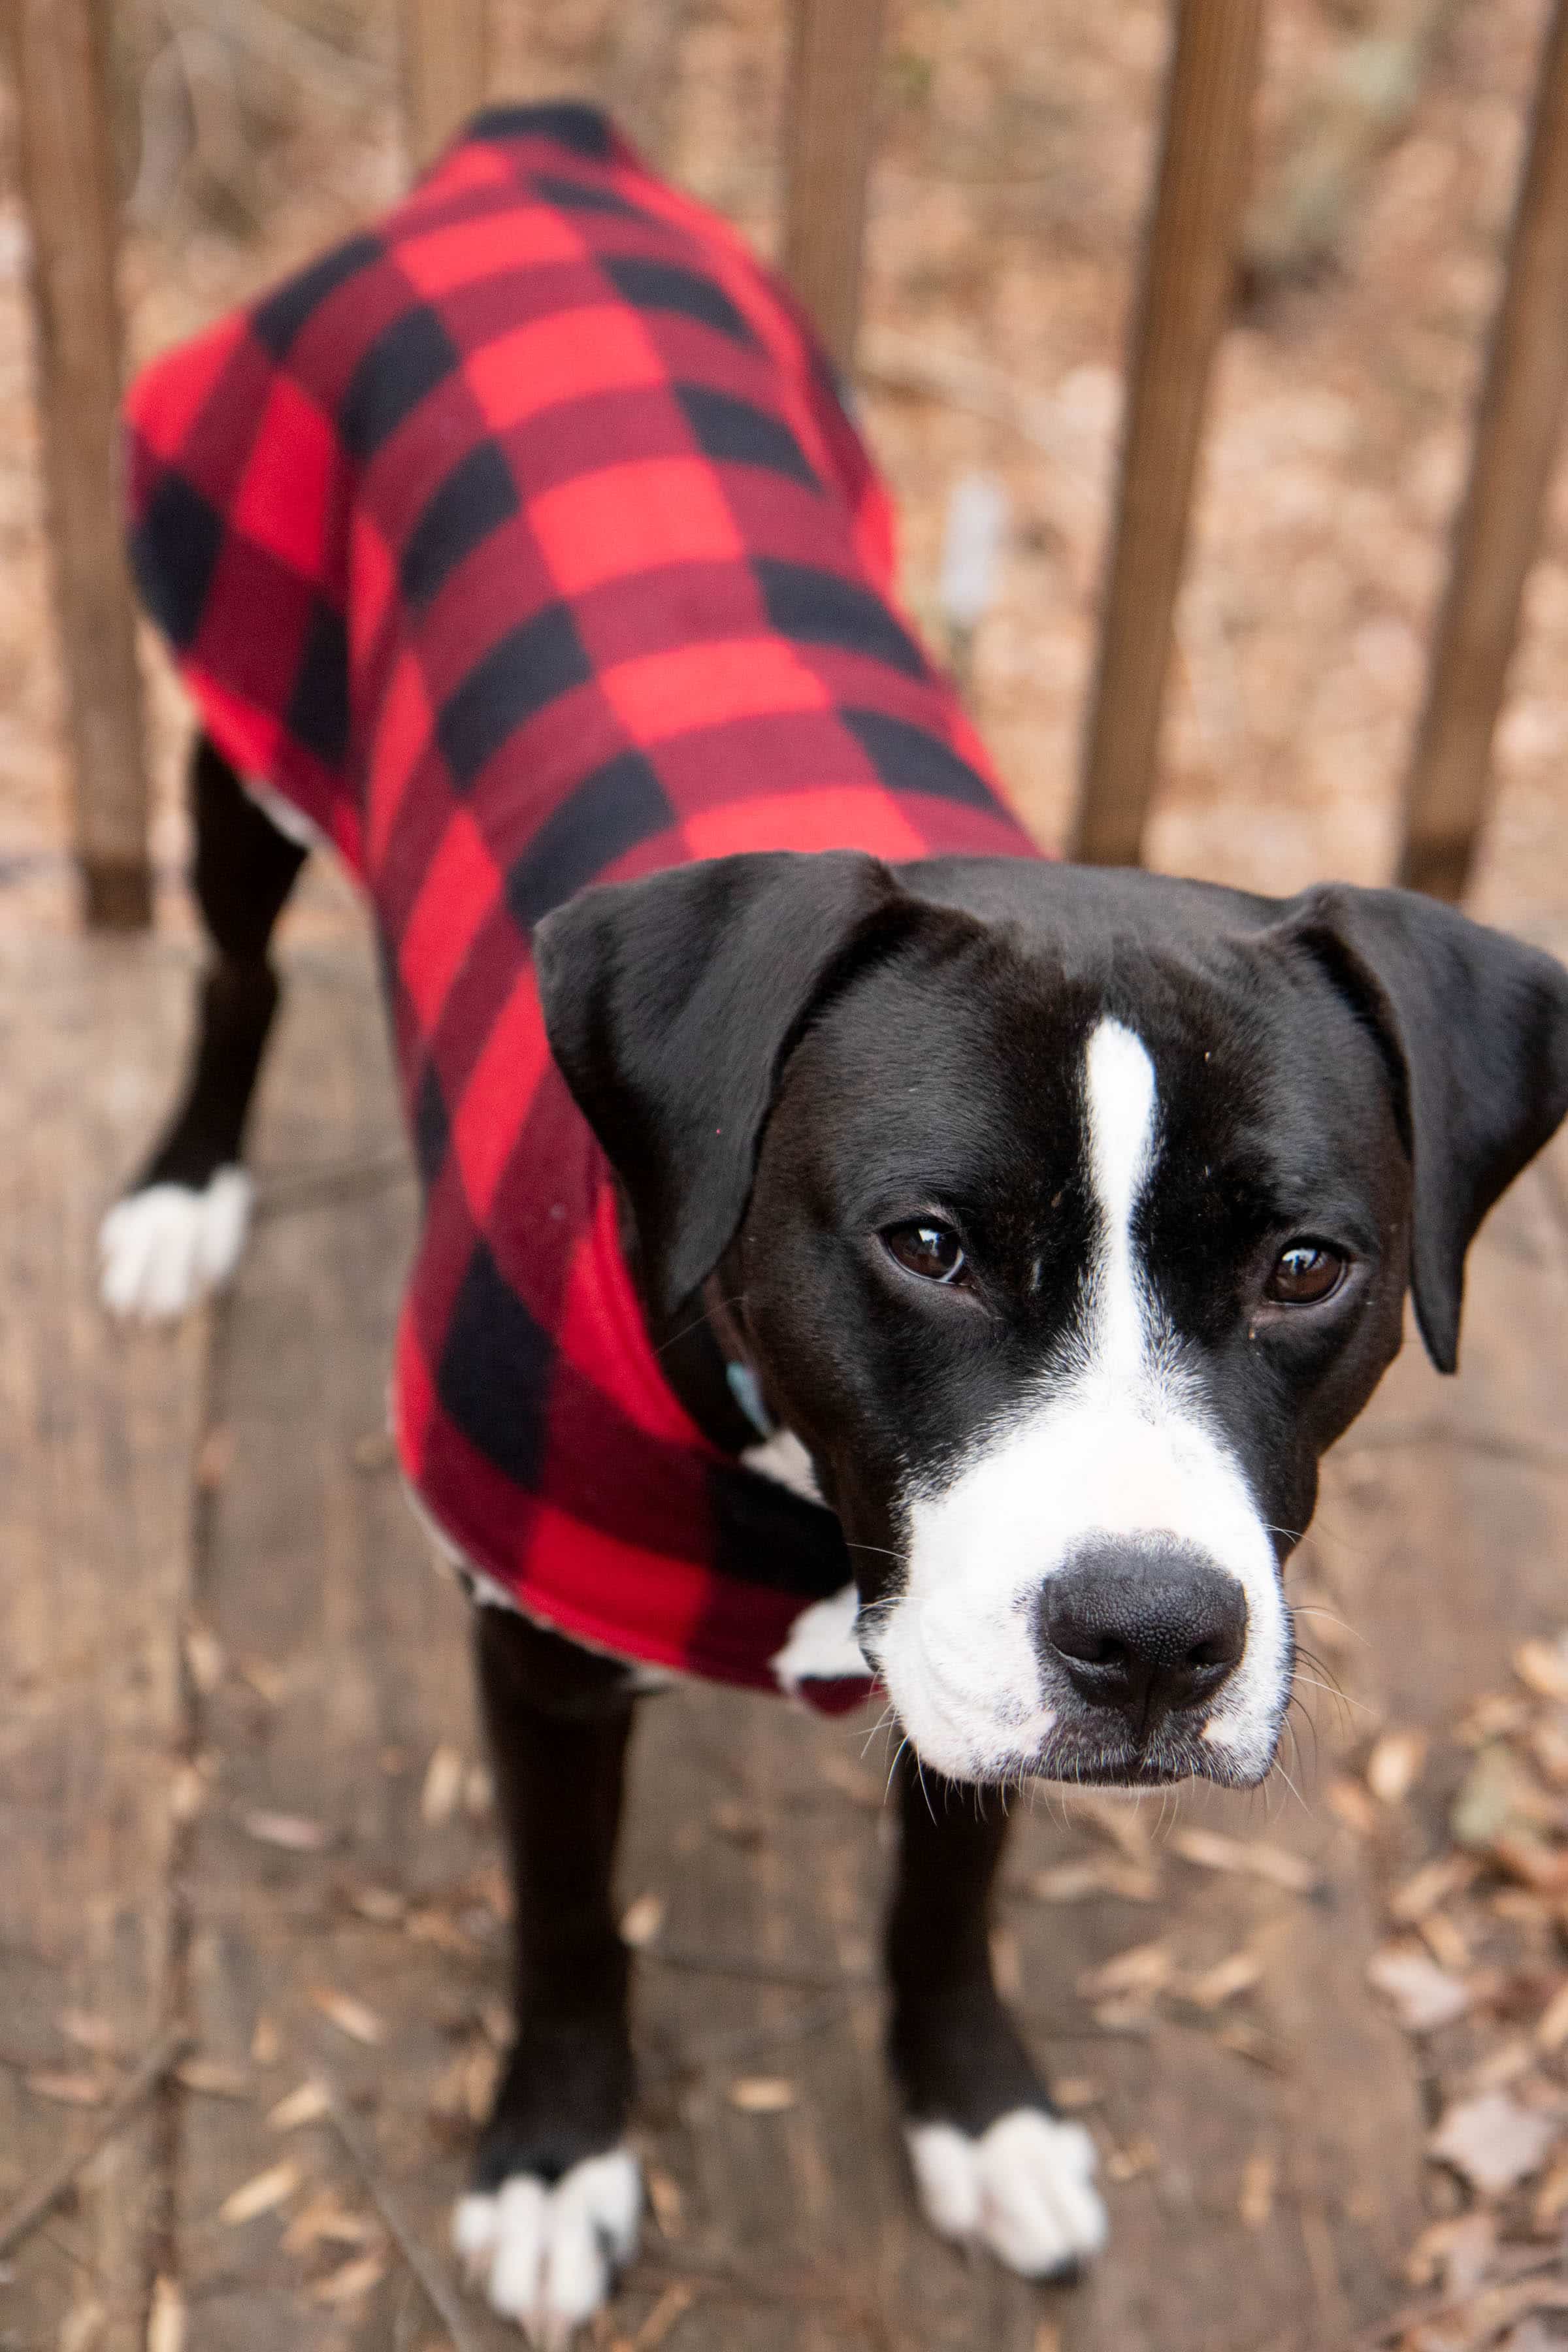
Alright, let me show you how to get started making this custom dog coat. First up, the materials you'll need, starting with the free pattern PDF.
📥 Download the Free Dog Coat Pattern
Dogs are all shapes and sizes, so we're going to custom-make a pattern-it sounds complicated, but I promise it's a breeze! It's the best way to make sure the coat fits your dog beautifully. And I made a printable for you to make the process even simpler. Just fill out the form below to get it for free.
Important Update October 2026: This dog coat pattern has been through some fixes! Your comments showed me one of my formulas was off and a few measurements needed clarification. Thank you, especially to commenter Stephanie, whose corrected formula for the chest strap is the one on the new printable. Here is what has been updated in the PDF:
- Corrected chest strap formula
- Clarification on how to measure the coat depth
- Clearer labels for the belly band mesasurements
- Seam allowance information
- New boxes to hold your calculations
- Increased text contrast for accessibility
Grab the new and improved printable PDF (for free!) by filling out the form above. Please note that any comments prior to October 2026 refer to the old version of this pattern.
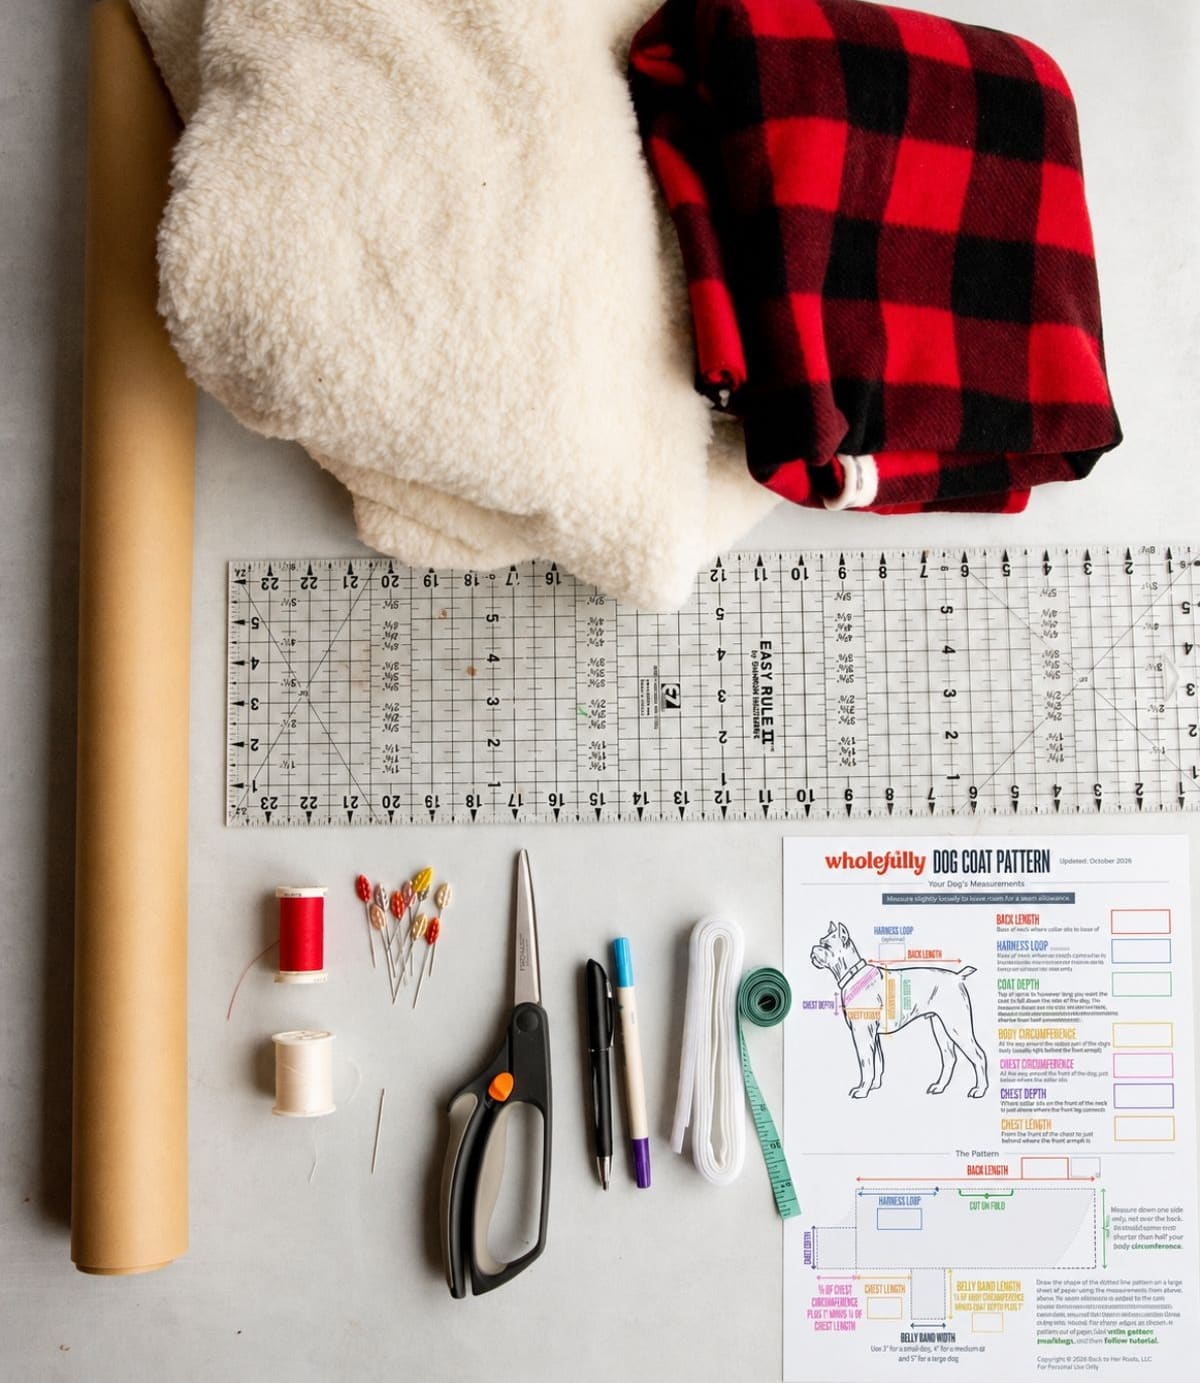
✂️ Materials You'll Need
- Pattern printable (fill out this form above to get it for free)
- Pattern paper (you can buy specific paper, but any large, blank paper will do-old wrapping paper, newsprint, kraft paper, etc.)
- Measuring tape
- Pencil or pen
- Ruler
- Scissors
- 1 yard fleece*, for the outside
- 1 yard sherpa/faux fur*, for the lining
- Coordinating thread
- Sewing machine (you can sew this by hand, too)
- Sewing needle
- 18" of 1-inch wide sew-on hook-and-loop fastener (you may need less)
- Iron and ironing board
- Straight pins
- Disappearing ink pen
* This amount of fabric will work for most dogs. If you have a tiny dog, you'll have quite a bit left over, and if you have a very large dog, you'll need to get more. My philosophy is that it's always better to err on the side of having too much fabric than not enough.
🧵 How to Make a Dog Coat
Step 1: Take Measurements and Calculate the Pattern
First, you need some measurements. Get out your measuring tape, and measure the spots on your dog to fill in the printable. I recommend being generous with your measuring-don't make the measuring tape too tight. I sewed with a ⅜" seam allowance here and didn't add it to my pattern because I knew I measured loosely. Dogs fluctuate in weight just like humans do, so it's nice to have a little bit of space to be able to adjust.
For coat depth, measure from the top of the spine down one side only, to wherever you want the coat to end. If your number comes out bigger than half your dog's body circumference, you probably measured over the back. Measure again.
Write all those measurements down in the spaces provided in the top half of the pattern PDF. Then follow the calculations in the bottom half to get your final pattern measurements.
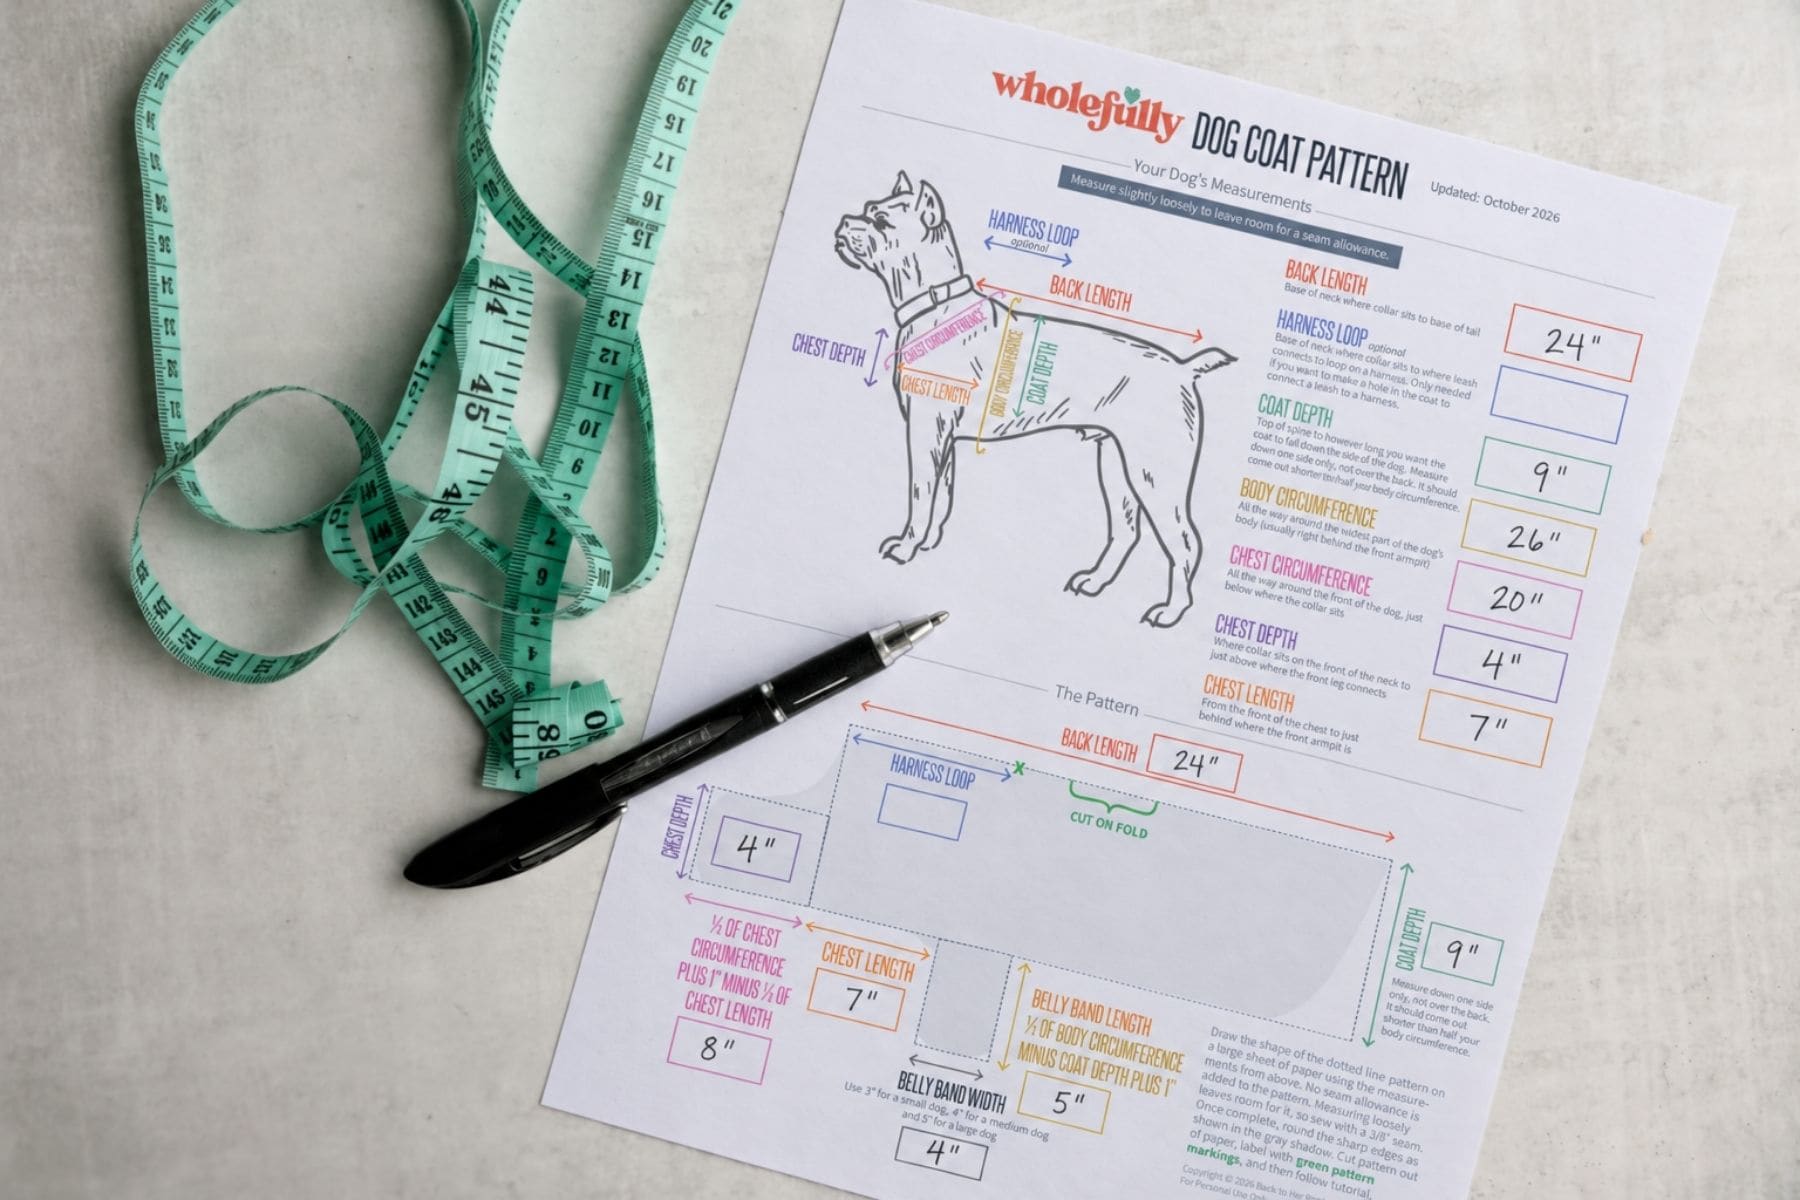
The formulas on the printable help you calculate the chest strap length and the belly band length.
For Ivy, the chest strap is (20" ÷ 2 + 1") minus (7" ÷ 2) = 7.5", which I rounded up to 8". Round up to the nearest inch for medium and large dogs, and use the exact number for small dogs. Her belly band length is 26" ÷ 2 minus 9" plus 1" = 5", and the belly band width is 4".
Step 2: Create The Pattern
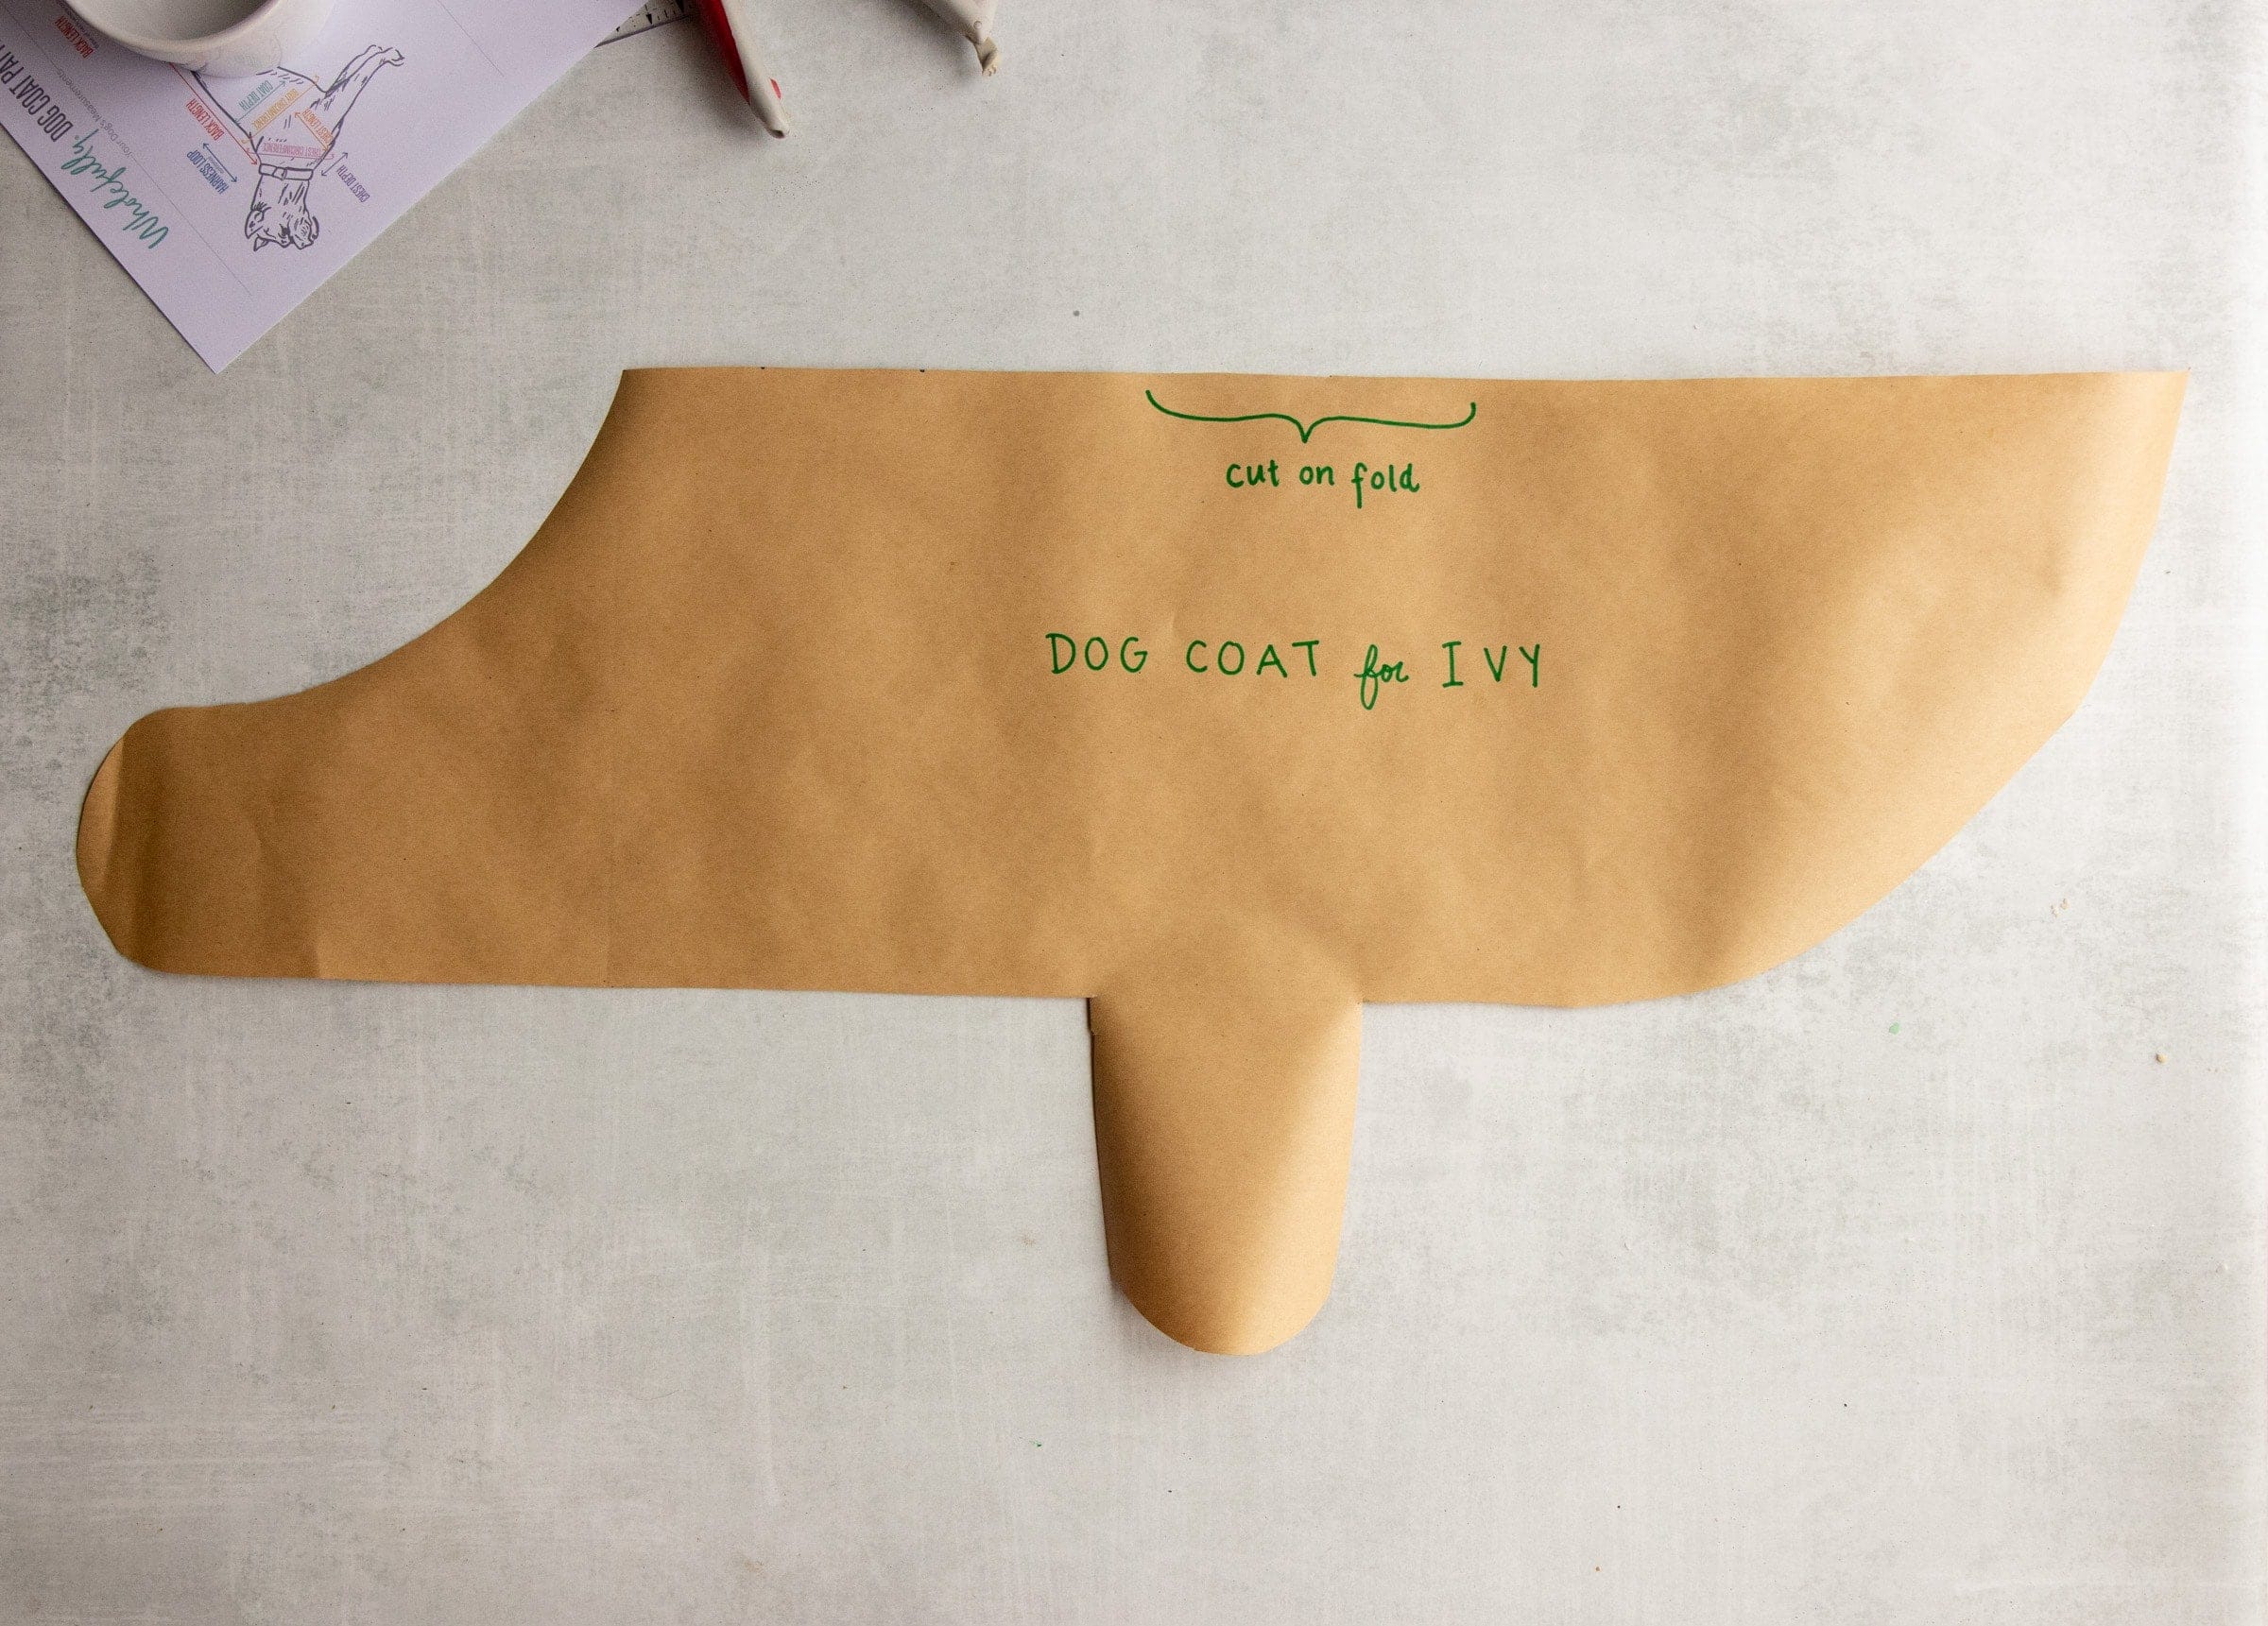
Next, using the measurements you just calculated, recreate the shape at the bottom of the printable to scale on a large sheet of pattern paper, wrapping paper, newsprint, or any other large sheet of paper. This shape will look very boxy.
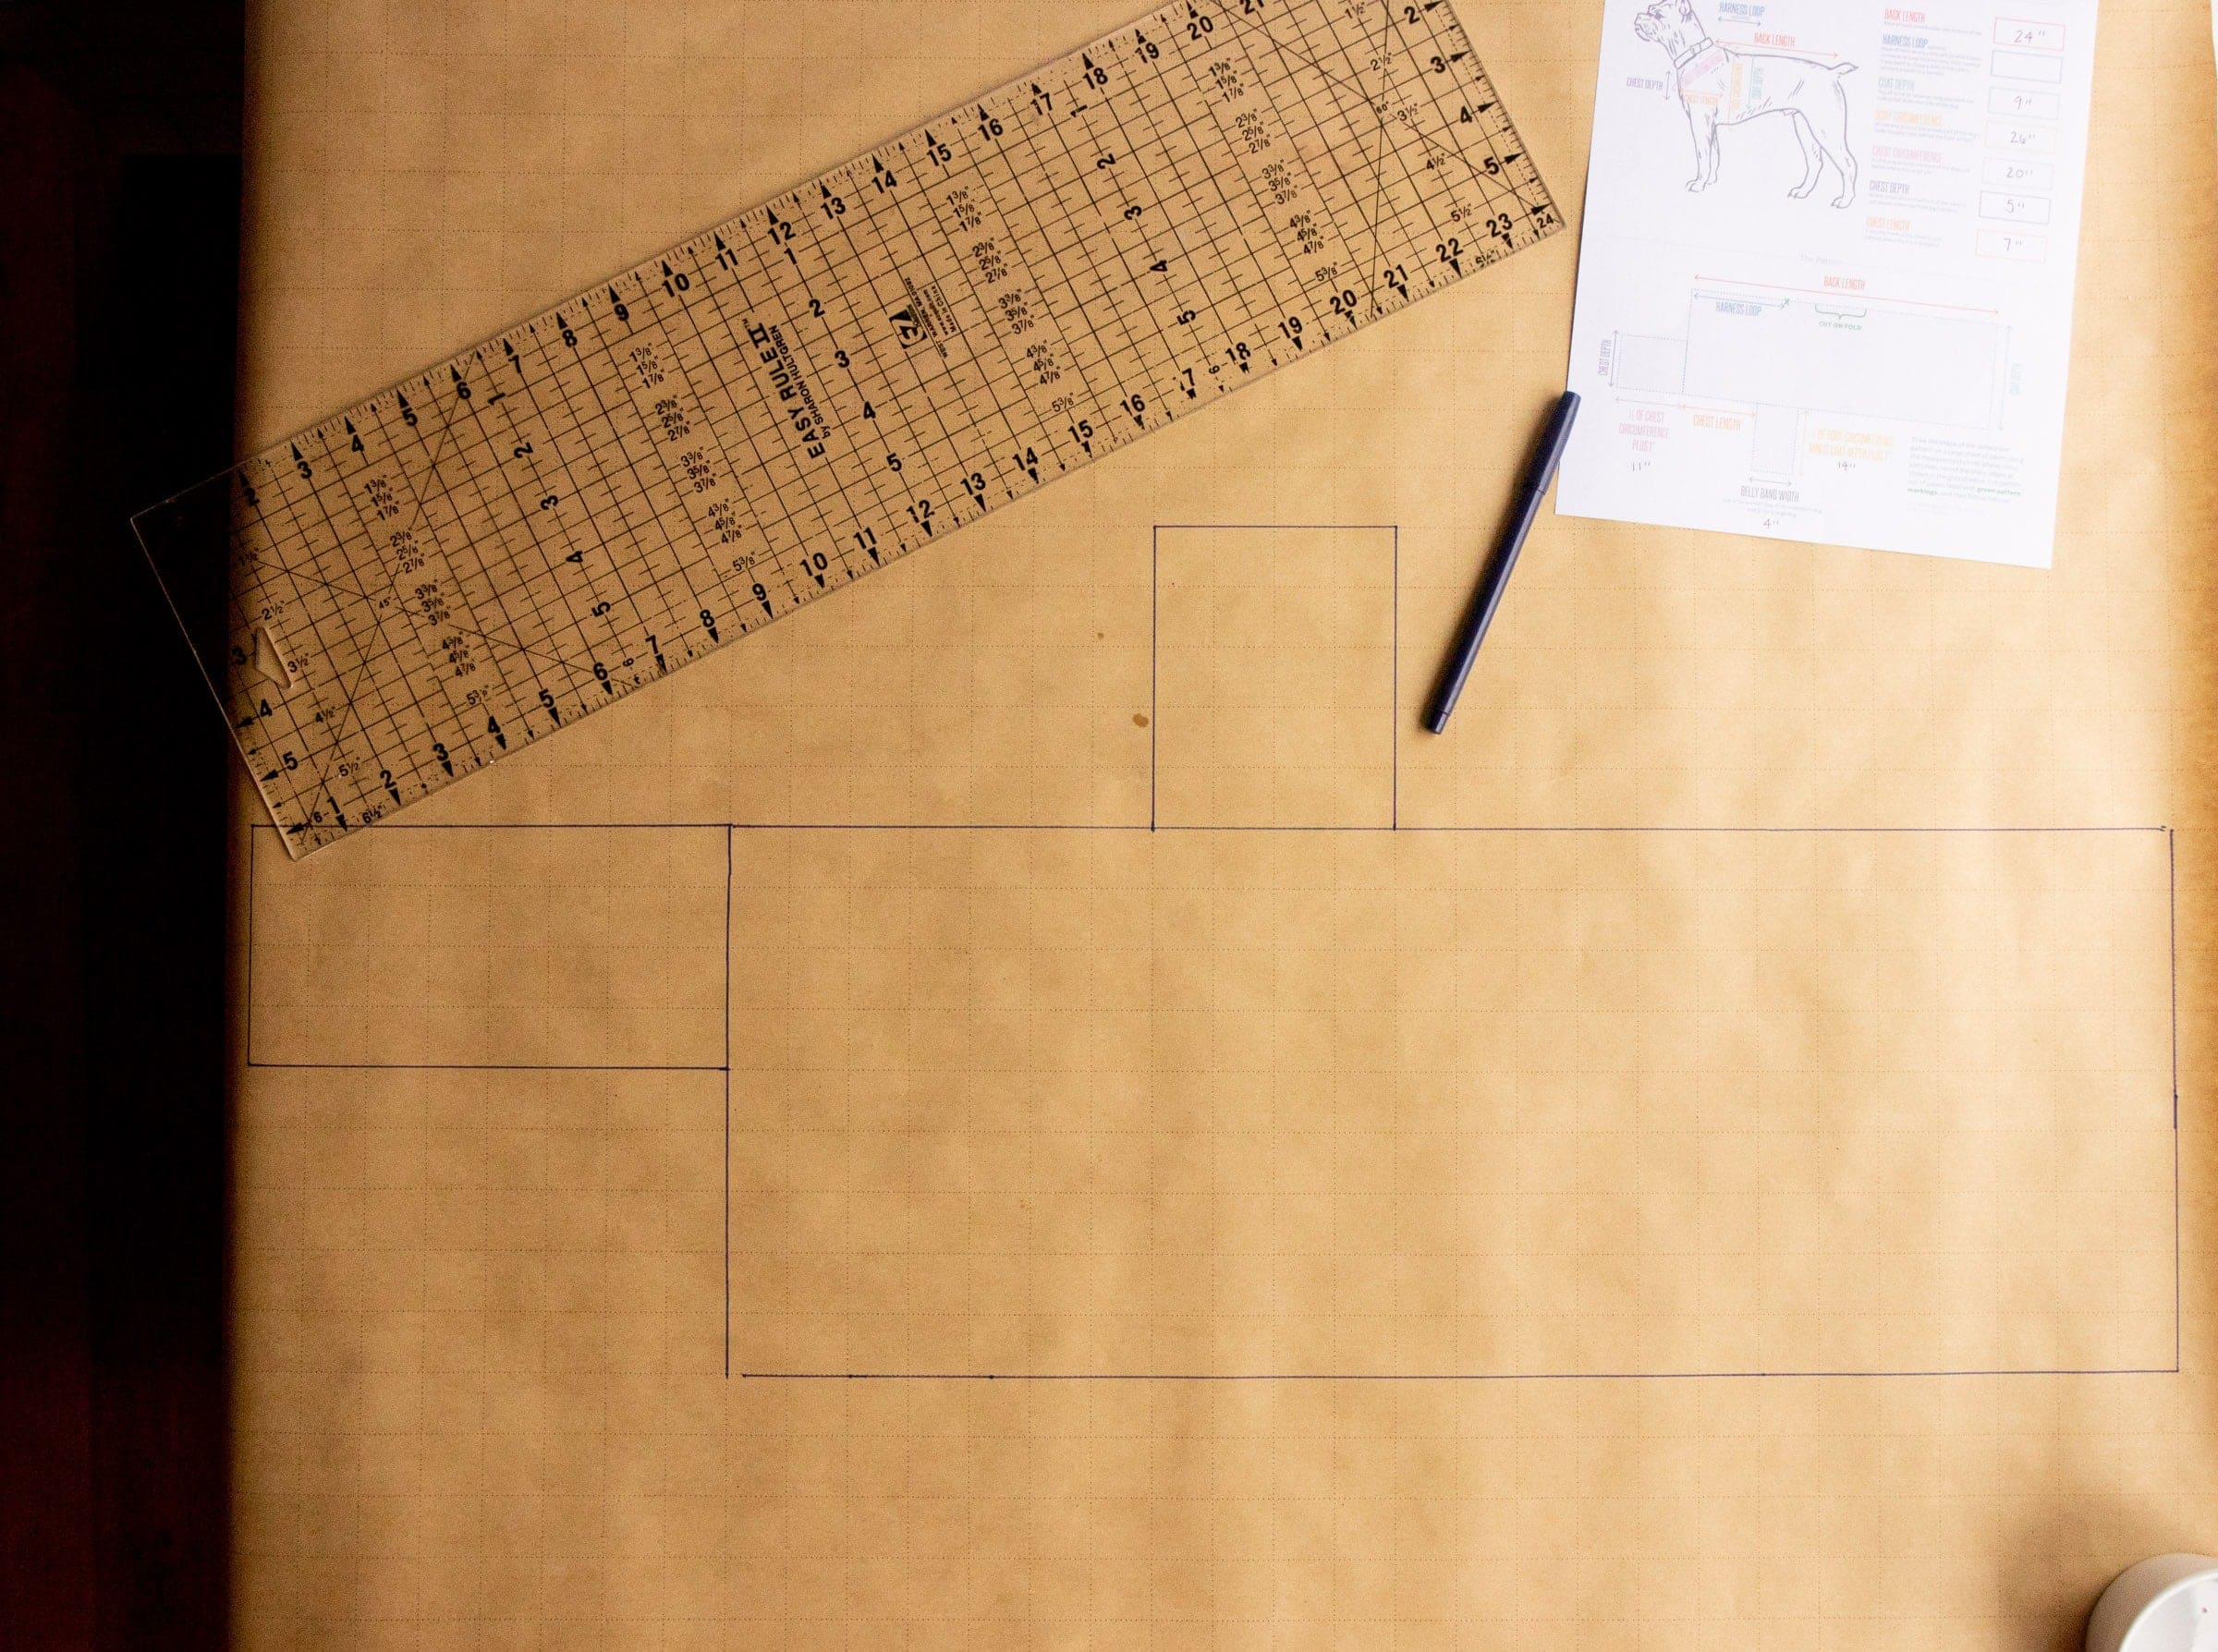
Then, take any of the sharp corners or edges and round them to make a smooth curve.
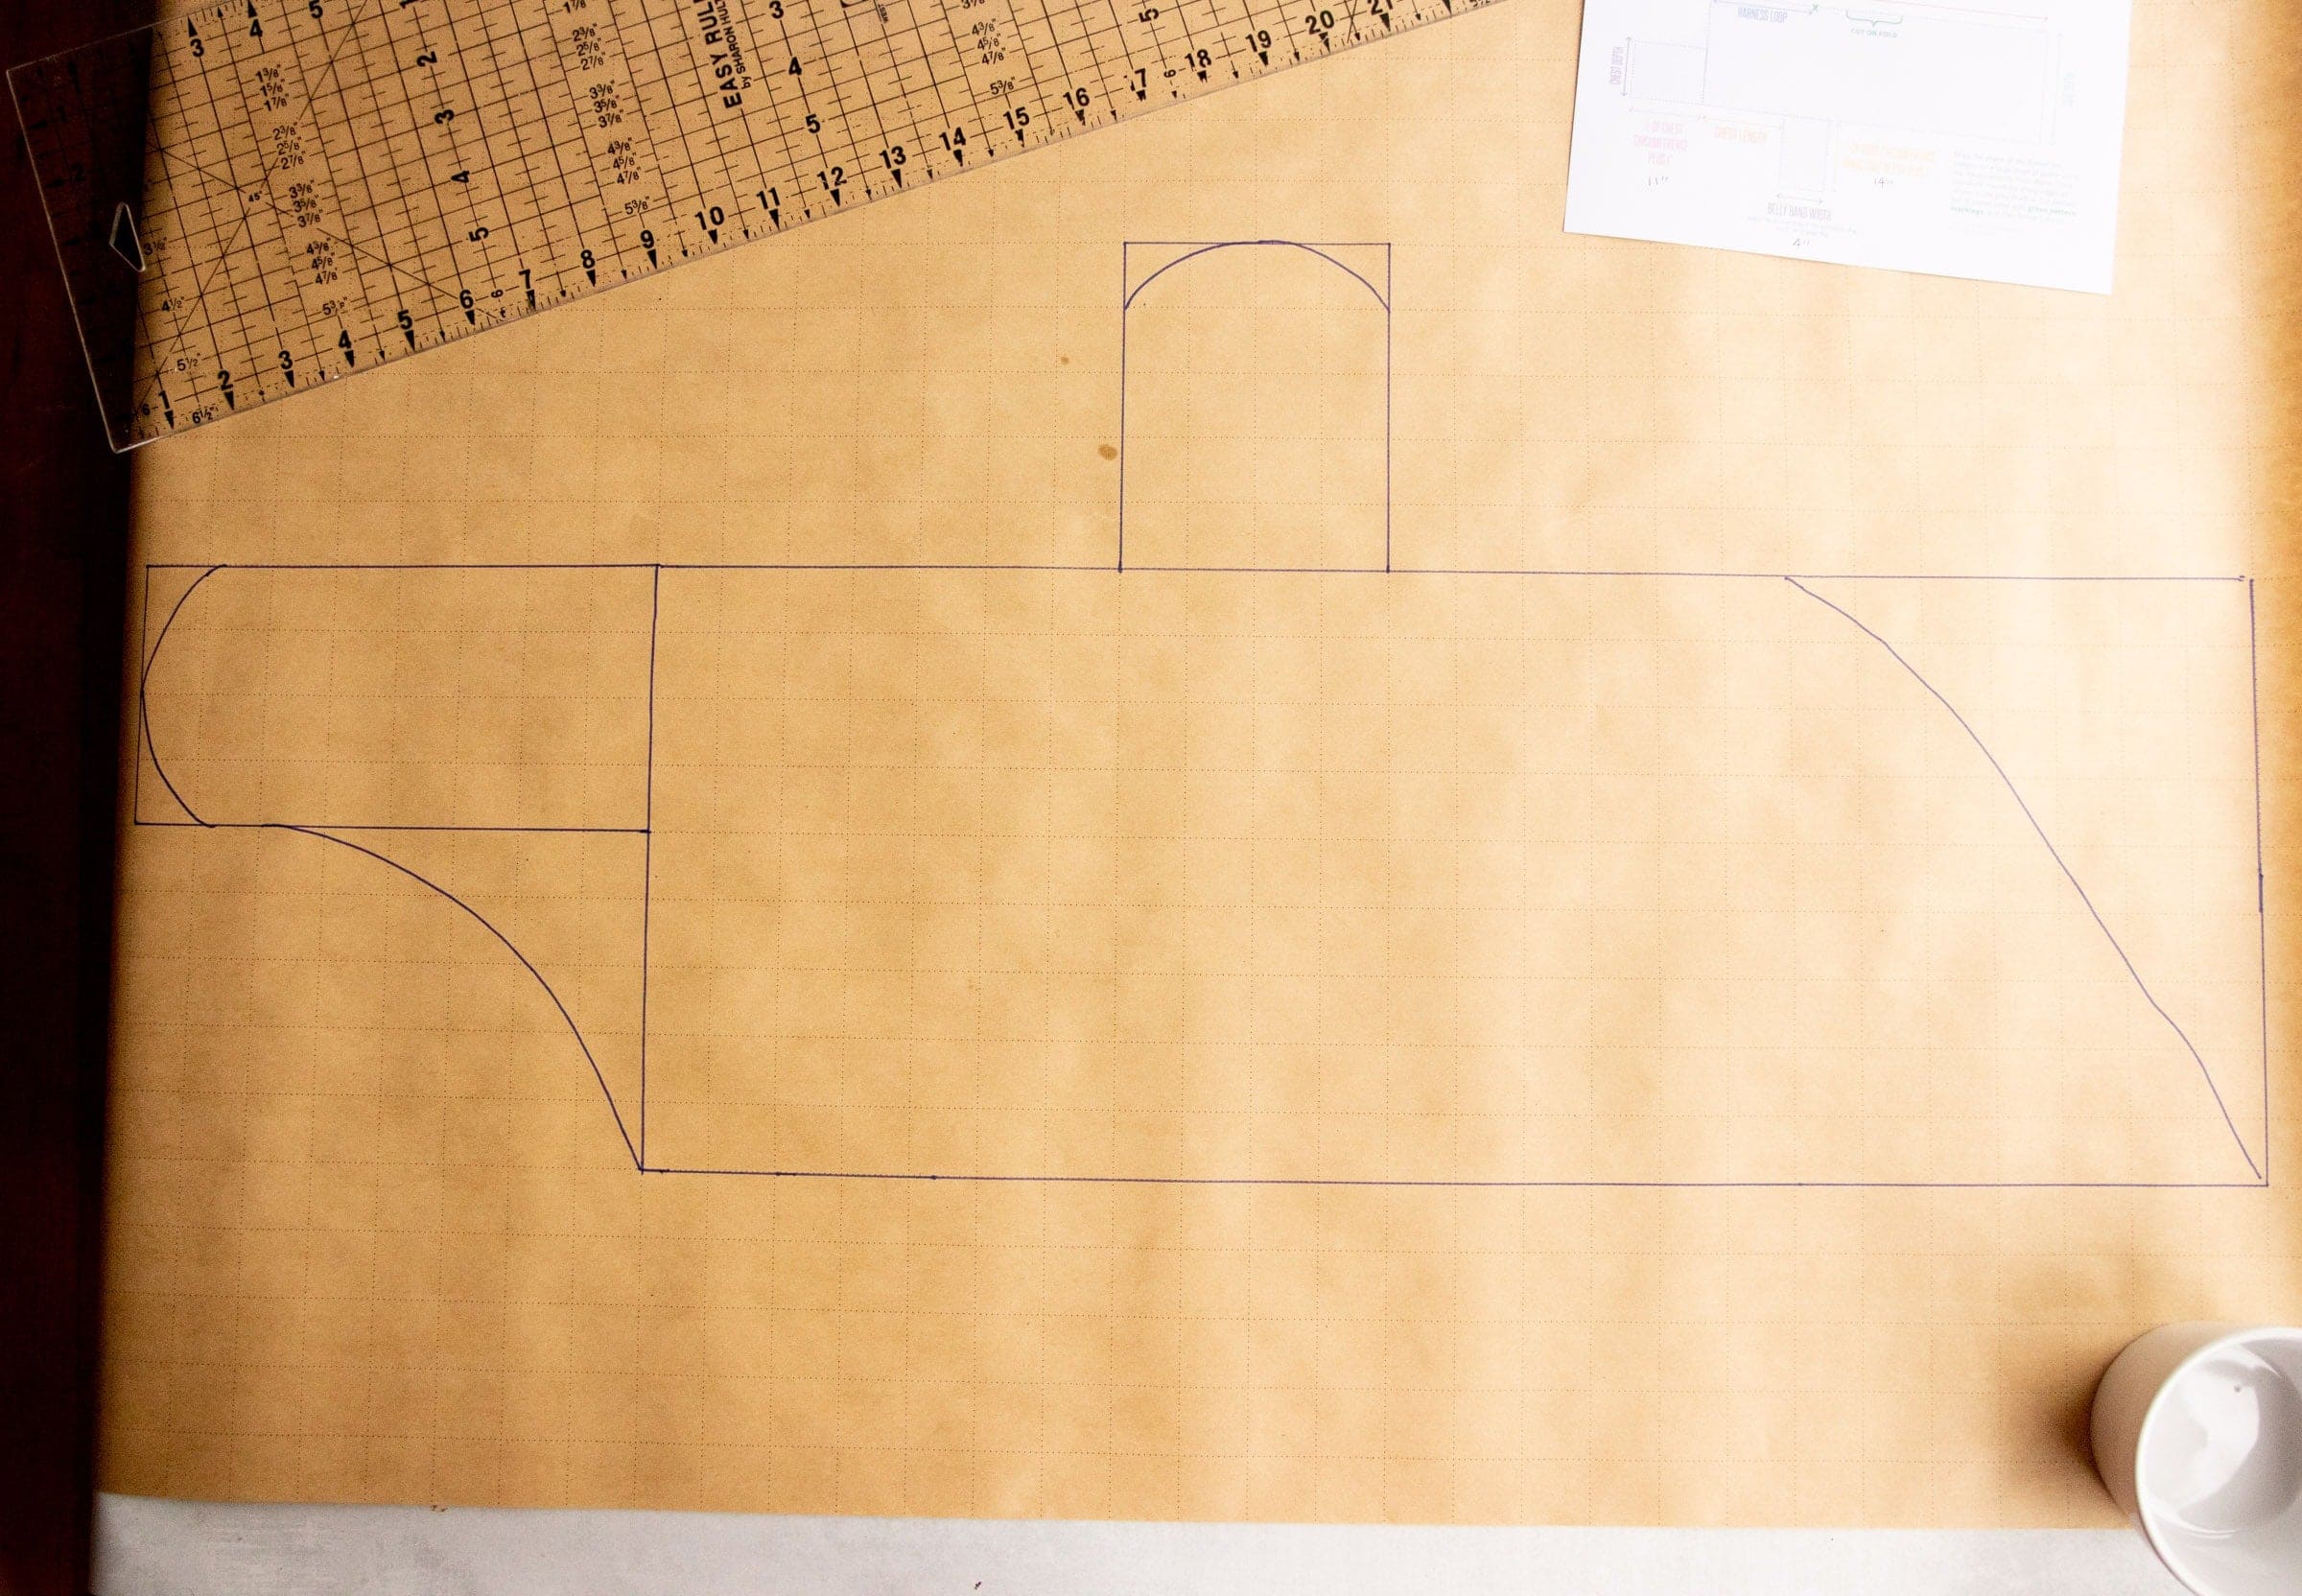
Cut the pattern out, then label with the green pattern markings from the printable, as well as what it is and who it was sized for.
Step 3: Before You Cut: Test Fit Your Pattern
Once your paper pattern is cut out, hold it up to your dog before you touch any fabric. This is a half-size coat, so hold the "cut on fold" side to your dog's spine and check if the sizing seems accurate. The chest strap should wrap around slightly over half of their chest width, and the belly band should wrap slightly over half of their belly. The length is designed to hit at the tail. Trim or add in areas until it fits. Paper is a lot cheaper to adjust than fleece!
Step 4: Cut Out Your Fabric
I like to use one piece of faux fur/sherpa for the lining and one piece of fleece for the outside, but you can mix this up all you want and use whatever materials work for you. Wool would be great-it stays warm even when it's wet. You could also use an oilcloth for the outside with a fleece lining for warmth and rain-resistance. It's up to you! I would recommend getting a washable material. Dogs get dirty!
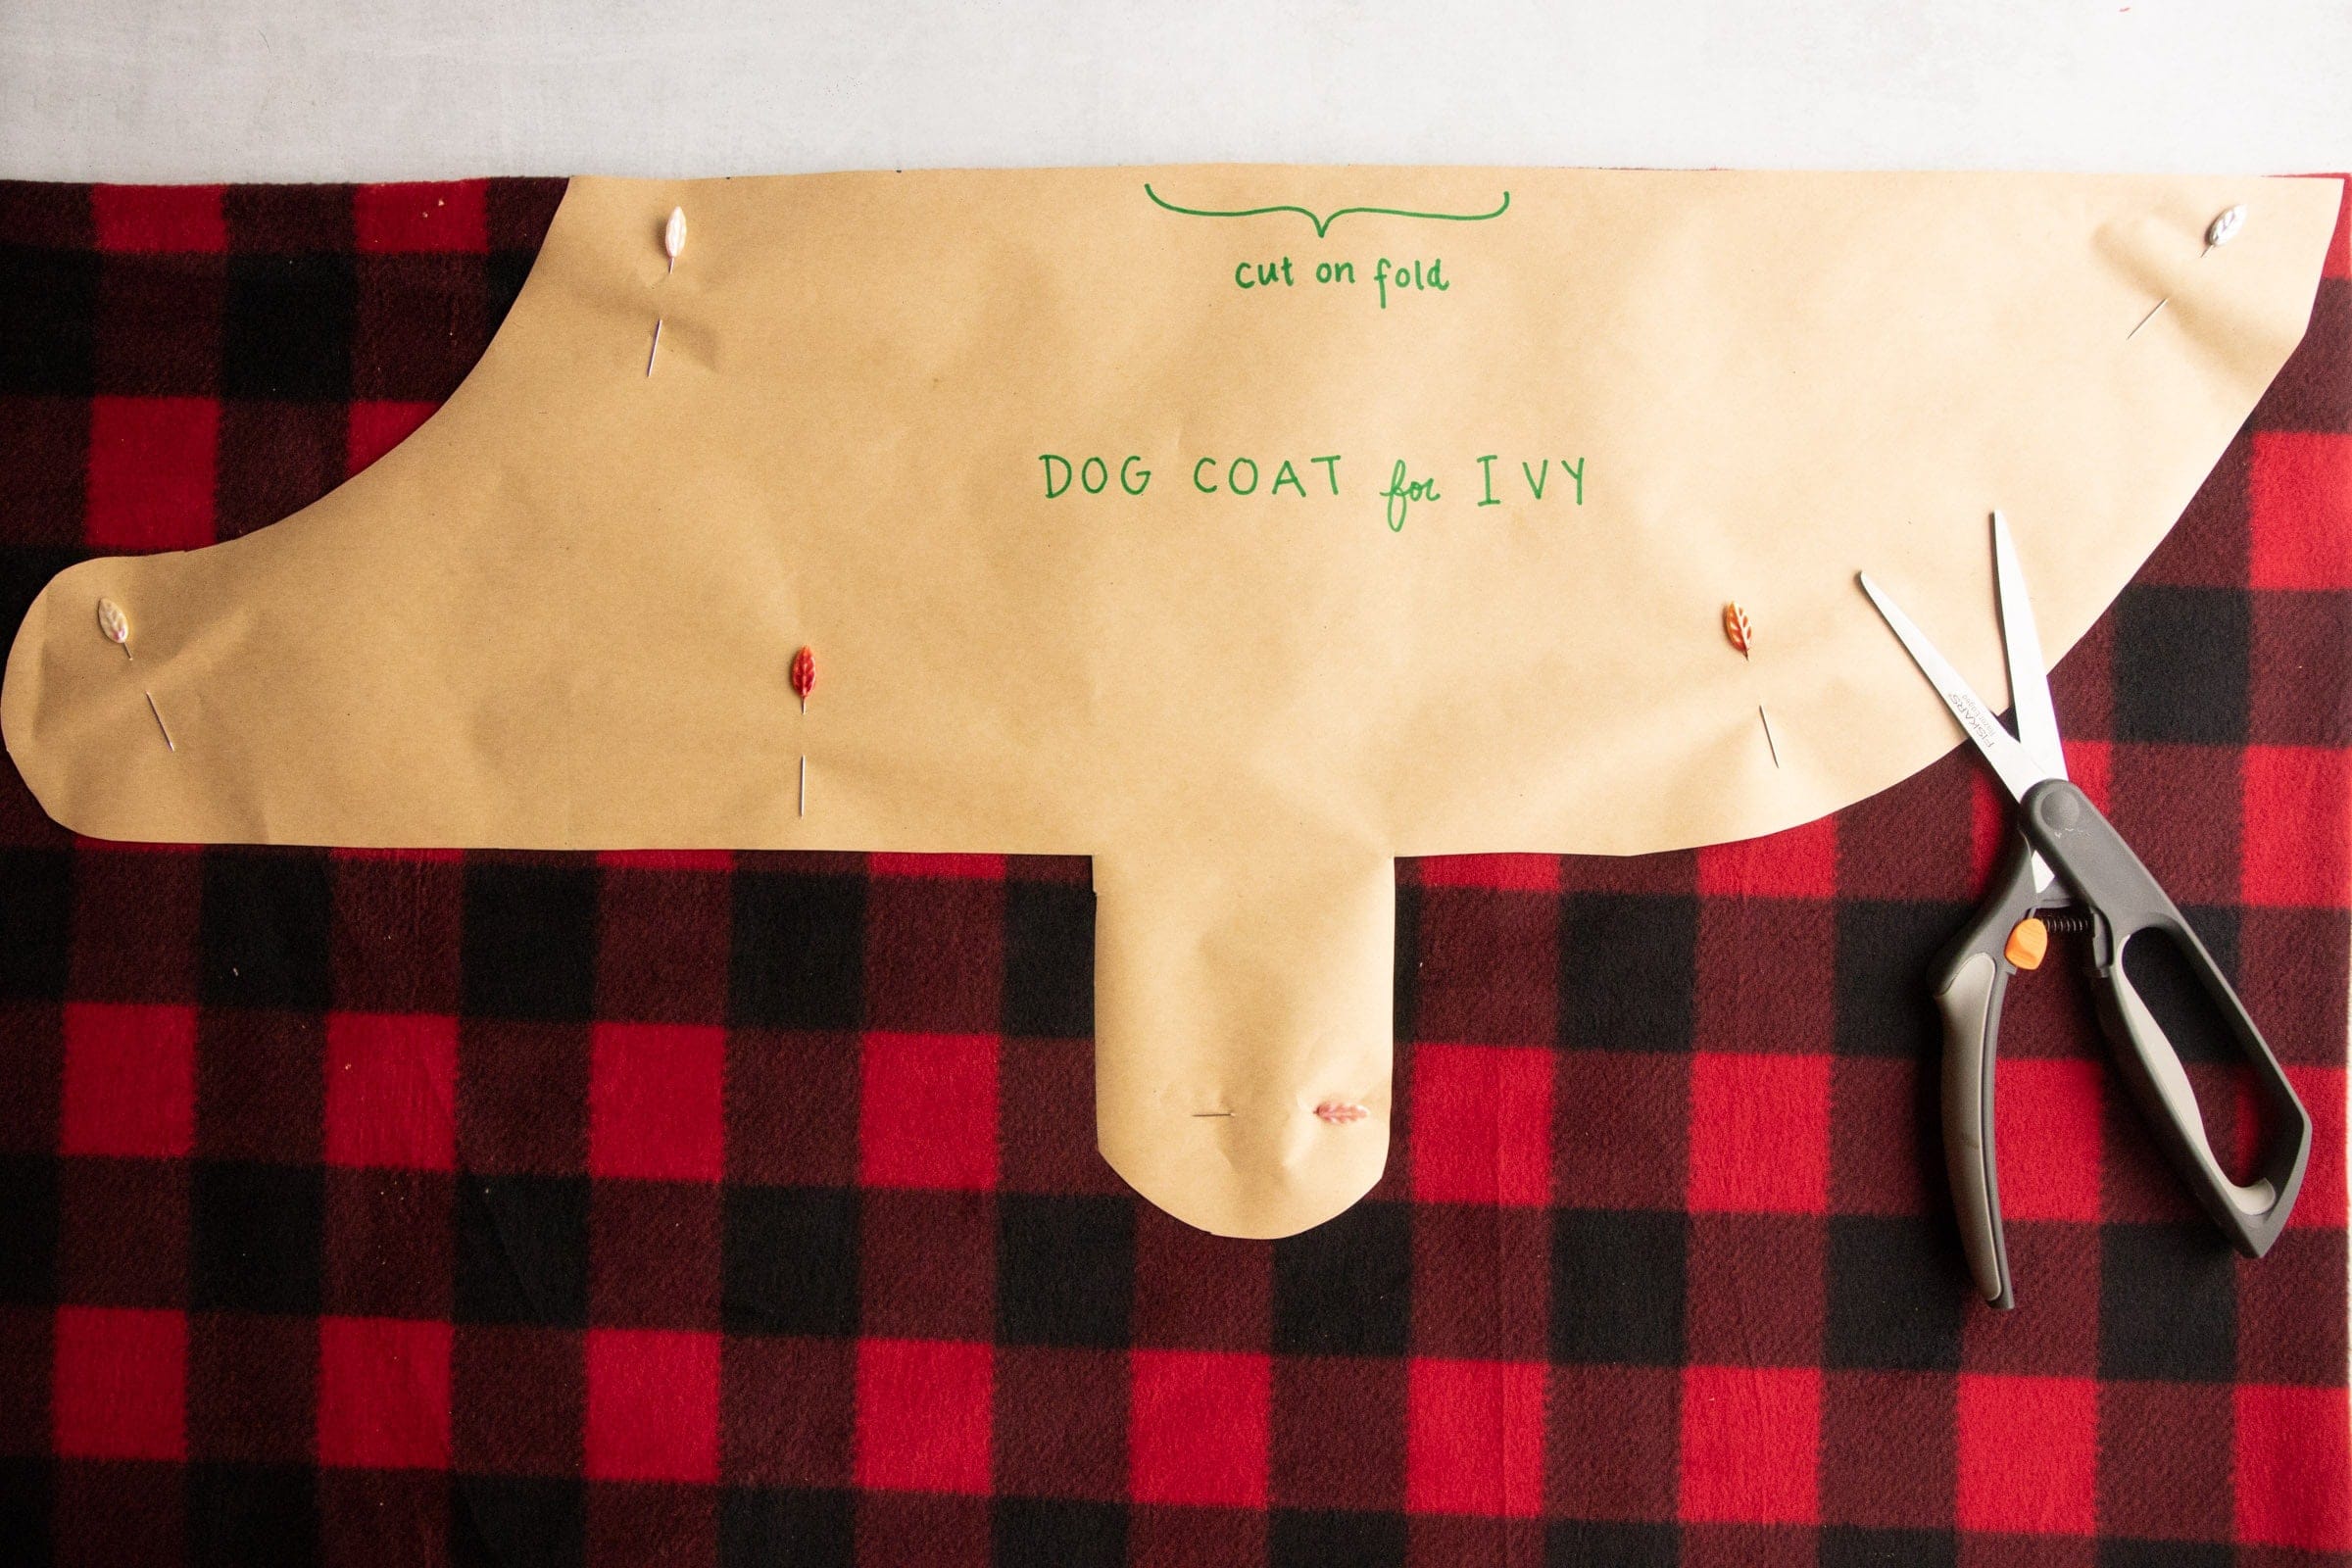
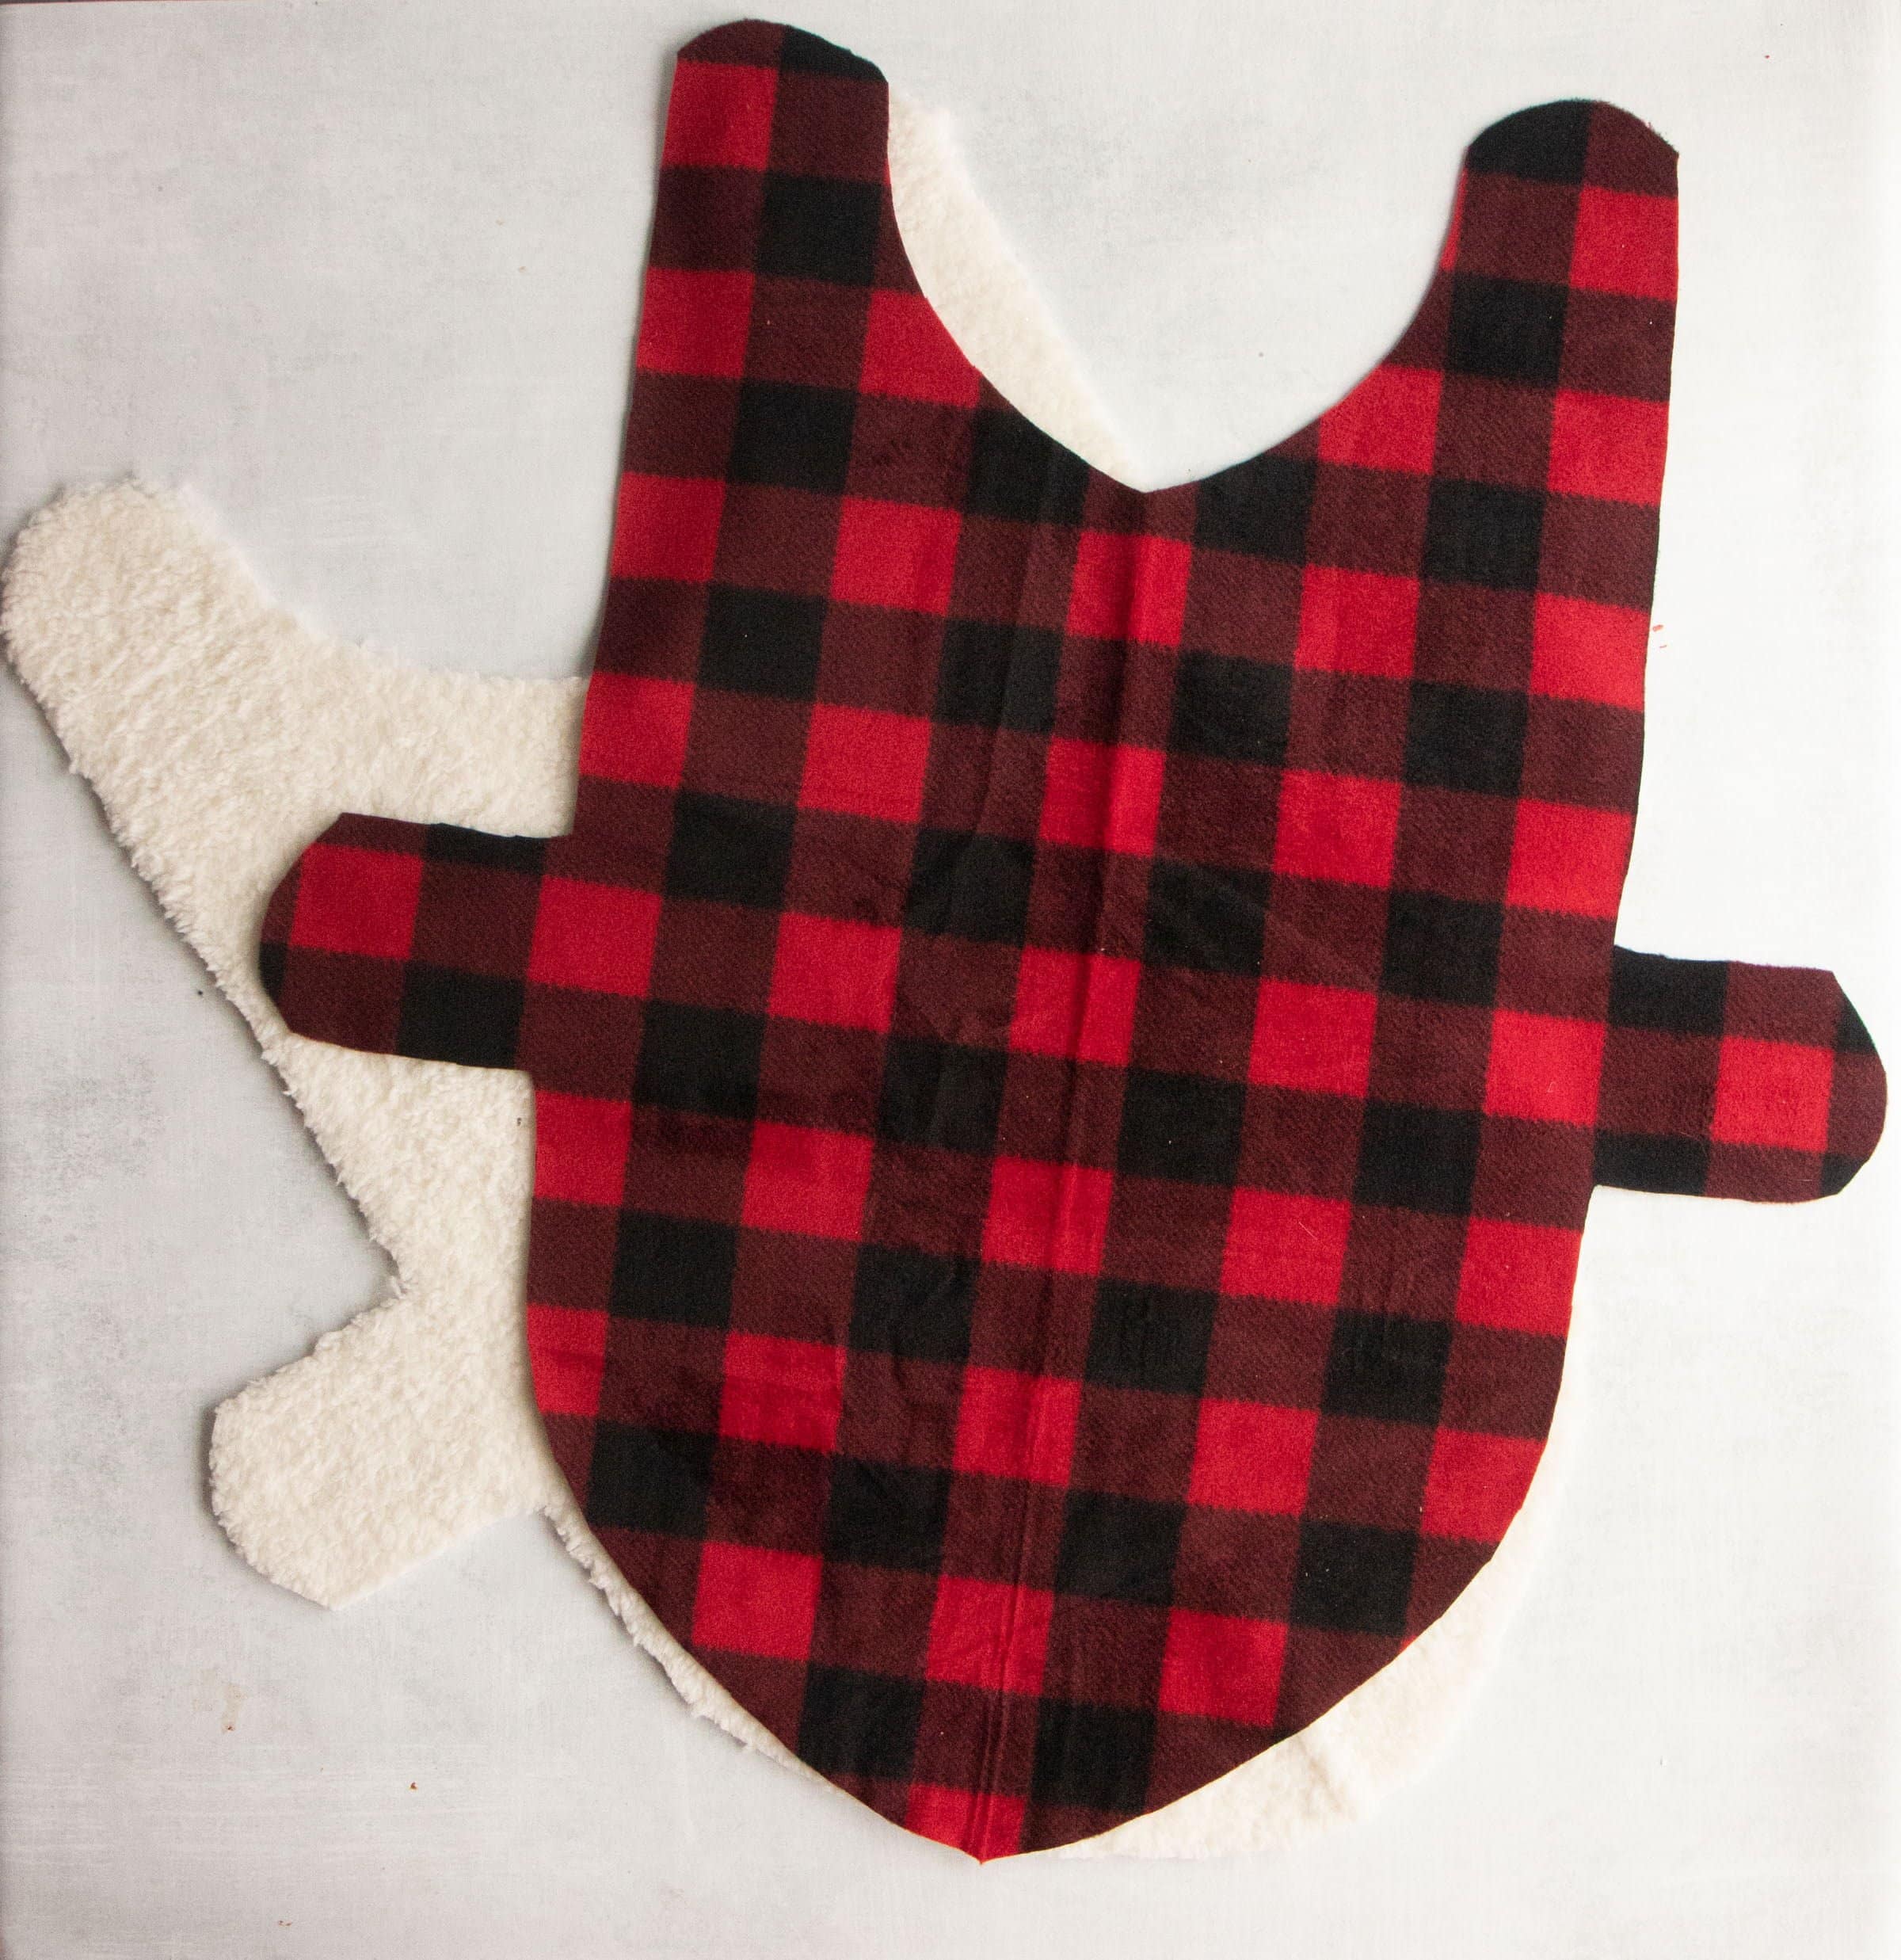
Using the pattern piece, place the top of the pattern on the fold of the outside fabric, pin down, and then cut. Repeat with the lining fabric.
Step 5: Assembly
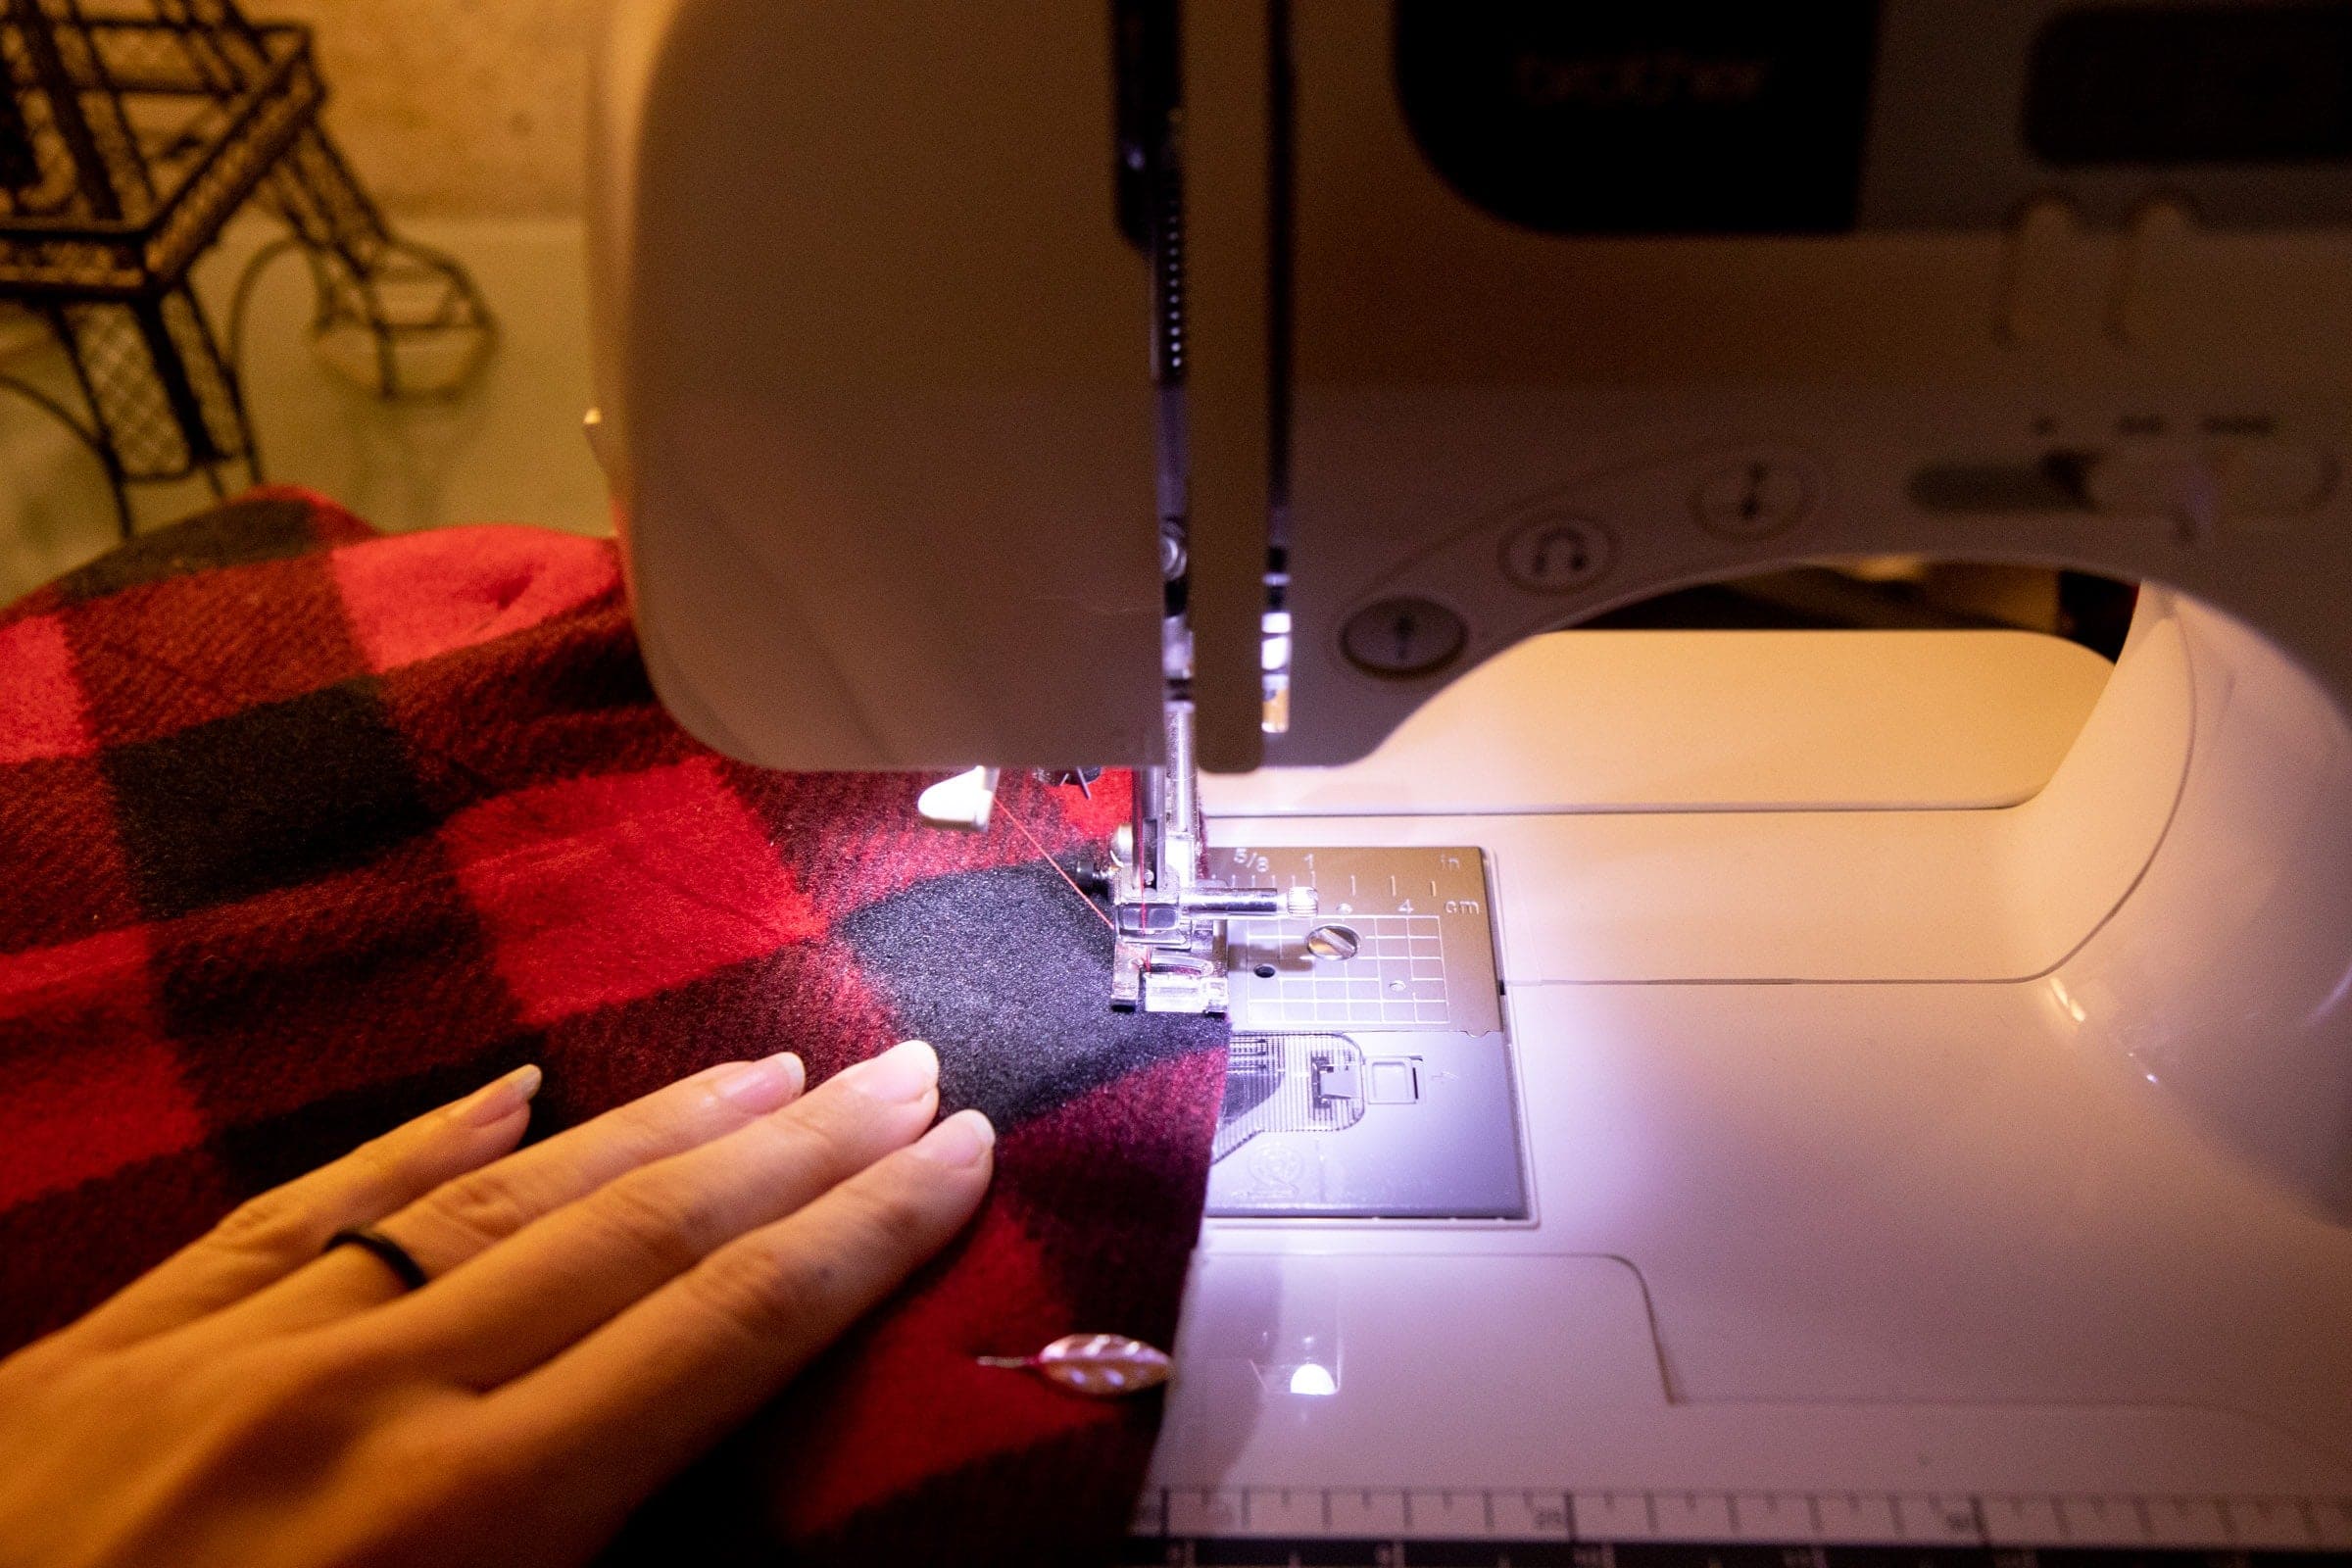
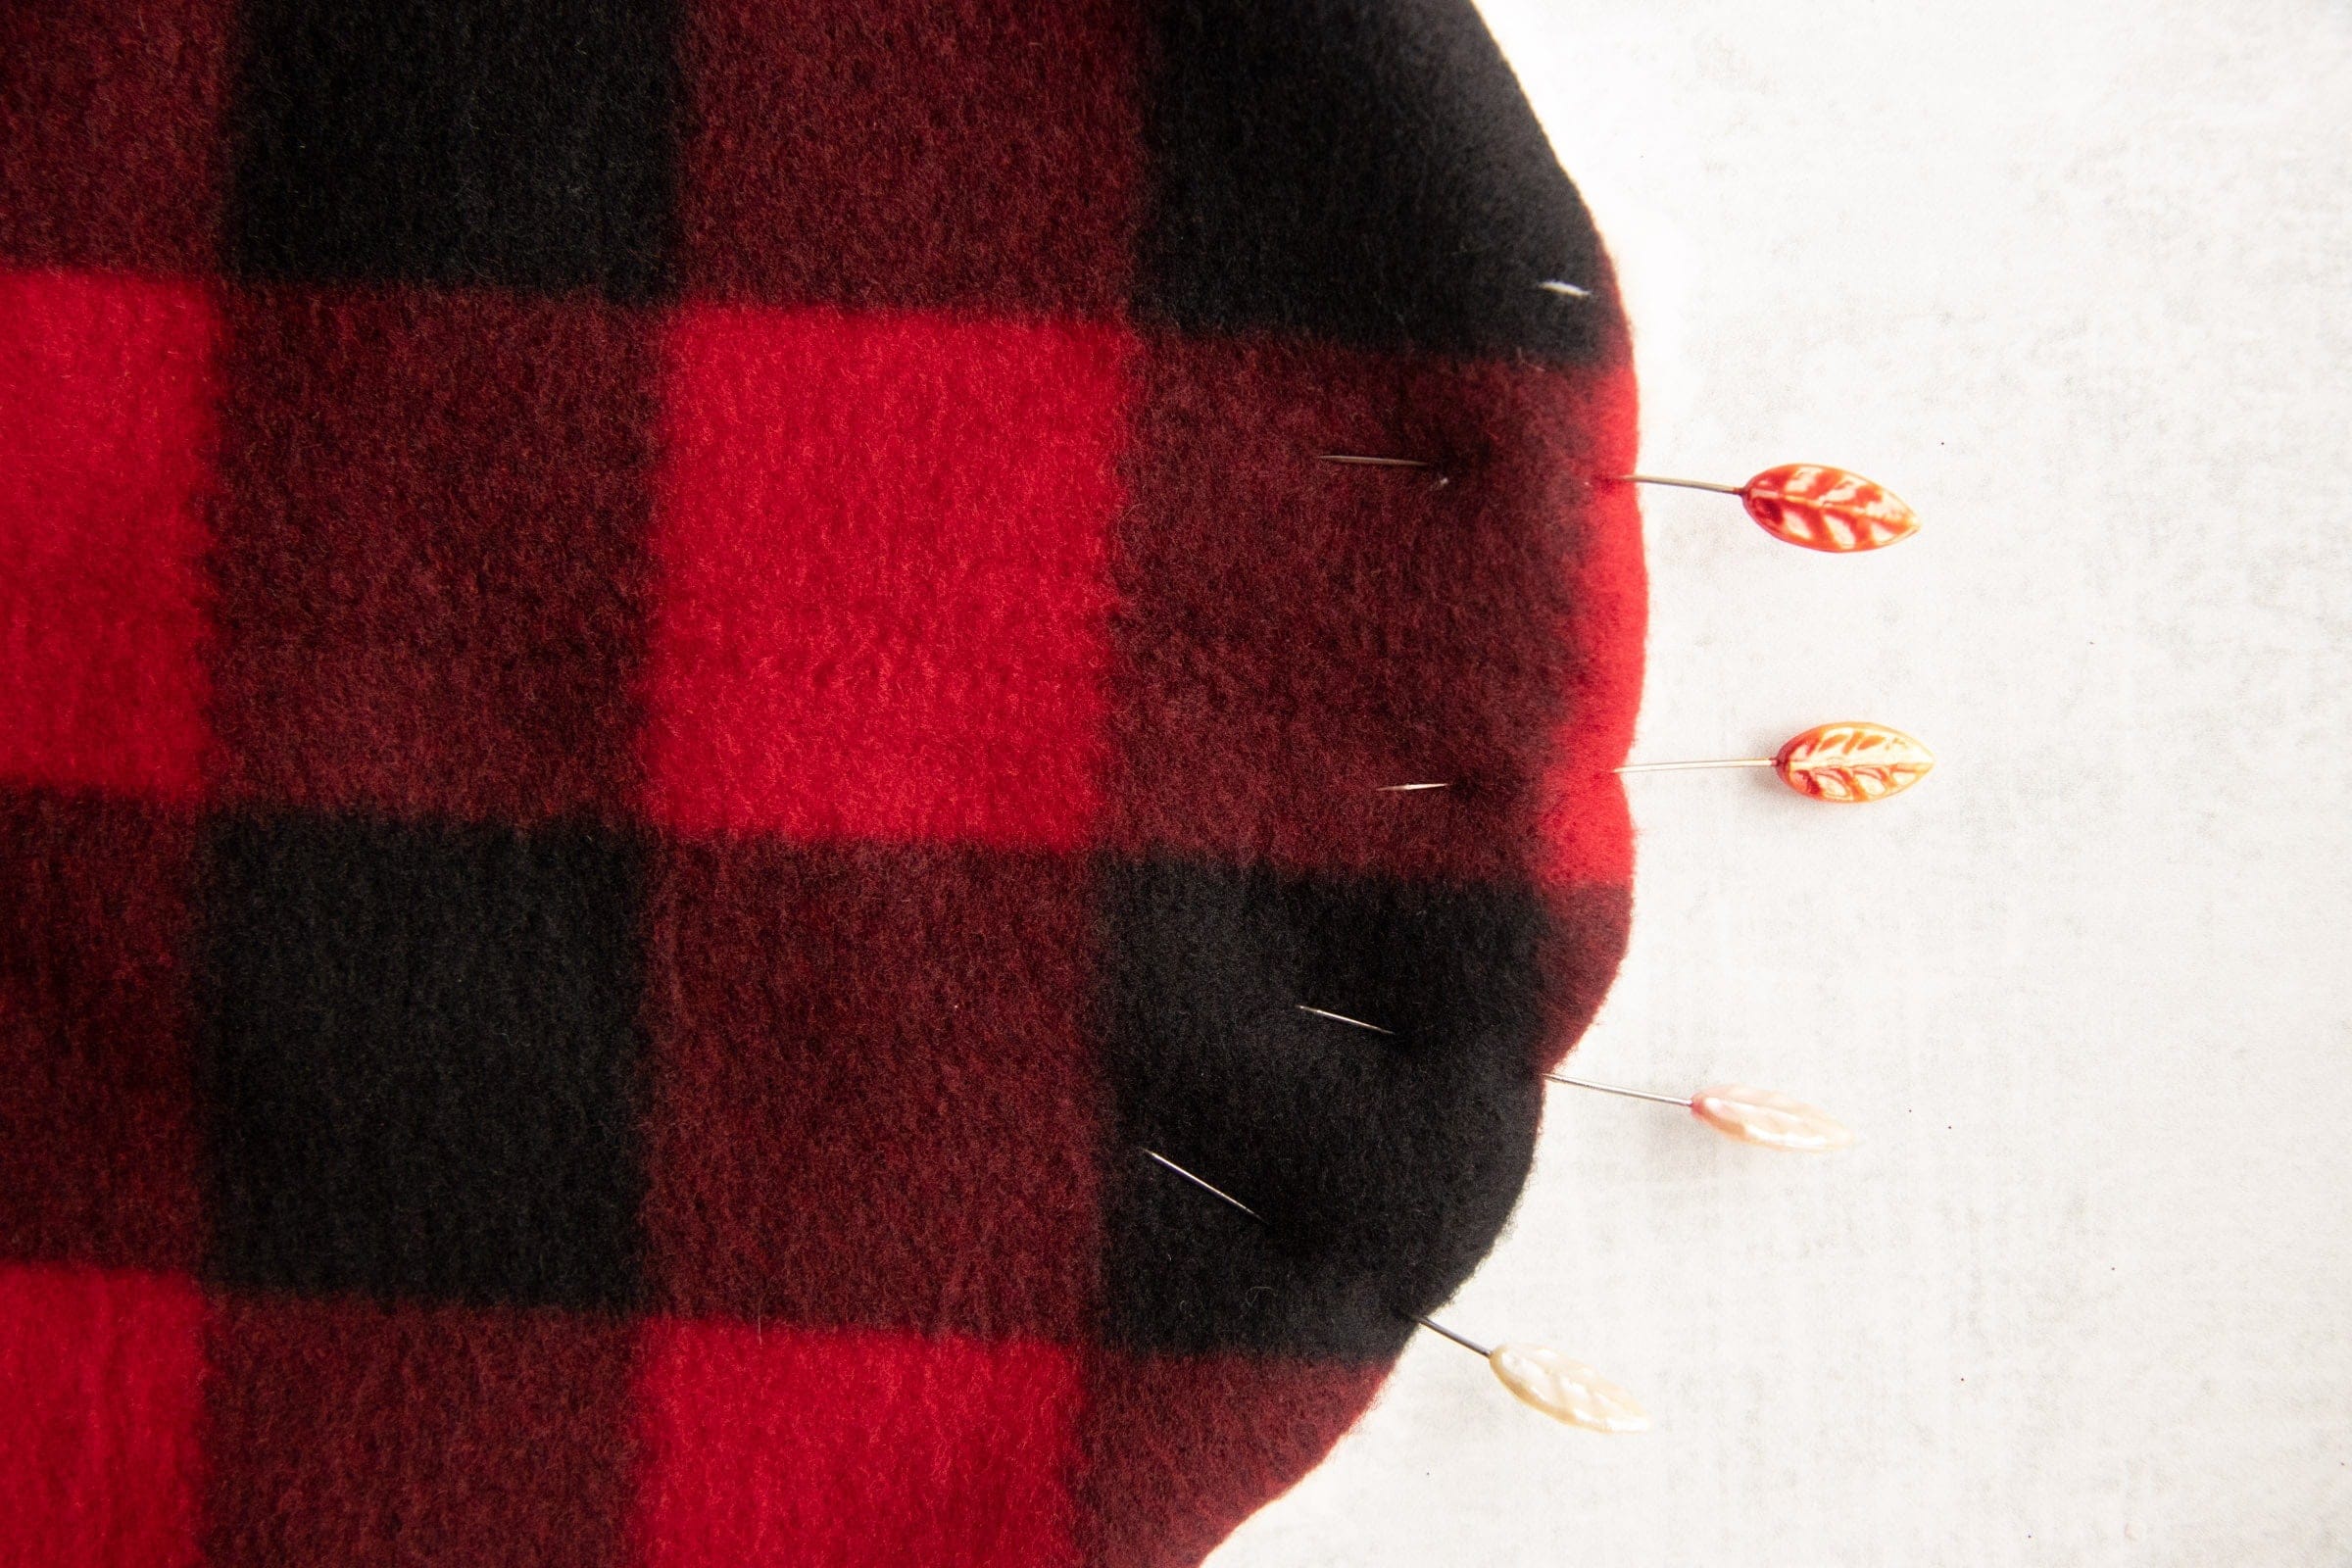
Place the two pieces of fabric, right sides together, on a flat table, and pin all the way around.
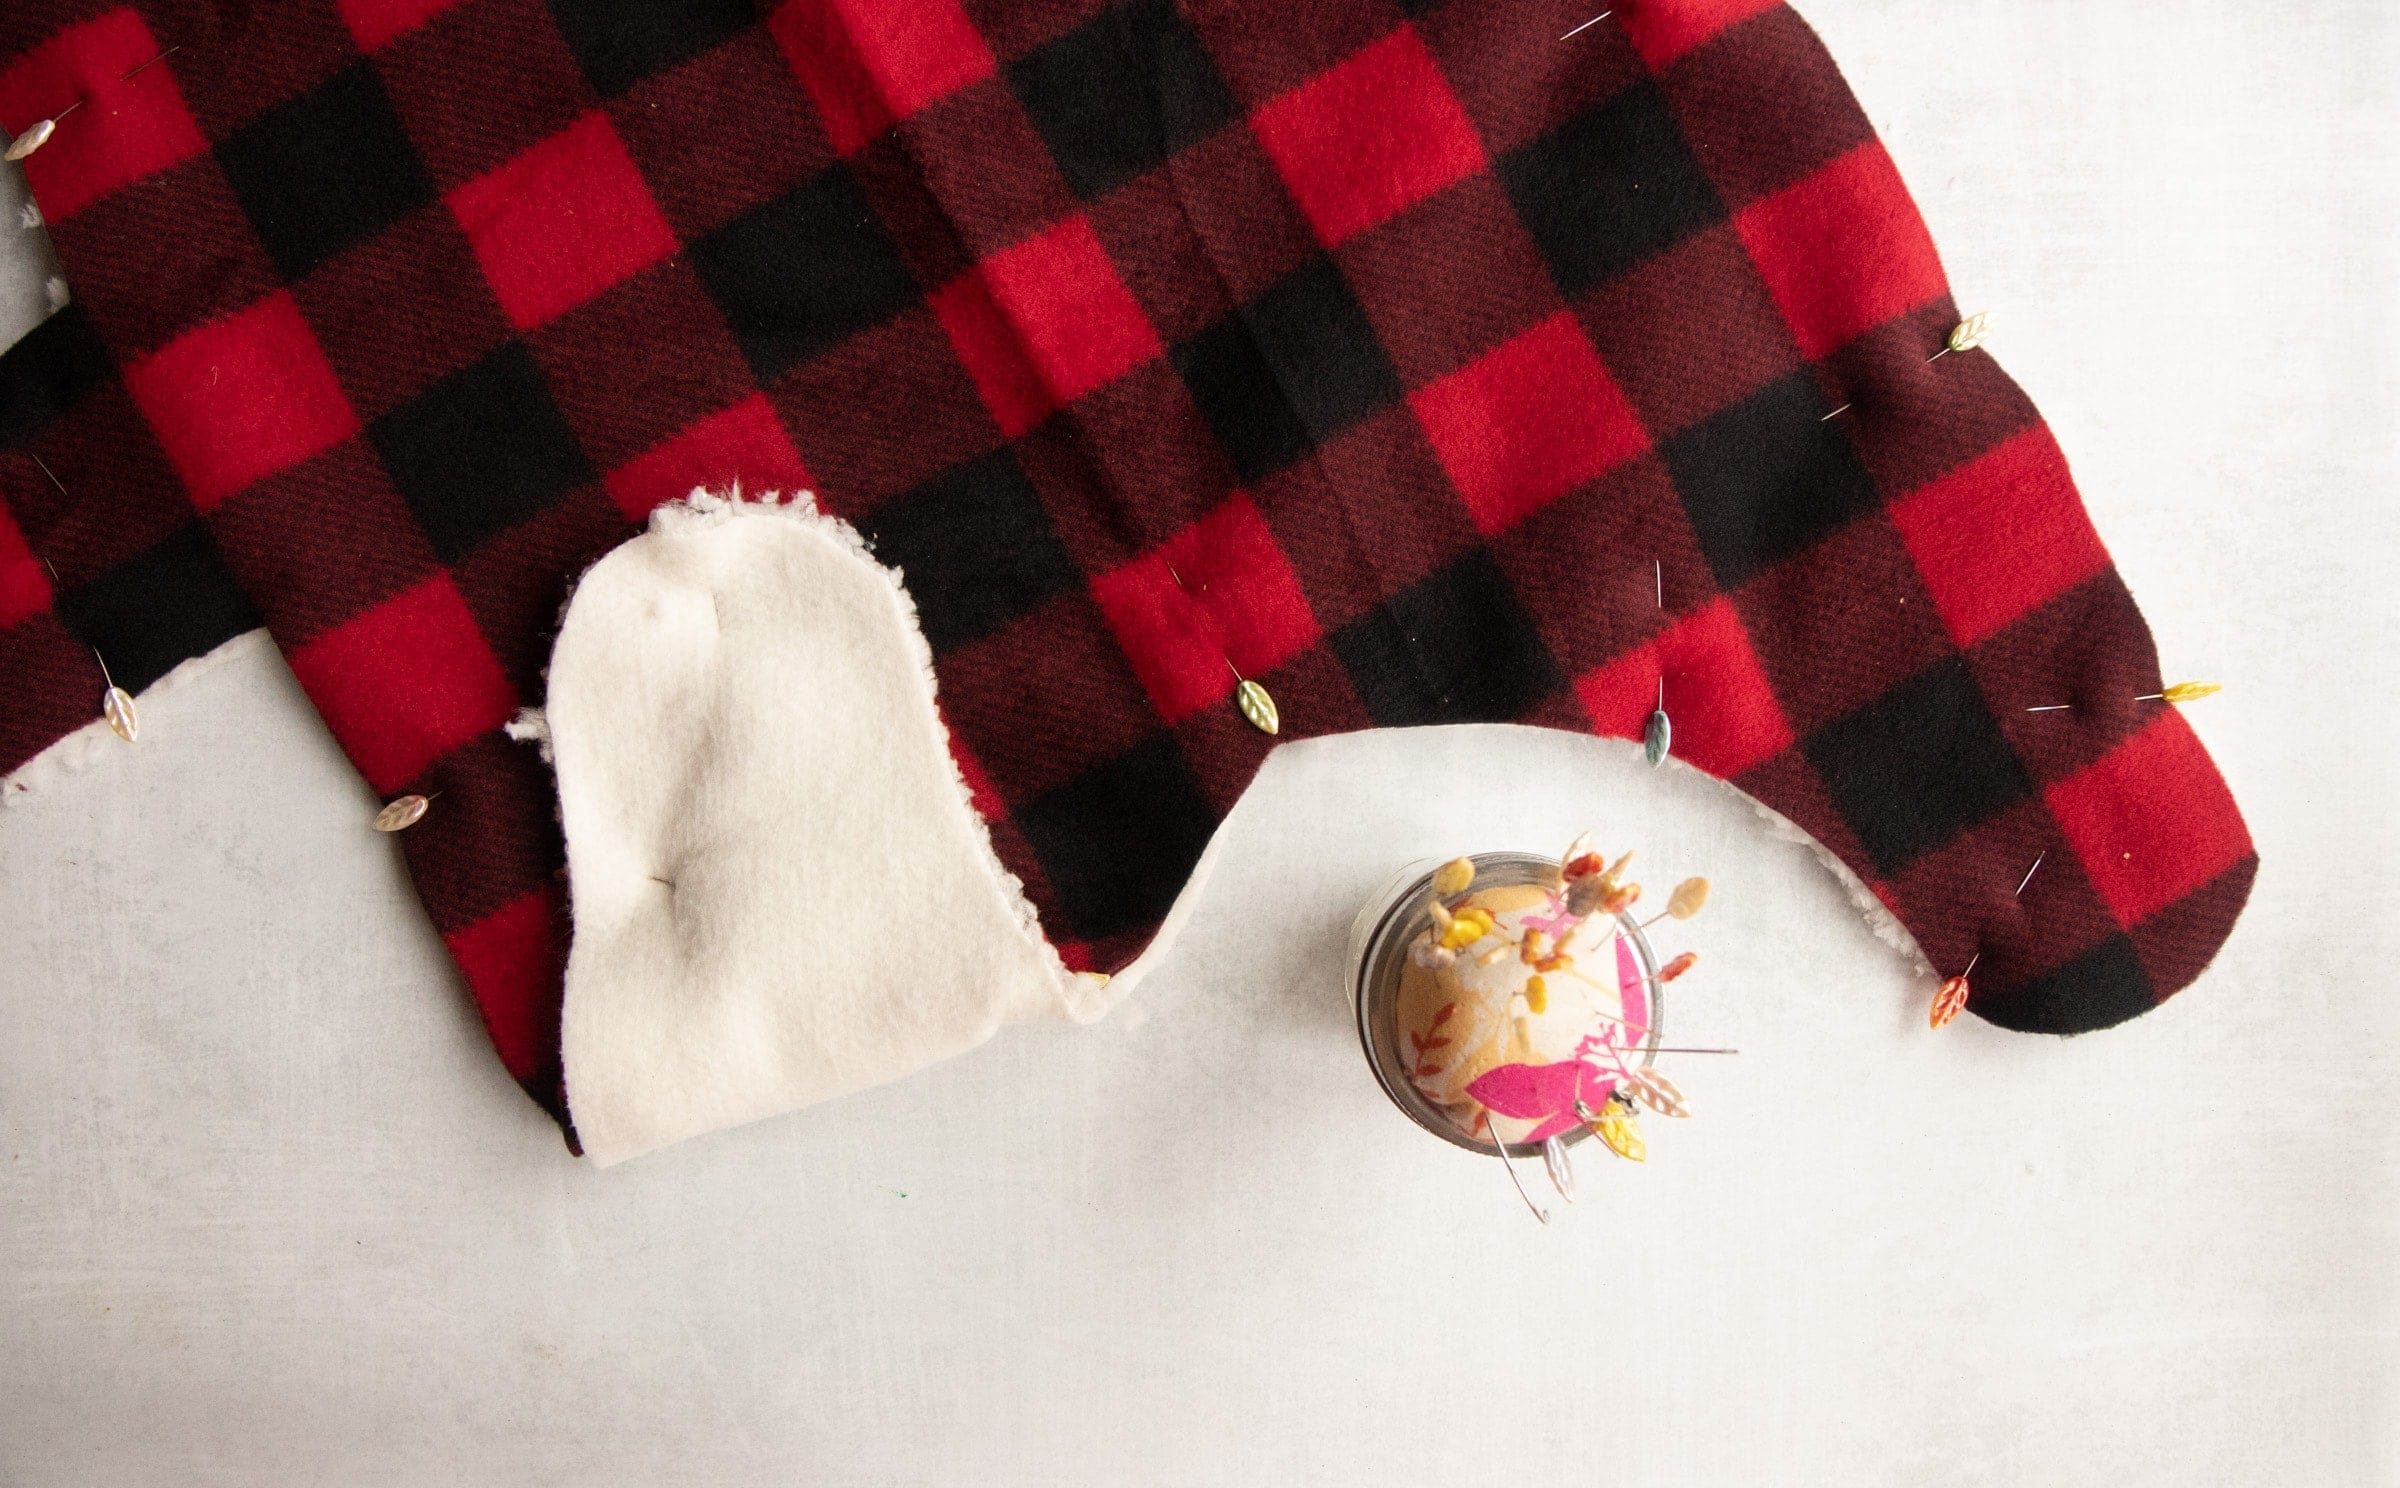
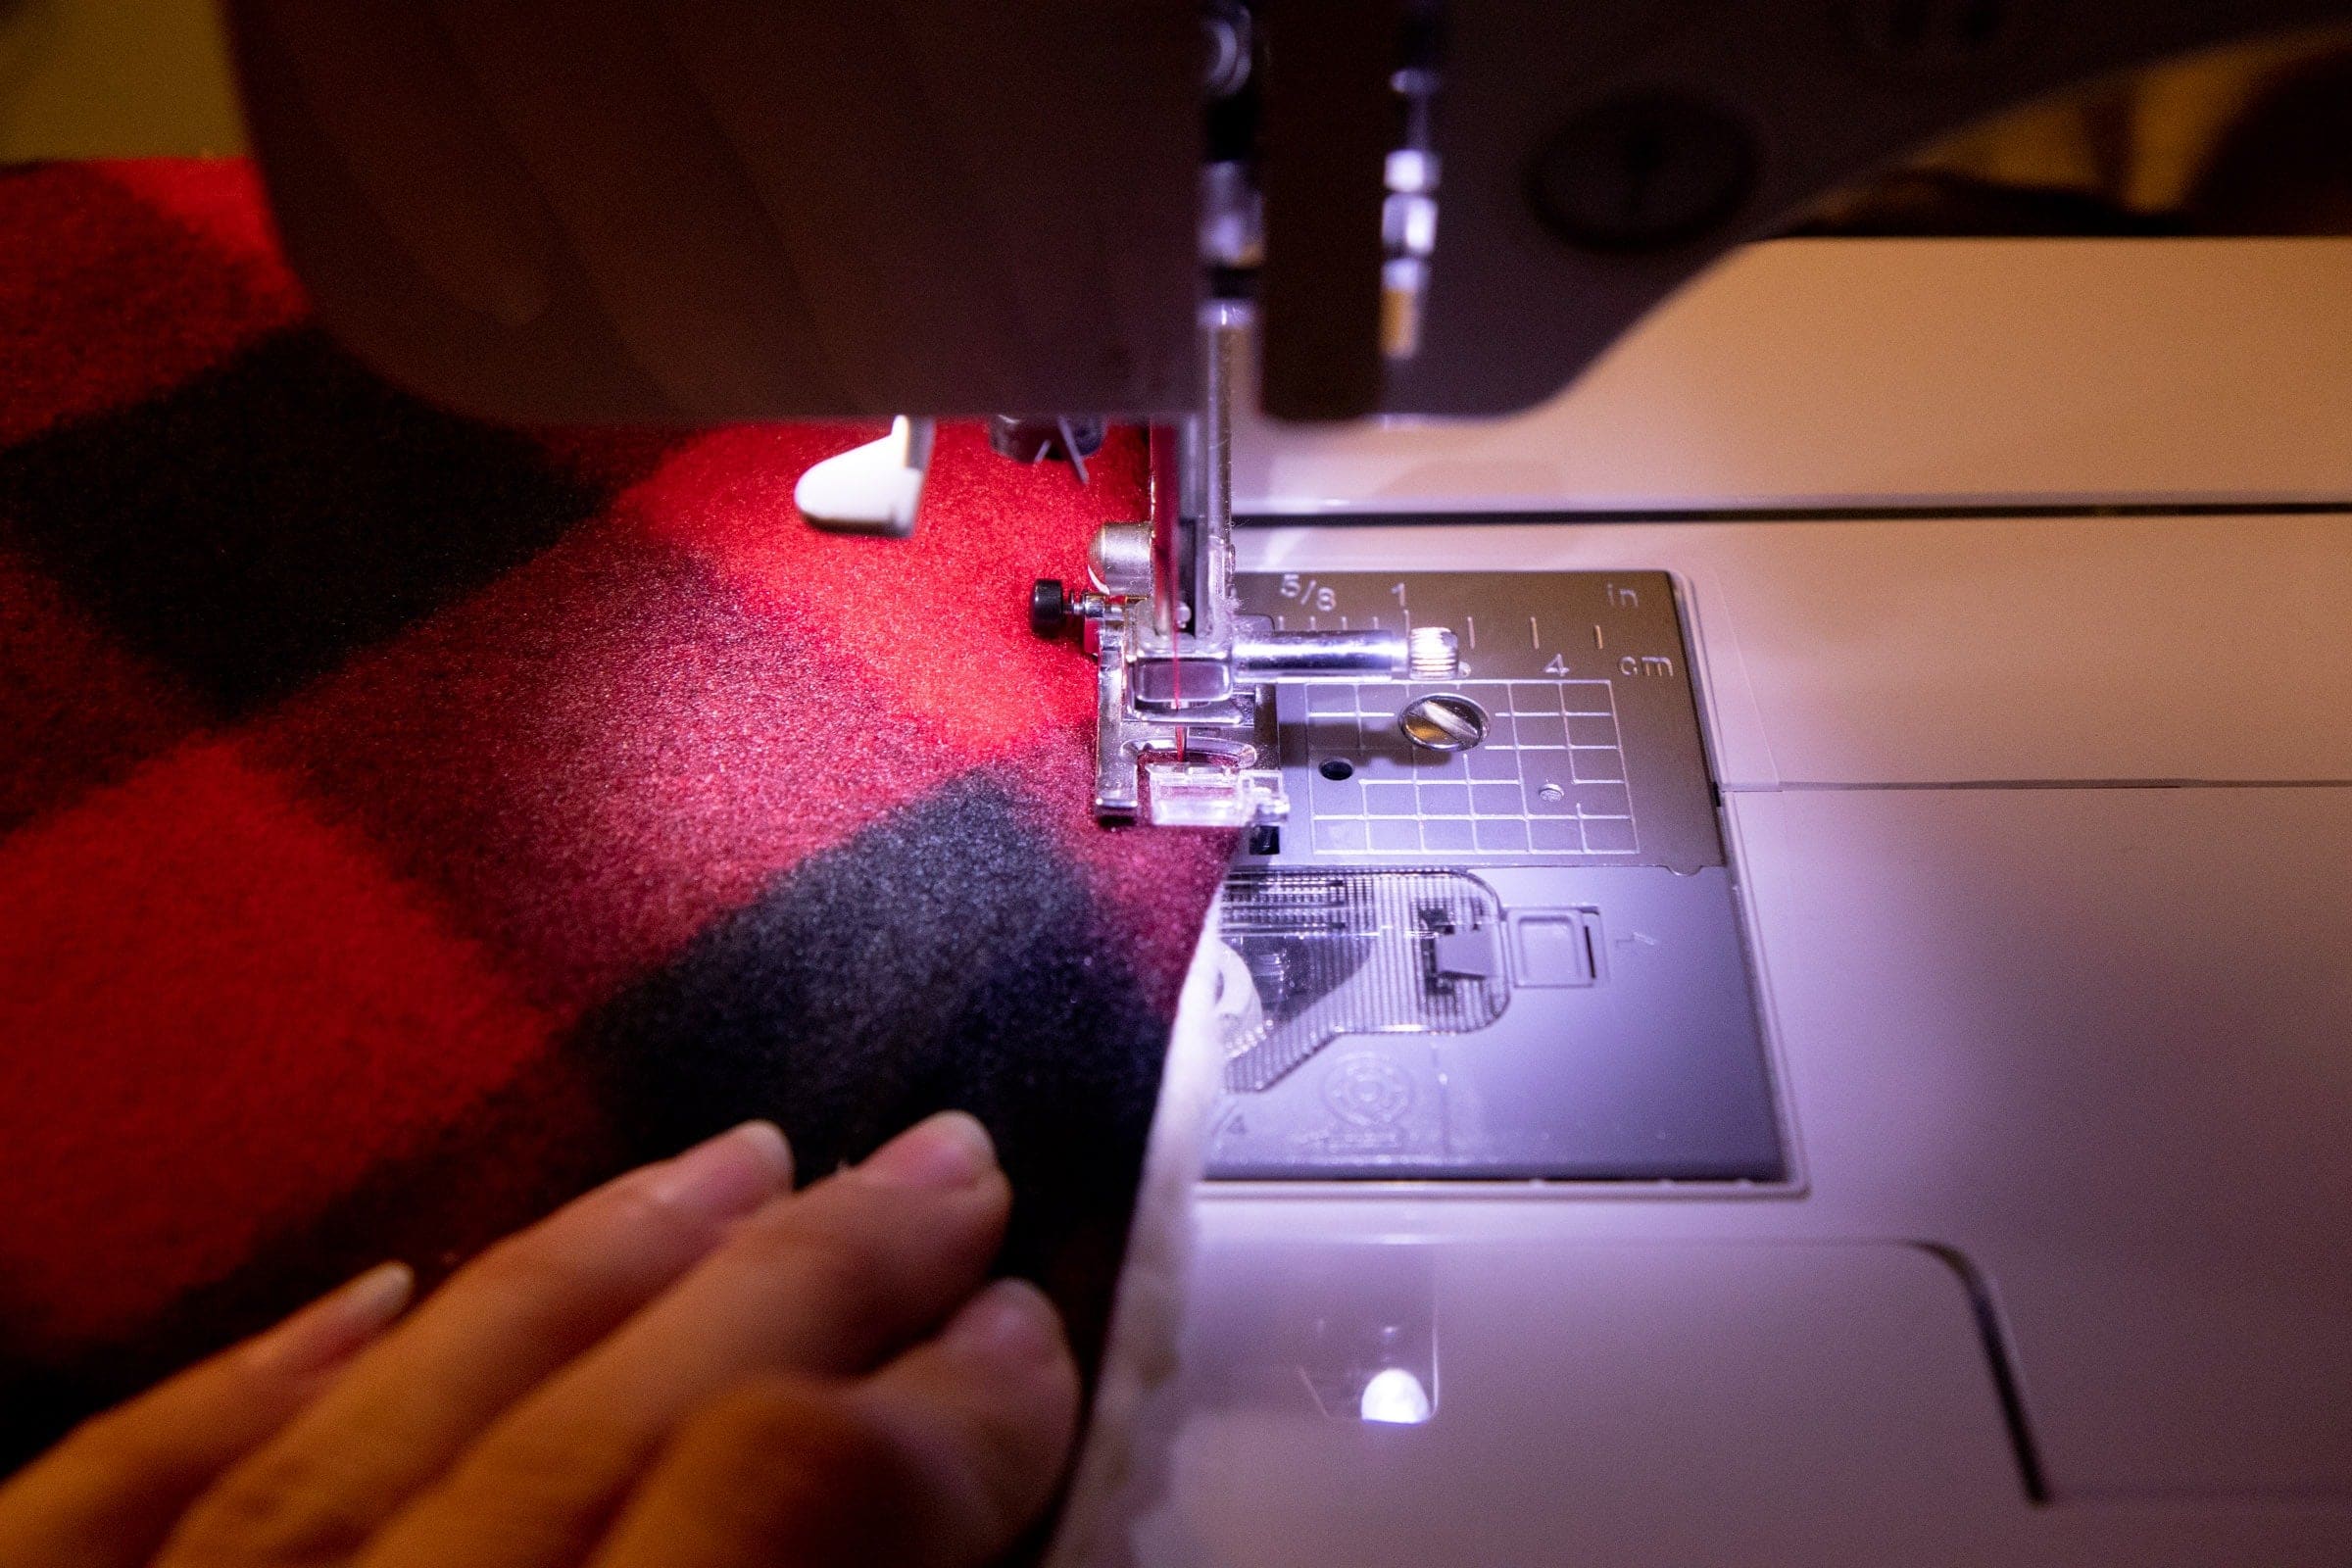
Using a sewing machine, or carefully sewing by hand, sew all the way around the coat, except leave about 3" open on one end. Because you measured loosely, you will have room to sew a ⅜" seam allowance.
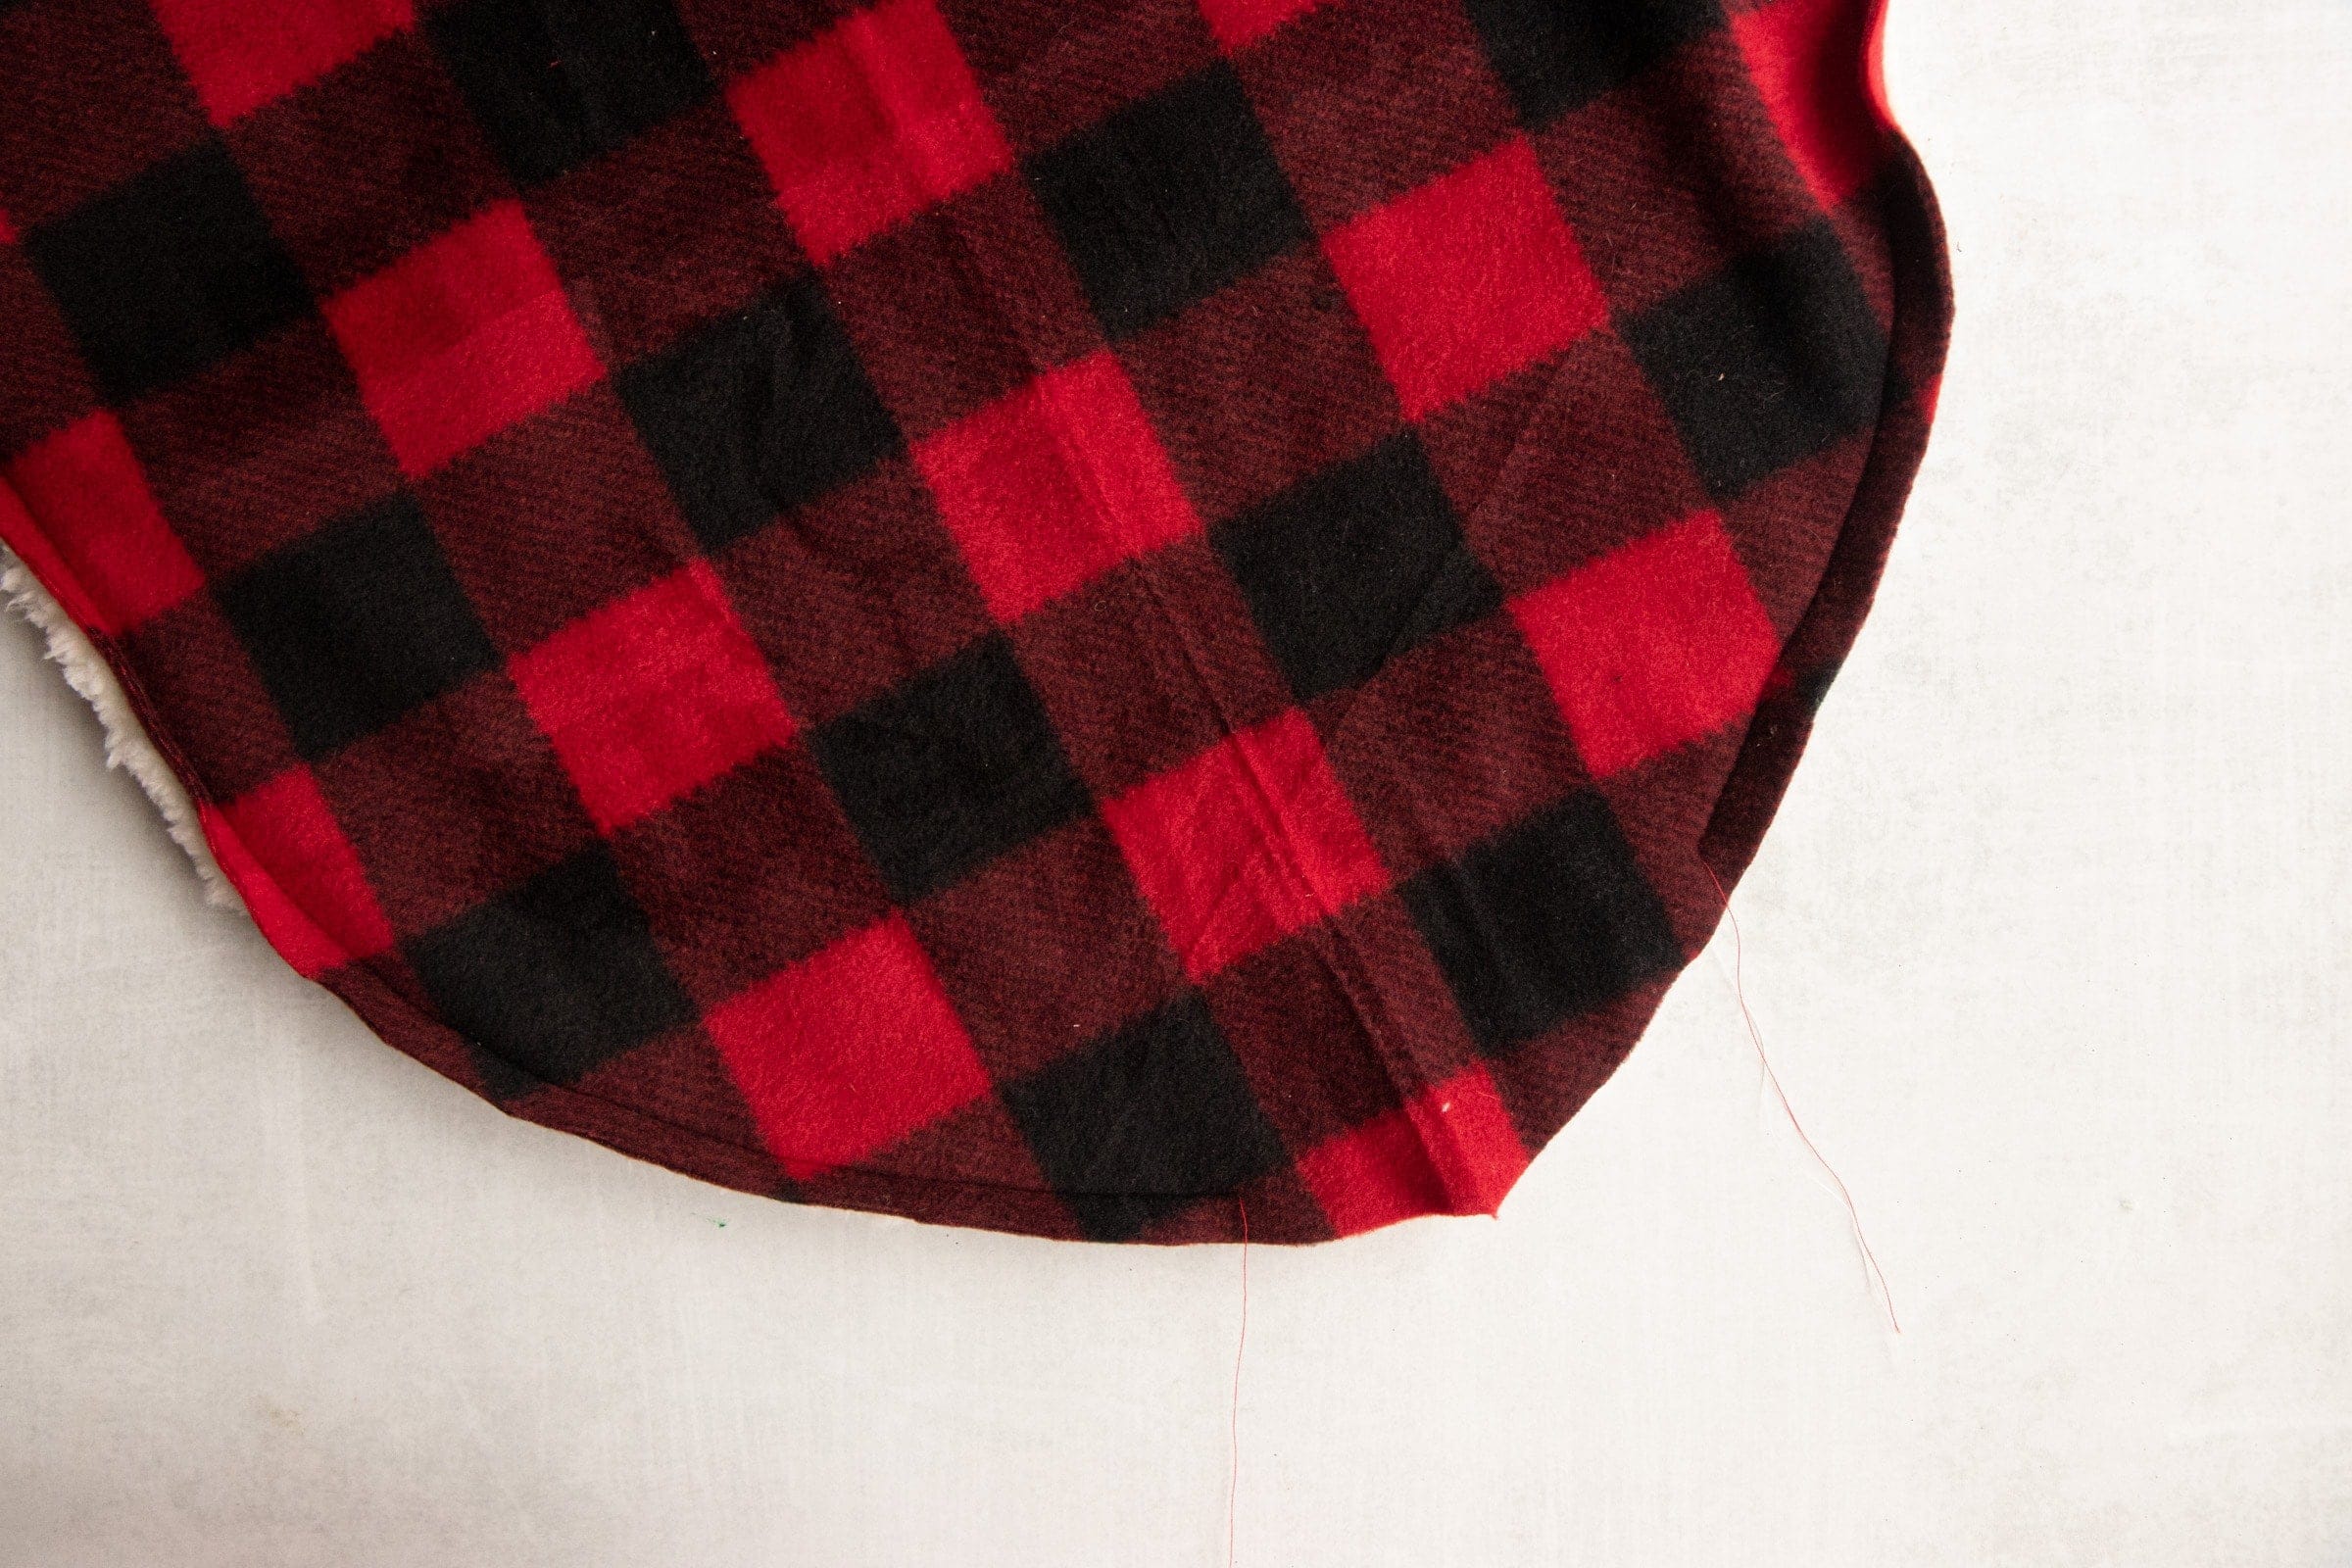
Turn the coat inside out, making sure all the flaps and corners are flattened well. You might want to use an iron at this point, although honestly, I never have much luck with an iron on fleece.
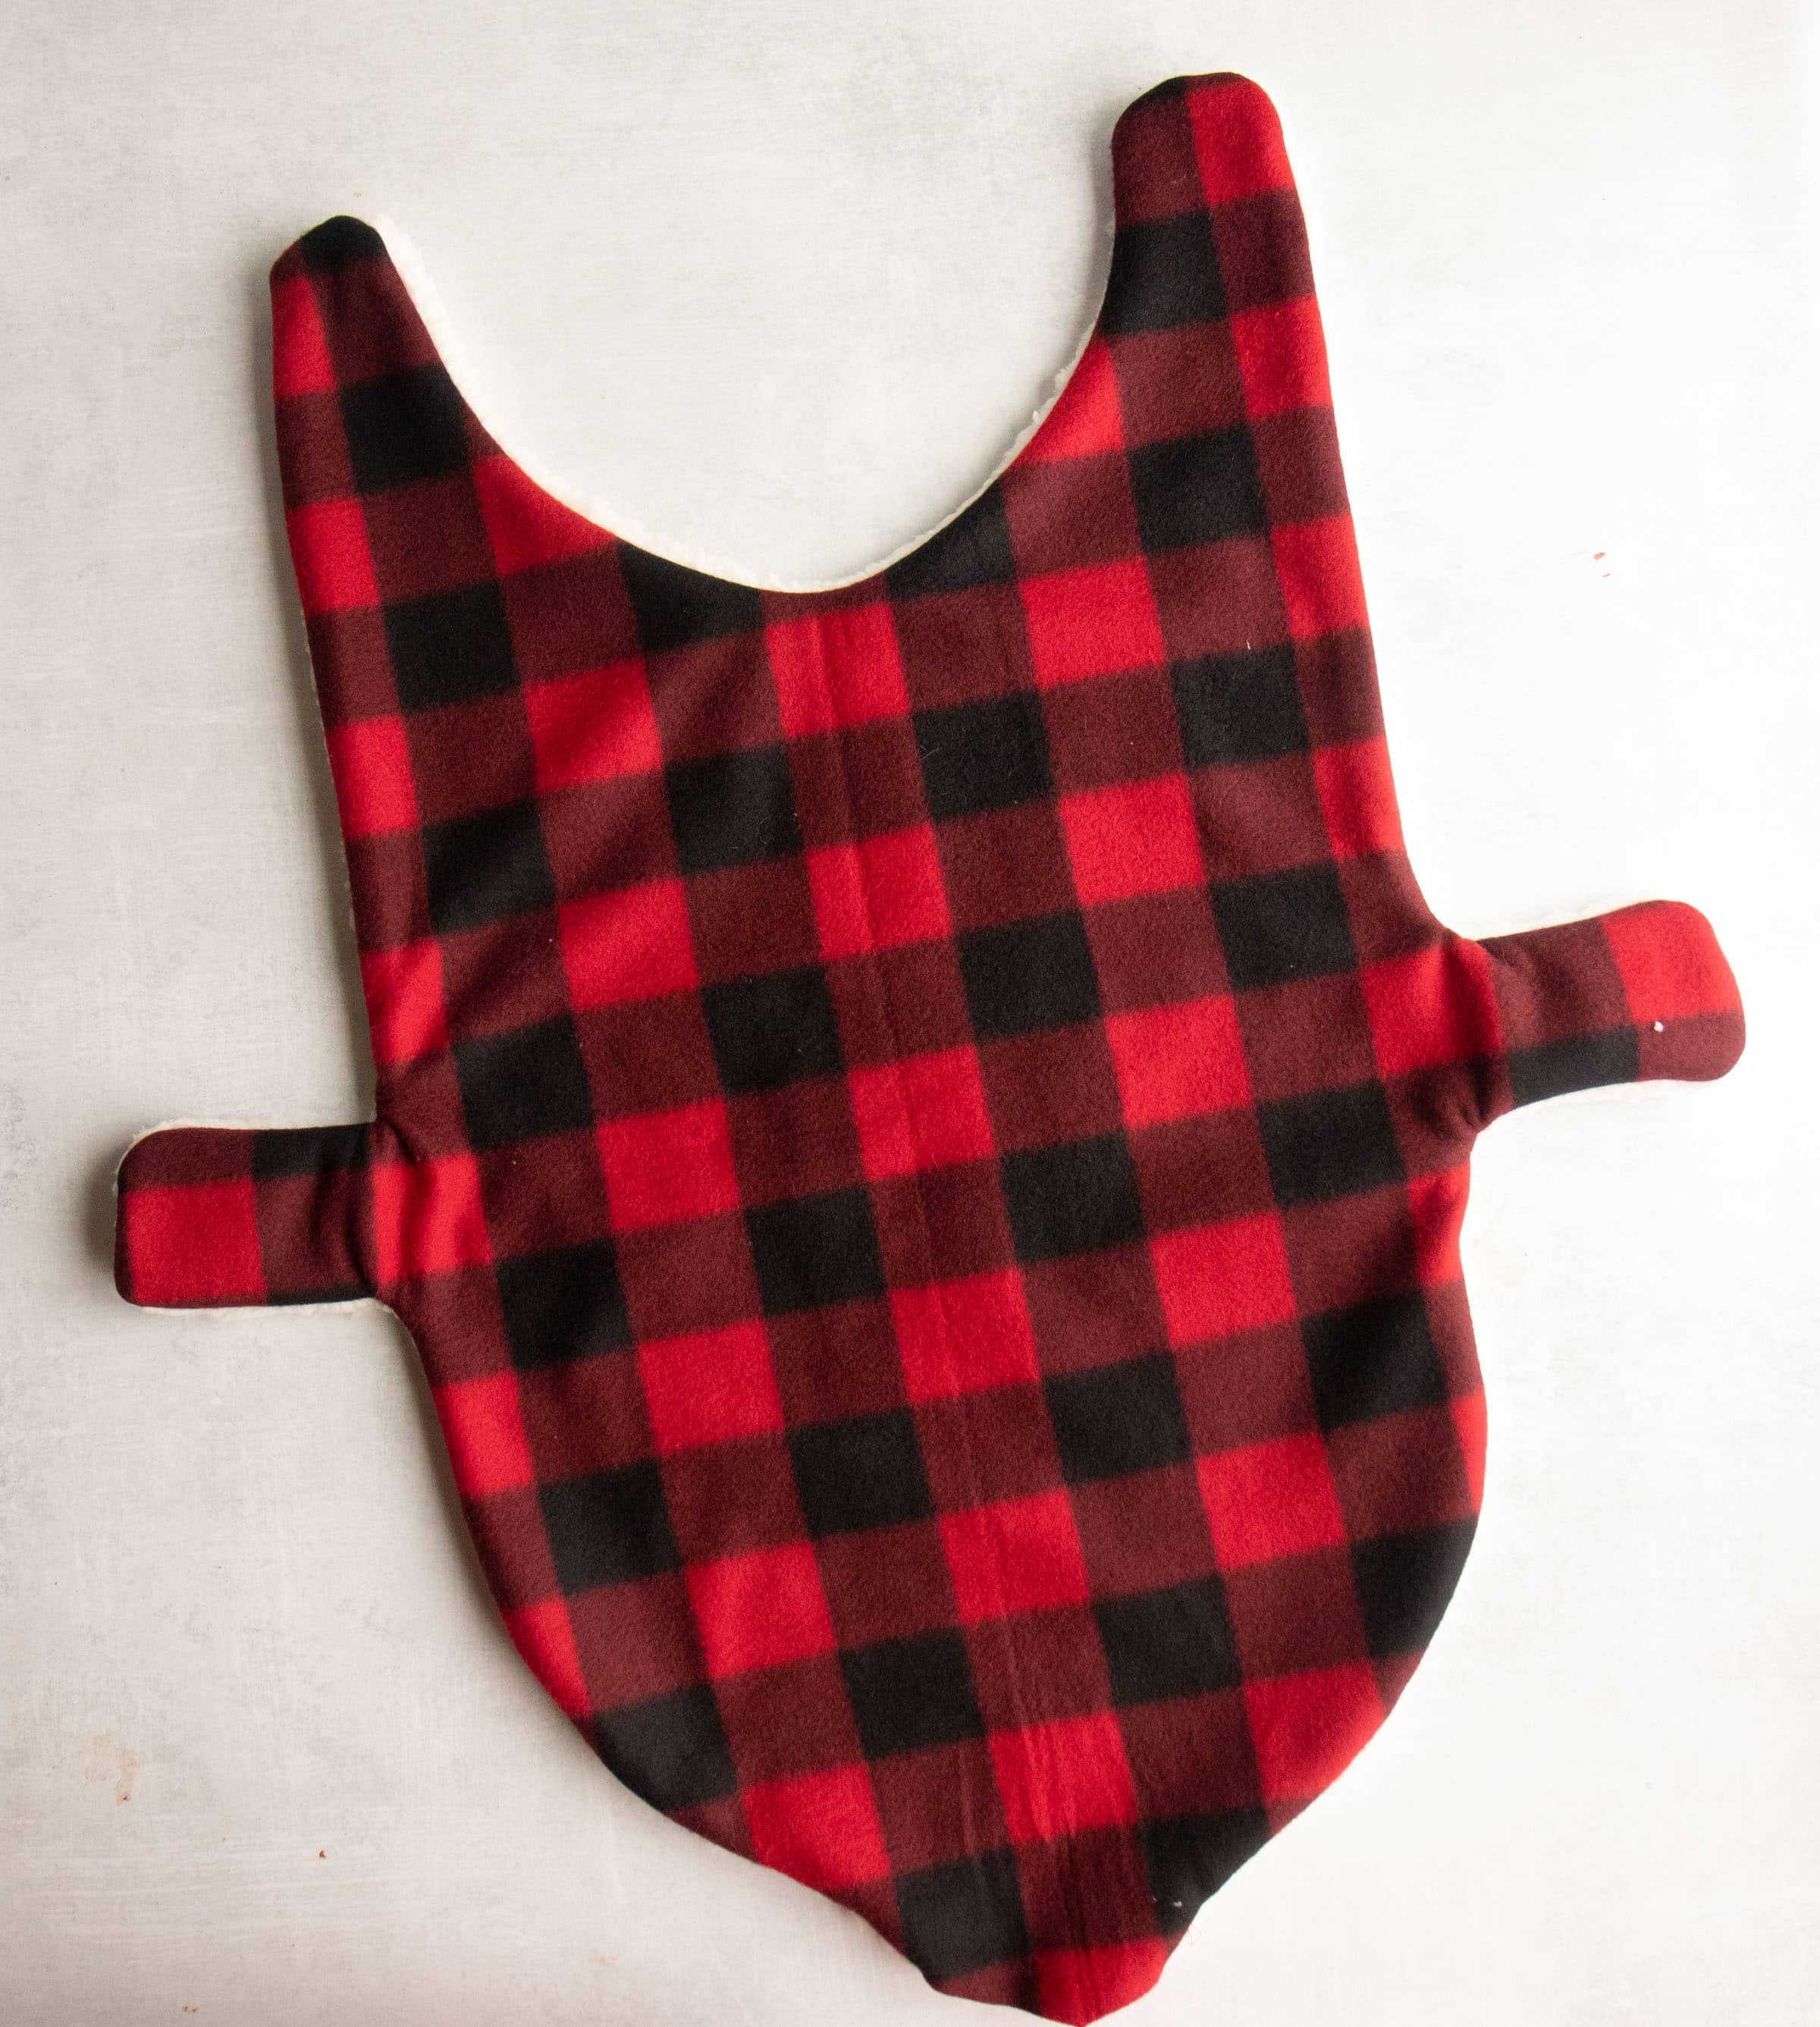
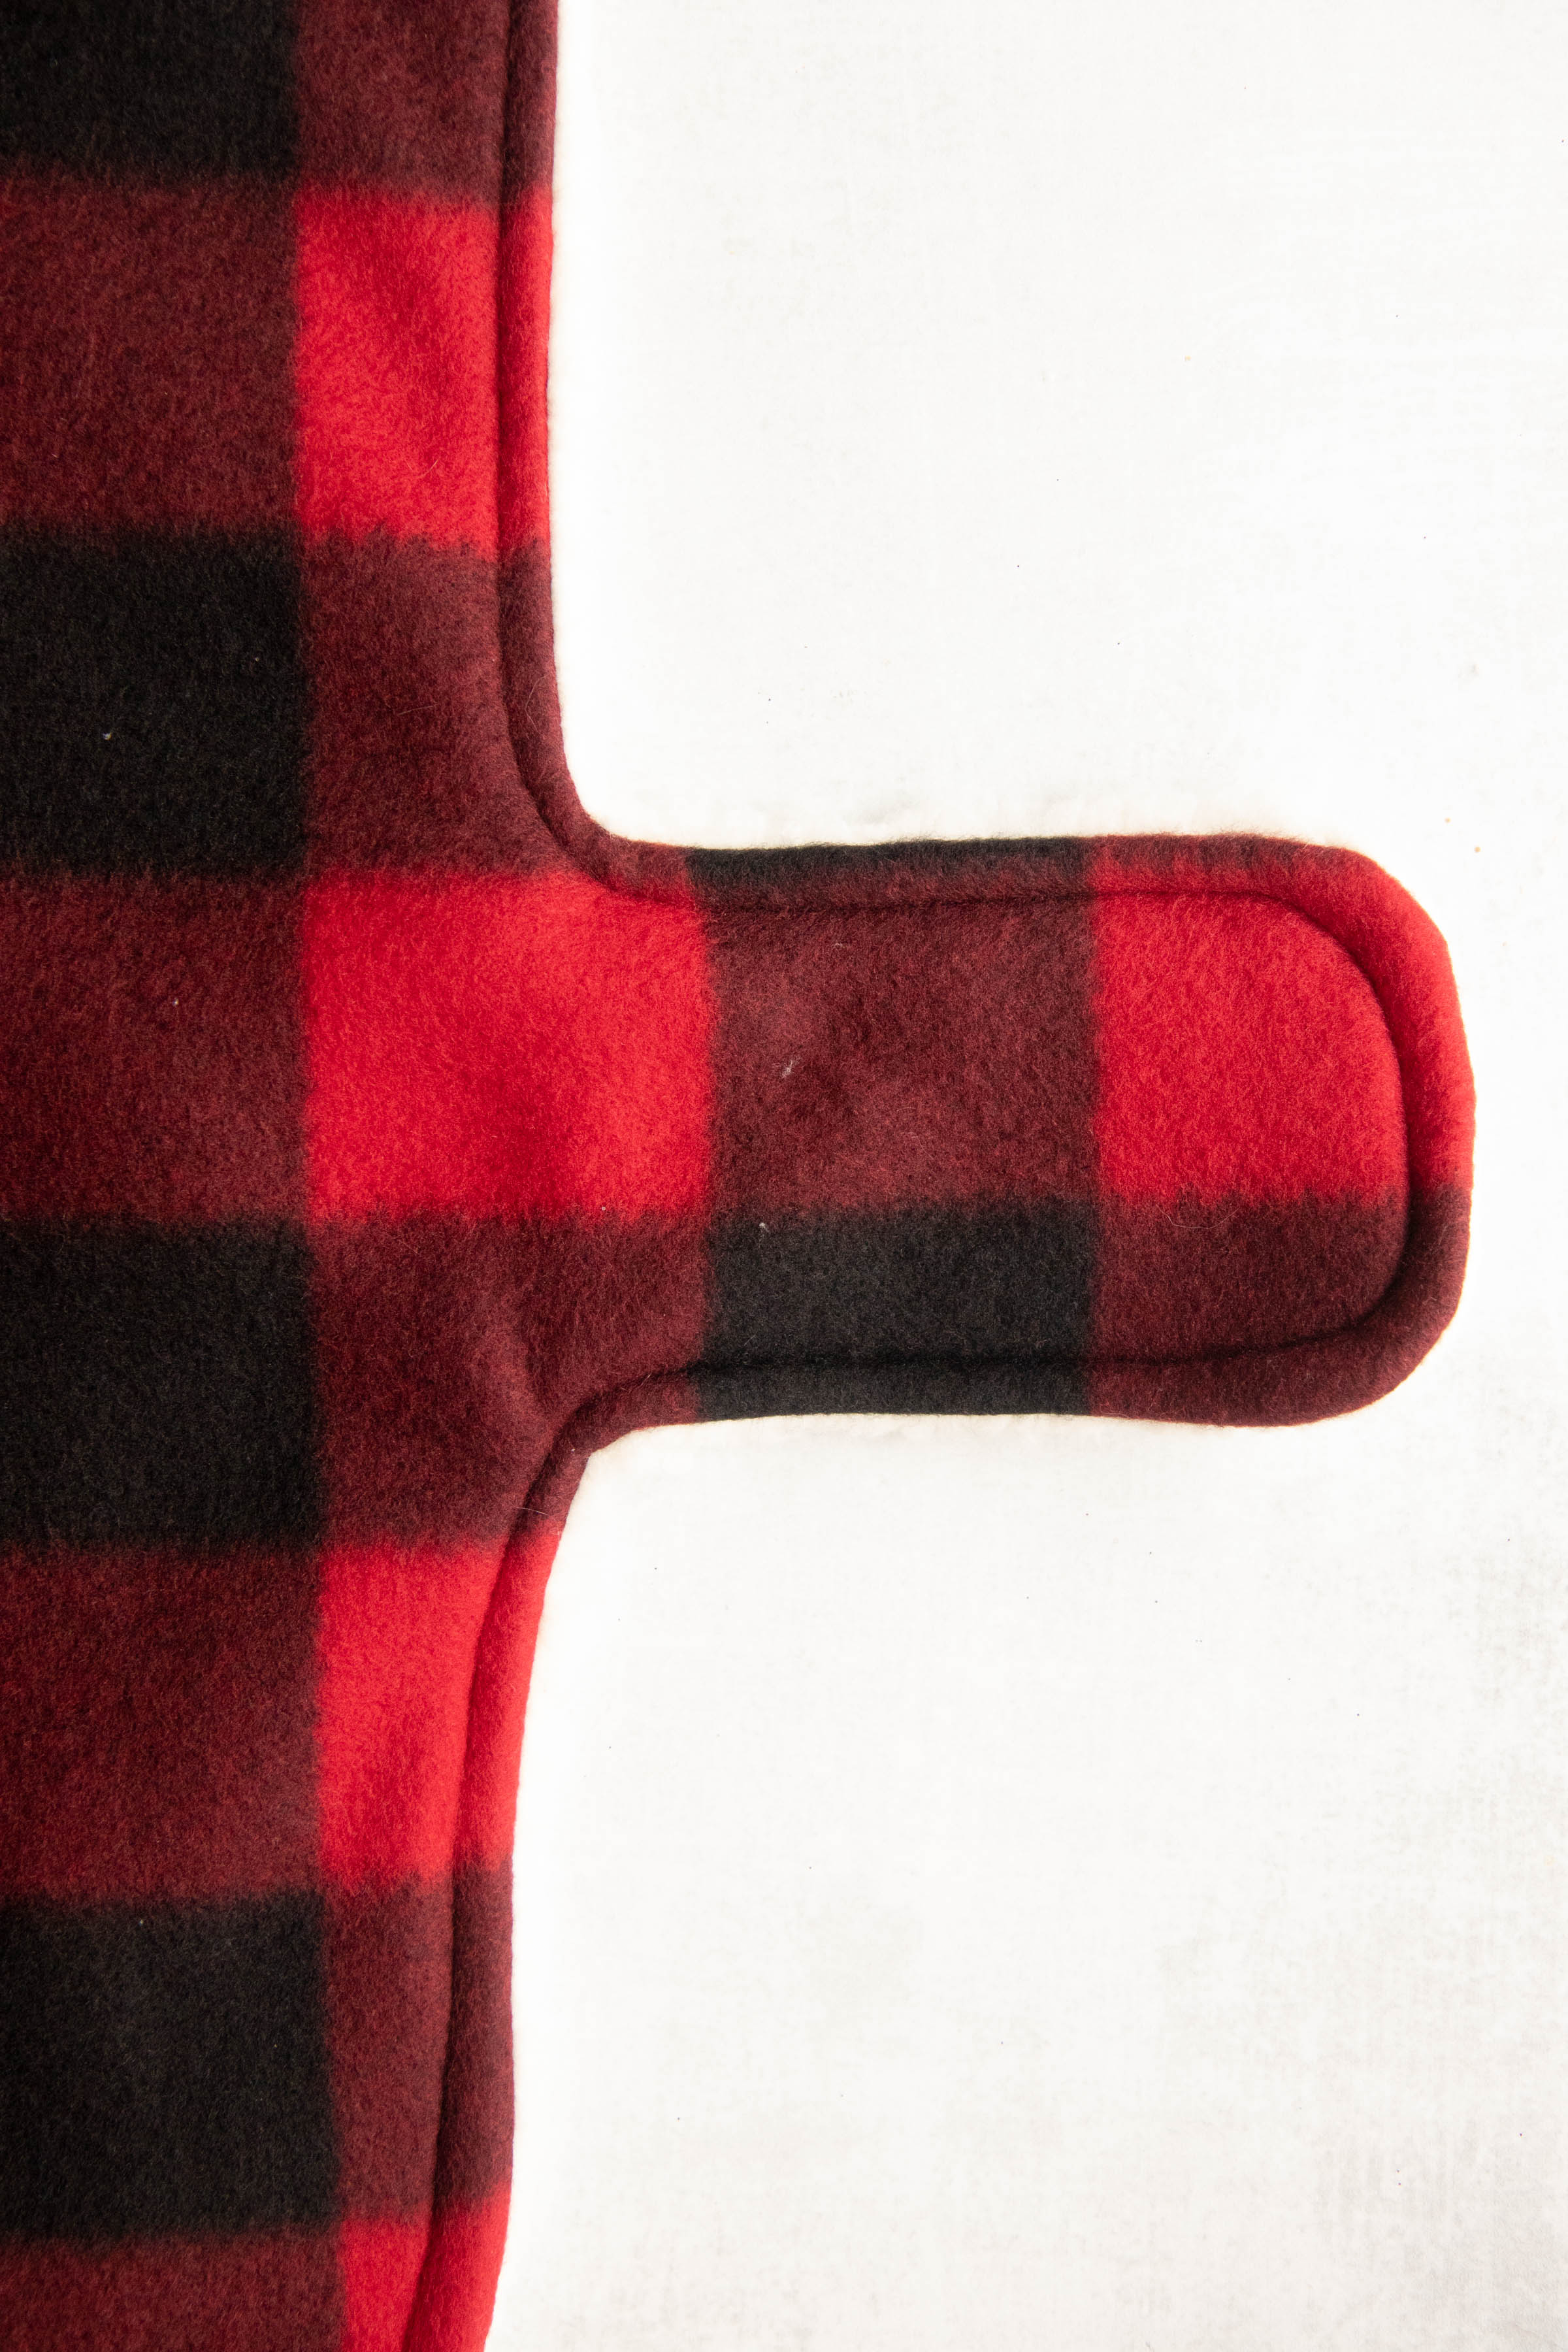
Fold under the unfinished edge from the hole you left open and pin. Then topstitch to close the opening, and continue to stitch all the way around the coat about ¼" from the edge of the fabric to finish. If you are stitching by hand, you can skip the topstitch for the entire piece (it'll take you ages), and instead use a ladder stitch to finish the open end only.
Step 6: Add Hook-and-Loop Fastener
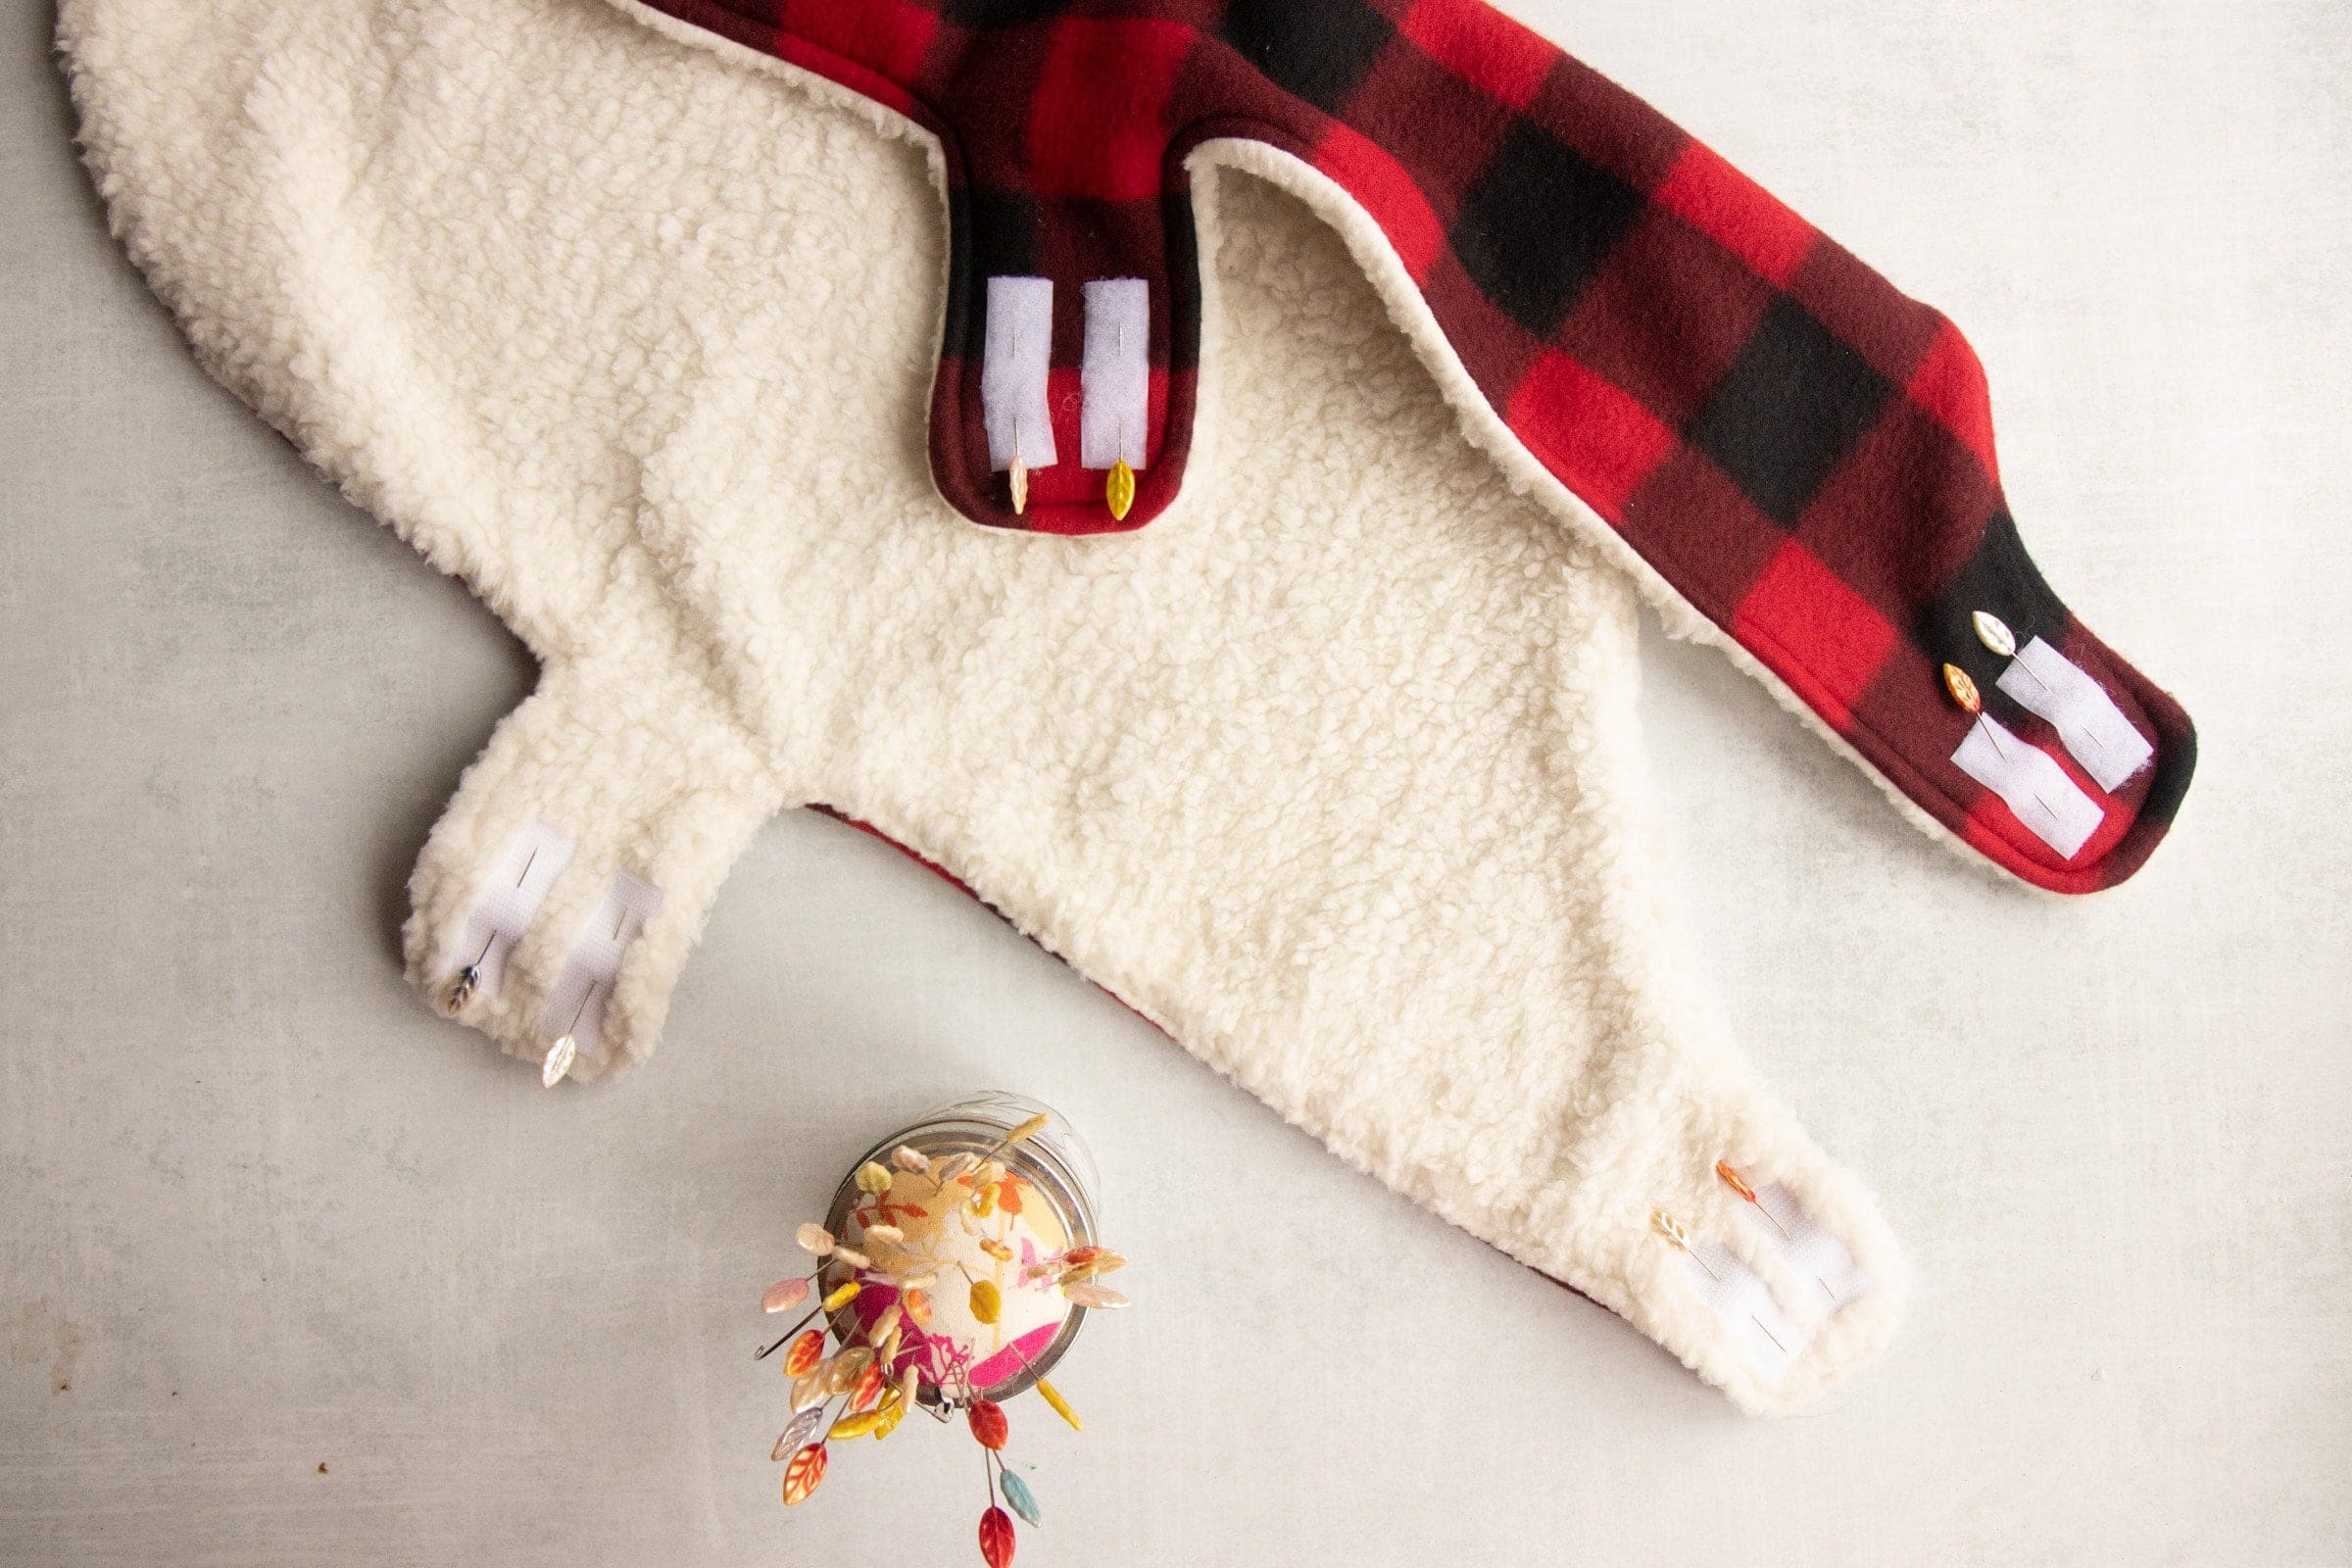
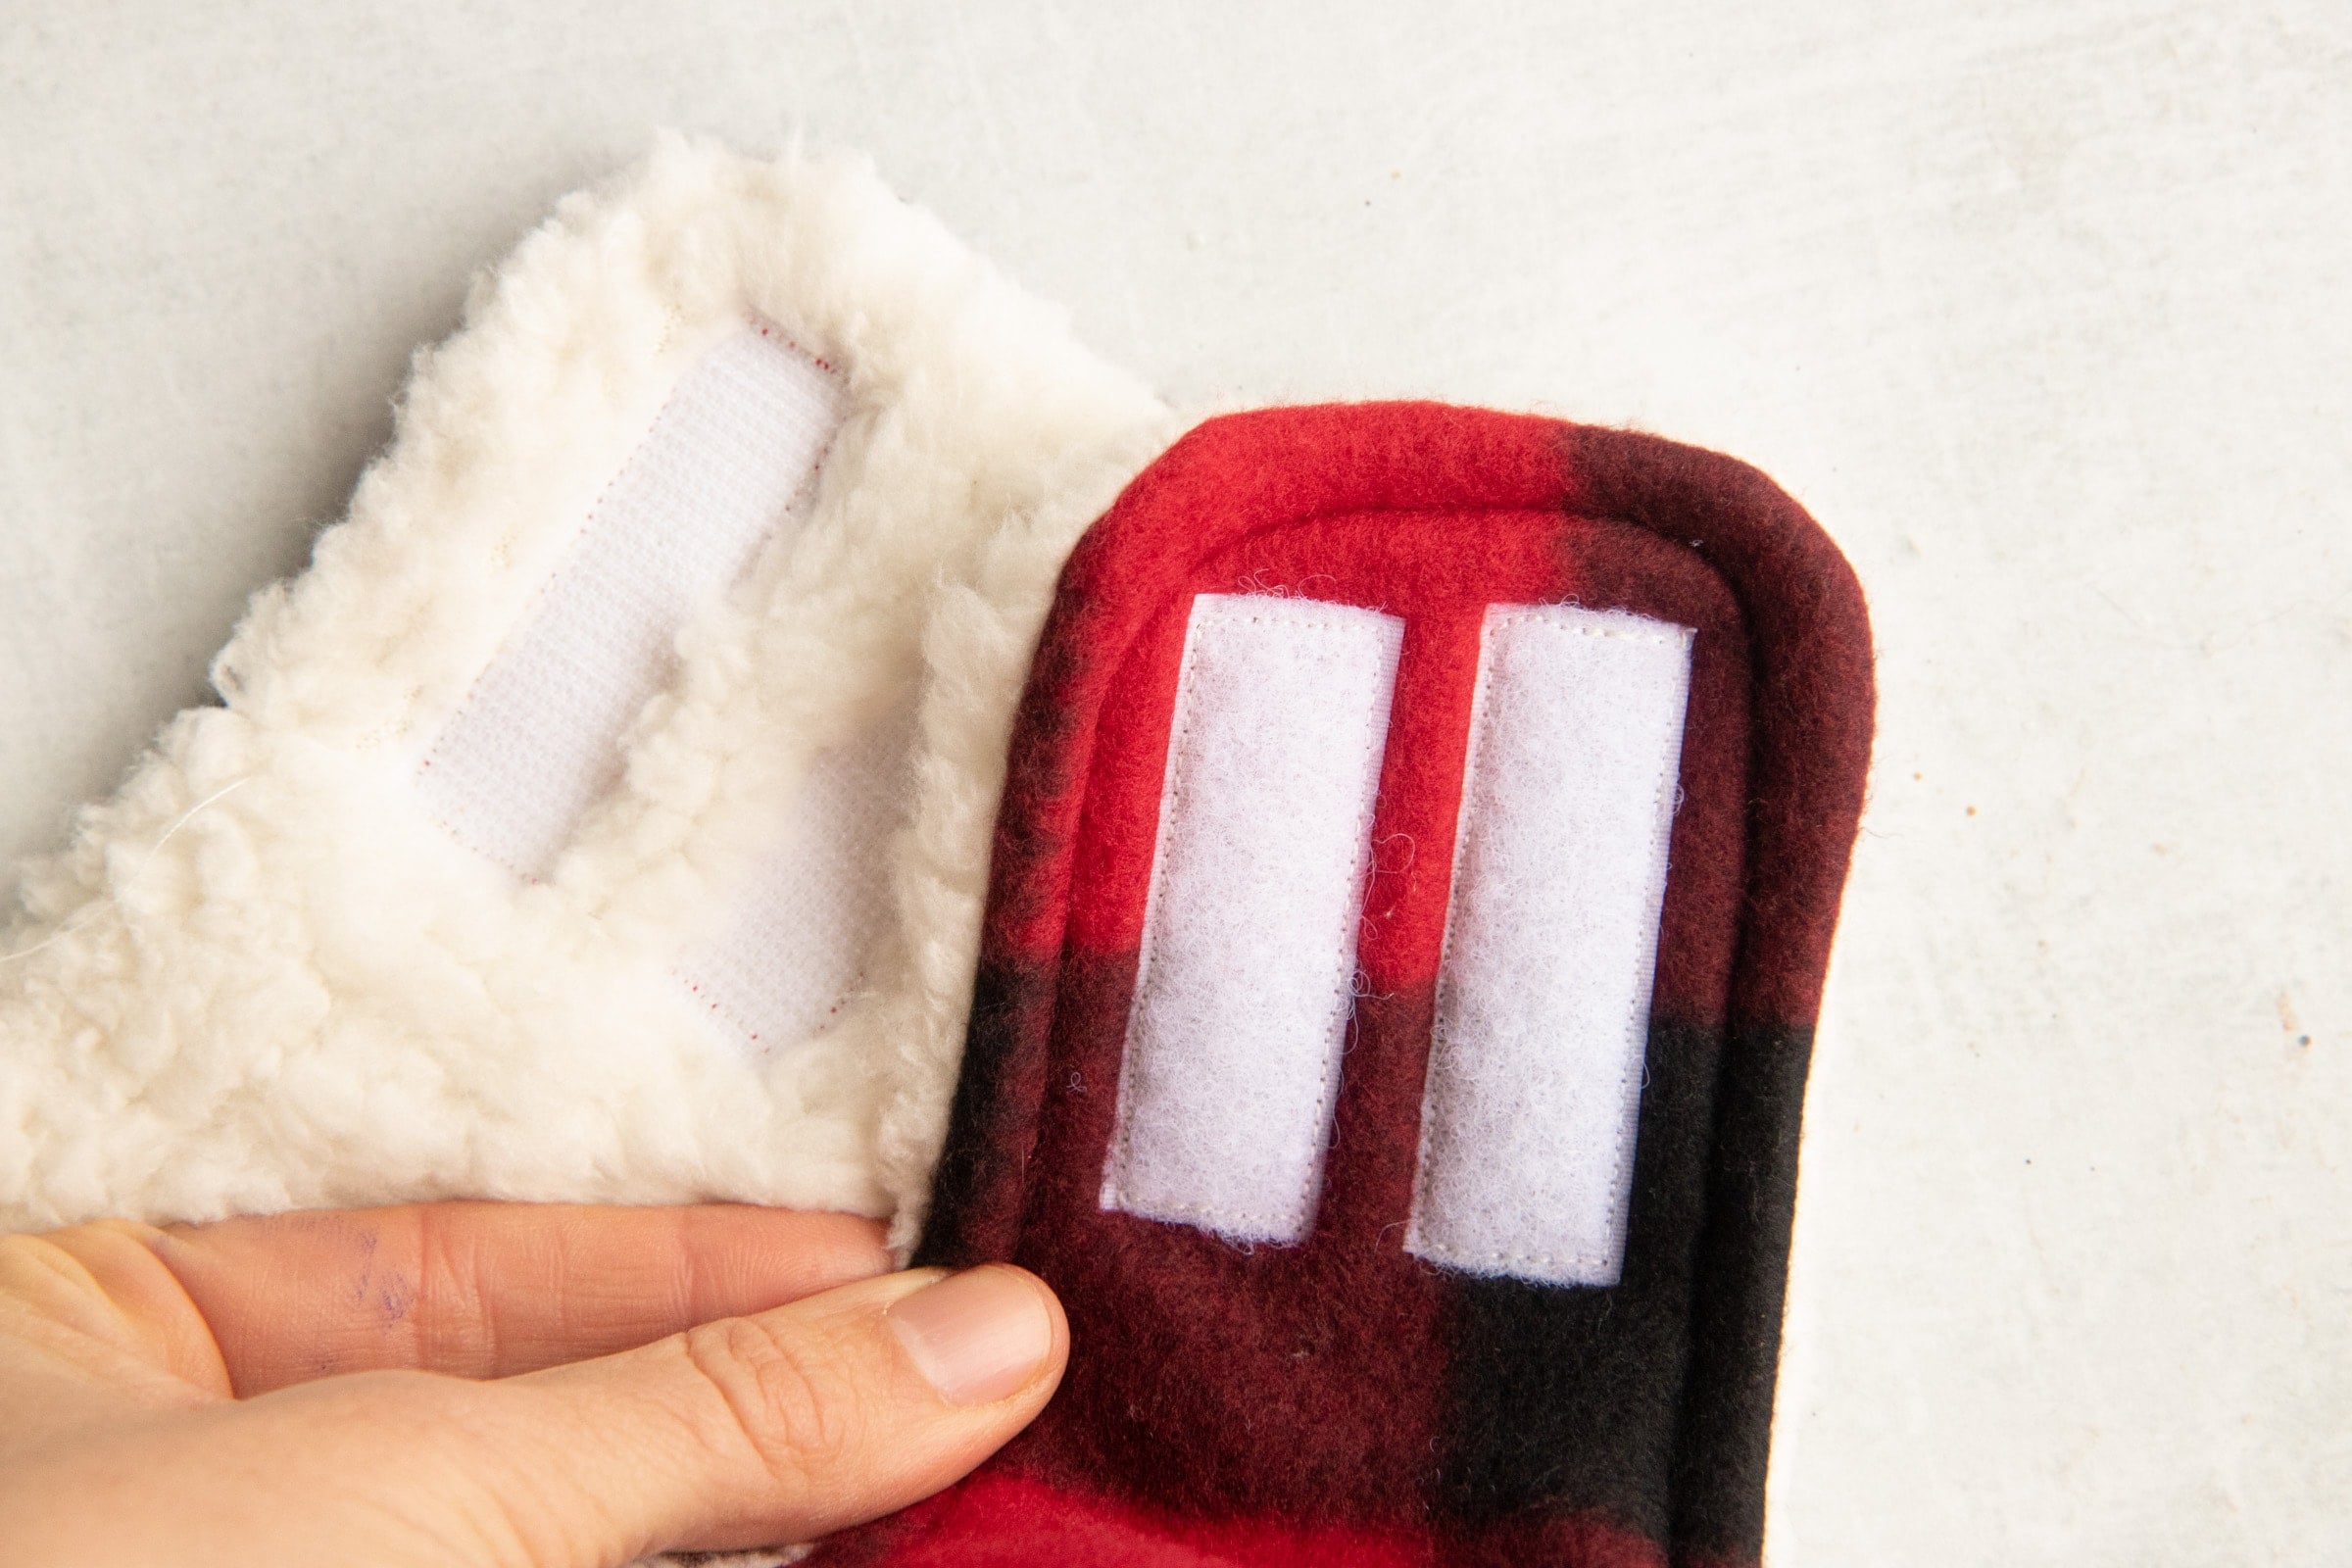
Place the first batch of hook-and-loop fastener on the chest strap by pinning the rough side of a 2" piece to the outside fabric in the middle of one of the sides of the chest strap. If you're sewing this for a medium or large size dog-of if you just have a particularly rambunctious dog like I do-I recommend using two strips of hook-and-loop fastener on each strap. Pin the soft side of the fastener to the middle of the lining side of the other chest strap. Repeat with the belly band straps.
Sew hook-and-loop fastener pieces down using coordinating thread.
If you don't need to add a hole for a harness loop, you're all done! Put it on your puppy and go for a walk. If you do need a harness hole, move onto step five.
Optional Step 7: Make Hole for Harness Loop
Transfer the harness loop marking to your dog coat using the measurement you took, and then using the buttonhole setting on your sewing machine, create a buttonhole large enough to fit your leash through.
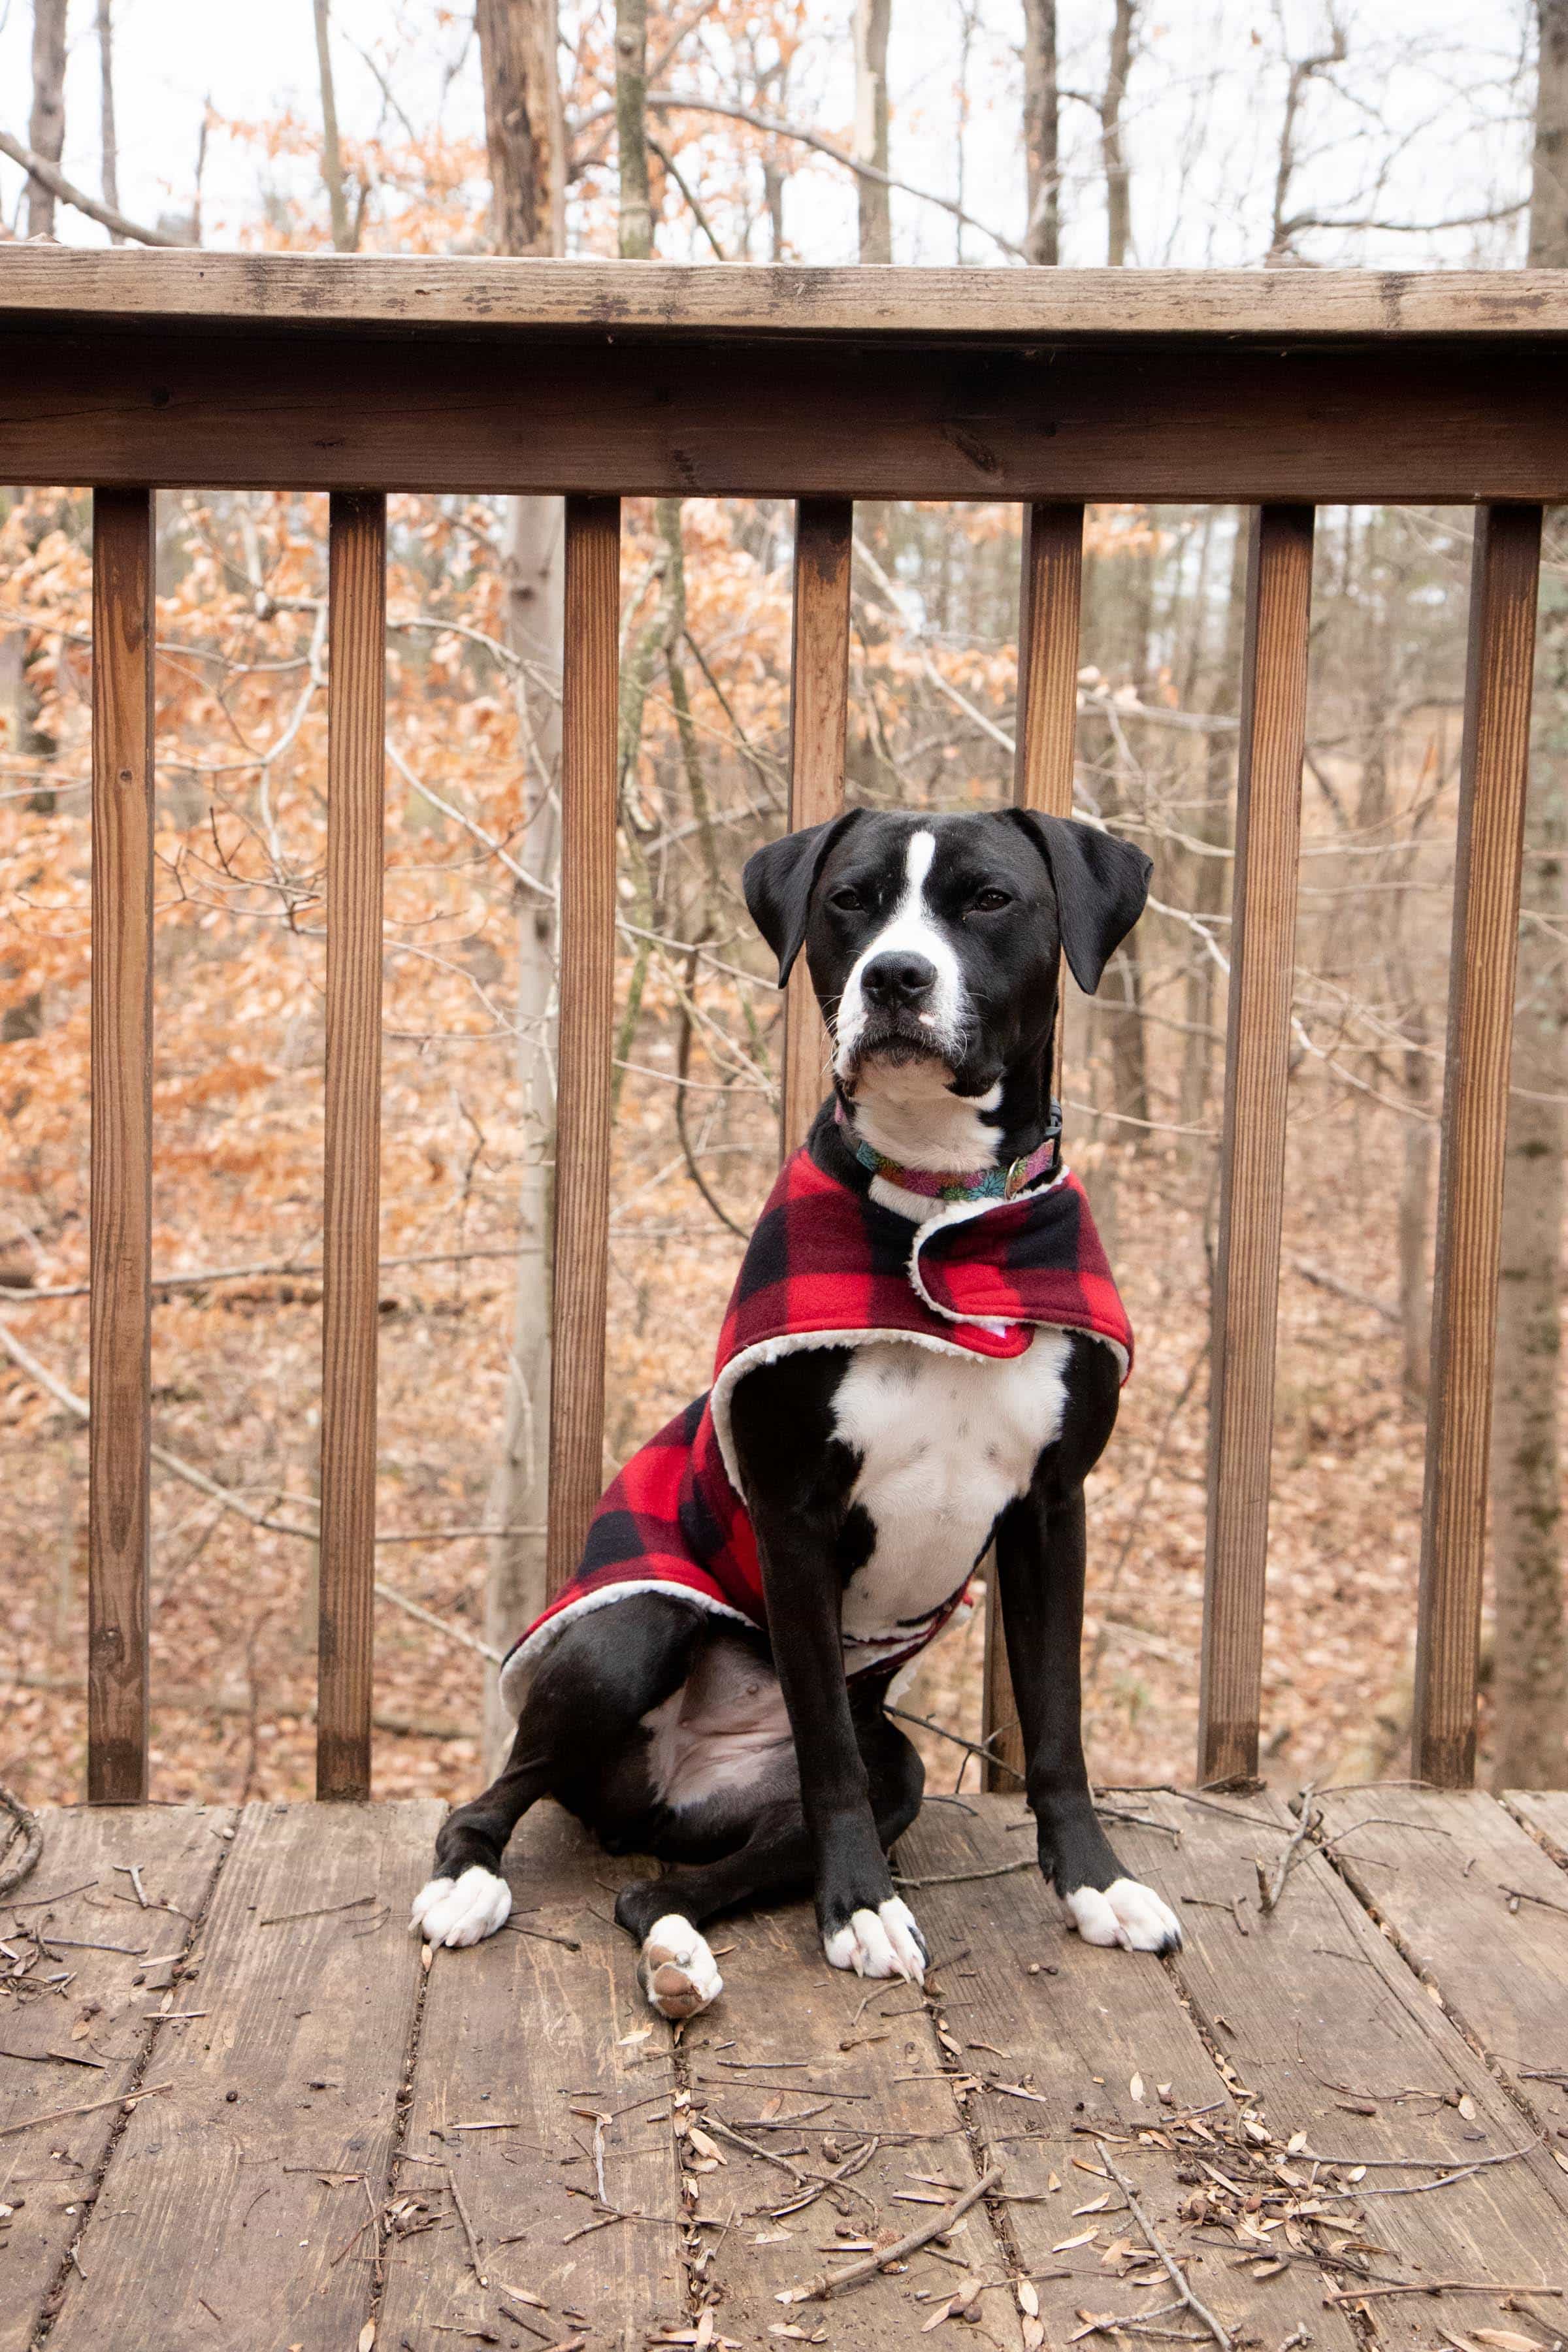
And that's it! Look how cozy and cute she looks in her brand new custom dog coat.
🎁 More DIY Gift Ideas
- Healthy Homemade Dog Treats. Bake a batch for your dog's stocking, or for any day they've earned a treat.
- Grain-Free Pumpkin Coconut Dog Treats. Pumpkin and coconut treats made without grains, and an easy way to fill a stocking.
- DIY Cocktail Gifts. These sweet jars have all the makings for your favorite cocktails. Gift them on their own, or paired with some glassware.
- Cinnamon Dough Ornaments. Your tree will smell wonderful with these homemade ornaments. They also make fun gift tags!
- Salt Dough Ornaments. We give you step-by-step instructions to make these fun ornaments.
- Kettle Corn. Make some sweet and salty kettle corn for your next movie night, or package some up for a gift.
⭐️ Reader Favorite Holiday Ideas
- Cut Out Cookie Recipe. If your family enjoys decorating sugar cookies for the holidays (or any occasion!), we have an easy, no-fuss recipe for you.
- Sugar Cookie Icing. And what's a cookie decorating party without the perfect icing?
- 21+ Christmas Breakfast Ideas. Fuel up for a day with loved ones with these festive, filling breakfast ideas.
- 21+ Christmas Cookies. No matter what your cookie preferences are, we have a Christmas cookie recipe for you!

I made this for my dogs over the weekend and have a couple of comments about the instructions.
Firstly, there is no clarification of what seam allowance to use, and also no allowance for this in the pattern. If you measure your dog's coat length at, for example, 24 inches, and then you use 1/2" seam allowance, your coat is only going to be 23" long as it will lose 1/2" at the neck and 1/2" at the tail. This needs to be taken in to consideration. The same goes for the coat depth and belly band length calculations.
I also had the same problem with the neck straps as other people. There is something definitely wrong with the instructions on the printable regarding the neck fastenings. They come out far too long and nothing like the ones on the coat your dog is wearing in the photographs.
Also the belly band needs to be longer, at least 2 inches longer than it currently is, so again, the calculation on your printable is not correct.
Hi Jill, Thank you for such a detailed note! I updated both the post and the PDF as of October 2026. You were right on several counts, and your comment help me make the pattern much better. The chest strap formula was wrong in the old PDF, which is why your straps came out so long. The new printable has the corrected formula, labels belly band length and width separately, and has boxes for your calculations. The PDF and post now spell out the seam allowance too. Appreciate your comment!
This looks great, I do a good amount of sewing, but all by hand. I've wanted to try making a cost for my little one. One addition I plan to make will be to add a layer or 2 of insulation in the middle, I've used Insul-Brite and have had good results, if you have other suggestions, please , I'm all ears.
Thanks for the Insul-Brite tip! That's good to know for anyone with a dog who runs cold. A middle layer will add bulk at the seams and straps, so a paper test-fit first is a good idea. You will probably ant to add a little cushion in your pattern for the...well...extra cushion!