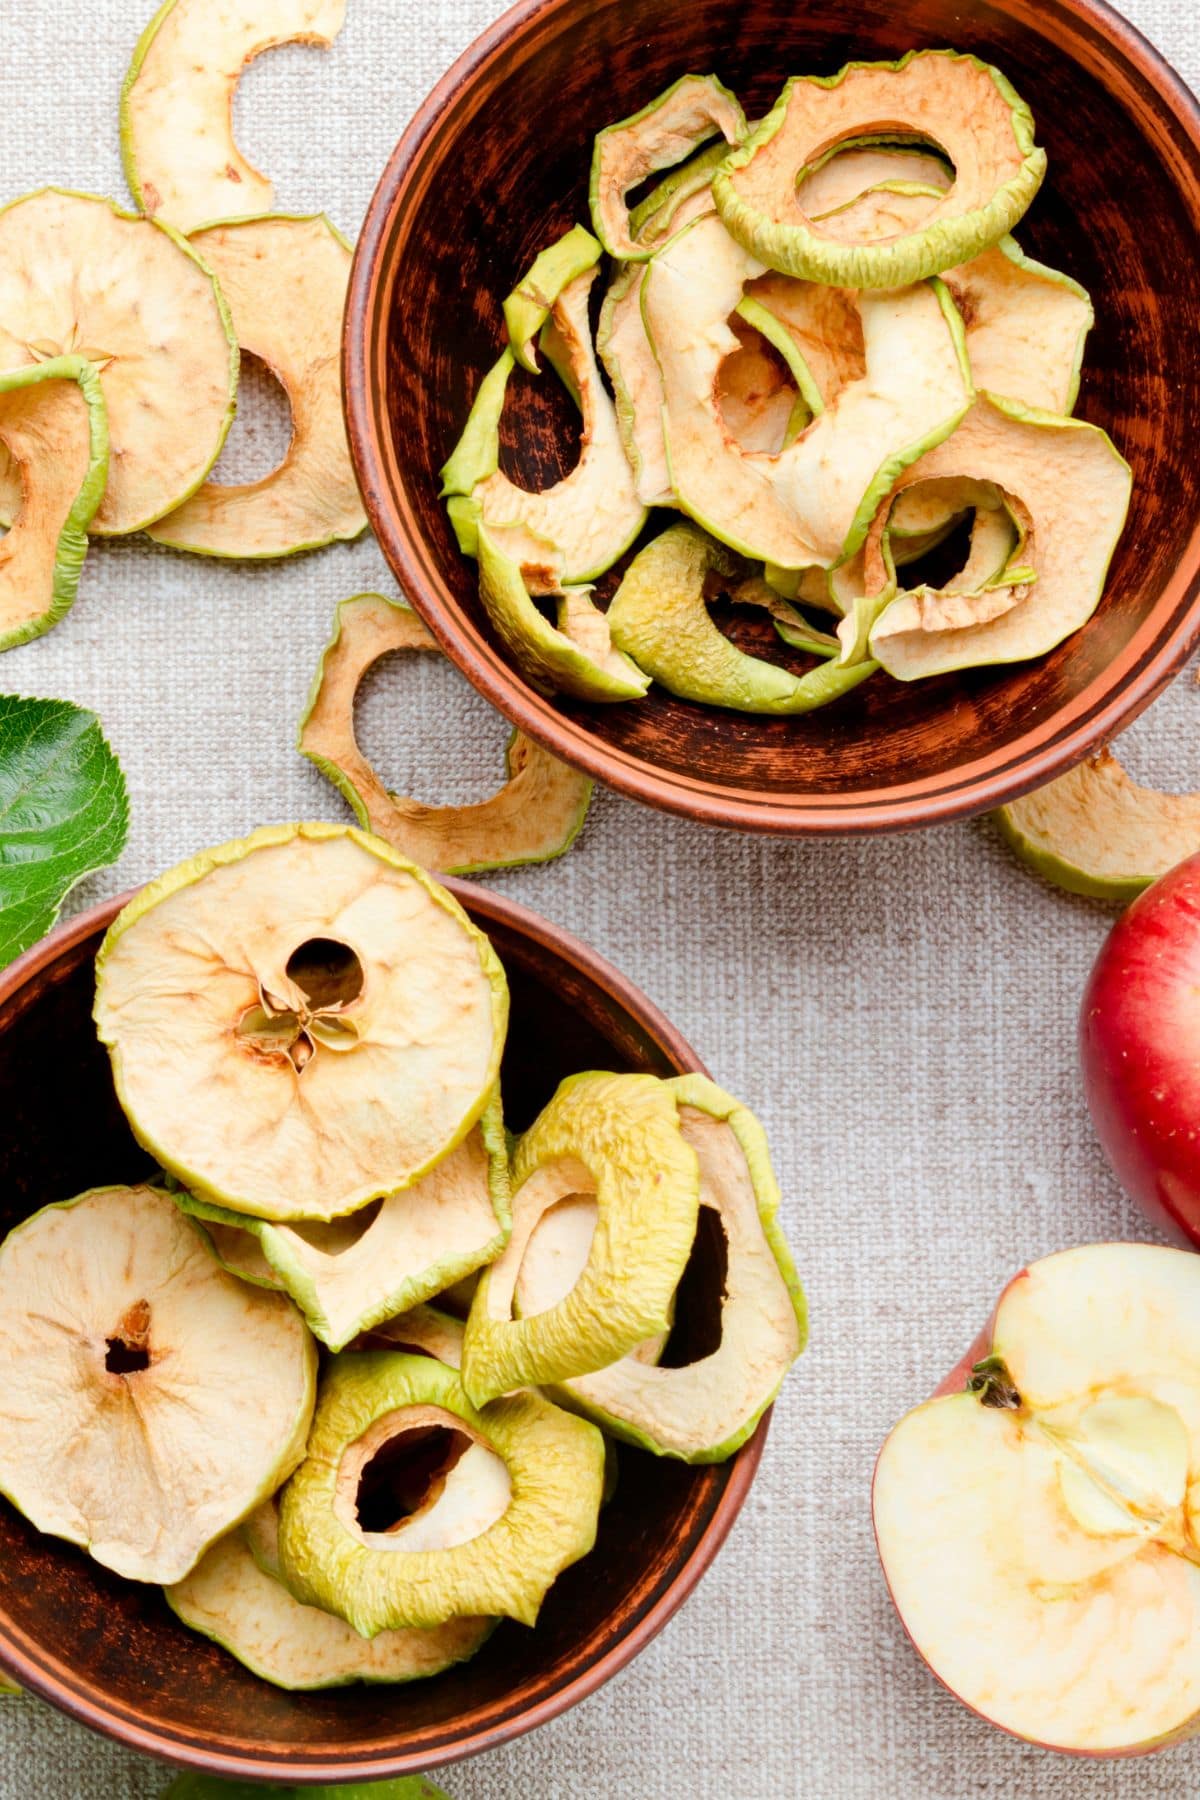
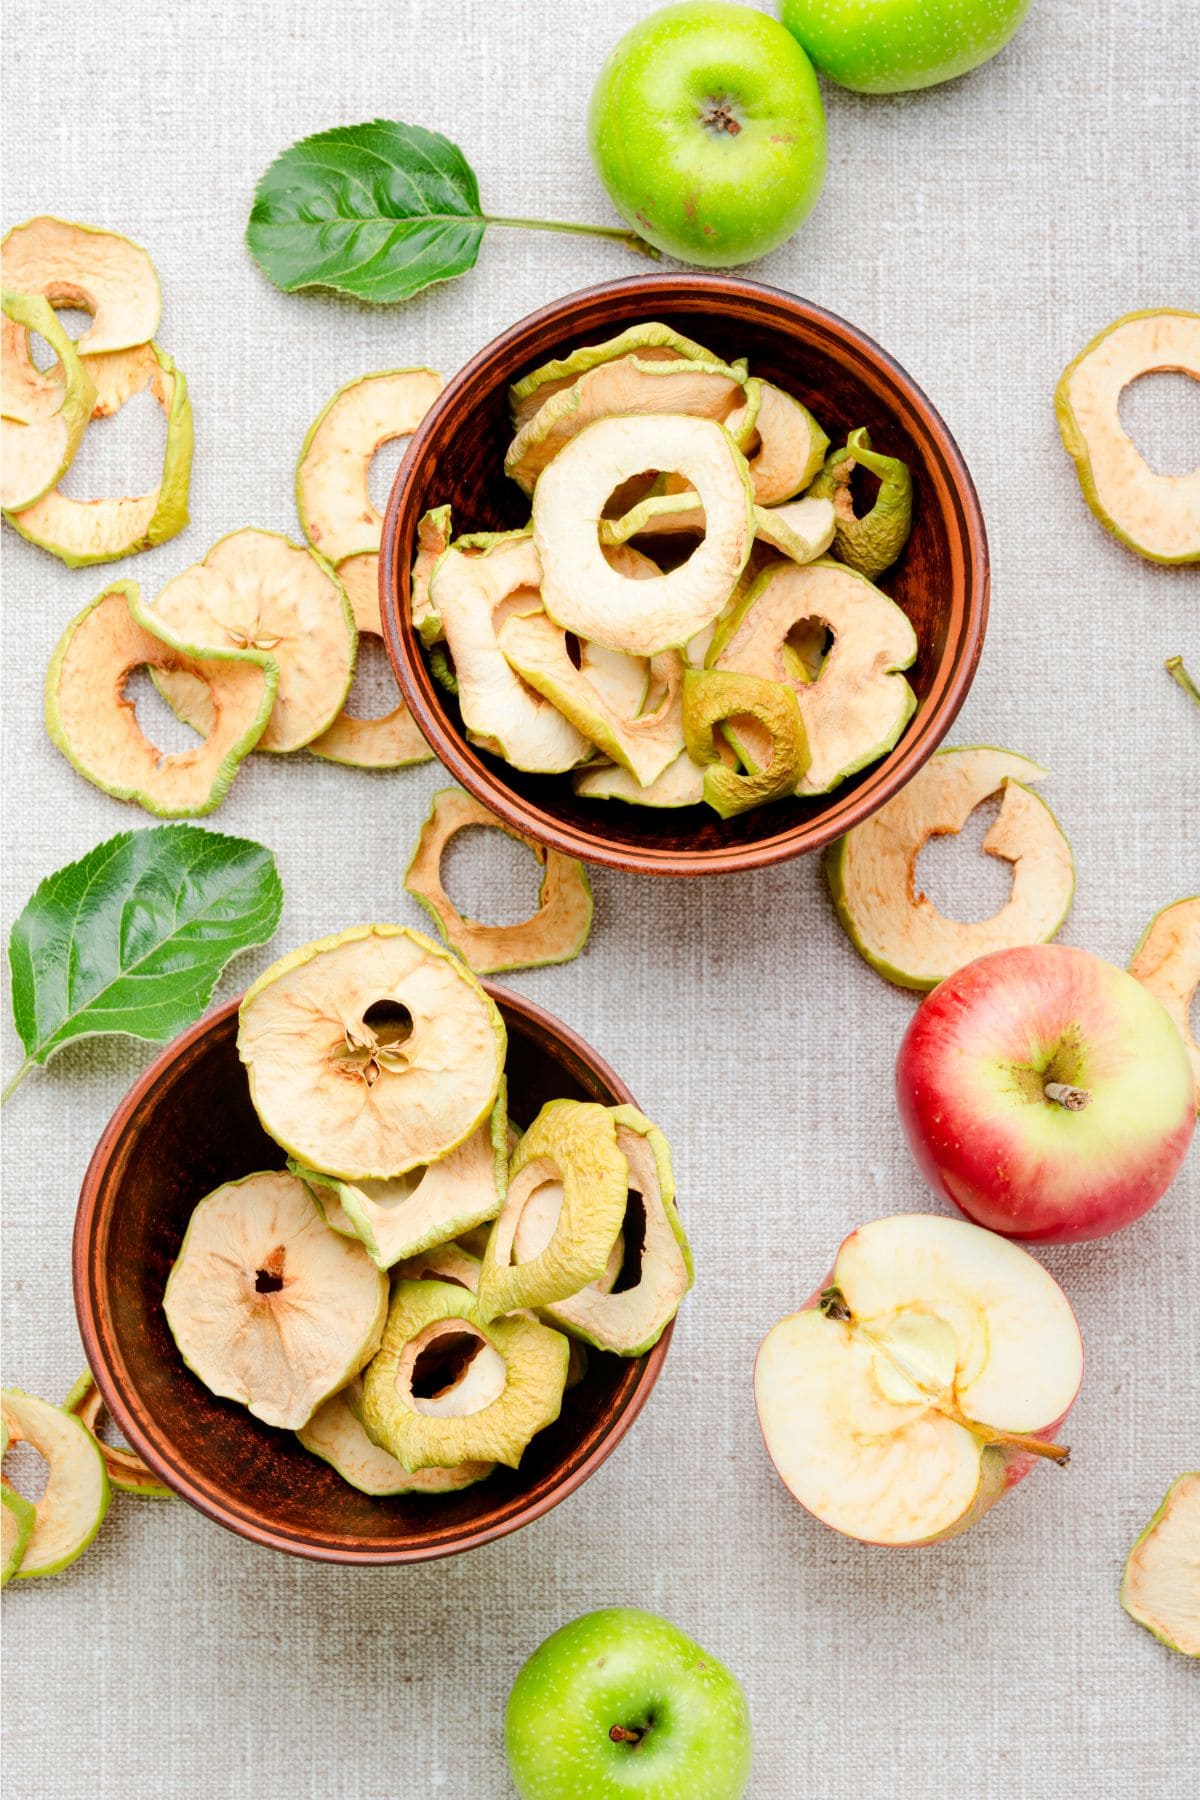
How To Dry Apples

Learning how to dry apples is super simple! I do it every fall with the bevy of apples we always pick at the local orchard. Dried apples make for great snacks and are awesome in baked goods, oatmeal, and granola. I'll show you how to dehydrate apples using what you have-your oven, a dehydrator, or even the power of the sun!
🔍 Recipe At-A-Glance: How to Dry Apples
- ⏰ Prep Time: 20 minutes
- 🕰️ Drying Time: 4 to 12+ hours (depending on your method)
- ☀️ Drying Methods: Oven, dehydrator, or sun-drying
- 🍏 Texture: Soft and chewy or crispy apple chips-I show you how to make both!
- 🥄 Good For: Easy snacks, mixing into crockpot steel cut oatmeal, mixing into apple overnight oats, adding to my apple cinnamon muffin recipe, stirred into my chocolate chip granola recipe
- ↪️ Storage: Properly dried apple slices will last almost indefinitely in your pantry!
- 🧡 Difficulty: Easy! Just core, slice, and wait.

"This is a great post! I was able to dehydrate a batch of apples, even though my oven only goes down to 200 degrees."
- ERICA -
Summarize and Save this Recipe Using:
Jump to:
- 🔍 Recipe At-A-Glance: How to Dry Apples
- 🧡 Why You'll Love This Recipe
- 🍎 The Ingredients You Need
- 🔁 Variations & Substitutions
- 🤨 Which Apple Drying Method to Choose
- 🍏 How to Dry Apples in the Oven
- 💨 How to Dry Apples in a Food Dehydrator
- ☀️ How to Sun Dry Apples
- 🙋🏻♀️ Dehydrating Apples FAQs
- 👩🏻🍳 My Expert Tips & Tricks
- 🥣 More Ways to Preserve Apples
- 📖 Recipe
- 💬 Reviews
🧡 Why You'll Love This Recipe
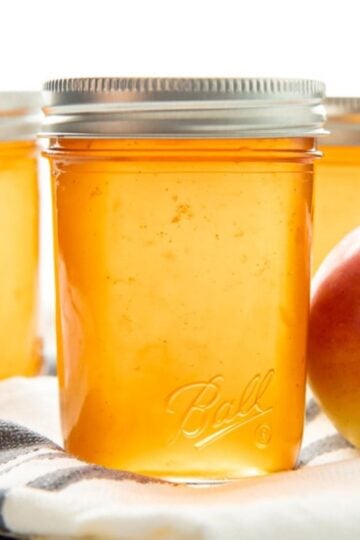
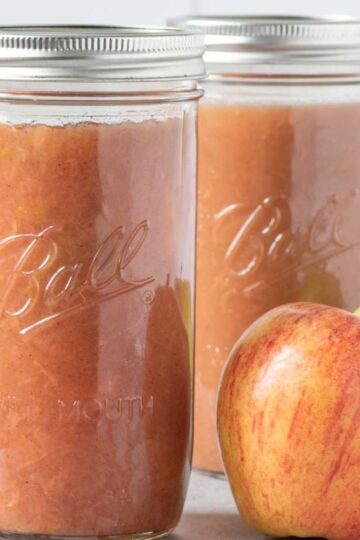
Every year we head out to our local apple orchard to pick apples. And every year, I inevitably pick WAY more than necessary and have to put my apple preserving hat on. Each fall, you'll find me canning applesauce, making apple jelly, and of course, dehydrating apples for dried apples and apple chips!
Here's why you'll love this recipe:
- No special equipment: I've got three methods for dehydrating apples-using a dehydrator, using your oven, or using the sun.
- Easy and hands-off: 10 minutes of prep work and then the rest is almost entirely hands off. A perfect weekend project.
- Super versatile: Snacking on apple chips is amazing, but dried apples are also SO versatile for cooking and baking.
- A great way to use up a bevy of apples: Once you've had your fill of Brussels sprout apple salad, Instant Pot applesauce, homemade caramel apples, and moist apple cinnamon muffins, use extra apples to make dried apples (or learn how to store apples long term).
🍎 The Ingredients You Need
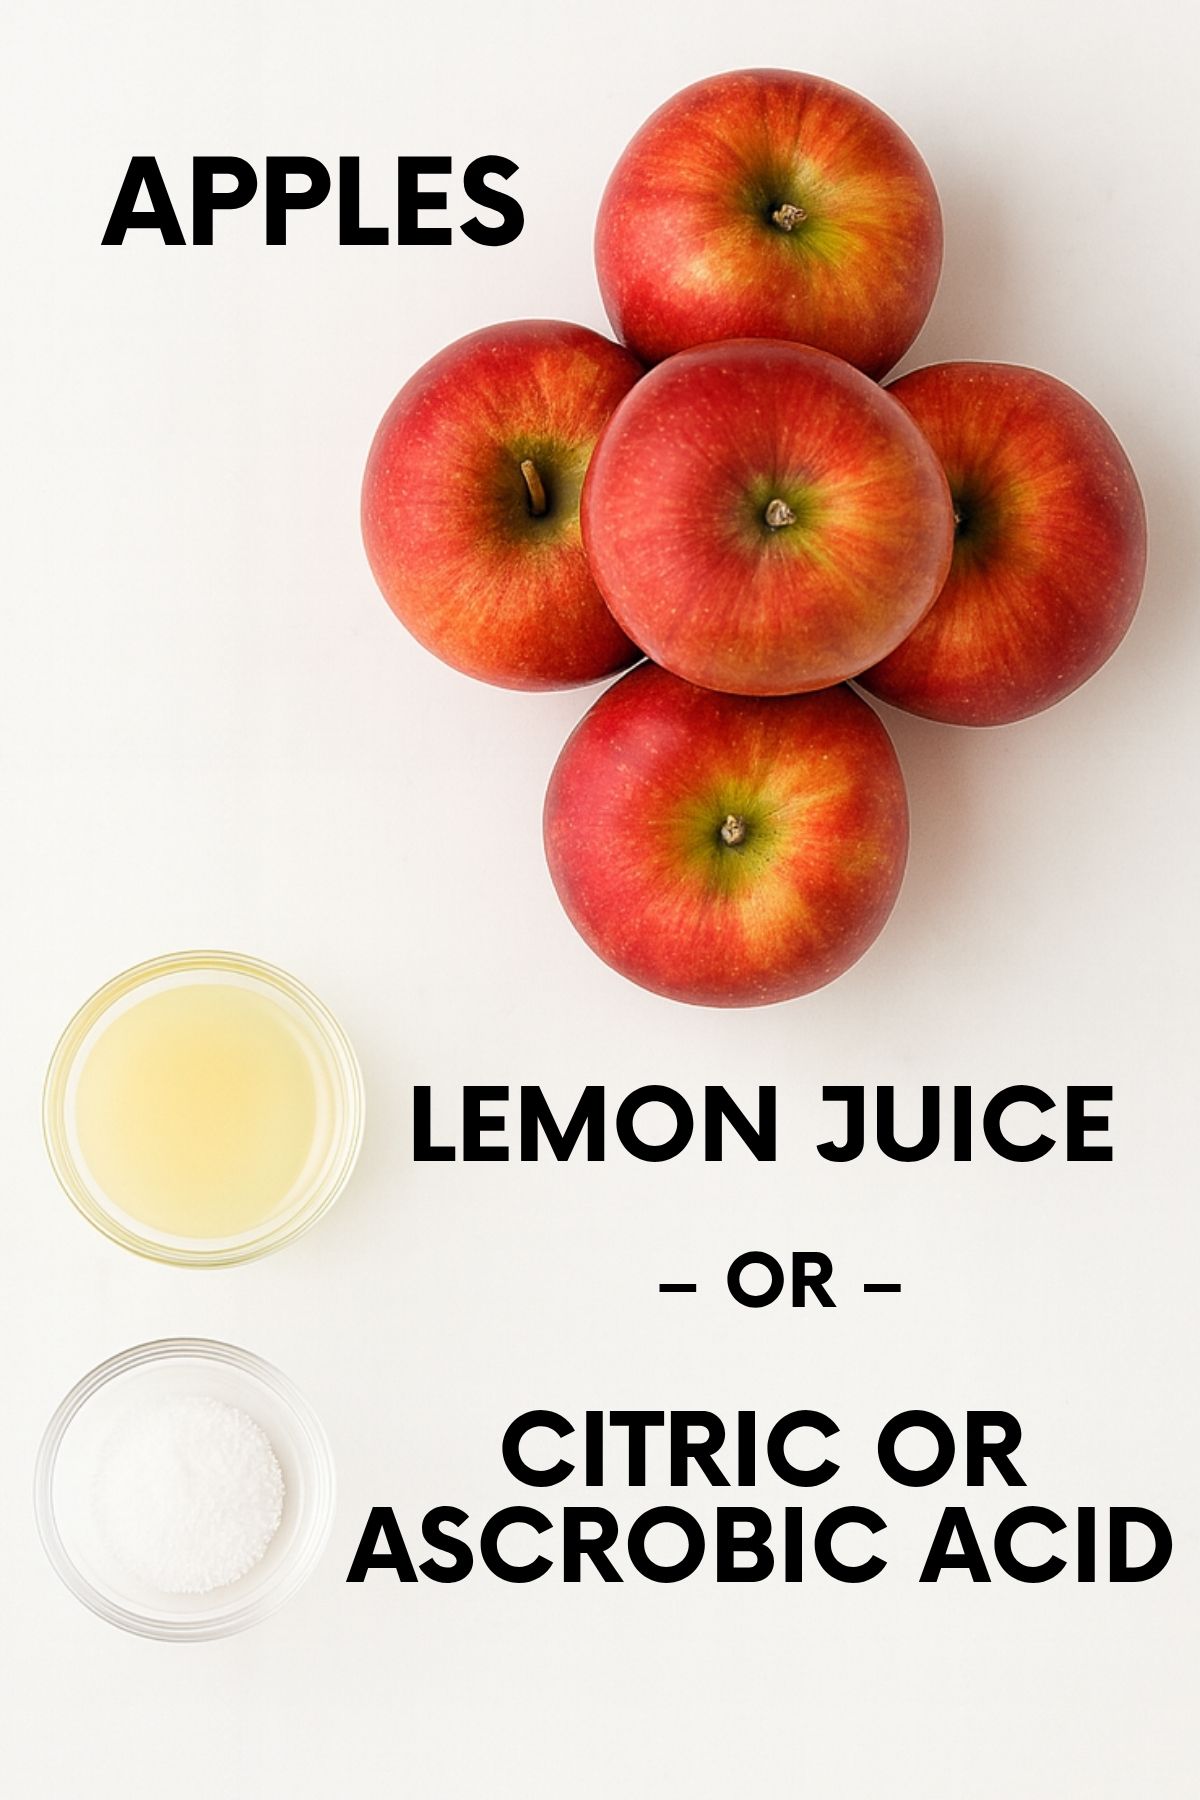
- Apples: Obviously! Any apples you have on hand will do the trick.
- Lemon juice, citric acid, or ascorbic acid: You'll use one of these to treat the apples so they don't go brown during the dehydration process. If you use modern apple varieties that don't brown (like Cosmic Crisp), you can skip this step.
Make sure to check the recipe card below for the full ingredients list, along with quantities and my expert tips and tricks.
🔁 Variations & Substitutions
- Leave in the core: For pretty slices with a "star" in the middle, leave in the core and slice through the entire apple. The core can be tough to eat, but they make beautiful slices for decor (like stringing on a garland for Christmas).
- Add cinnamon: Sprinkle on ground cinnamon before dehydrating to add more flavor.
- Make crispy apple chips: The difference between soft and chewy dried apples and crispy apple chips? Time and thickness! Just extend the dehydrating process until the apples are crisp and snap when bent. I recommend thin slices (about ⅛" in thickness) for apple chips, but you can also experiment with going even thinner to speed up the process.
🤨 Which Apple Drying Method to Choose
Oven Drying
✅ Pros
- Accessible. You probably have an oven at home already.
- Fast. Oven drying is the fastest method here.
❌ Cons
- Burning risk. If your oven doesn't go below 200°F, you might have to check on your apples more frequently.
- Ties up your oven. This project will tie up your oven for hours.
Dehydrator
✅ Pros
- Simple. The controlled environment of the dehydrator makes this the best method for beginners.
- Hands off. The dehydrator does all the work.
❌ Cons
- Special equipment required. If you need to buy a dehyrator, that's a big expense (the food dehydrator I've used for a decade runs less than $100 though).
Sun Drying
✅ Pros
- Not much equipment needed. Sun drying requires the least amount of equipment. Although a drying rack can make the process easier.
❌ Cons
- Hard to control. You need to live in a hot, dry climate. The sun also has to reliably shine for several days in a row.
- Bugs and animals: They love to snack on sweet apples.
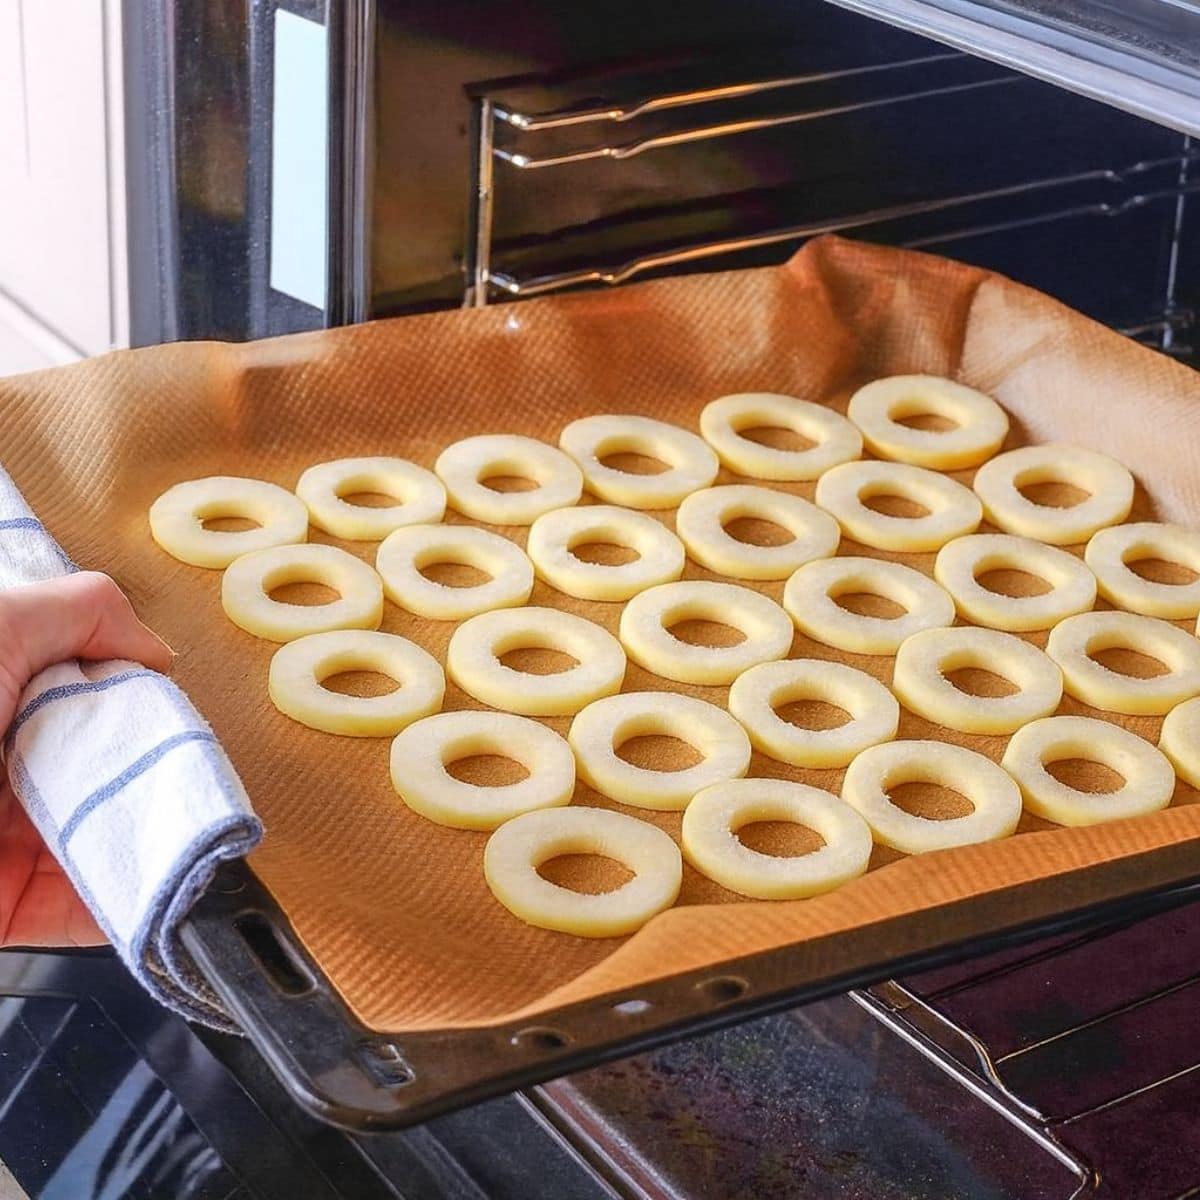
🍏 How to Dry Apples in the Oven
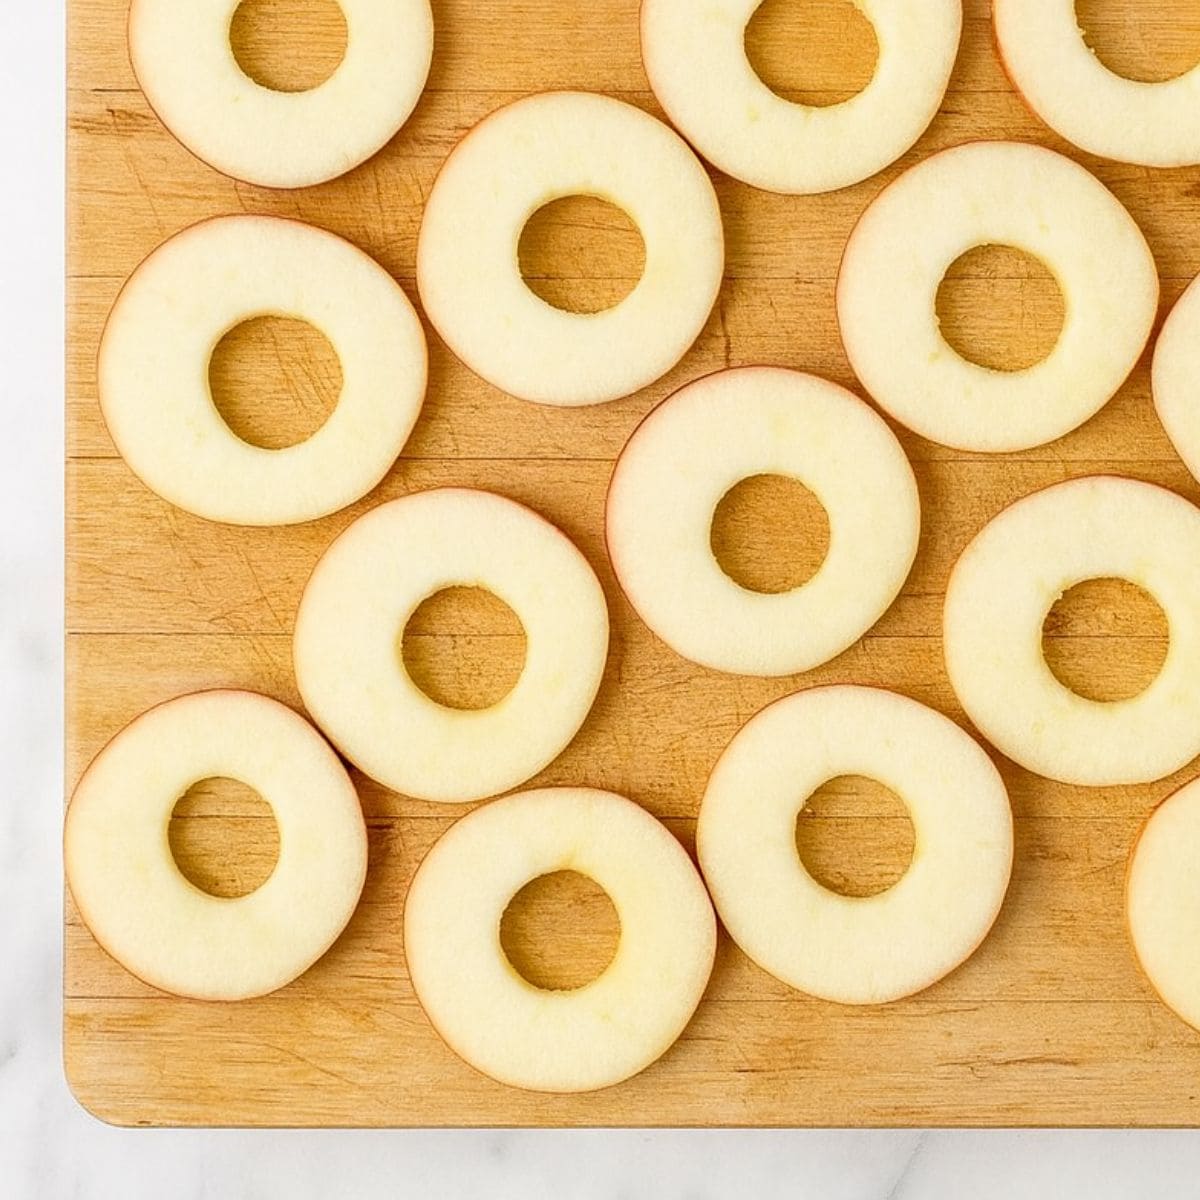
Step 1: Core and slice your apples. I've had good luck with ¼" slices for chewy dried apples or ⅛" for crispy apple chips. I recommend a mandoline slicer and an apple corer to make easy work of this step.
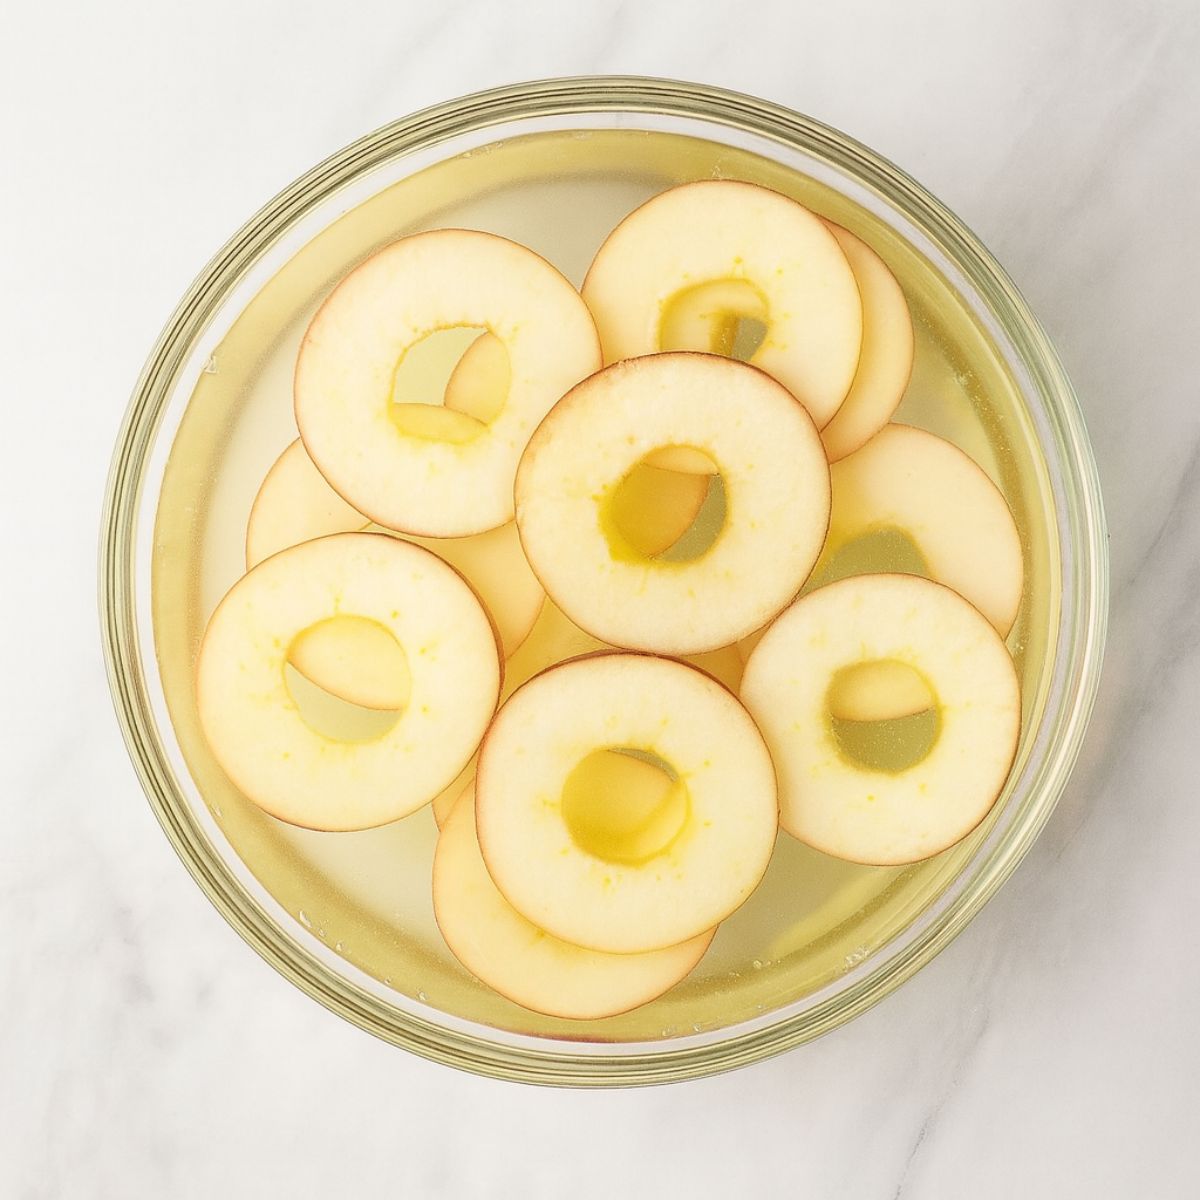
Step 2: Treat the apples to prevent browning by combining 1 tablespoon lemon juice or ¼ teaspoon powdered citric or ascorbic acid with 4 cups of cool water. Submerge the apple slices.

Step 3: Spread the treated apple slices in a single layer on a wire baking rack set in a rimmed baking sheet. How many trays you can fill will depend on how many apples you want to dehydrate. Depending on your oven capacity, you may need to work in batches.
Step 4: Bake the apples at the lowest temperature your oven will go. 160°F is preferred, but many ovens do not go below 200°F, that'll work, too.
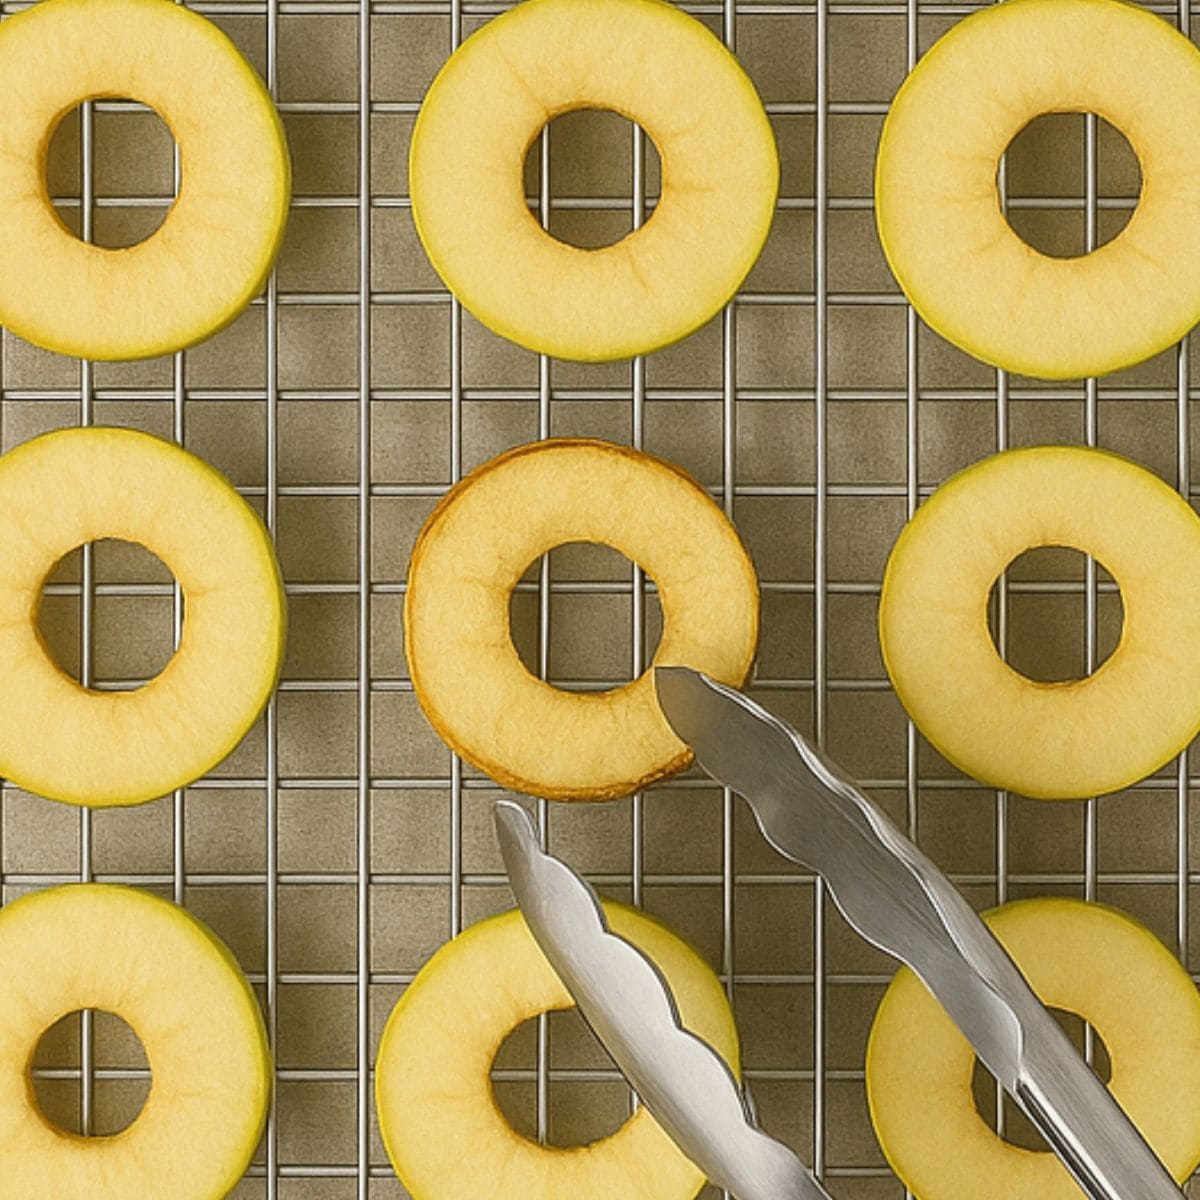
Step 5: It can help to flip your apple slices over halfway through the drying process. Especially if you are running a hotter oven than 160°F. If you have a few trays of apples in your oven, crack the oven door to allow for better circulation.
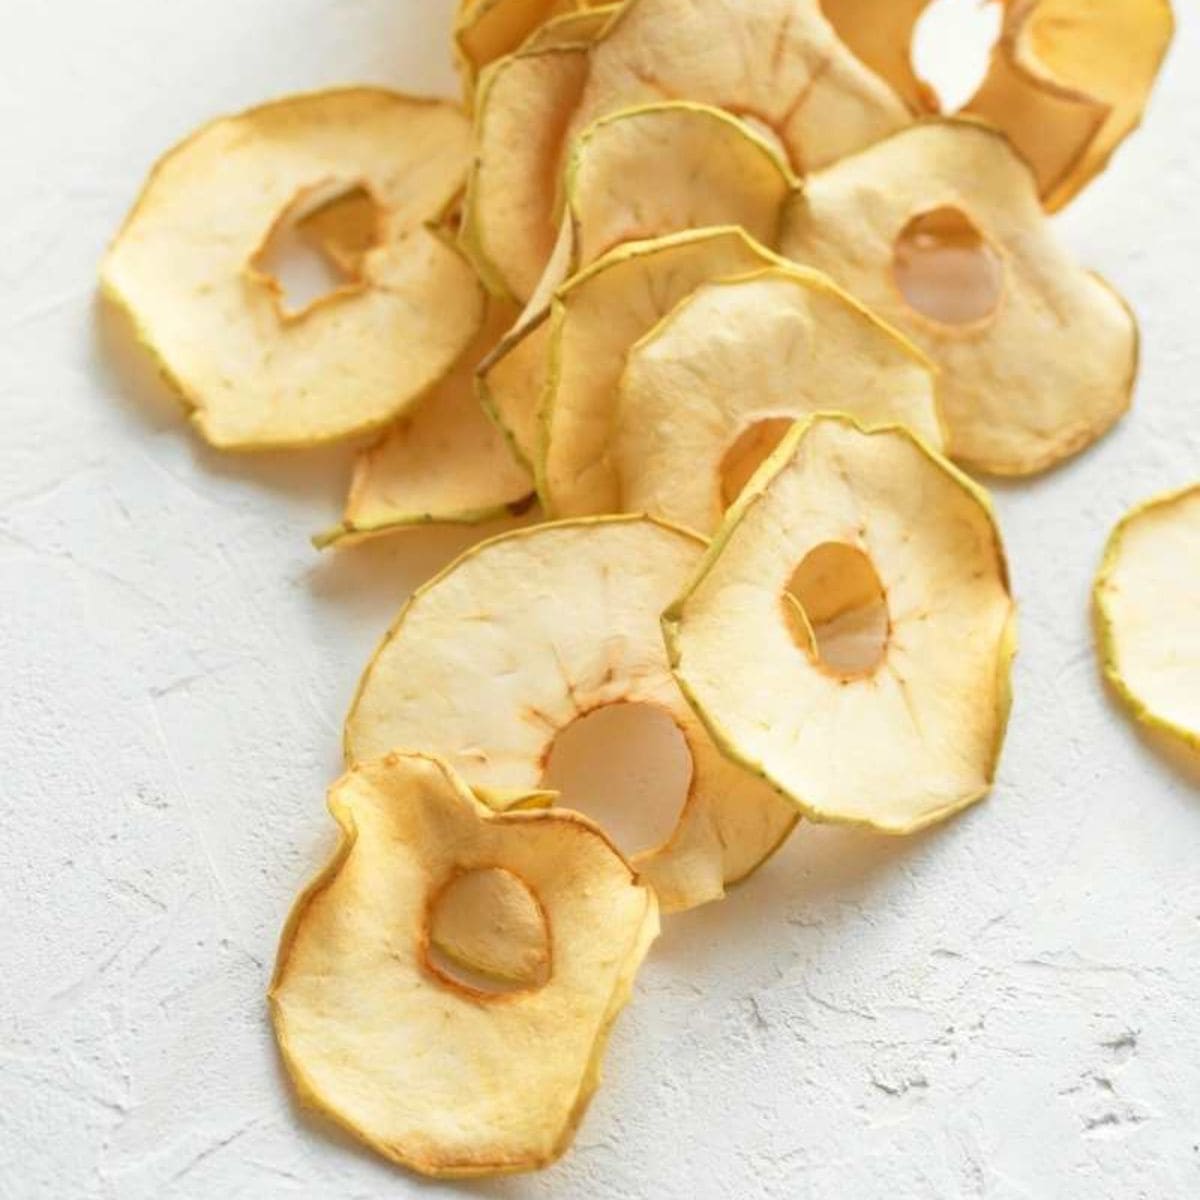
Step 6: It will take several hours for the apples to dry, but the exact time will depend on the size of your apple slices, the humidity in the air, and other considerations. Your apples are finished when they are dry, but still slightly pliable. If you like crispy dried apples, you can continue drying them until they are completely dry and crisp.
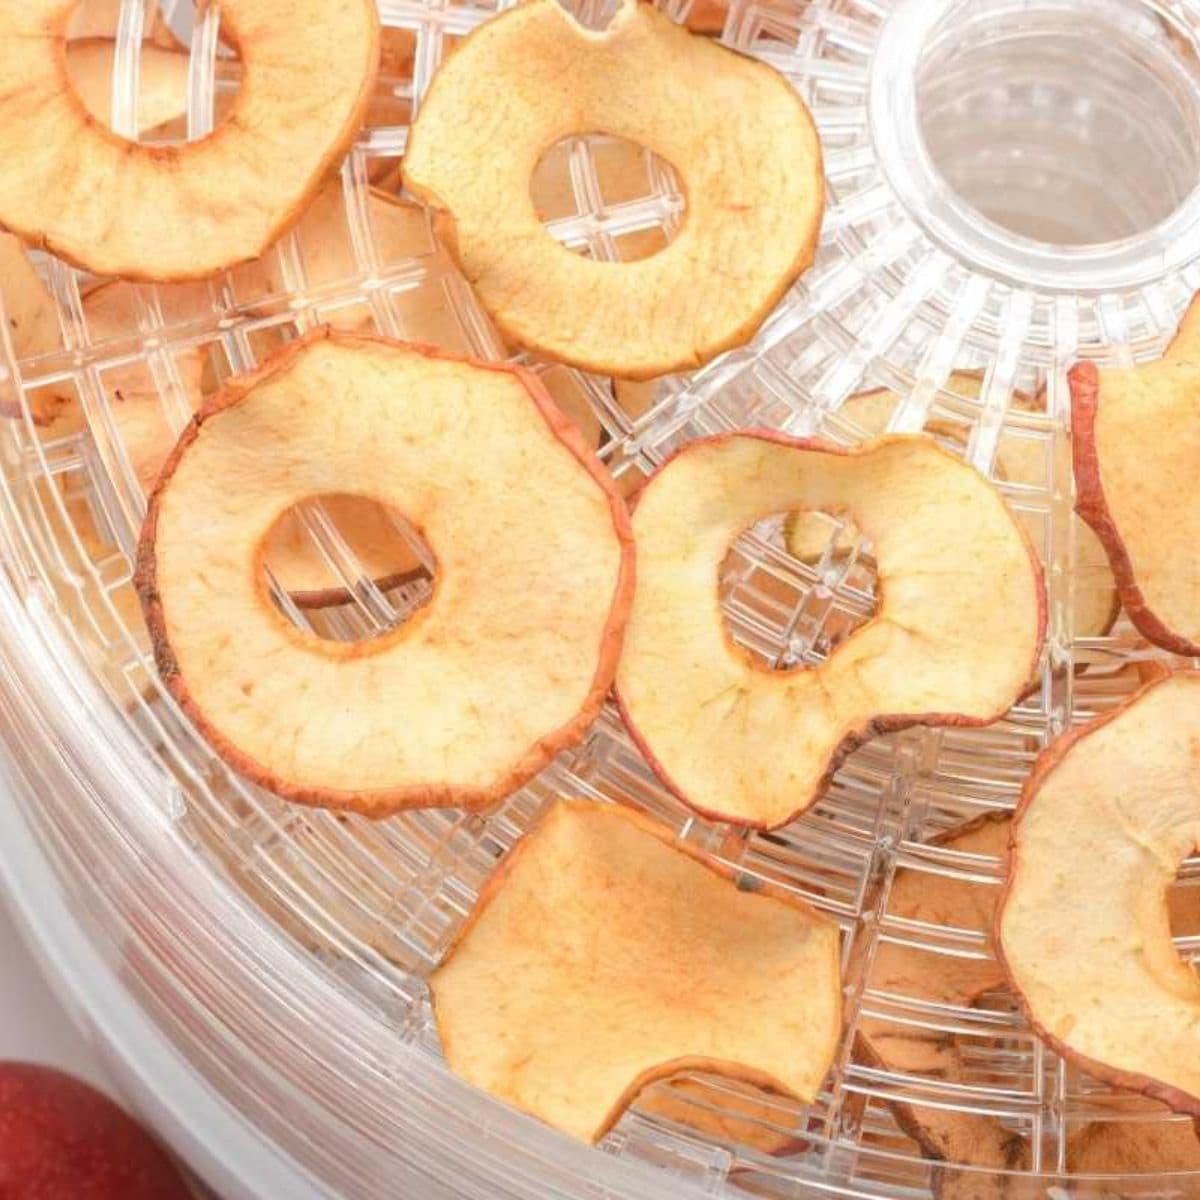
💨 How to Dry Apples in a Food Dehydrator
Step 1: Core and slice your apples. I've had good luck with ¼" slices for chewy dried apples or ⅛" for crispy apple chips. I recommend a mandoline slicer and an apple corer to make easy work of this step.
Step 2: Treat the apples to prevent browning by combining 1 tablespoon lemon juice or ¼ teaspoon powdered citric or ascorbic acid with 4 cups of cool water. Submerge the apple slices.
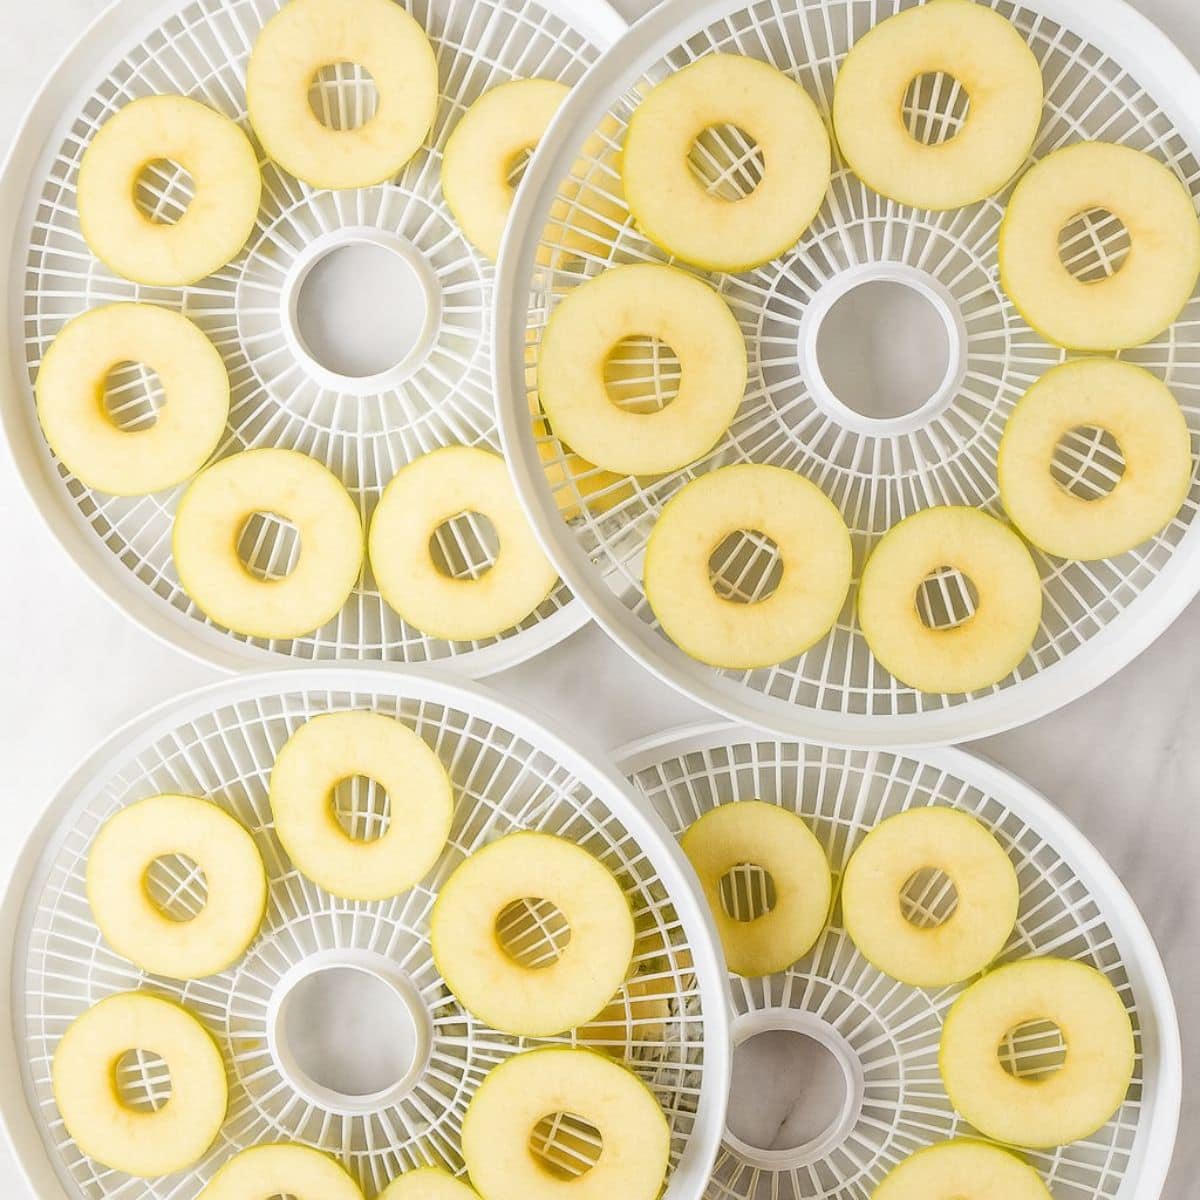
Step 3: Drain the apples, then lay them in a single layer on the dehydrator trays.
Step 4: Dry the apples in the dehydrator at 160°F. How long that will take depends on several factors, including your dehydrator's make and model, the thickness of your apple slices, and the humidity in your environment.
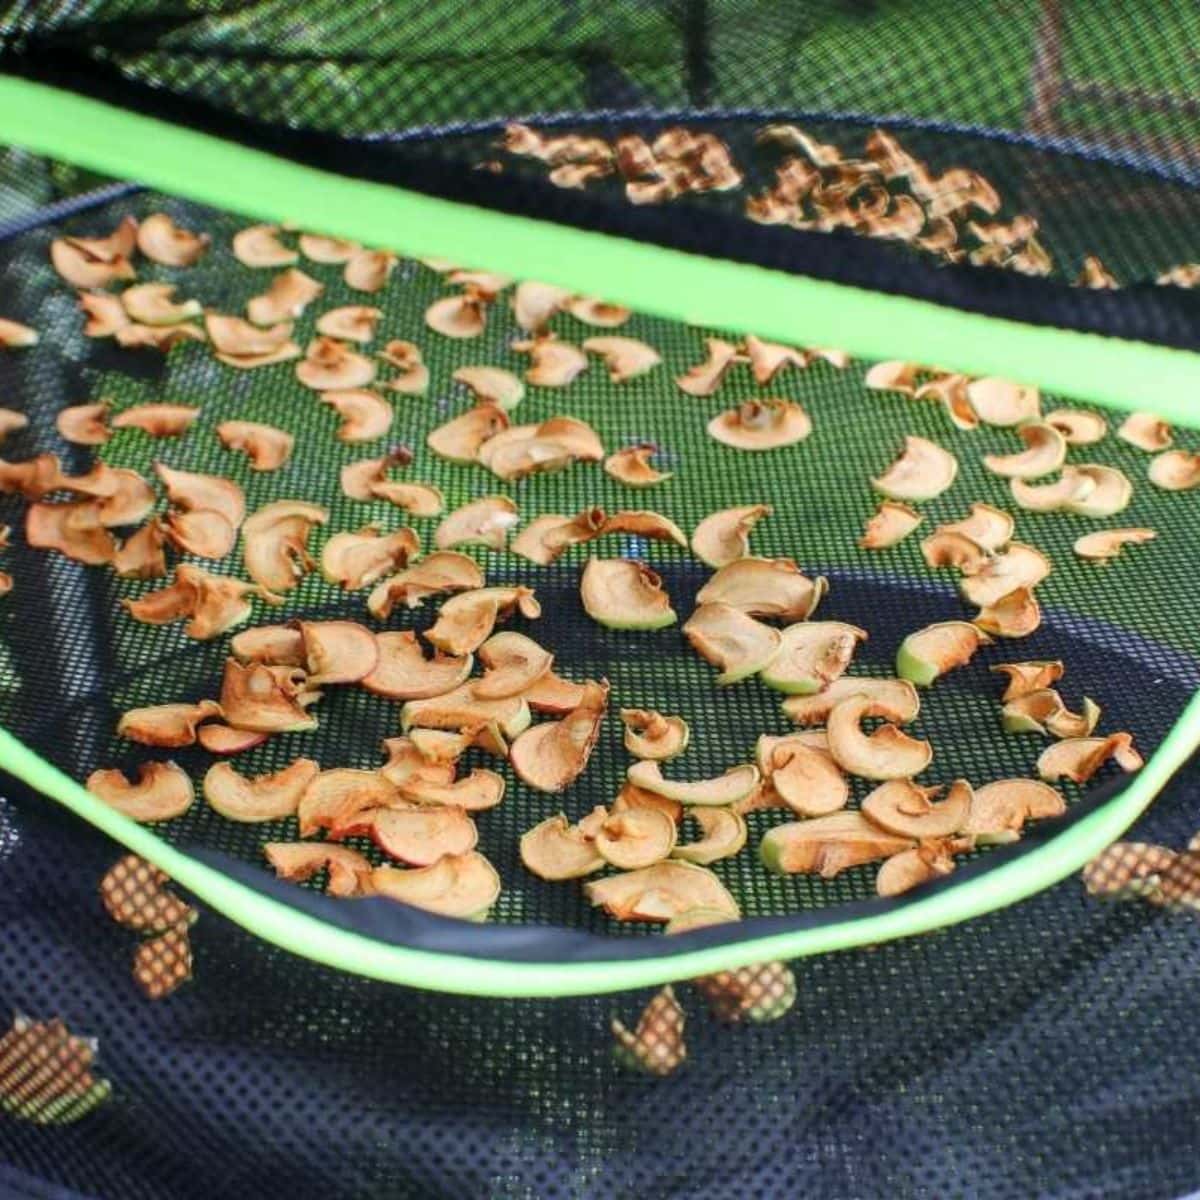
☀️ How to Sun Dry Apples
Step 1: Core and slice your apples. I've had good luck with ¼" slices for chewy dried apples or ⅛" for crispy apple chips. I recommend a mandoline slicer and an apple corer to make easy work of this step.
Step 2: Treat the apples to prevent browning by combining 1 tablespoon lemon juice or ¼ teaspoon powdered citric or ascorbic acid with 4 cups of cool water. Submerge the apple slices.
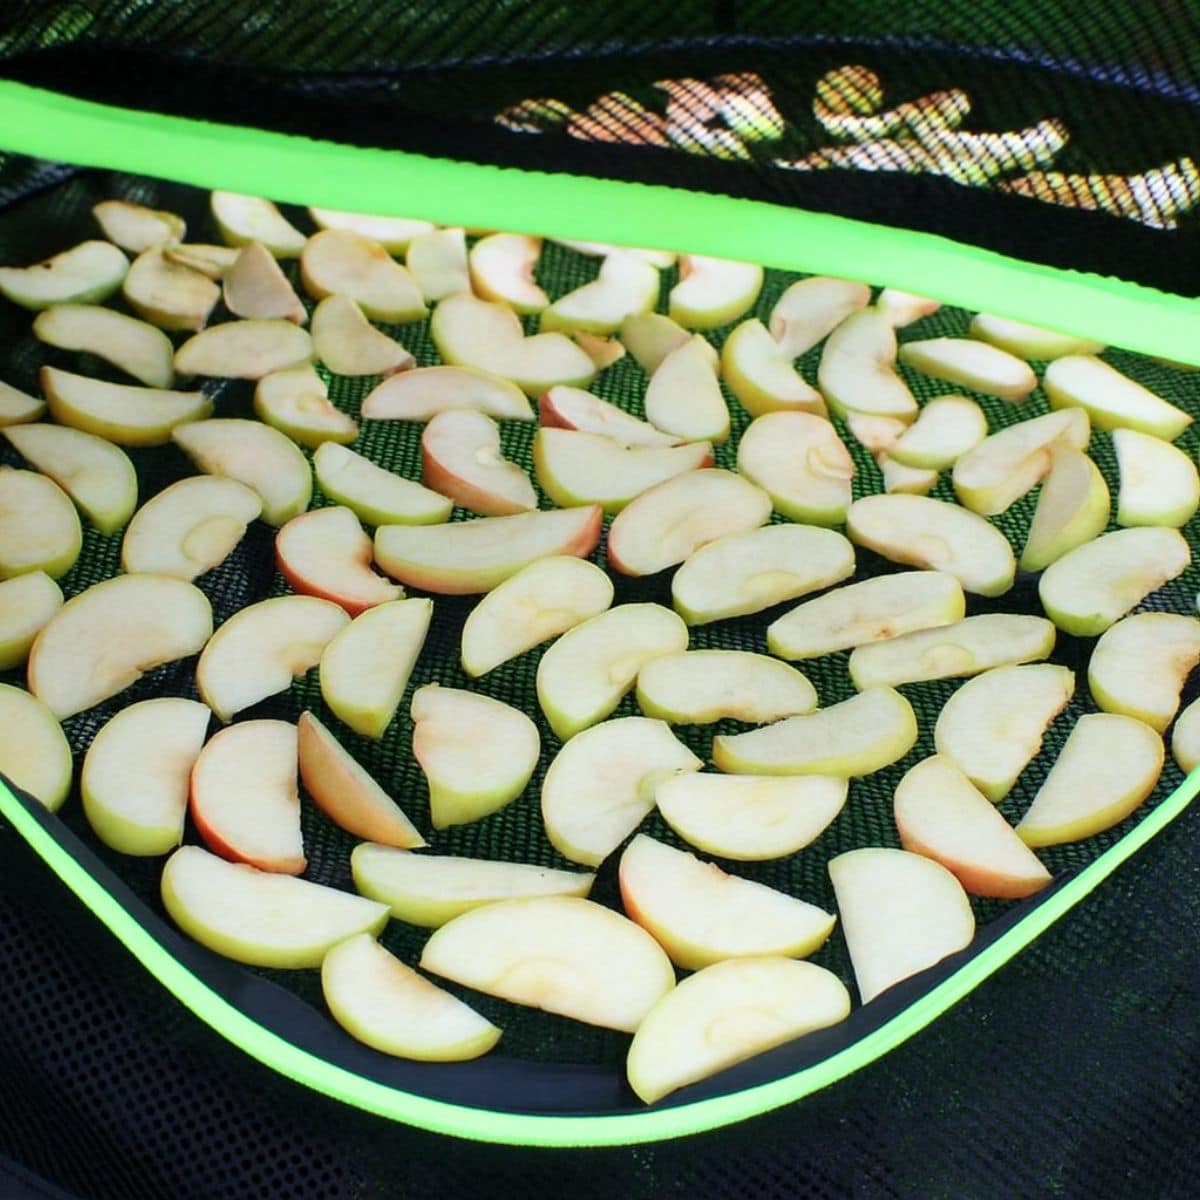
Step 3: Spread the apple slices in a single layer on a cooling rack set on top of a rimmed cookie sheet or, preferably, on a mesh drying rack. Place the apples in the sun somewhere they will get good air circulation and are out of reach of pests. If you aren't using a mesh drying rack, try insect netting or tulle over the trays to keep bugs out.
Step 4: Dry for several hours to several days, until apples are dry and pliable. The exact time will depend on your location and weather.
🙋🏻♀️ Dehydrating Apples FAQs
There are three main causes of dried apples not being crisp: apple thickness, not enough time drying, and not allowing the apples to cool. Too thick of apple slices will take longer to crisp-up and will turn hard instead of crispy. If your apple slices are thin enough, but still soft, just let them dry a little longer. Also remember that dehydrated apples will crisp up more as they cool.
No, you don't have to. It won't affect the texture, safety, or flavor of the dried apple, but the apples will brown while dehydrating and make for brown-colored dried apples. Other options instead of using lemon juice include citric acid, ascorbic acid, or using modern apple varieties like Cosmic Crisp that do not oxidize.
Let a dried apple slice cool to room temperature, then bend it in half. If it snaps, it's a crispy dried apple chip, and it's ready. If it's leathery and pliable, it's still dried enough to enjoy as soft dried apples. If it feels juicy, watery, or doesn't bend, it still needs more time drying.
👩🏻🍳 My Expert Tips & Tricks
- Let them cool: Keep in mind that dehydrated foods always seem softer when right out of the food dehydrator. To really test the crispness, let the food cool first, then test.
- Rehydrate them: You can soak them in a bowl of room temperature water for half an hour until they're plump and soft. Alternatively, you could also bring a cup of water to a boil, add a cup of dehydrated apples, and boil for 5-8 minutes. If you want to inject even more flavor into your apples, you could use juice in place of water to re-hydrate your apples.
- How to store: Dehydrated apples should be stored in clean, dry, airtight containers. Canning jars work really well for this, and you can pack quite a few slices in your jars. Once in jars, your apples should be kept in a cool, dry, dark location such as a basement or a root cellar for longer storage.
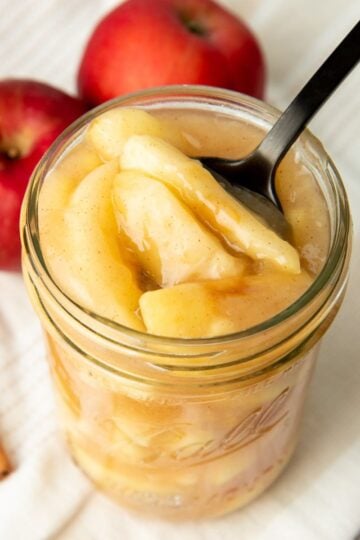
🥣 More Ways to Preserve Apples
If you tried Dehydrating Apples or any other recipe on my blog, please leave a 🌟 star rating and let me know how it went in the comments!
📖 Recipe

How To Dry Apples
Ingredients
- 6 pounds apples
- lemon juice, citric acid, or ascorbic acid
- water
Instructions
Dehydrator
- Core apples and cut into thin slices. A mandoline slicer is the best option for this.
- Combine 1 tablespoon lemon juice or ¼ teaspoon ascorbic or citric acid with 4 cups of water. Submerge the apples slices, then drain.
- Place the apple slices in a single layer on dehydrator trays.
- Dry the apples in the dehydrator at 160°F. It will take several hours for the apples to dry, and the exact time will depend on the size of your apple slices, the humidity in the air, and other considerations.
- Your apples are finished when they are dry, but still slightly pliable. If you like crispy dried apples, you can continue drying them until they are completely dry and crisp.
Oven-Dried
- Preheat your oven to 160°F. If your oven doesn't go that low, preheat it to as low as it will go, but know that you'll need to keep a close eye on your apples to prevent burning and baking.
- Core apples and cut into thin slices. A mandoline slicer is the best option for this.
- Combine 1 tablespoon lemon juice or ¼ teaspoon ascorbic or citric acid with 4 cups of water. Submerge the apples slices, then drain.
- Place a baking rack inside a rimmed baking sheet. Place the apples in a single layer on the baking rack.
- Dry the apples in the oven. It can help to flip your apple slices over halfway through the drying process. If you have a few trays of apples in your oven, crack the oven door to allow for better circulation.
- It will take several hours for the apples to dry, but the exact time will depend on the size of your apple slices, the humidity in the air, and other considerations.
- Your apples are finished when they are dry, but still slightly pliable. If you like crispy dried apples, you can continue drying them until they are completely dry and crisp.
Sun-Dried
- Sun dry apples only when warm, dry, sunny weather is expected for several days. If you live in a high-humidity region, sun-drying may not be right for you.
- Core apples and cut into thin slices. A mandoline slicer is the best option for this.
- Combine 1 tablespoon lemon juice or ¼ teaspoon ascorbic or citric acid with 4 cups of water. Submerge the apples slices, then drain.
- Place a baking rack inside a rimmed baking sheet or use large screens set up outside for circulation. Place the apples in a single layer on the baking rack or screens.
- Place the apples in a sunny spot with good circulation, away from where critters can get to them. You may want to cover your apples with insect netting to prevent insects from getting into them.
- It will take several hours to days for the apples to dry, but the exact time will depend on the size of your apples, the humidity in the air, and other considerations.
- Your apples are finished when they are dry, but still slightly pliable. If you like crispy dried apples, you can continue drying them until they are completely dry and crisp.
Notes
- You can skip the browning treatment step with the lemon juice or acid if you use modern apple varieties that do not to brown, like Cosmic Crisp.
- To store apples: store them in an airtight container (we like to use canning jars) in a dark, cool part of your pantry. If properly dried, they'll last for 6-8 months. To ensure a longer shelf life, store in the freezer.
- Dried apples will become more crisp after they cool.
- To make apple chips: cut the slices to ⅛" in thickness and dehydrate longer until the chips snap when you bend them.


Apple chips are a fall favorite snack in our house! It's amazing how easy they are to make. Enjoy!
What does treating the apples consist of? Just tossing them in water and lemon juice? Or do I let them sit?
Yep, toss them with water and lemon juice!
This is a great post! I was able to dehydrate a batch of apples, even though my oven only goes down to 200 degrees.
Thanks so much, Erica! We're so happy to hear that it worked out well for you. Thanks for taking the time to come back and share your success with us! =)