
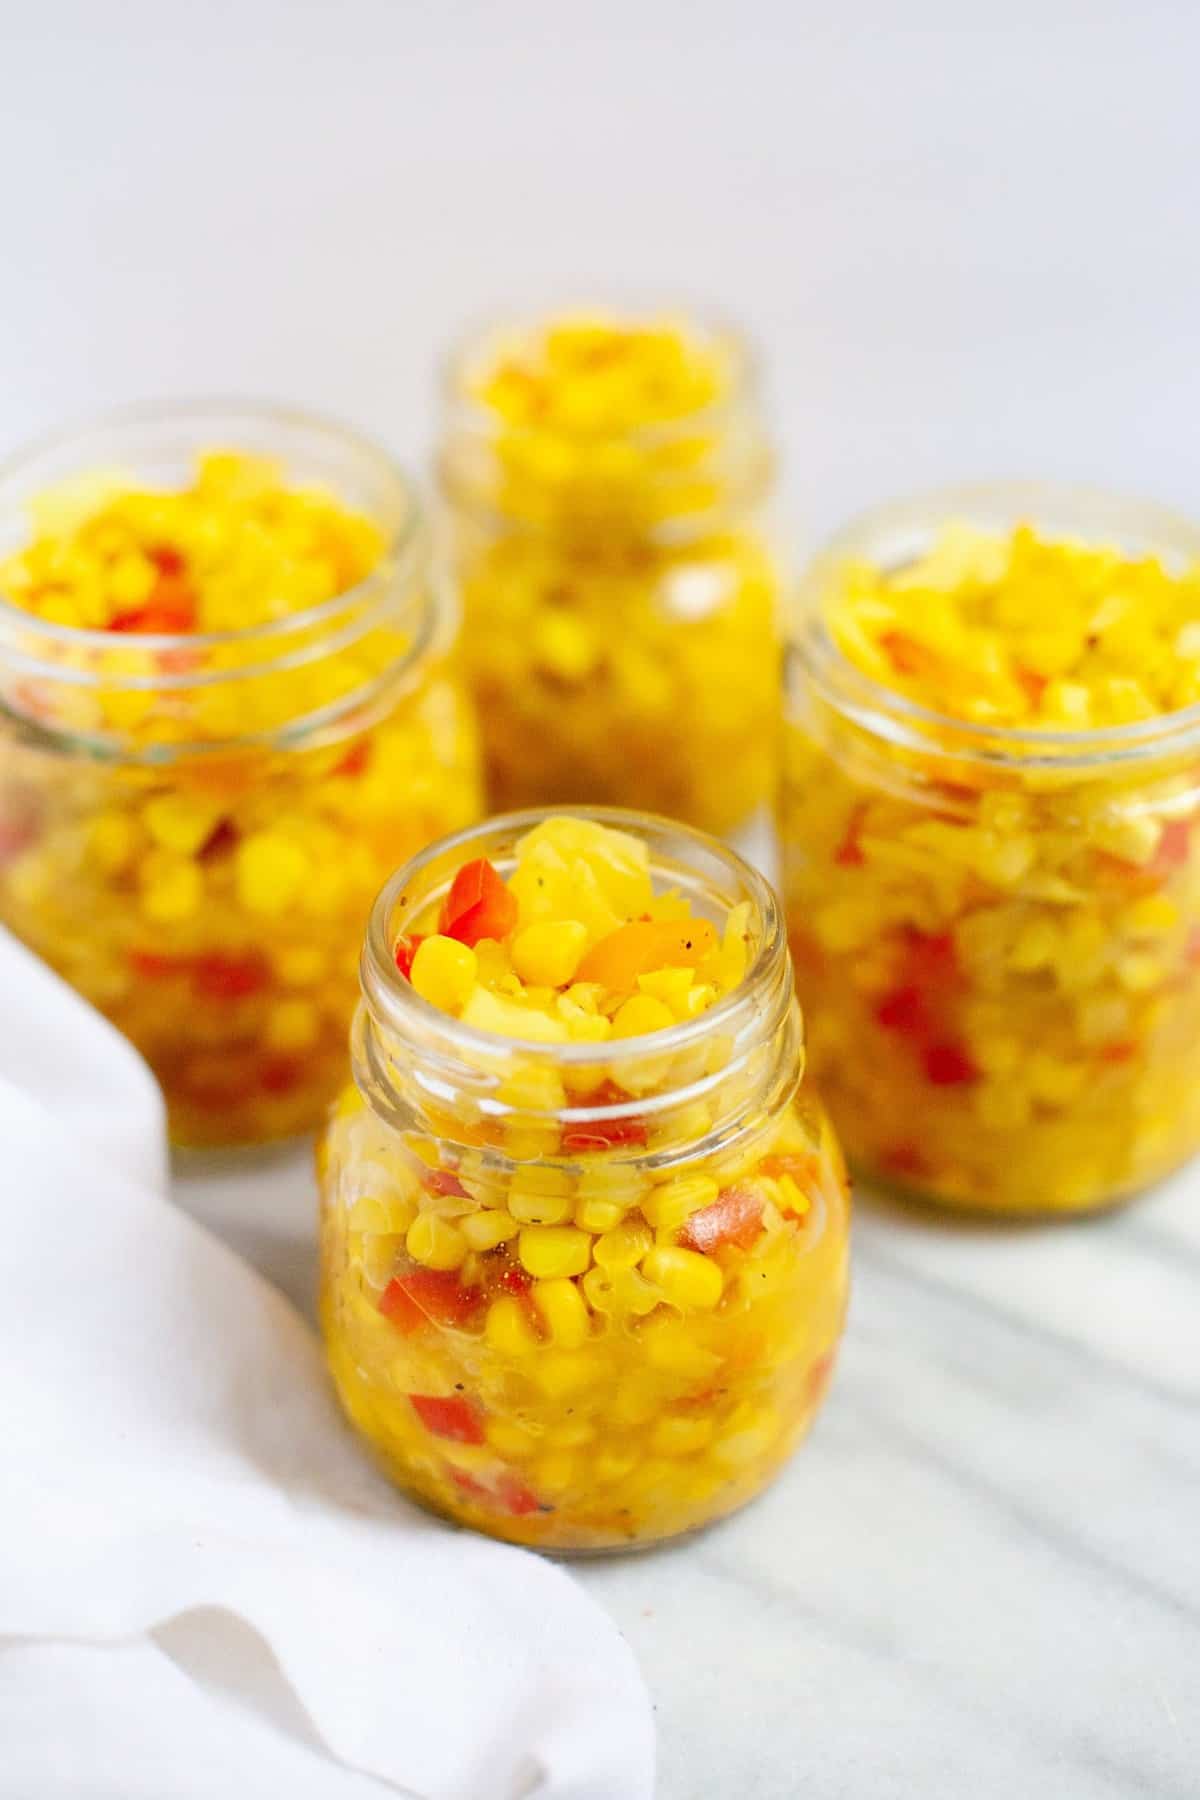
Homestyle Corn Relish - Canned

Indiana is pretty well-known for its corn, and for good reason! Our hot and humid summers tend to produce the perfect conditions for sweet, juicy, delicious corn. During the summer as a kid, I had a daily ritual of going down to the garden and popping off a fresh ear of corn, shucking it, and eating it right there in the garden. Corn here grows sweet, juicy, and plump enough to eat raw!
Once I've had my fill of raw corn, boiled corn, grilled corn, and corn ice cream, I start thinking about ways to preserve corn to eat all year long. Freezing is one of the best ways to keep corn fresh-tasting and ready-to-eat at anytime, but one of my other favorite ways to use up a surplus of corn is to can some corn relish.
Corn relish is an amazingly versatile dish. You can use it in place of regular cucumber relish on hamburgers, hot dogs, and brats, but it also works as a salsa, mixed in with pasta, or just as a side dish on its own.
The thing I love the most about corn relish though is how stupendously easy it is. Especially for first-time canners. It's a great small-batch dish to get down the basics of canning. I know a lot of folks start with jams and jellies, but I think more savory dishes (like this relish or pickles) are a better way to start. No worries about additives or sugar levels. Just cook it, can it, and process it! Easy. Peasy.

If you are afraid of canning, I promise you have no reason to be! Canning is actually remarkably simple and incredibly rewarding. Trust me, the most satisfying sound in the world is the sound of a jar popping to seal after processing. You will feel so proud of yourself! And you get to eat delicious healthy food all year round.
Before I dig into the recipe, here are a few tips that'll help make the whole process go a lot more smoothly:
- To get the kernels off the corn cob, simply place a small bowl upside down in a larger bowl. Shuck the corn and then rest the corn on the small bowl. Run your knife along the corn cob and let the kernels fall into the big bowl. You can also just use a Bundt pan in the same way (but I don't have one!). See photos of this process in this post.
- Have all of your canning supplies-jars, lids, funnel, ladle, jar basket, jar lifter tong things, etc.-washed, clean, and ready to go before you start cooking.
- Before you twist the lids on the jars, run a damp washcloth along the top to remove any relish. That'll help the cans seal properly.
Alrighty, now onto the recipe. Happy corn season. Enjoy!
📖 Recipe
Homestyle Corn Relish - Canned
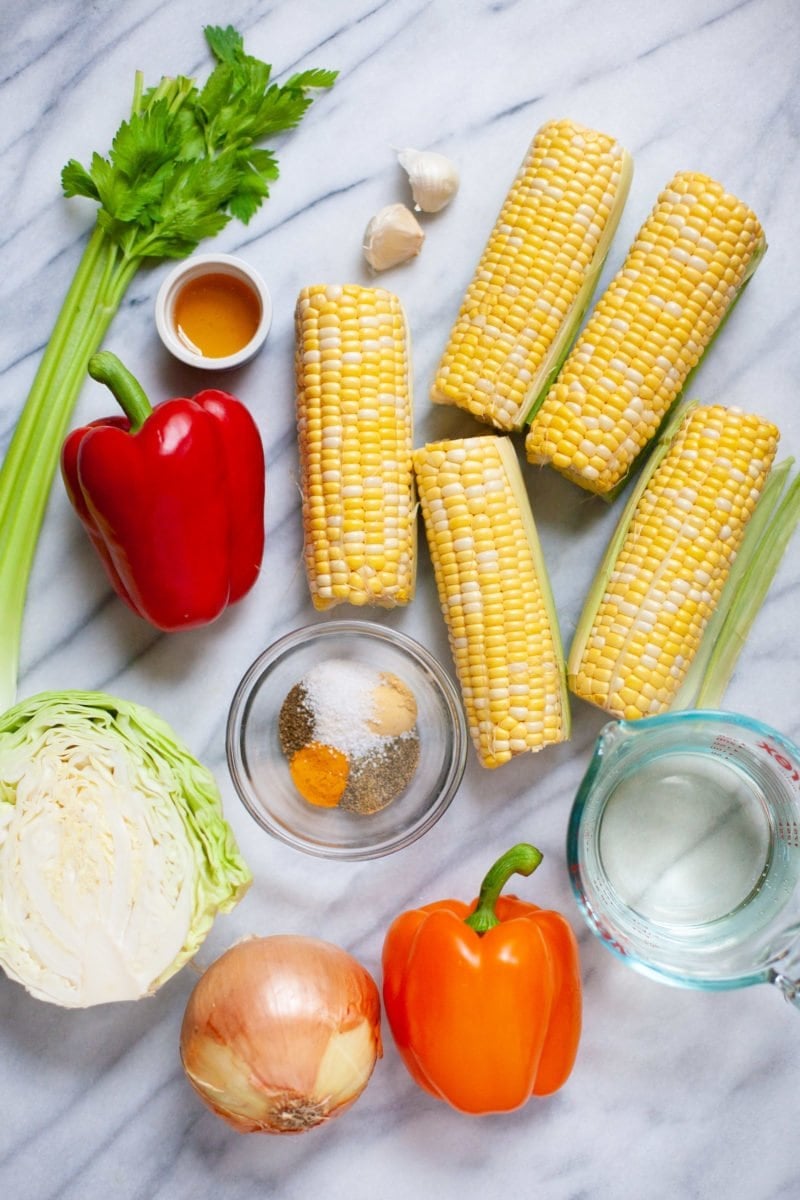
Ingredients
- 8 ears of corn kernels only
- 1 ½ cups diced bell peppers green, yellow, red, etc.
- ½ cup diced celery
- 3 cups shredded cabbage
- 2 cloves garlic minced
- ½ cup diced onion
- 1 ½ tablespoons dry mustard
- 1 teaspoon celery seeds
- 1 teaspoon turmeric
- 1 ½ teaspoons kosher salt
- 1 ½ teaspoons black pepper
- 3 tablespoons honey
- 2 cups vinegar
- ½ cup water
Instructions
- Wash and sterilize jars, rings, lids and all utensils. Prepare a water bath canner by filling a large pot with water and bringing it to a simmer.
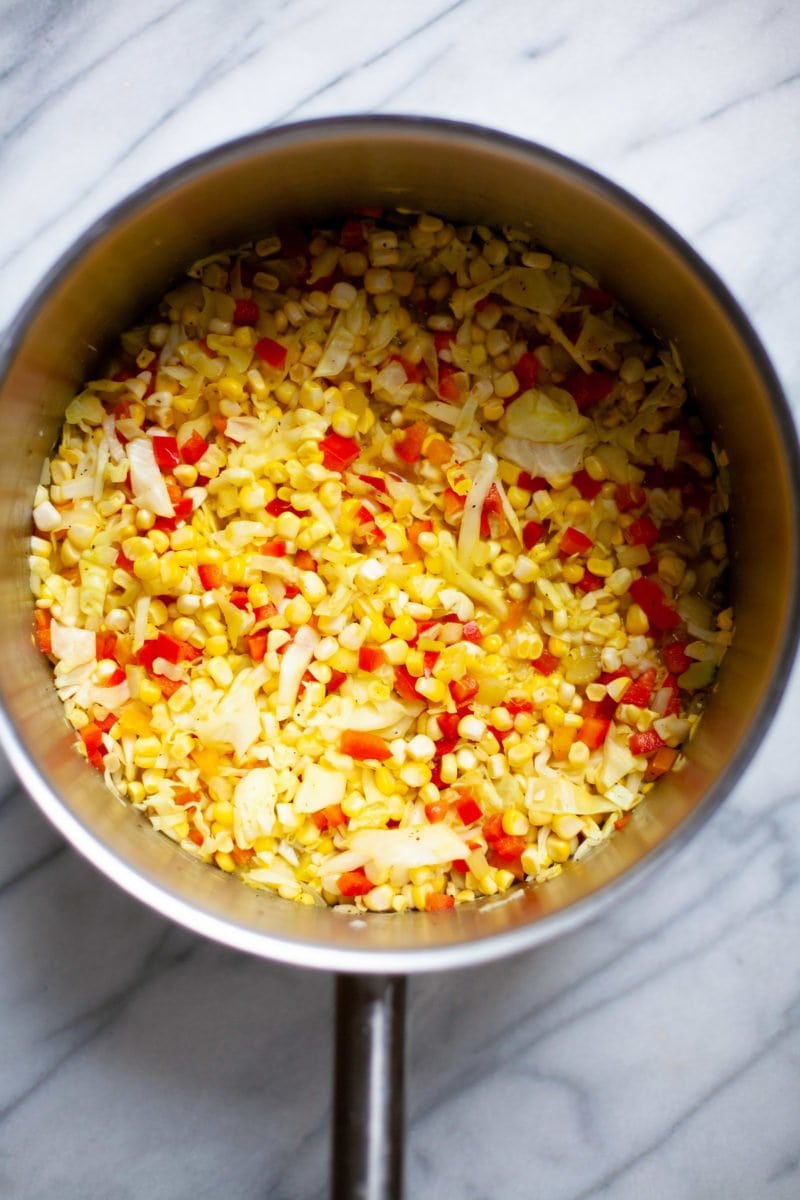
- To make the corn relish, combine all ingredients in a large stock pot. Bring to a boil, reduce the heat, and simmer for 20 minutes.
- Ladle the hot relish into sterilized half-pint jars. Wipe the tops of the jars using a clean towel. Put on the lids and rings and tighten by hand.
- Process the jars in the prepared water bath for 20 minutes. Remove the jars from the bath and let them cool at room temperature. As the jars cool, check the seals by pressing down on top of the lids. If they still “pop,” they are not preserved and need to be refrigerated and used within the next few days. If they don’t move, they can be labeled and stored in a cool, dark pantry.
strawberry jam,
thanks
We always have so much corn that we have to freeze due to family bringing it down from Kentucky when they visit, so definitely some corn recipes (including the one you posted). And pickles!
I really want to learn to make pickles! Dill pickles, sweet pickles, bread and butter.. I love pickles so much.
I would definitely can some homemade jam or preserves.
I have never tried preserving anything before but I've always wanted to try it. I am pretty sure I would try your recipe for corn relish, it sounds amazing and an easy one to try for the first time!
I would preserve sun-dried tomatoes, tomatoes, pickles, strawberry jam, black beans, and barbeque sauce. 🙂
My grandmother used to can all sorts of yummy garden goodness. I can't wait to learn to can and duplicate her pickle recipe or pickled egg recipe.
Thank you for posting this recipe! I was bored today and after I saw this, I decided to make it! It turned out great! I am still new to canning but I think my next project will be tomato jam. YUM!
I would can some pickles. My fiance and I are obsessed with pickles and I really want to try my hand at making my own.
i would preserve some concord grape jelly.
I want to make either a low sugar cherry/strawberry jam or some chow chow (its like southern relish). Your recipe looks delish! I bet it would be good on salads too
I would can pickles! Homemade pickles are the best ever.
Hi! I'd can jams and tomatoes. Thanks!
I'd want to make a low sugar strawberry jam!
My husband just pulled three monster cucumbers out of the garden today (our first attempt at a garden!), so I would love to make some pickles in these jars!
You can too! Oh. My. Heart. I super like you again... it must be those Indiana roots. I've been canning cherry juice, cherry jelly, and cherry syrup - oh yum. If I won something from Ball though (I did go to Ball State my freshman year, so I am a total Ball snob!) I would can beans. I've been trying to perfect pressure canning dried beans. I love how they've been turning out but the different beans need different amount of water in my opinion and I haven't gotten all that worked out. Do you pressure can? I just tried it this spring and am in love!
I'll probably make some sort of jam or relish. It really just depends on what's available at the farmer's market. If all else fails, we'll make apple pumpkin butter. Super easy and very delicious.
cherry dill pickles or zucchini relish
Salsa and peach jam!
I would make my own first batch of my Grandma's "Grandma Jelly" - It's a super simple fig/strawberry jam. I'd love to give it a try to make my own using the Ball jars, just like my Grandma does every summer. 🙂