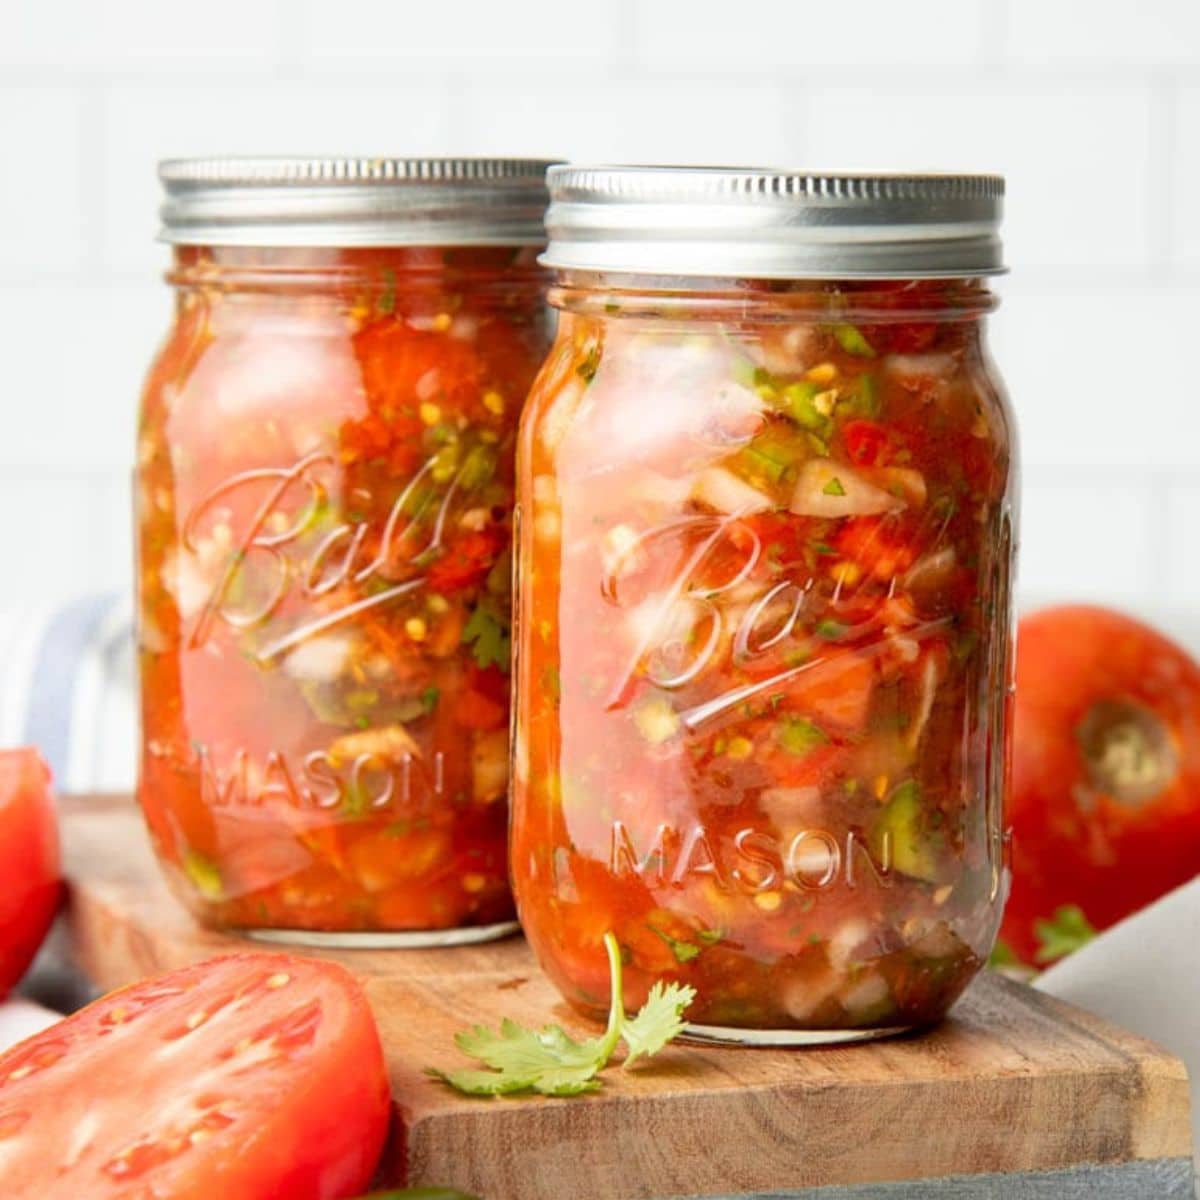
Canning Salsa

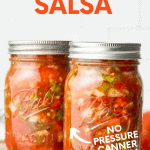
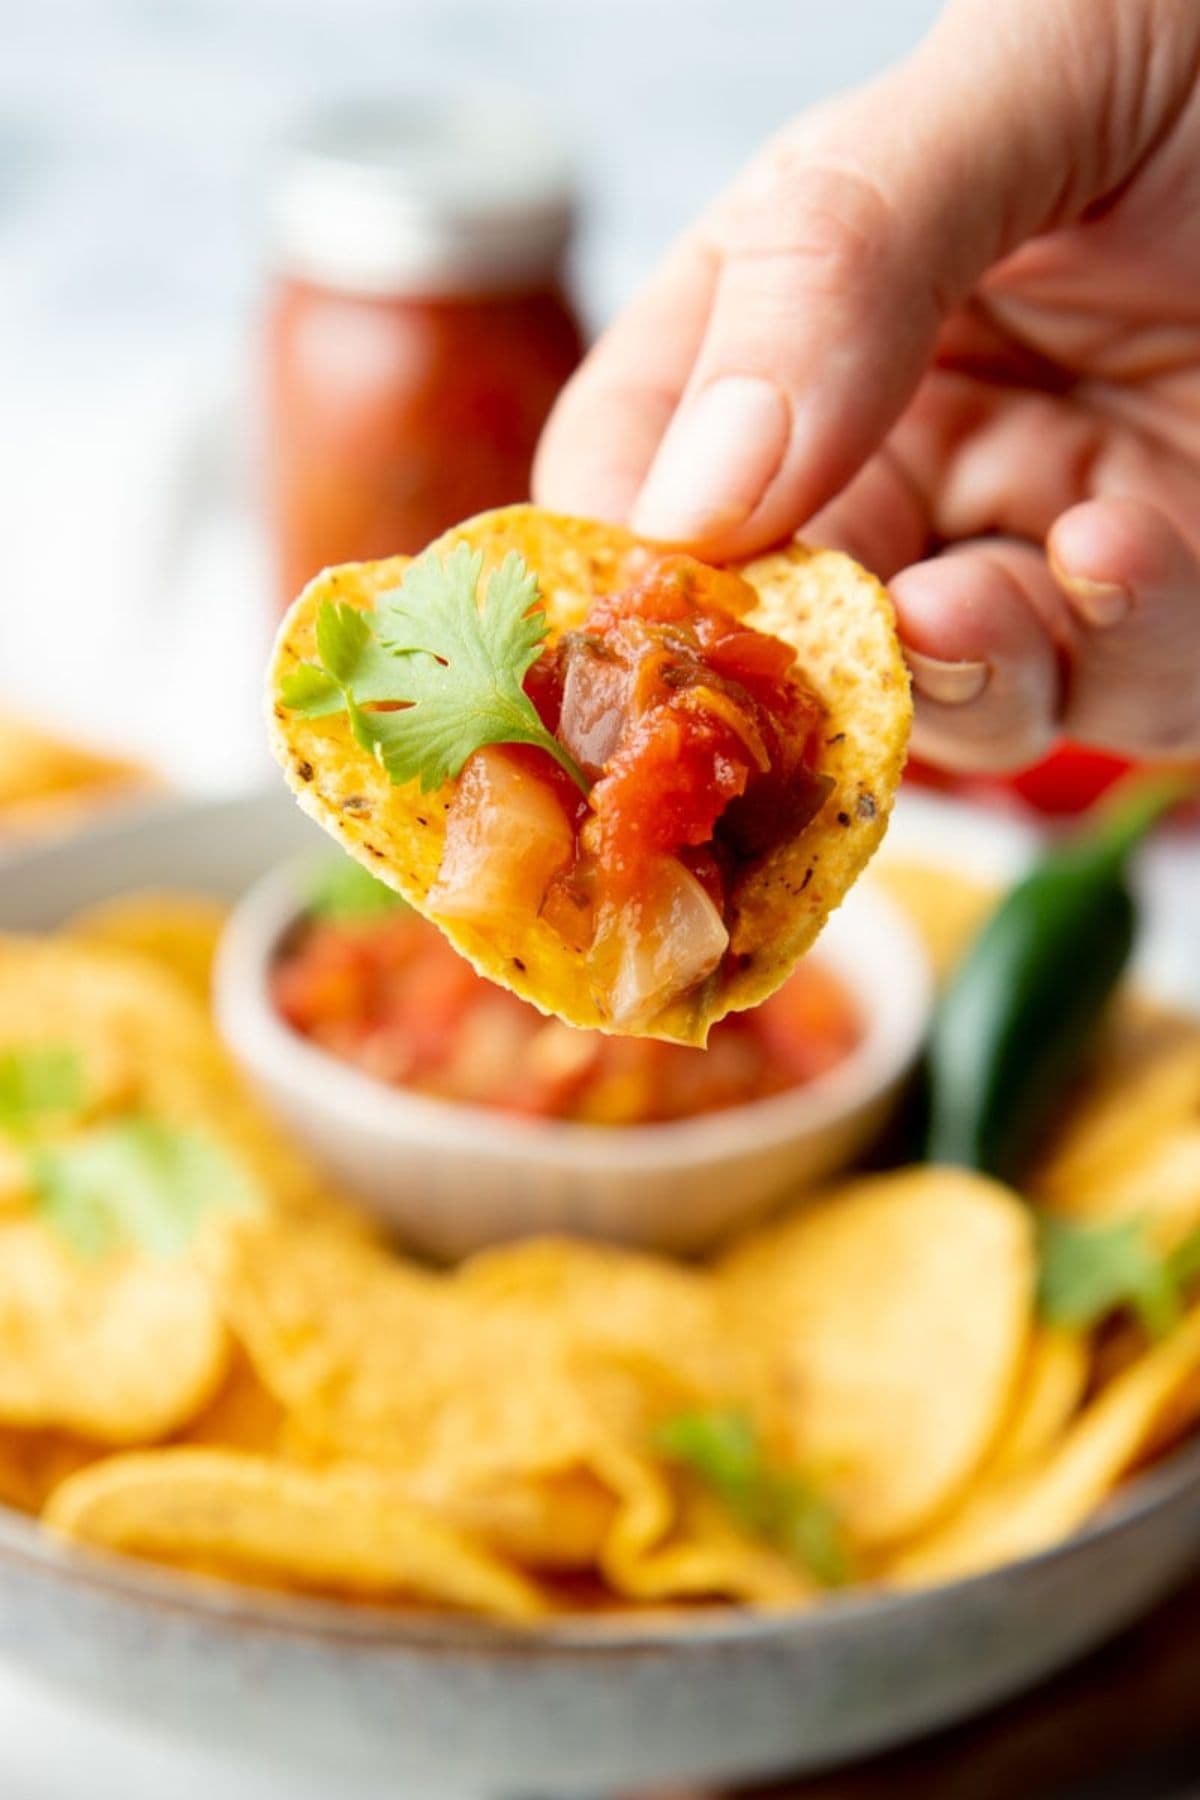
Grab some chips, because canning salsa is a breeze with this step-by-step photo tutorial and beginner-friendly, professionally tested, and absolutely delicious salsa recipe!
🔍 Recipe At-A-Glance: Canning Salsa
- ⏰ Prep Time: 50 minutes
- 🕰️ Cook Time: 40 minutes
- 🌶️ Flavor Profile: Tangy, spicy, perfect for dipping!
- 🥄 Good For: Tucking into lentil tacos, mixing into taco chili, topping steak fajita bowls, adding flavor to sheet pan quesadillas, and of course, dipping!
- 👷🏻♀️ Safety: Professionally tested recipe directly from Ball Canning that is safe for home canners.
- 🧡 Difficulty: Designed for beginning canners, so it's easy as can be!

"I have been making salsa for years. This is my new go-to recipe. It was delicious! I used 13 large sized Serrano peppers which gave it a great spicy taste. Thank you so much!
- SHIRLEY -
Summarize and Save this Recipe Using:
Jump to:
- 🔍 Recipe At-A-Glance: Canning Salsa
- 🧡 Why You'll Love This Recipe
- 🍅 The Ingredients You Need
- 🥄 Canning Tools You Need
- 🔁 Variations & Substitutions
- 🌶️ How to Can Salsa
- 🫙 Canned Salsa Storage Info
- 🙋🏻♀️ Canning Salsa FAQs
- 👩🏻🍳 My Expert Tips & Tricks
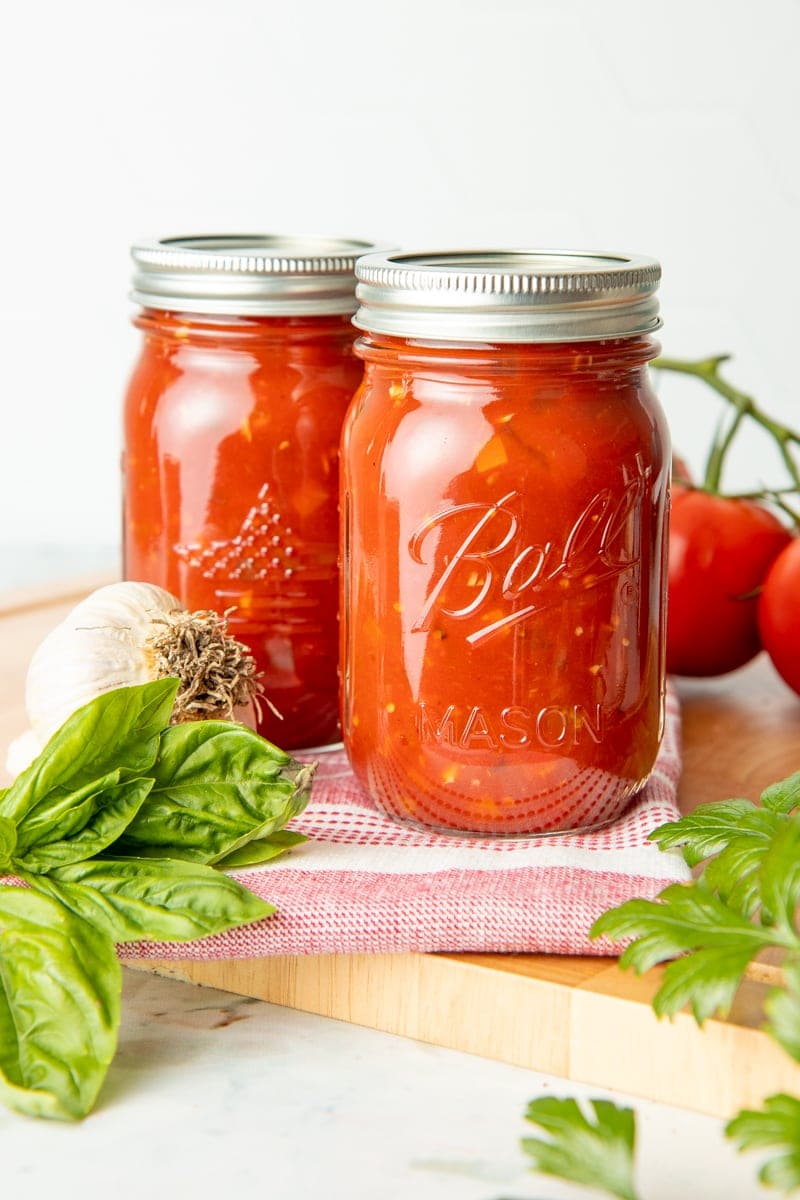
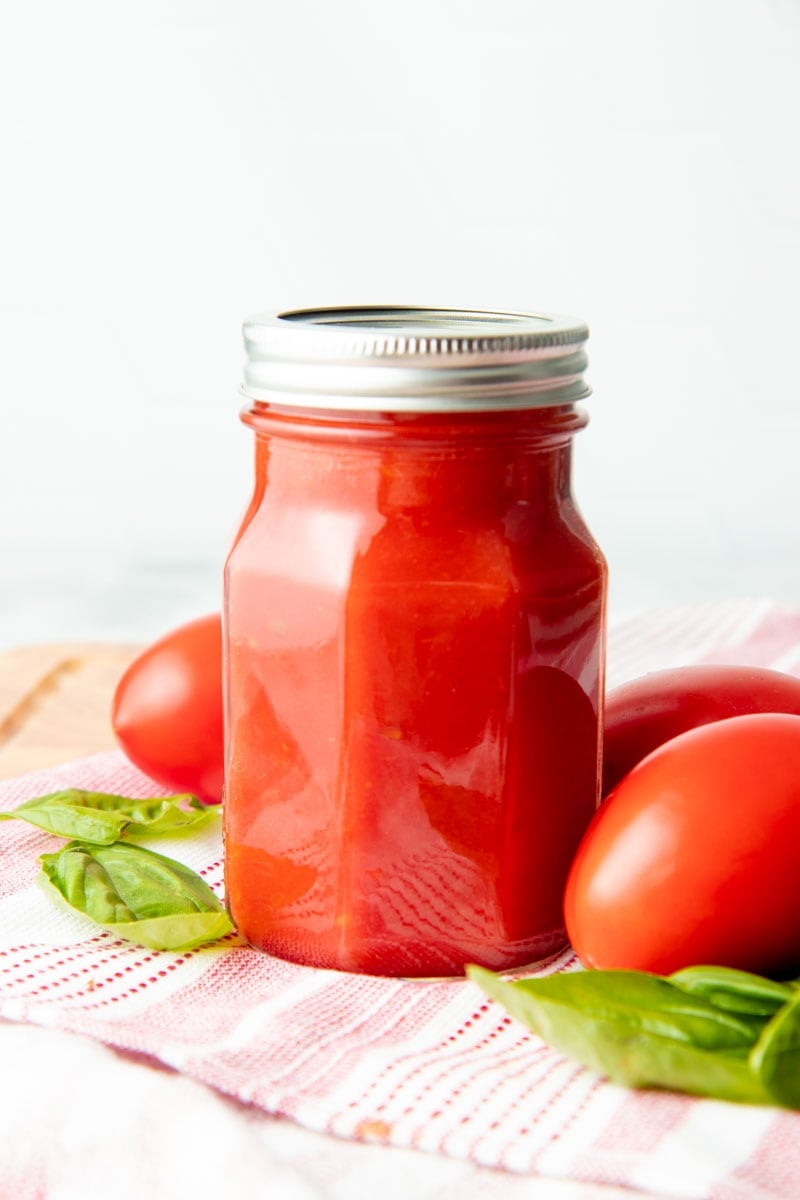
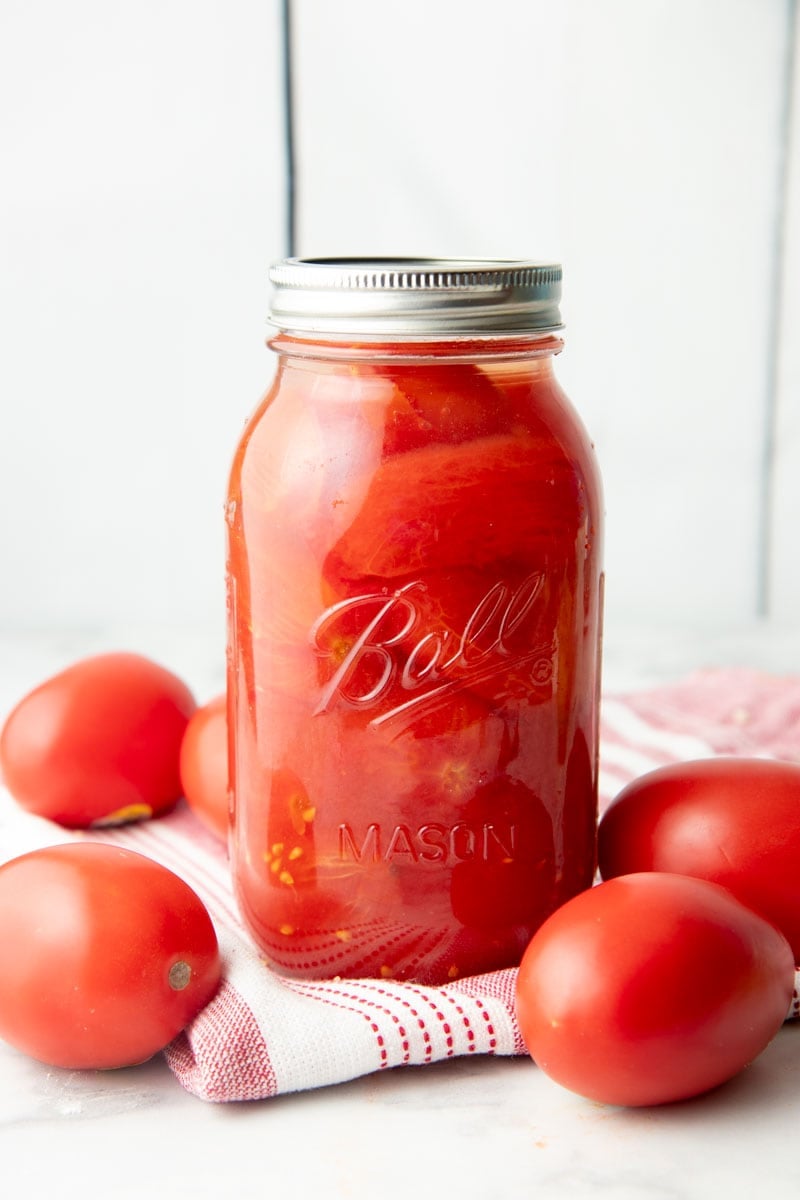
- 🥫Have even more tomatoes to can? I got you.
- 📖 Recipe
- 💬 Reviews
🧡 Why You'll Love This Recipe
Hi friend: Canning has been part of my life for as long as I can remember, and this zesty salsa recipe directly from Ball Canning has been a part of that for almost that long! I love this salsa for dipping all the things: like my simple chicken quesadillas recipe, my sheet pan steak fajitas or my kid's favorite-my taco pinwheels.
Here's why you'll love this recipe:
- Customizable heat: Hot or mild, you get to choose your own adventure!
- Tangy, spicy flavor: Great salsa flavor with a tangy zip thanks to added vinegar (that also doubles as keeping the salsa safe for home canning).
- Super easy even for beginners: I'll walk you through step-by-step how to can this salsa.
- A recipe you can trust: This professionally-tested recipe is reprinted with permission from Ball Canning so you can feel good that it's safe for your fam.
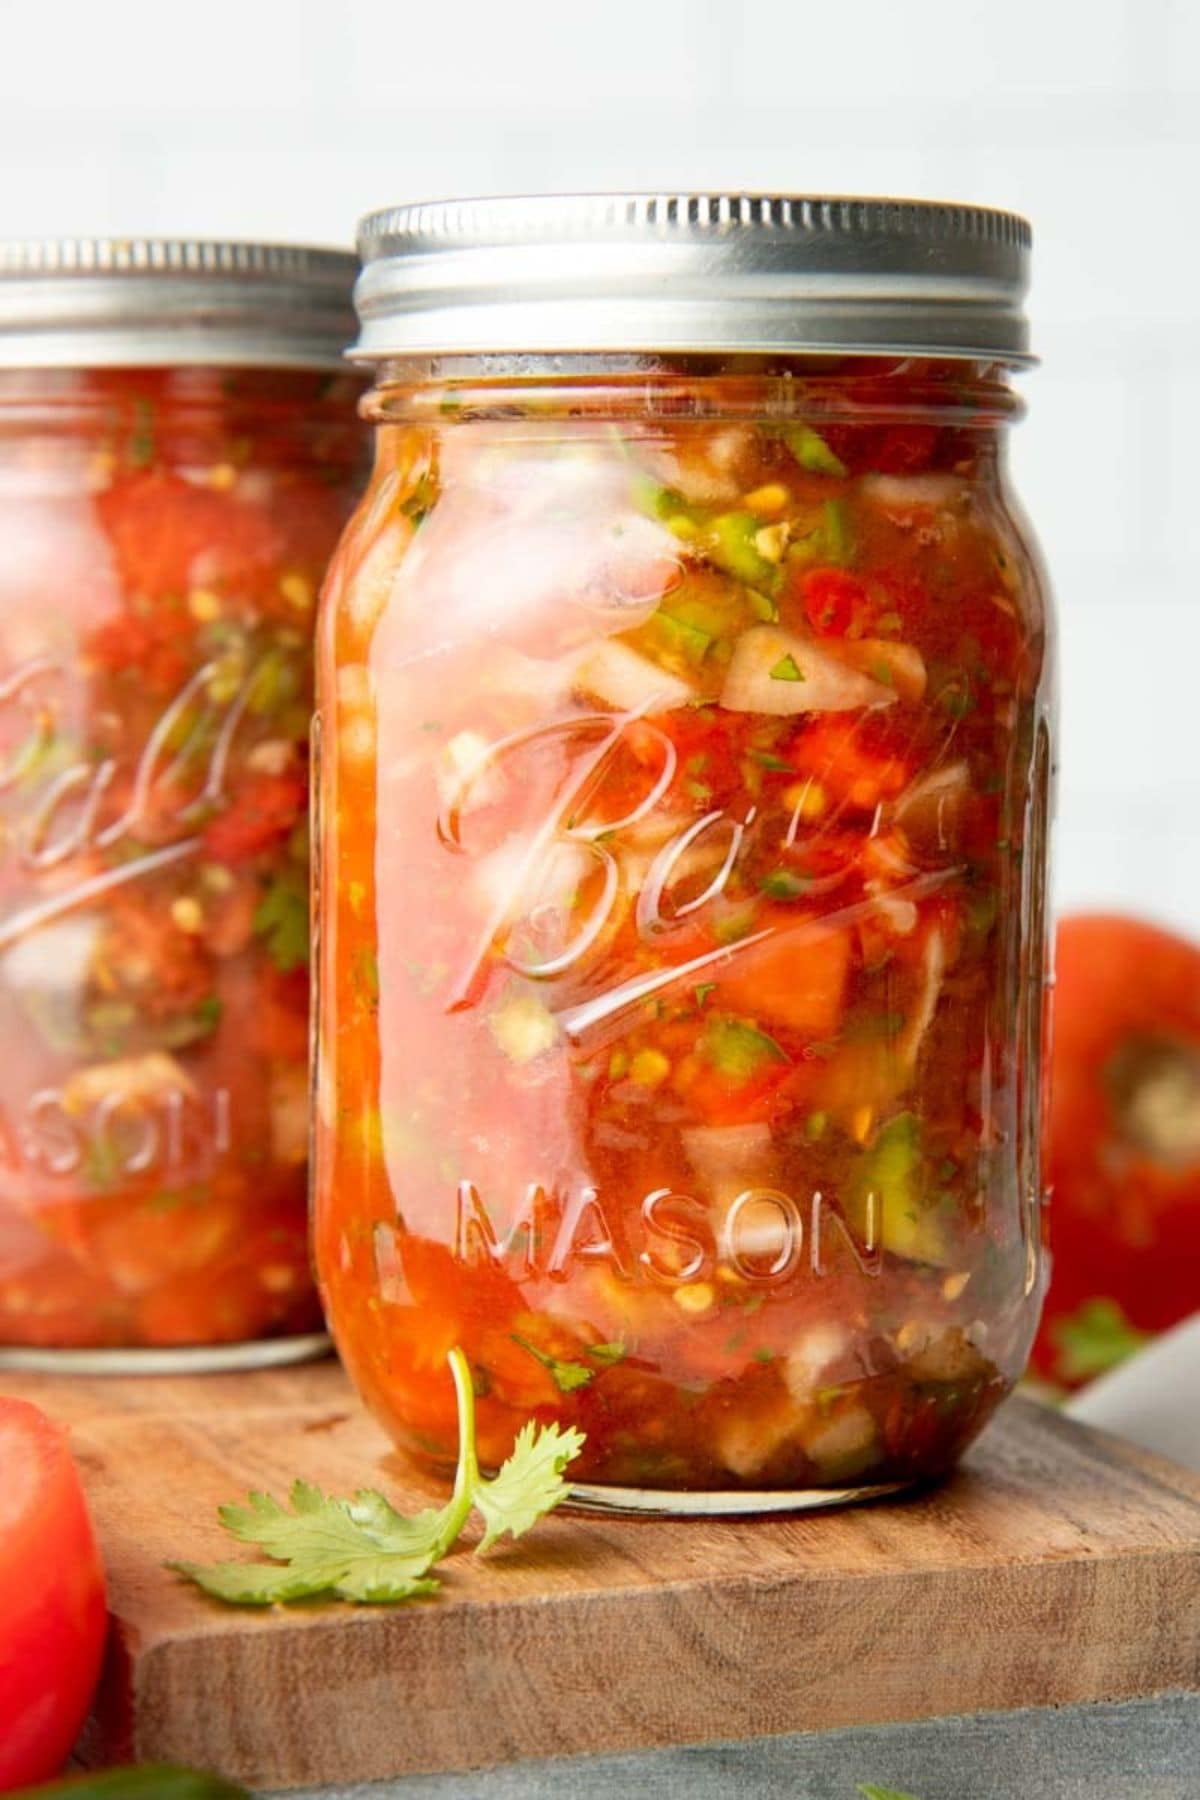
🍅 The Ingredients You Need
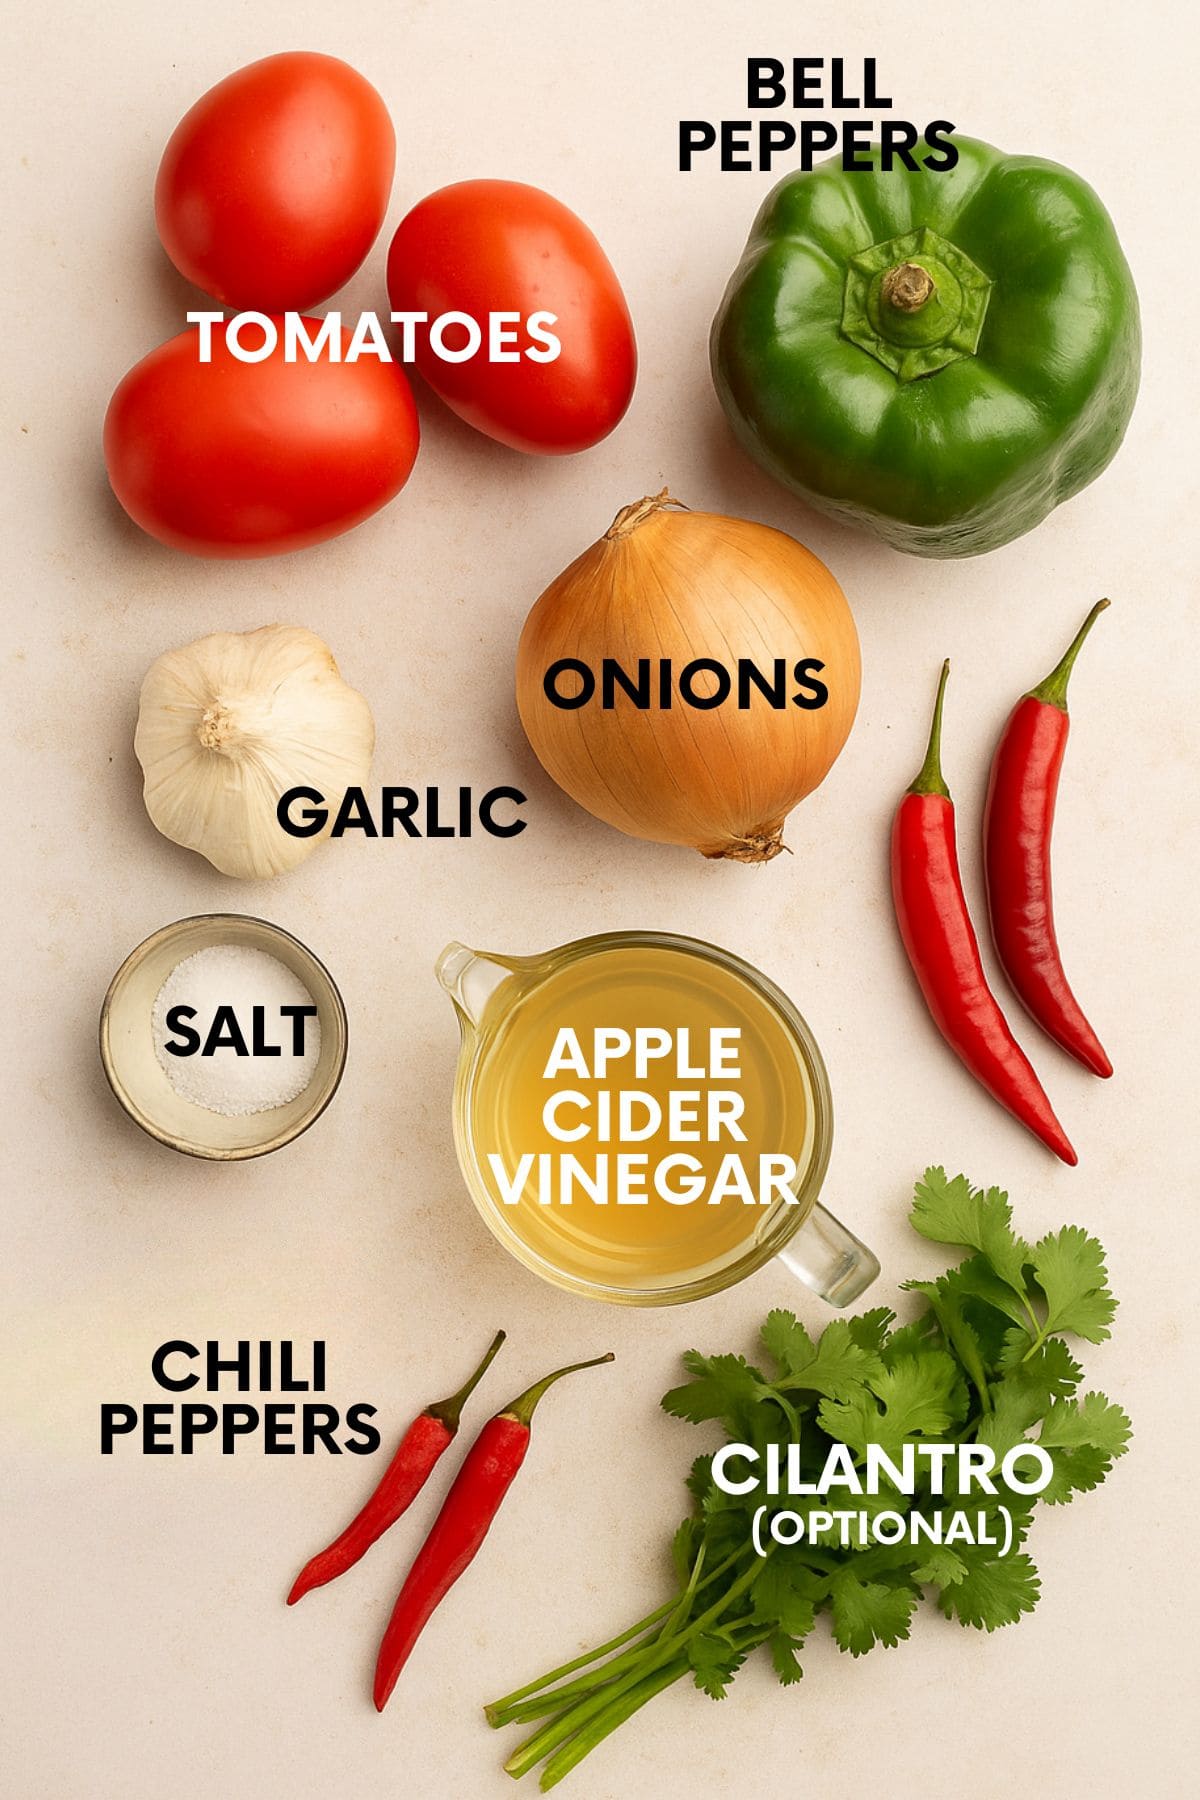
- Tomatoes: Traditionally, Roma or paste tomatoes are your best bet because of their low amount of seeds and thick flesh, but I have a different philosophy-the best tomatoes to use for canning salsa are the tomatoes you have!
- Green Bell Peppers: These beauties add flavor without any heat.
- Spicy Peppers (or not): This is where you can get creative! I like to use jalapenos for a small, but still kid-friendly kick. But you can go as spicy as you like! Want absolutely no heat? Just sub in more green bell peppers.
- Apple Cider Vinegar: The key ingredient to acidifying this recipe and making it safe for home canning. It also adds an awesome tang!
- Cilantro: If you're one of those folks who has the cilantro/soap gene, feel free to leave this out.
Make sure to check the recipe card below for the full ingredients list, along with quantities and my expert tips and tricks.
🥄 Canning Tools You Need
If this is your first time waterbath canning, you'll also need a few specialty tools. I highly recommend reading through my Canning 101 article to get a full overview, but for now, here are the tools you'll need for canning this specific salsa recipe:
- Pint canning jars, lids, and rings
- Large canner (or large stock pot with lid)
- Canning trivet or rack that can fit in the canner/stock pot
- Jar grabber
- Wide mouth funnel
- Headspace checker or clear plastic ruler
- Or buy almost all of this stuff in a canning starter kit!
🔁 Variations & Substitutions
- Change the spice level: you can safely change the ratio of hot to sweet peppers as long as you keep the same total volume of peppers
- Swap (some) of the vinegar: you can safely swap out half of the vinegar for an equal amount of bottled (not fresh squeezed!) lemon or lime juice
- Add dried herbs and spices: you can safely add dried herbs and spices (I like cumin!) to this recipe, you cannot add more fresh herbs safely
- Make a smoother or blended salsa: home canned salsa recipes will be on the chunkier side because the density of the food is important when it comes to canning safety. So while I can't recommend you blend this salsa before canning, you can blend this salsa right before eating-most immersion blenders fit perfectly in wide-mouth canning jars!
🌶️ How to Can Salsa
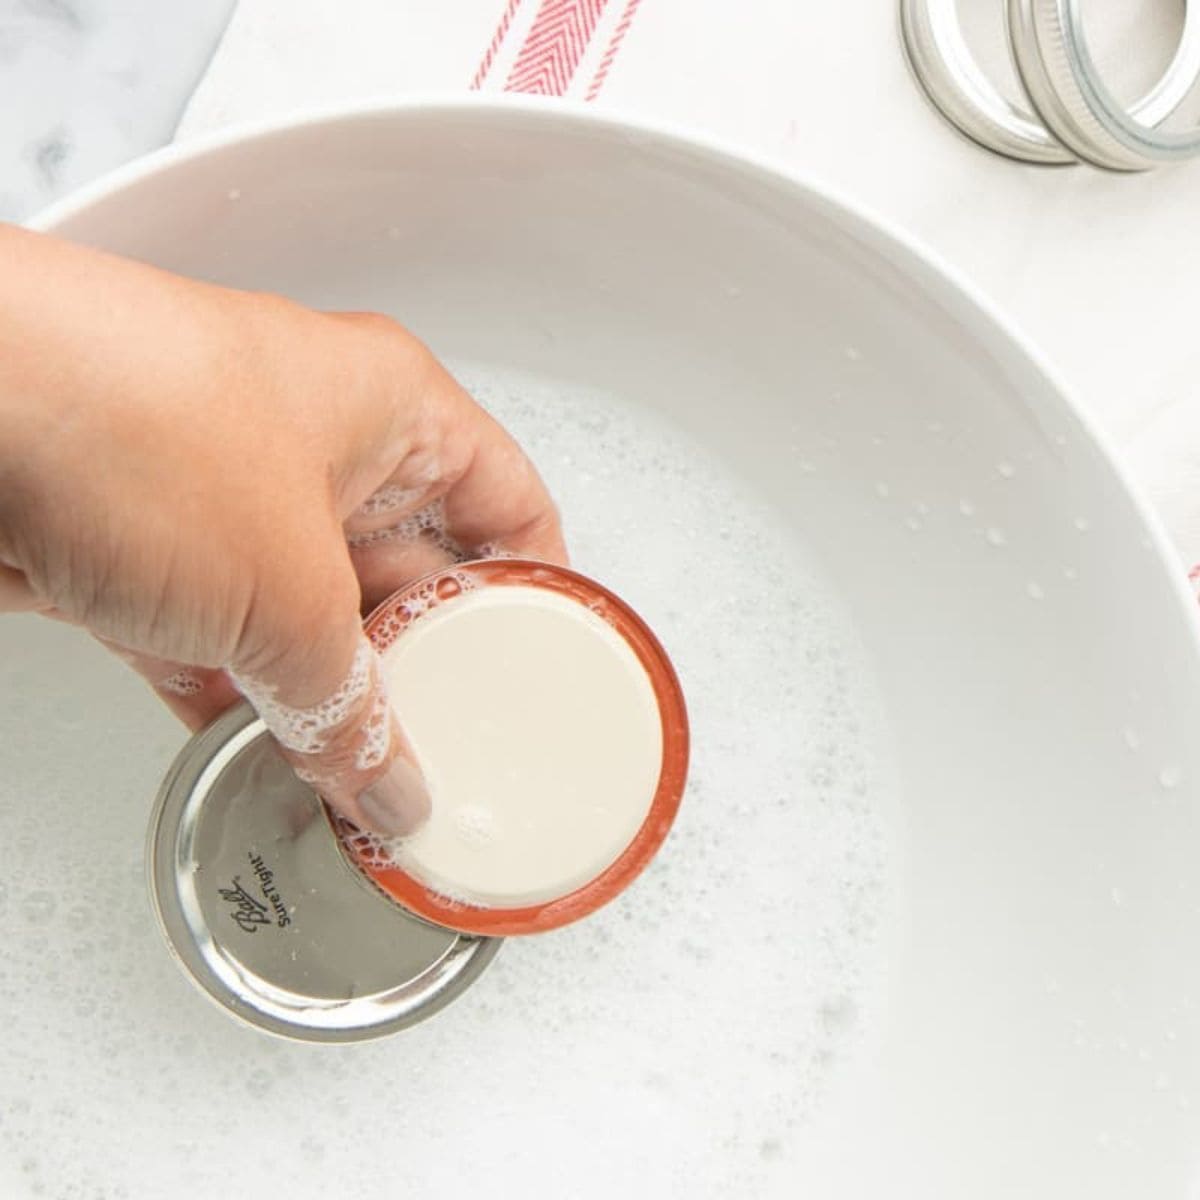
Step 1: Prep your jars by washing them and then placing them in water in your canner pot and turning it on. Wash your lids and rings in warm, soapy water. Learn more about this process in canning 101.
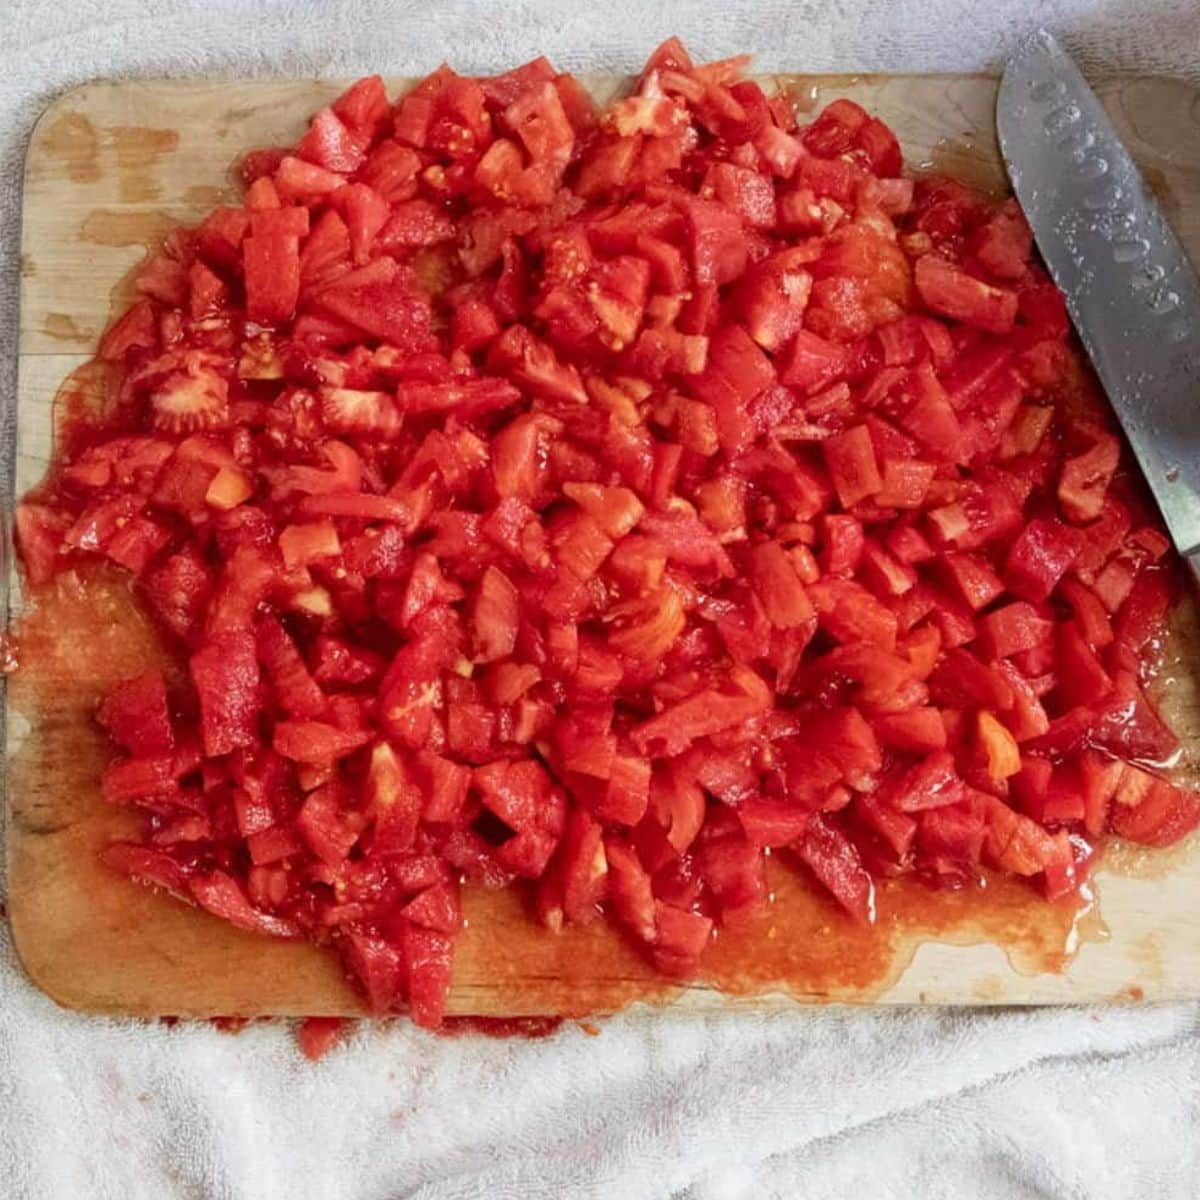
Step 2: Blanch and peel your tomatoes. We cover how to do this extensively in our post on canning diced tomatoes. Dice the peeled tomatoes, peppers, onions, and garlic.
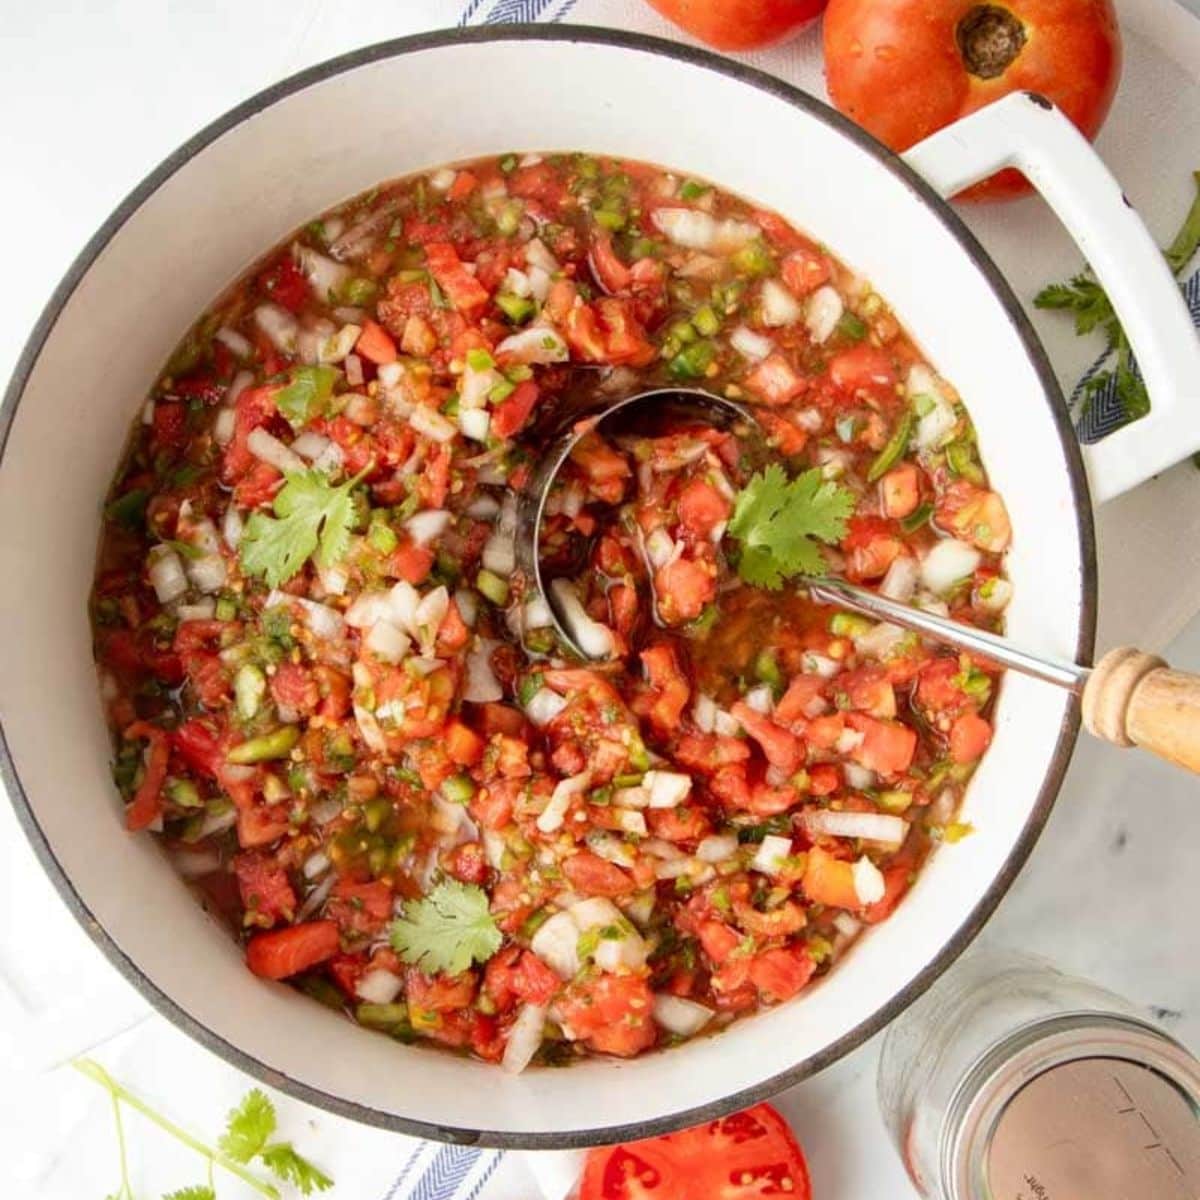
Step 3: Combine tomatoes, peppers, onions, garlic, vinegar, cilantro, and salt in a soup pot or Dutch oven. Bring to a boil, reduce heat, and cook, stirring frequently for about 10 minutes, or until thickened slightly.
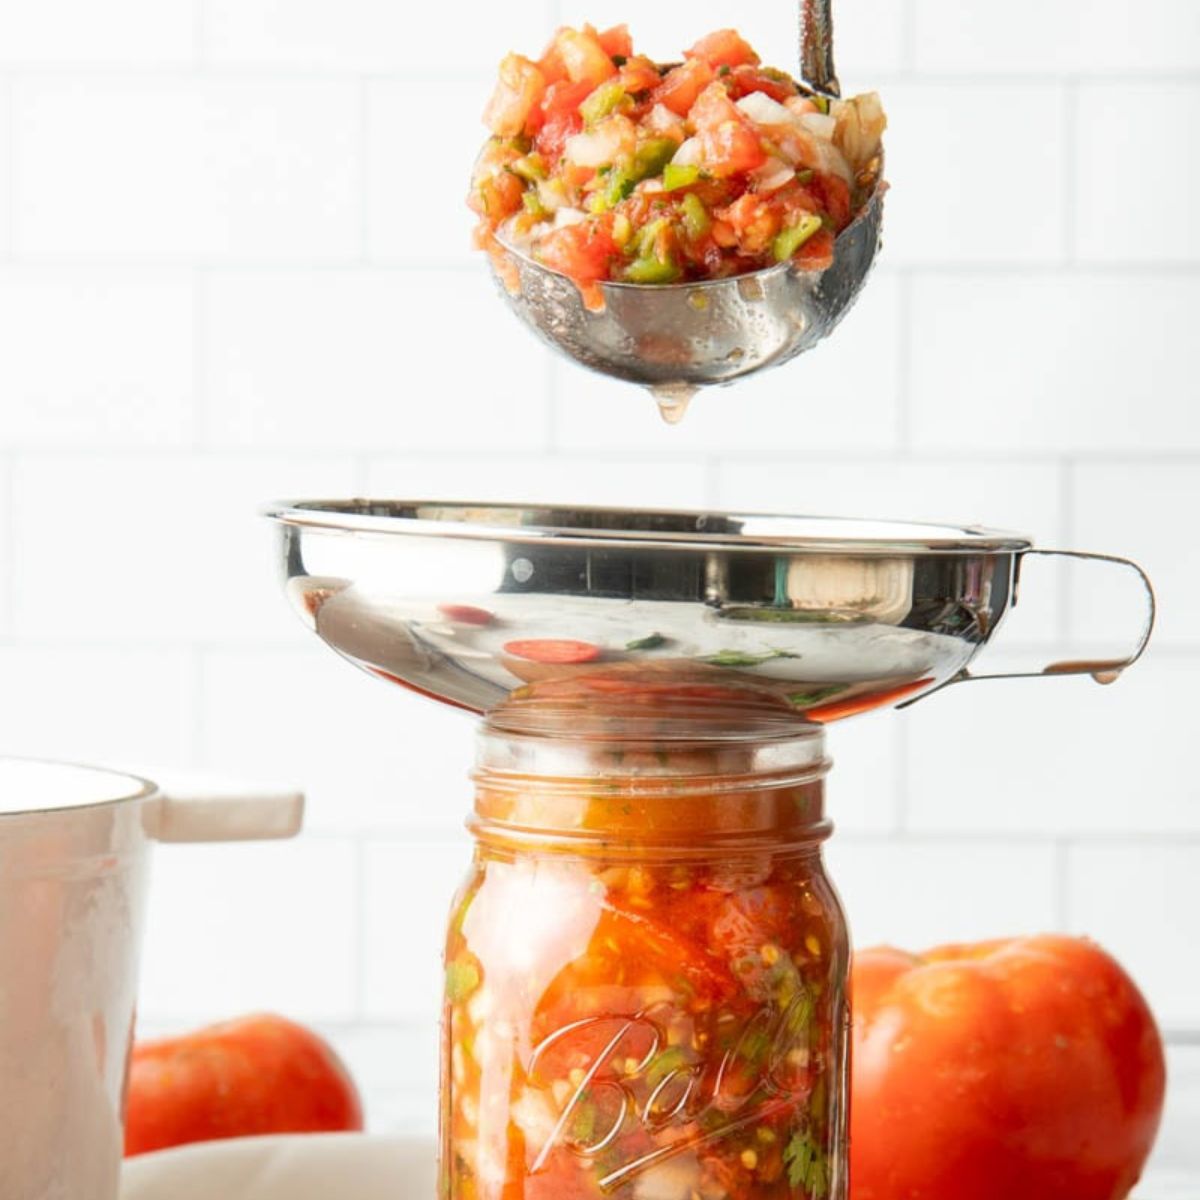
Step 4: Ladle into prepared jars, remove air bubbles, wipe the rims of the jars, and then fit with lids and rings.
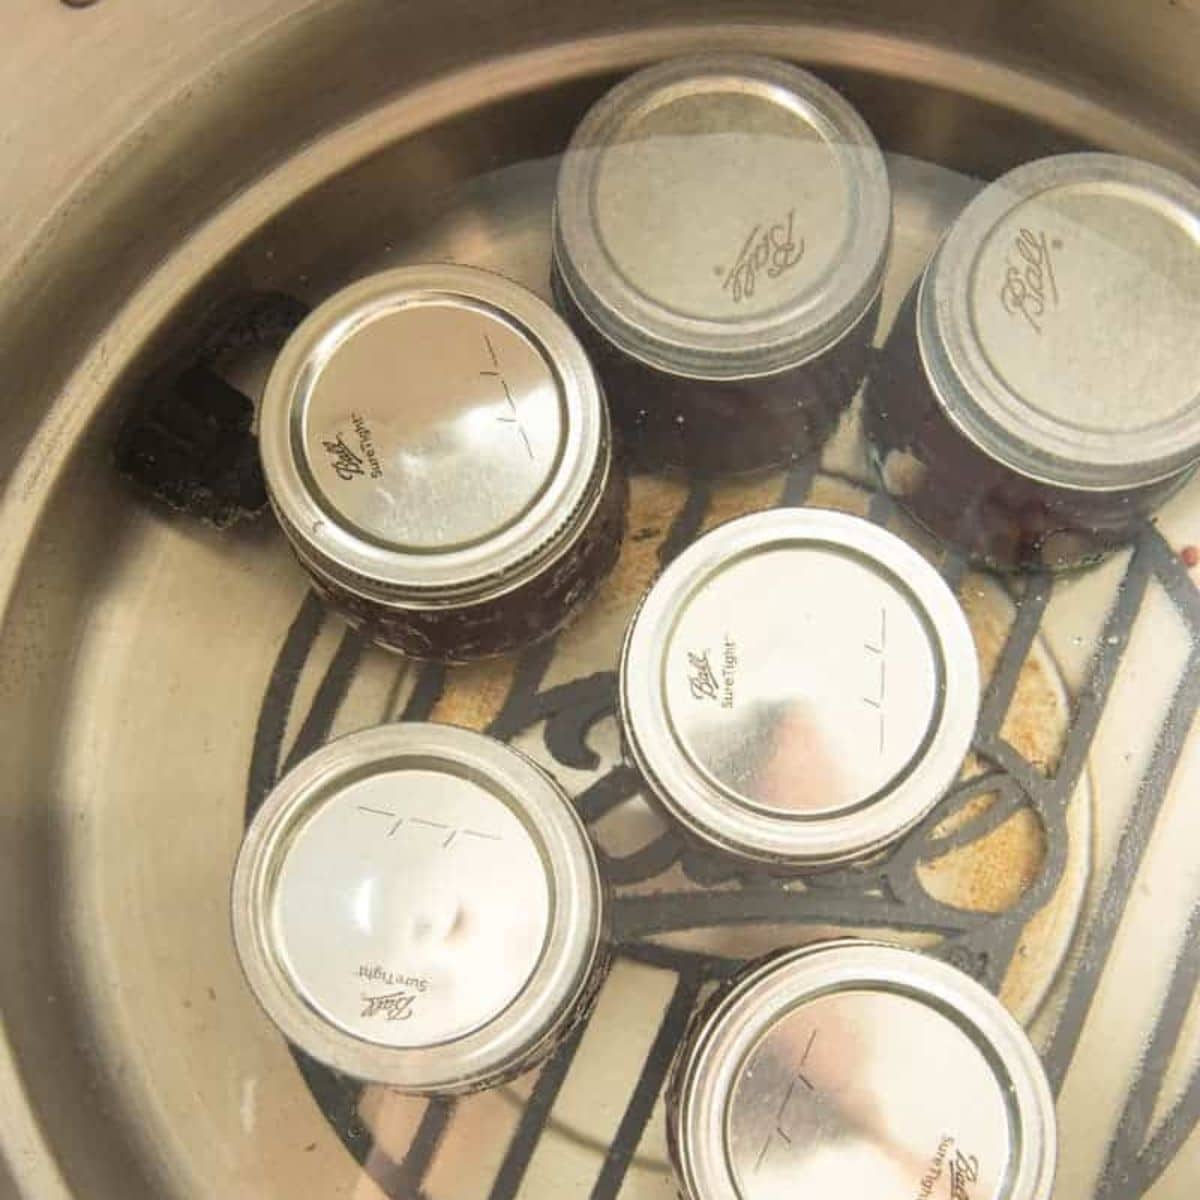
Step 5: Process in a boiling water bath canner for 15 minutes (adjusting time for altitude). Turn off the canner, remove the lid, and let the jars sit in the canner for 5 minutes.
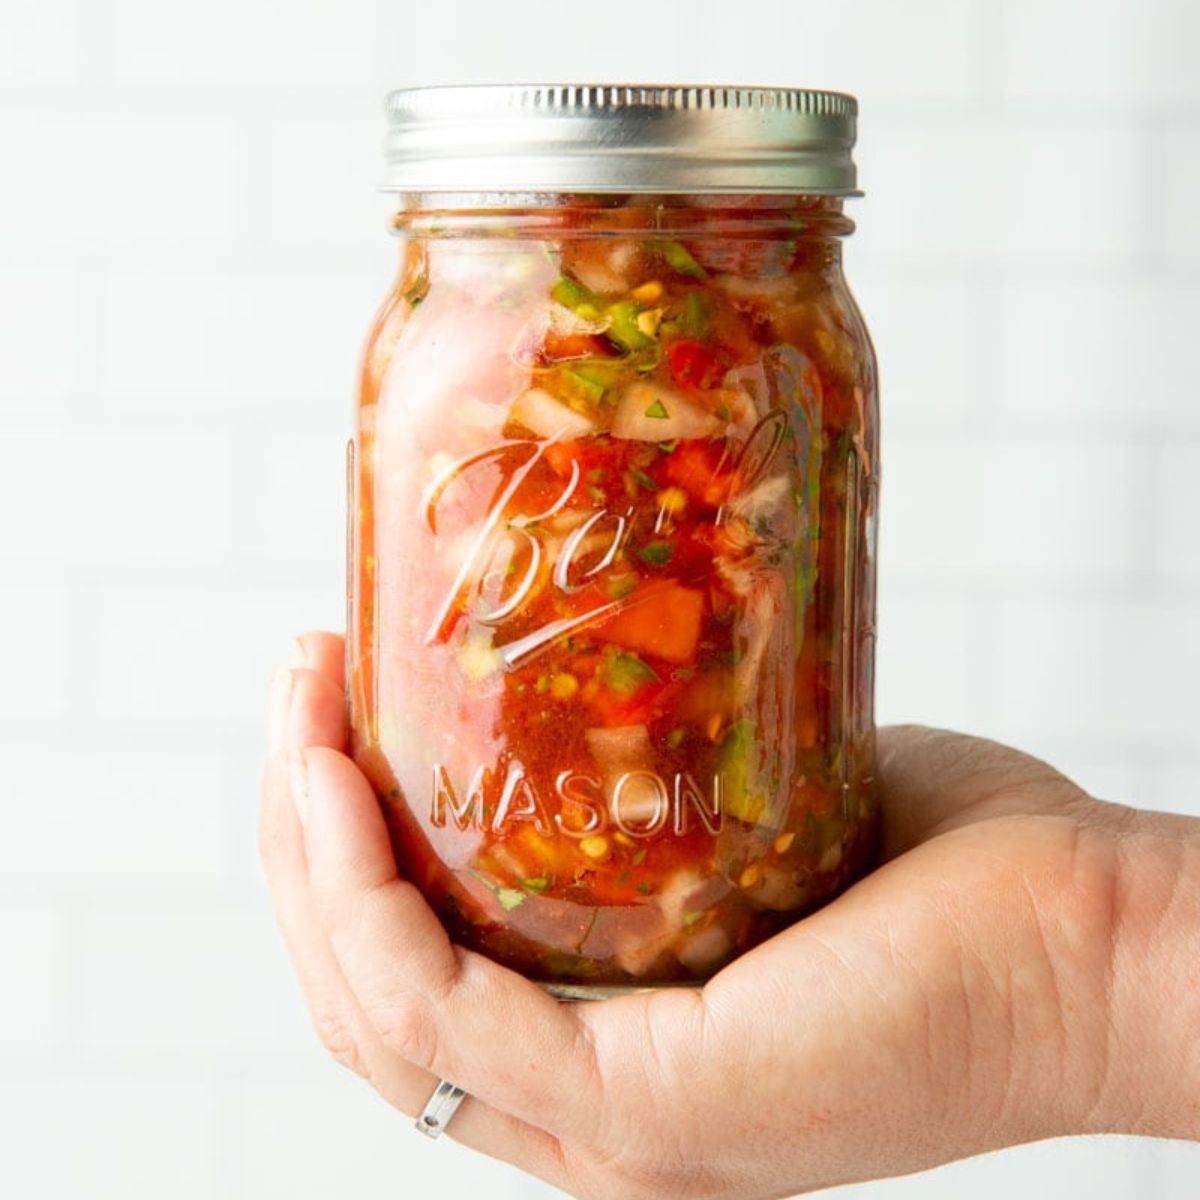
Step 6: Transfer the jars to a spot to cool and seal. Check seals after 12-24 hours.
Want to save this recipe?
🫙 Canned Salsa Storage Info
- Check the seal: You can check if you got a good seal by pressing in the middle of your canning lid after the salsa jars have completely cooled. If it doesn't flex, your jar is shelf-stable and ready to store.
- It's preserved indefinitely: If you got a good seal, your salsa will last with peak quality in a cool, dark spot for at least 18 months. After that, you might start to see some degradation of color, flavor, or texture, but as long as the lid is still sealed properly, it is perfectly safe to eat indefinitely.
🙋🏻♀️ Canning Salsa FAQs
Cooking tomato salsa before canning helps improve the quality of the final product in a few ways. It melds the flavors of tomatoes, peppers, onions, garlic, and other aromatics together to create a more refined flavor. It helps to reduce and thicken the salsa, making for a more intensified flavor and less liquidy texture. It helps break down the structure of the tomatoes so you get less separation between the juice and solids during canning.
When canning tomatoes, you must add acidity to make it safe for home waterbath canning. This recipe used apple cider vinegar to increase acidity instead of lemon juice.s
👩🏻🍳 My Expert Tips & Tricks
- Want a smoother texture? Blend this recipe just before using if you prefer a smoother texture. Safe canning requires the proper food density, and pre-blended salsa can be too dense to process safely at home. Leave it chunky to keep your family safe.
- Add the acidity: Tomatoes need to have the correct amount of acid added to be safe for water bath canning, so make sure to follow a tested recipe (like this one!) whenever canning salsa.
- To peel or not to peel? You don't have to peel tomatoes before making this salsa, but I do recommend it. Depending on the tomato variety, sometimes the skins can become very tough during the canning process. Our method for peeling tomatoes outlined in our canning diced tomatoes post makes quick work of it!
- Freeze it: You can freeze this recipe instead of canning it, although you will see slight reduction in the quality of texture. Make sure to use canning jars marked safe for freezing and only fill up to the line identified on the jar.
🥫Have even more tomatoes to can? I got you.

If you tried this Canning Salsa recipe or any other recipe on my blog, please leave a 🌟 star rating and let me know how it went in the comments!
📖 Recipe
Homemade Canning Salsa Recipe & Tutorial
Ingredients
- 10 cups chopped cored peeled tomatoes about 25 medium
- 5 cups chopped seeded green bell peppers about 4 large
- 5 cups chopped onions about 6 to 8 medium
- 2 ½ cups chopped seeded chili peppers such as hot banana, Hungarian wax, serrano or jalapeño about 13 medium
- 1 ¼ cups apple cider vinegar
- 3 cloves garlic finely chopped
- 2 tablespoons finely chopped cilantro
- 1 tablespoon salt
- 1 teaspoon hot pepper sauce optional
Instructions
- Prepare boiling water canner. Heat jars in simmering water until ready for use. Do not boil. Wash lids in warm soapy water and set aside with bands
- Combine tomatoes, green peppers, onions, chili peppers, vinegar, garlic, cilantro, salt and hot pepper sauce, if using, in a large stainless steel saucepan. Bring to a boil over medium-high heat, stirring constantly. Reduce heat and boil gently, stirring frequently, until slightly thickened, about 10 minutes.
- Ladle hot salsa into hot jars, leaving ½ inch headspace. Remove air bubbles. Wipe jar rim. Center lid on jar and apply band, adjust to fingertip tight. Place jar in boiling water canner. Repeat until all jars are filled.
- Process both pint and half pint jars for 15 minutes, adjusting for altitude. Turn off heat, remove lid, let jars stand 5 minutes. Remove jars and cool 12-24 hours. Check lids for seal, they should not flex when center is pressed.
Video
Notes
- Change the spice level: you can safely change the ratio of hot to sweet peppers as long as you keep the same total volume of peppers
- Swap (some) of the vinegar: you can safely swap out half of the vinegar for an equal amount of bottled (not fresh squeezed!) lemon or lime juice
- Add dried herbs and spices: you can safely add dried herbs and spices (I like cumin!) to this recipe, you cannot add more fresh herbs safely
- Make a smoother or blended salsa: home canned salsa recipes will be on the chunkier side because the density of the food is important when it comes to canning safety. So while I can't recommend you blend this salsa before canning, you can blend this salsa right before eating-most immersion blenders fit perfectly in wide-mouth canning jars!
- More than 6? Depending on the juiciest of your tomatoes, you may end up with more than 6 pint jars. No worries! Follow the ratios in the recipe, and it'll be completely safe-even if your batch made 8-9 jars.
Many links on this site are affiliate links. As an Amazon Associate, we earn from your qualifying purchases at no extra cost to you.