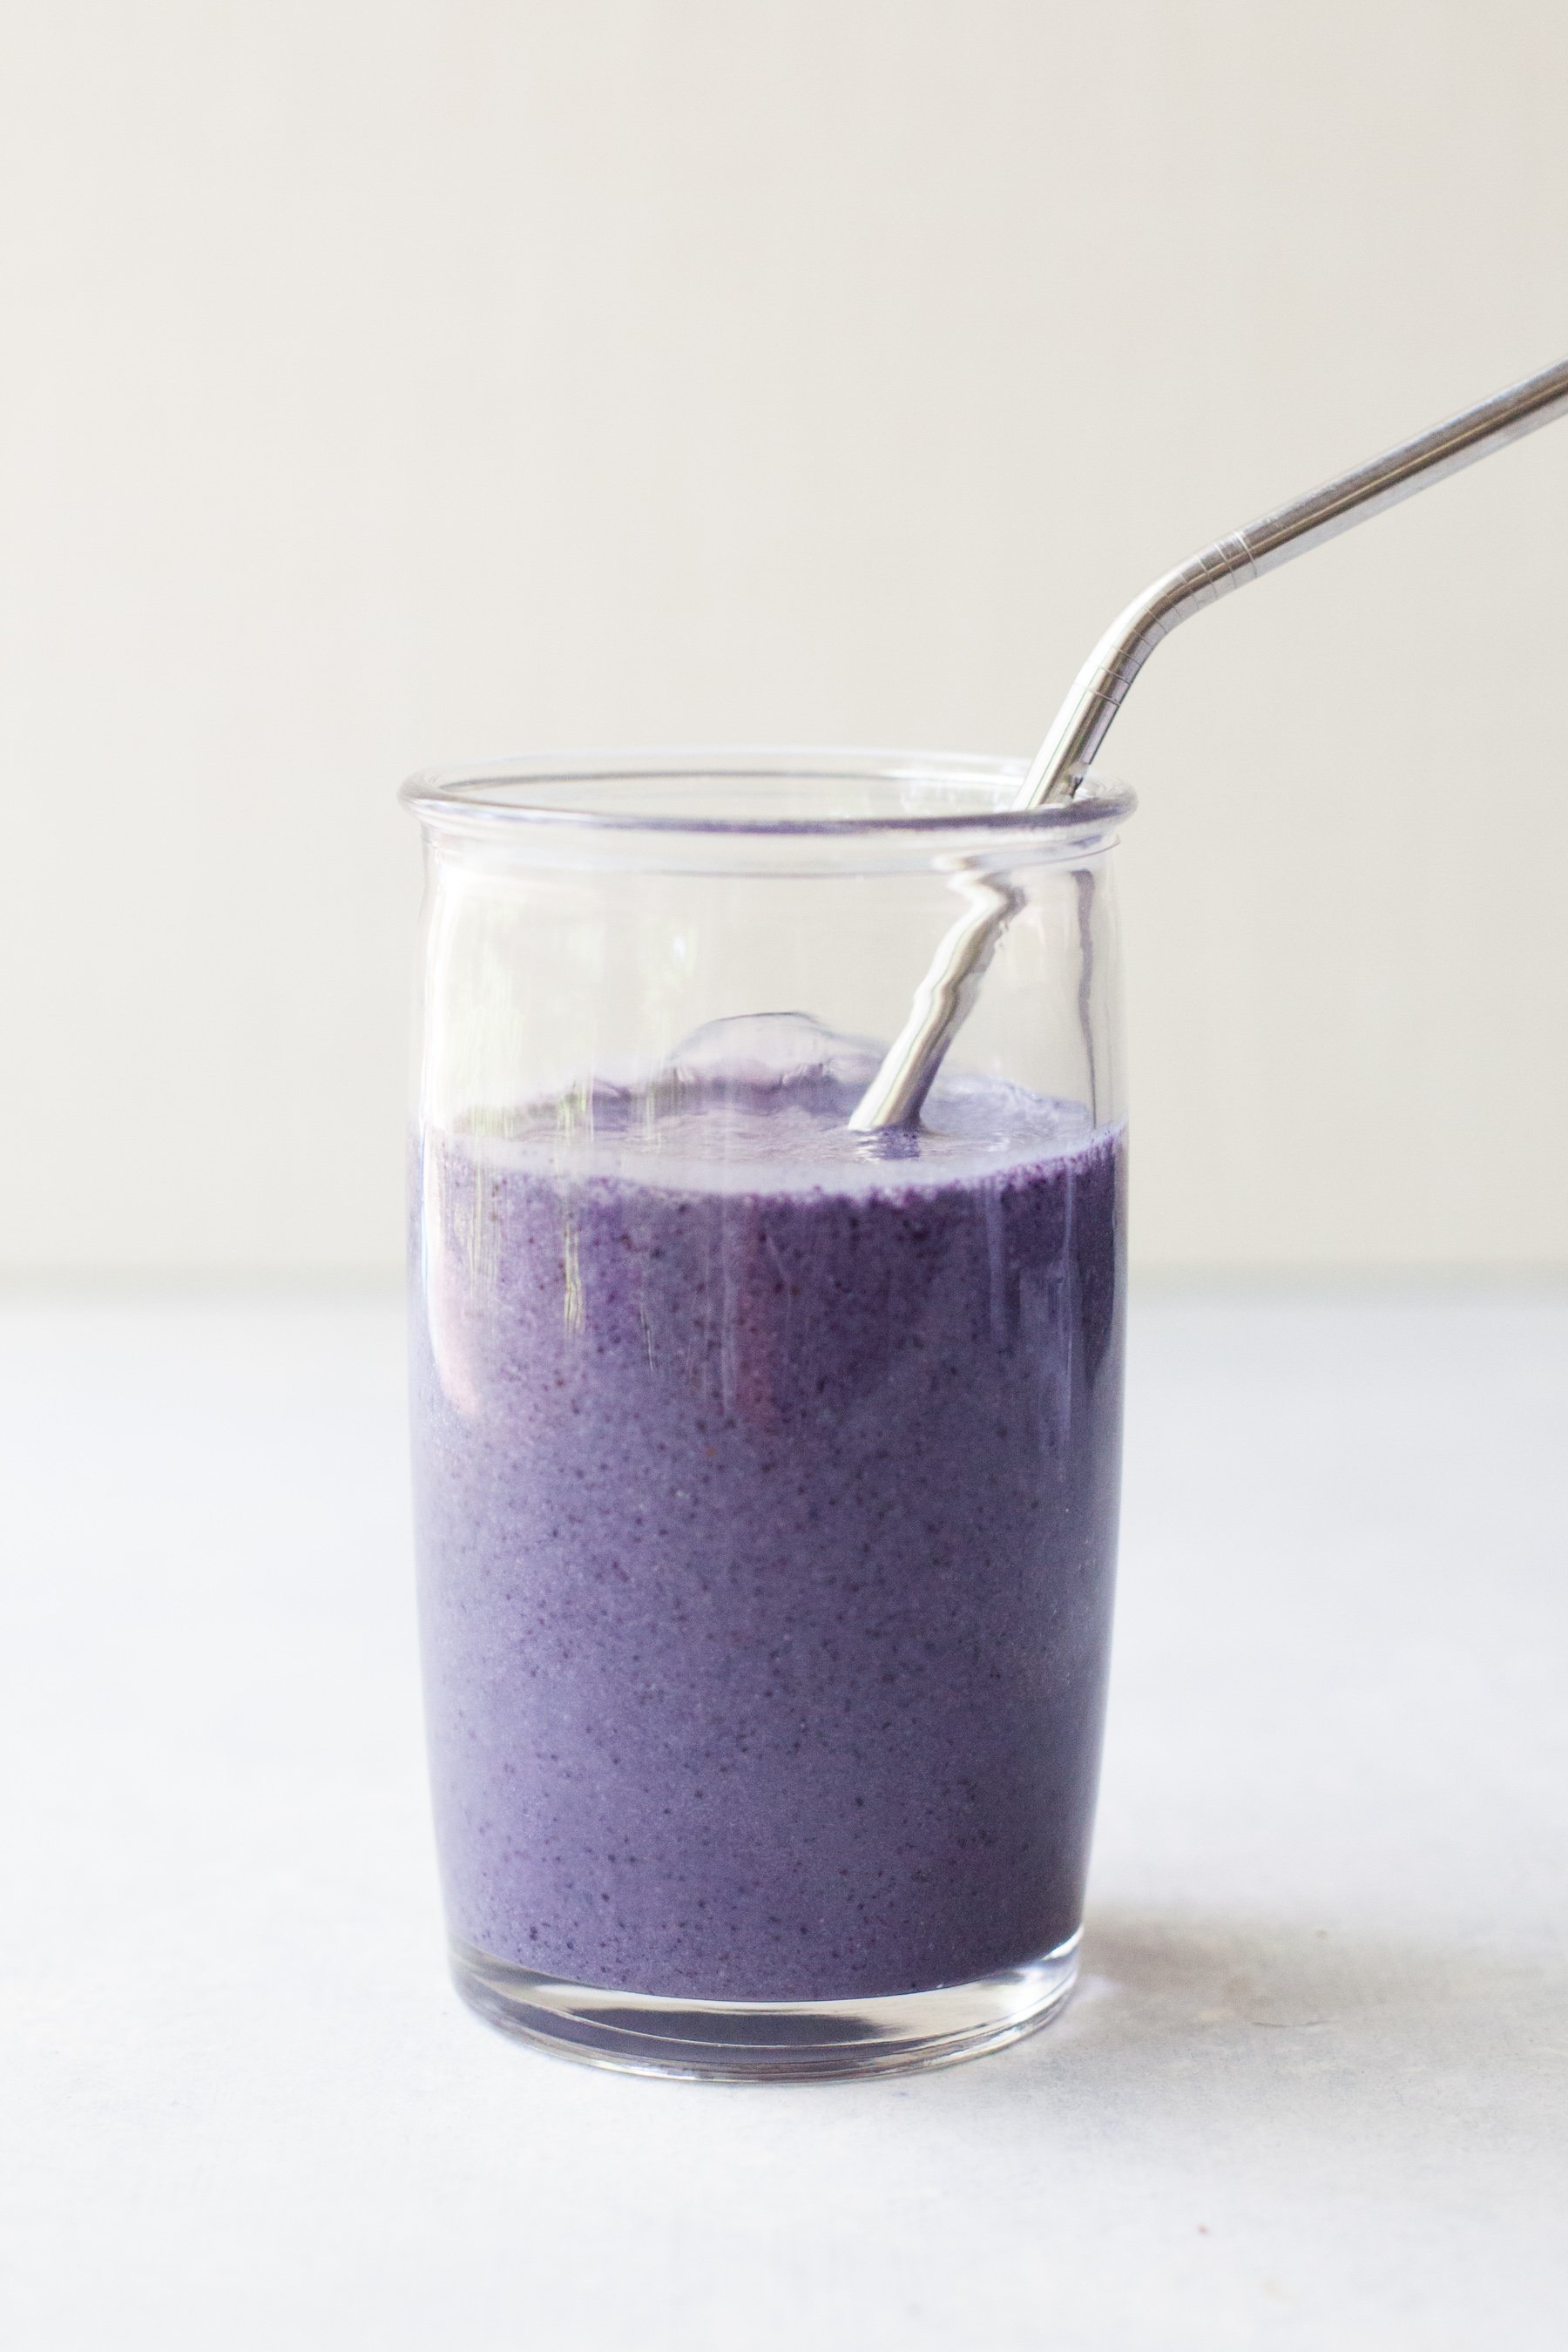

One of the most frequent questions I get from folks starting off with meal prep is can you meal prep smoothies? And to that I say, HECK YES YOU CAN!
Smoothies rock, but they aren’t always fast! To save you some hassle, I have three different ways to dramatically (and in one case, completely) reduce your smoothie prep time. These methods let you meal prep smoothies in their entirety, but if you’re interested in just prepping part, you can also try my Smoothie Booster Packs, which are a lot more flexible—you can add them to almost any smoothie to boost the nutrition!
The Ultimate Guide to Healthy School Lunches
We’ve packed (pun intended!) all our knowledge from years of making school lunches into one digital master guide!
The three different methods below all have different tricks, tips, and ingredients you can and can’t use—so read through and pick out the one that works the best for your lifestyle and your favorite smoothie recipe. Don’t have a favorite smoothie recipe yet? My list of eight staple smoothies is a great place to start! Let’s meal prep…
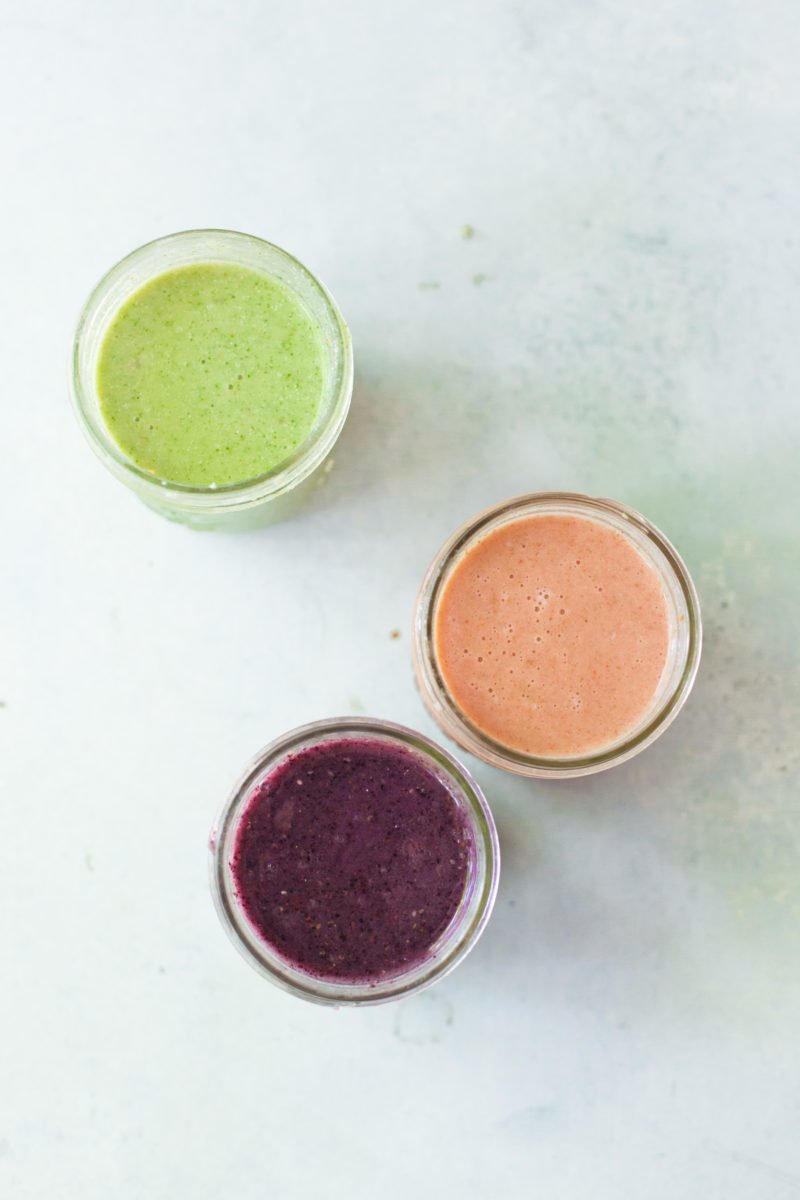
#1: In Jars
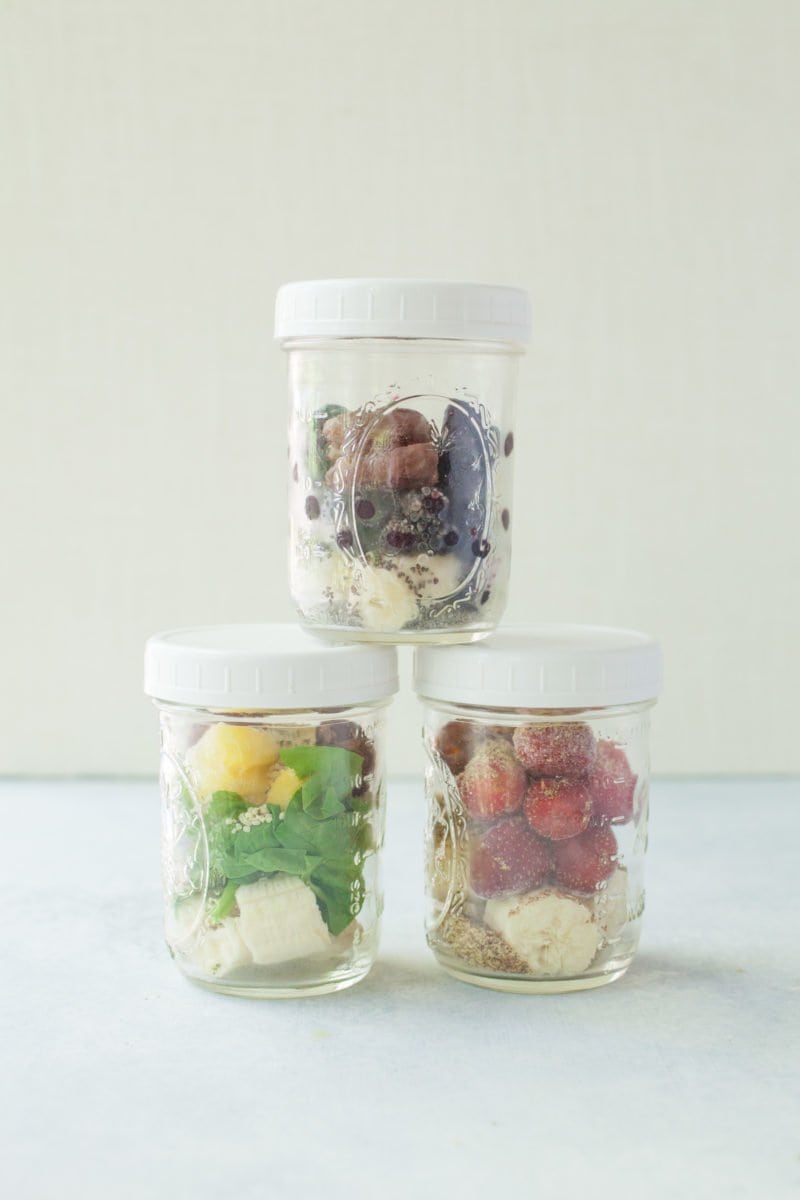
This is my favorite way to meal prep smoothies because it has no waste, it’s super fast to do, and there are really no limitations to what ingredients you can use. These smoothie jars also last in the freezer for three months (or honestly, even more, but I’ve never had them last that long because we always use them up). Here’s how you make them:
- Step 1: Place your fruit, dry ingredients, powders, and greens into freezer-safe glass jars (I use wide-mouth pint Mason jars with plastic caps). Go ahead and fill it up as much as you can.
- Step 2: Freeze for up to three months.
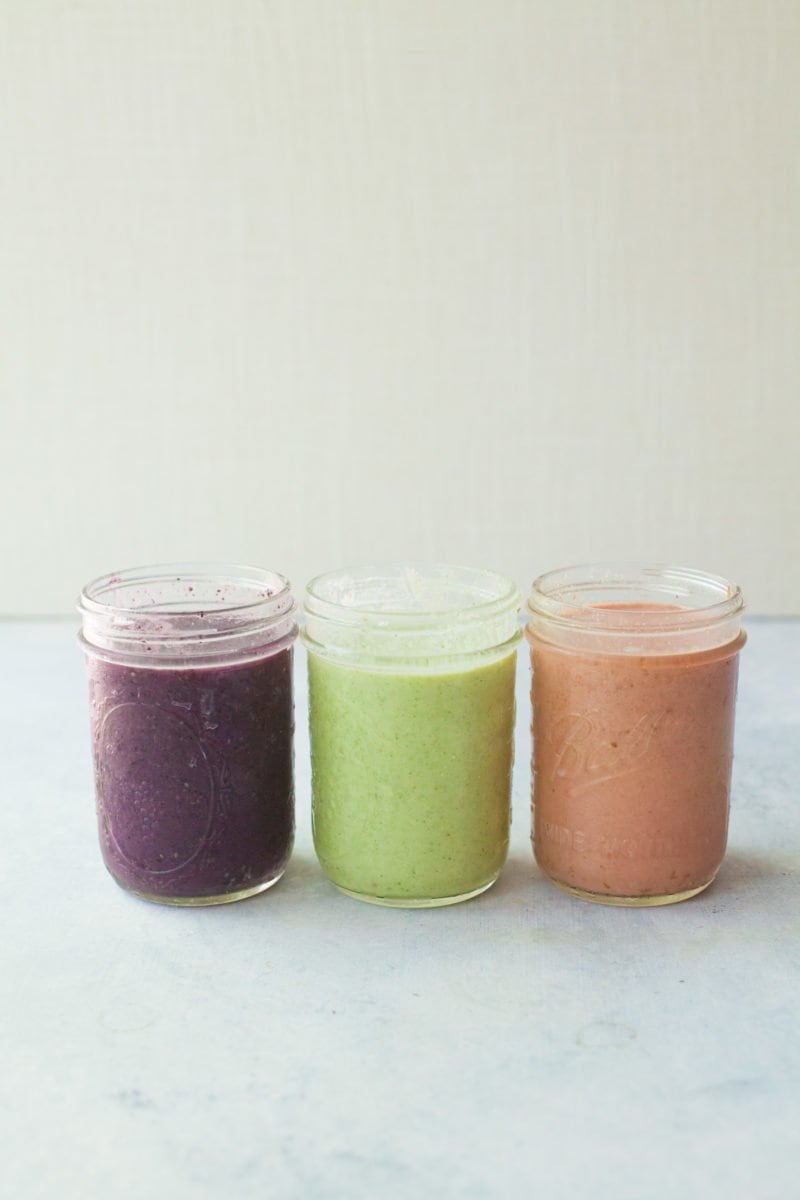
- Step 3: To make your smoothie, remove the lid, fill up the jar with your liquid of choice (nut milk, juice, water, etc.). Pour it right over the fruit and other ingredients. Fill the jar to the top.
- Step 4: Blend the smoothie either by using an immersion blender right in the jar itself (make sure you use a really good quality one—I like my Cuisinart). Or, dump the whole thing into a big “regular” blender and blend away, then pour back into the jar for enjoying.
I tend to prefer the dump-into-the-big-blender method just because it’s a touch less messy (the immersion blender tends to splash a bit), but I know lots of folks only have an immersion blender because of kitchen-space limitations—and it’ll definitely work! If you really want to avoid splashing, you can also dump the jar mixture into the tall cup that comes with most immersion blenders, and blend that way. But I like to dirty as few of dishes as I can. I like having my freezing, blending, and drinking container all be the same jar!
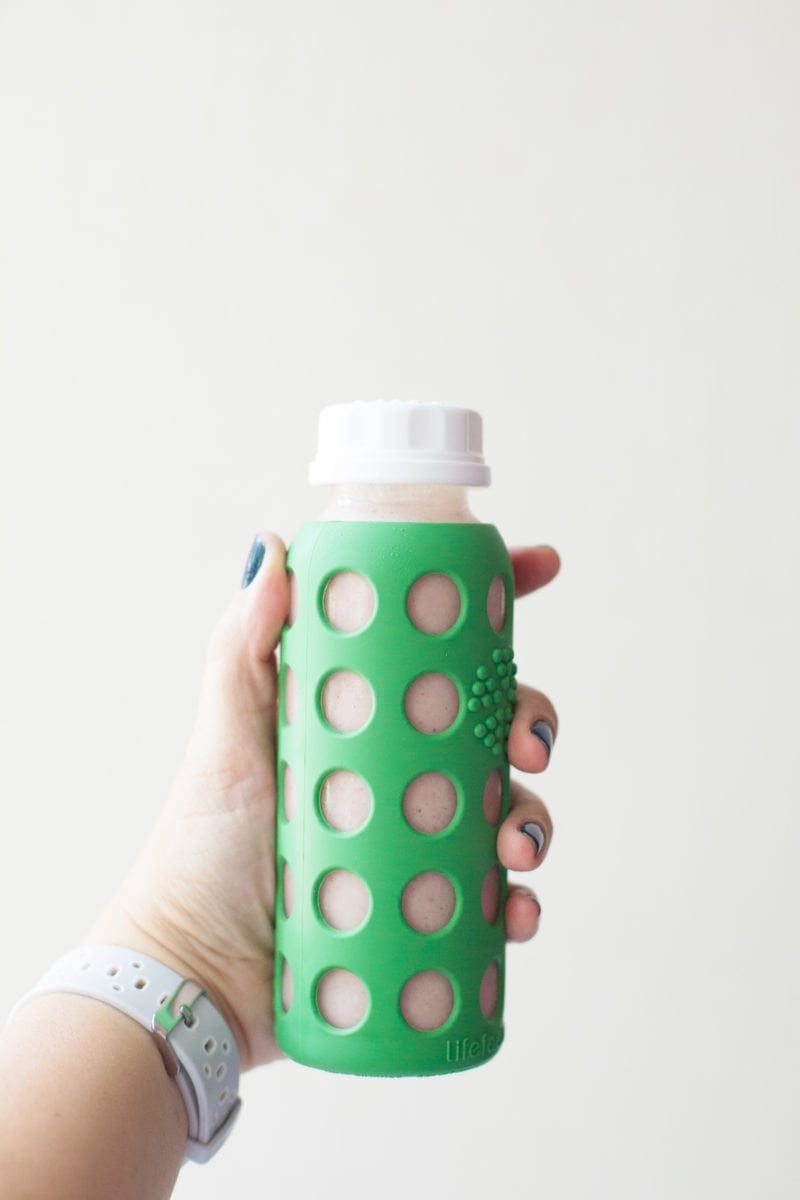
#2: Make-Ahead Smoothies
It doesn’t get much easier than this. Let me step you through it.
- Step 1: Make a smoothie.
- Step 2: Put it in a bottle or jar with a lid (we use leftover glass baby bottles from Lifefactory!).
- Step 3: Put it in the fridge until you’re ready to drink it.
Yup. You can do that. And depending on your ingredients, you can make your smoothies 2-3 days ahead of time with no real depreciation in tastiness. All you have to do before you drink is give it a hearty shake (just like you do with store-bought smoothies), and enjoy.
There are a couple of caveats with this method:
- Skip thickeners like chia seeds and flax seeds. They’ll just keep on thickening and thickening until your smoothie is a gloppy mess after a day or so. Trust me, it’s not good eats.
- Skip greens. They’ll still taste fine, but they turn a really unappealing gray/brown color after resting in the fridge for just a few hours. My visual side can’t handle it.
- Your smoothie will be thinner if you use frozen fruit. A lot of folks (me included) use frozen fruit to chill and thicken a smoothie, but after a few hours in the fridge, the frozen fruit is no longer frozen, and you’ll have a thinner smoothie. Still delicious, but not the milkshake-like texture of a freshly-made smoothie.
#3: In Bags
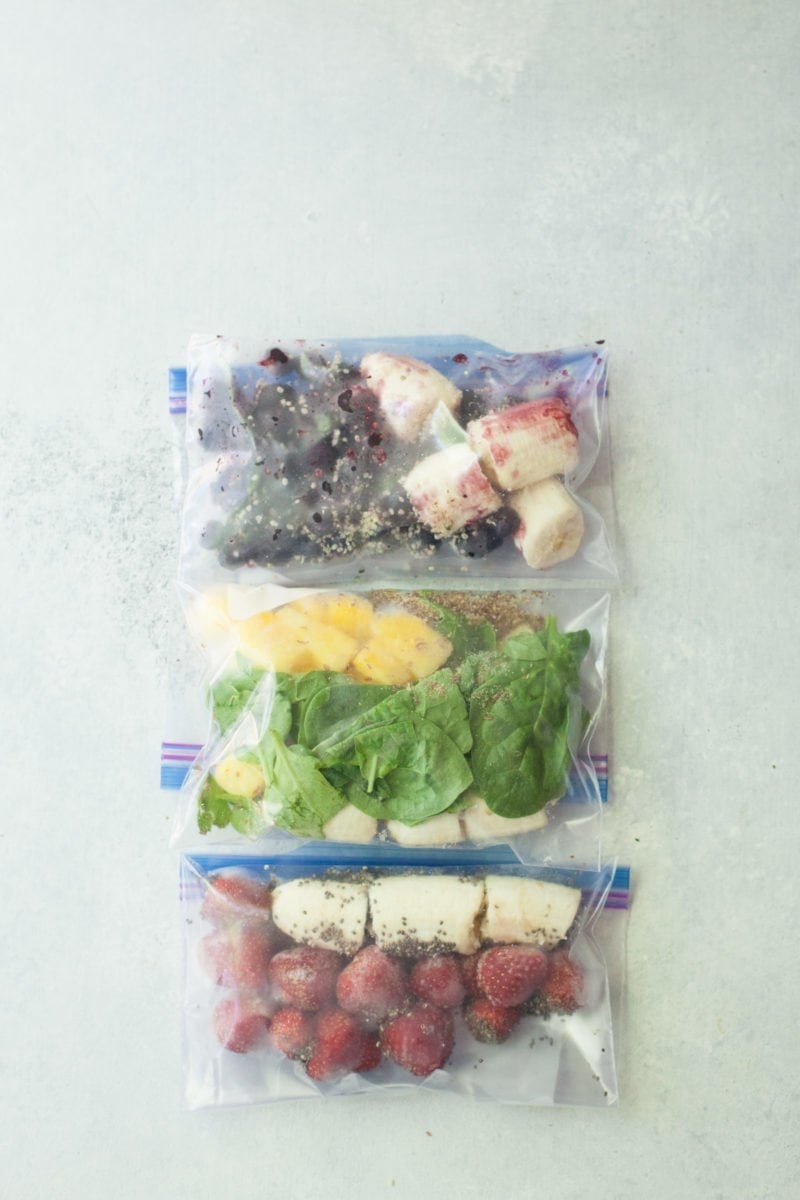
This is how I used to meal prep smoothies all the time—I had a little plastic basket in my freezer with just bags and bags of pre-prepped smoothies-in-a-bag. I don’t do this as often now because I’m trying to avoid storing my food in plastic as much as possible (and, let’s be honest, I have at least 100,000 mason jars in my basement, so I might as well use them). But this is a really great option if you’re low on freezer space—they take up almost no space at all. And the bags are usually in good enough shape after freezing that they can be washed and reused for multiple smoothie batches. The method is very similar to the mason jar technique…
- Step 1: Place your fruit, dry ingredients, powders, and greens into freezer zip-top bags. It’s really important to use the ones marked as “freezer” because they are thicker and keep the food fresher for longer.
- Step 2: Squeeze out the air, seal, and freeze for up to three months.
- Step 3: To make your smoothie, pour the ingredients into a blender carafe, then add your liquid of choice (juice, nut milk, water, etc.). Blend until smooth, and enjoy!
What's the easiest way to prep smoothies for a week?
Place your fruit and dry ingredients into freezer-safe glass jars. When ready to eat, top off the jar with liquid and blend.
Can I make ahead smoothies so they are ready to drink?
Sure can! Skip the greens and thickeners (like chia seeds), and your blended smoothies will be good for 2-3 days.
So there you have it! Three ways for you to make smoothies fit into your life—even if you’re crunched for time.
If you’re looking for specific smoothie recipes to use, I recommend checking out my Eight Staple Smoothies You Should Know How to Make post.